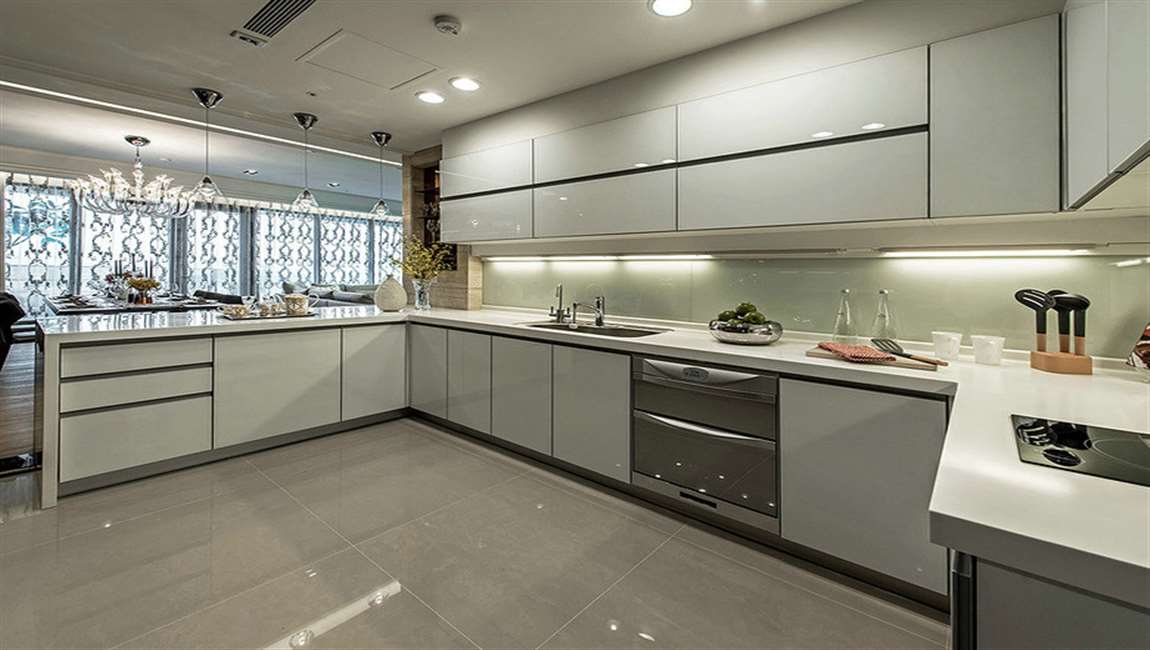
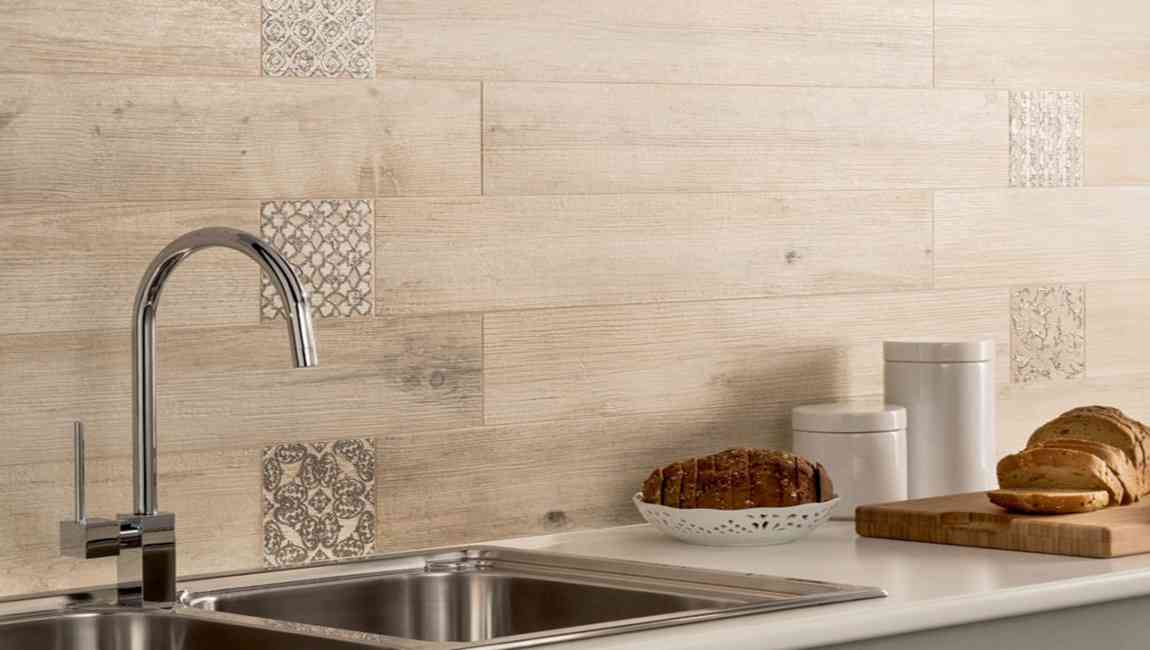
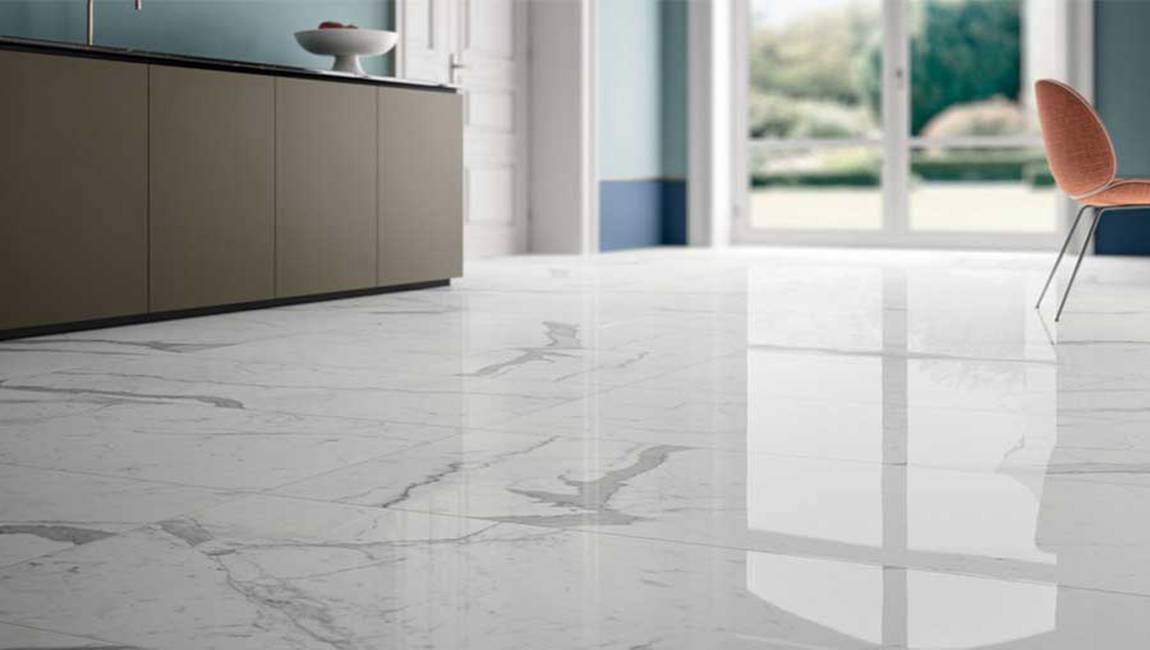
Measure the space where you want to install your backsplash. Use a measuring tape and a pencil to mark out the area your backsplash will cover. The size of the area will determine the number of floortiles you’ll need to buy, as well as the space you’ll need to prepare, so keep this information noted down when purchasing your equipment.
Your backsplash should start slightly above the countertop in your kitchen. The top could either meet with the underside of your kitchen cabinets or could stop at any chosen place up the wall. If you don’t know where you want your backsplash to end, wait until you know the size of the woodtiles you want to use. Make your backsplash a certain number of tiles design high, rather than a predetermined height.
Measure the height and width of the backsplash and keep these noted down. This will give you a guide for the number of tiles you need to cover the area, as well as a note of the total area you need to wall tiles design if you multiply the two numbers together.
Purchase spotstiles for your backsplash. Tile sellers and hardware stores will have a large selection of tiles for you to choose from. Find a wall tile which matches the desired look for your kitchen, and purchase enough to cover the chosen area.
Talk to the casstletile salesperson or someone at your local hardware store to work out how many tiles you’ll need. Divide the area of your backsplash by the area of a single tile or cementtile sheet to get a rough idea of how many Sand Stonetiles you’ll need.
https://baranaceramic.com/wp-content/uploads/2019/01/How-to-Planning-Your-Backsplash-Before-Tile-a-Backsplash-3.jpg6501150administratorhttps://baranaceramic.com/wp-content/uploads/2025/09/logo.pngadministrator2019-01-11 09:58:292019-07-30 10:11:43How to Planning Your Backsplash Before Tile a Backsplash?
Apply a 1⁄8 inch (0.32 cm) layer of adhesive to the wall. Start applying the adhesive in a bottom corner, about 1 tile length away from the bottom and side of the wall, leaving space for the edge tiles design. Scoop out a golf ball sized amount of adhesive onto a notched trowel, and spread enough adhesive in a thin layer over the wall to hang 2-3 wall tiles at a time.
You may need to move the trowel over the adhesive a few times to ensure that it’s thin and level.
Pre-mixed adhesive tends to be less expensive and work well for marble wall tiles. If you purchased a powder adhesive, mix it according to the directions until it’s the consistency of peanut butter. Use the trowel to add grooves to the adhesive. Hold the trowel at about a 45-degree angle from the wall. Move the trowel horizontally across the wall to make the grooves, applying consistent pressure as you spread. This will create the necessary ridges in the adhesive to allow for the wood wall tiles to stick to the wall.
Check the packaging of the adhesive to make sure you’re using the right sized notches for the marble tiles to stick to the adhesive. Most trowels will have 2 sets of notches that are different sizes. Hang the first tiles and continue the row with more adhesive and tiles. Carefully line up your first tiles, and press it into the adhesive, wiggling it slightly to create suction before positioning it in its spot.
Then, continue adding ceramic tiles in rows or columns following your pattern. Once you’ve covered most of the adhesive on the wall, apply more and continue hanging wall tiles price in your pattern. Remember to work in small sections at a time, only applying the adhesive where you’re tiling wall tiles. You may need to wipe off adhesive that oozes out from between the tiles with a damp cloth.
Add spacers in between each of the tiles to ensure even grout lines. As you’re hanging up the wall tiles design, position plastic spacers in between them to make room for the grout later. The spacers fit between the wood marble tiles and stick into the adhesive. Some floor tiles have built-in spacers. Be sure to check yours before you buy spacers.
Cut your tiles with a wet saw or nippers. Gather all of the tiles that you marked with the wax crayon during your dry-lay, and measure the length again to ensure that it’s in the right position. Put on a pair of safety goggles and carefully align the tiles with the blade of the wet saw or the shears of the nippers. Then, move the tiles through the blade or close the nippers to cut the tiles. For large tiles, you may need to rent a tile-cutting saw, also called a wet saw, from a local home and garden store. You can cut tiles smaller than 2 inches (5.1 cm) with nippers, which are shears that are used for cutting small pieces of glass.
Hang edge tiles by applying adhesive to the backs of the tiles. Take a tiles for the edge of the wall and apply the adhesive to the back, as if you were putting butter on a piece of toast. Then, position the tiles where it needs to go, and add the spacers. If the tiles has been cut, make sure you’re placing it in the right spot. If your tiles fit perfectly in the space and you don’t need to cut any of them, you should still use this method to do the outer columns and the top and bottom rows. This prevents the adhesive from getting on other surfaces or the pre-layed tiles.
https://baranaceramic.com/wp-content/uploads/2025/09/logo.png00administratorhttps://baranaceramic.com/wp-content/uploads/2025/09/logo.pngadministrator2018-08-31 05:18:182019-01-11 09:43:51How to hanging wall tiles?
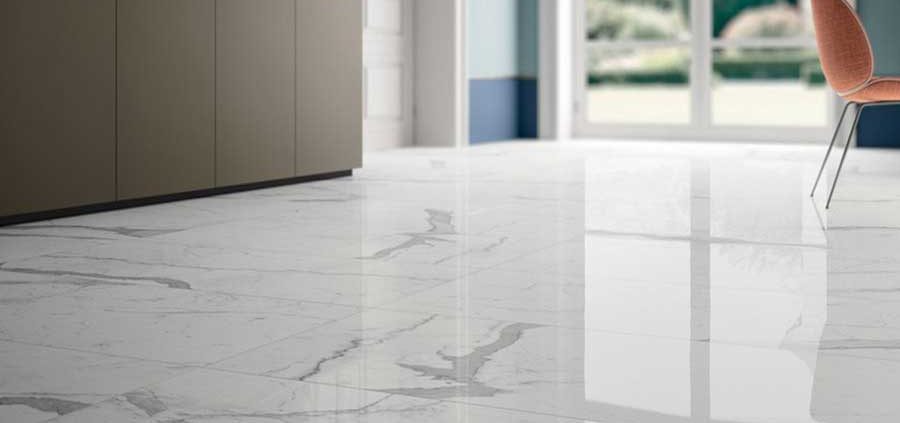
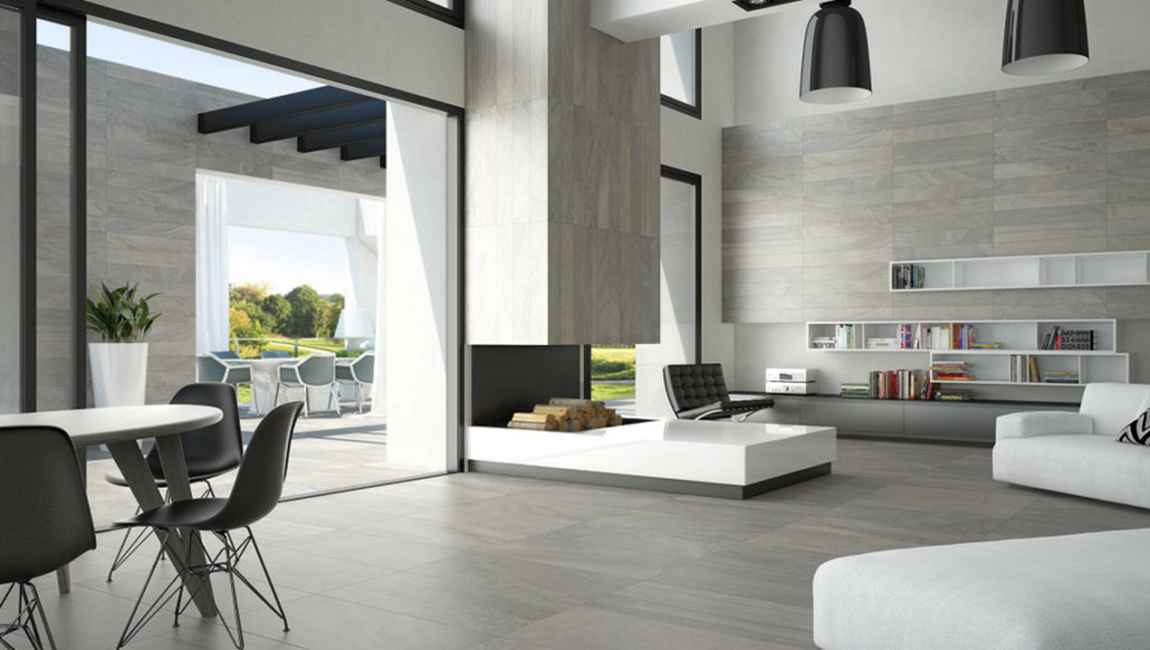
Measure the width and height of the wall to find out how many marble tiles you need. Use measuring tape to take precise measurements of the area of wall you’ll be tiling wall tiles. To find the area of your wall, multiple the length times the width, and then divide this number by the area of 1 box of the tiles design you are using in order to determine how many to purchase. When you’re purchasing the tiles price, buy an extra package of tiles in case some get damaged while you’re hanging them.
For instance, if the wall is 10 by 12 feet (3.0 by 3.7 m), it is 120 square feet (11 m2). Then, if each box of tiles has 10 square feet (0.93 m2) of tile, divide 120 by 10 to find that you need 12 boxes to cover the wall exactly. Then, you should add an additional box to account for potentially damaged cement tiles. Since the grout doesn’t take up much space between the tiles, and your tiles likely won’t fit in the space perfectly, you don’t need to account for it in your calculations.
Use a chisel and hammer if you need to remove existing rustic tiles. Put on a pair of safety goggles before you start removing the tiles. Then, place the chisel at a 45 degree angle between the tiles and hit the end of the chisel with the hammer to separate the wood marble tiles from the wall. Use the chisel to scrape between the tiles and the wall until they’ve all been removed.
It’s easiest to start removing wood tiles from a corner or from the top of the wall so you can place the chisel directly on the grout, which tends to be weaker than the tiles. Be careful while you’re removing the tiles. It’s easy to accidentally make a crack or hole in the drywall if you’re not holding the chisel at a 45 degree angle while you work.
Fill any cracks or holes in the wall with spackle. Once you’ve exposed the drywall underneath any existing tiles, you’ll be able to see any problem areas. Use a scraper to apply the spackle and let it dry according to the package directions, which is normally about 4-6 hours. For cracks and holes larger than 4–5 inches (10–13 cm), you may need to patch them with drywall. If you’ve never hung drywall, ask a professional for a quote to see how much it will cost to fix that area.
If the wall doesn’t have marblewall tiles, it is probably painted or wallpapered. You can use the same method for repairing the drywall without removing the paint or wallpaper. Sand the walls with coarse sandpaper to smooth any bumps. If you had to remove pre-existing wall tiles design or fix holes and cracks, there are likely bumps in the wall.
You can tiles over it, but it needs to be smooth to prevent your new tiles from laying crooked. Look for 100-grit or 80-grit sandpaper, and wear a mask to protect your lungs from the particles in the air. If you’re sanding a large area, it might be easier to use an electric sander.
https://baranaceramic.com/wp-content/uploads/2018/08/Measuring-and-cleaning-the-walls-before-tiling-a-wall-tiles-1.jpg600900administratorhttps://baranaceramic.com/wp-content/uploads/2025/09/logo.pngadministrator2018-08-30 06:13:572019-11-26 09:03:11Measuring and cleaning the walls before tiling a wall tiles
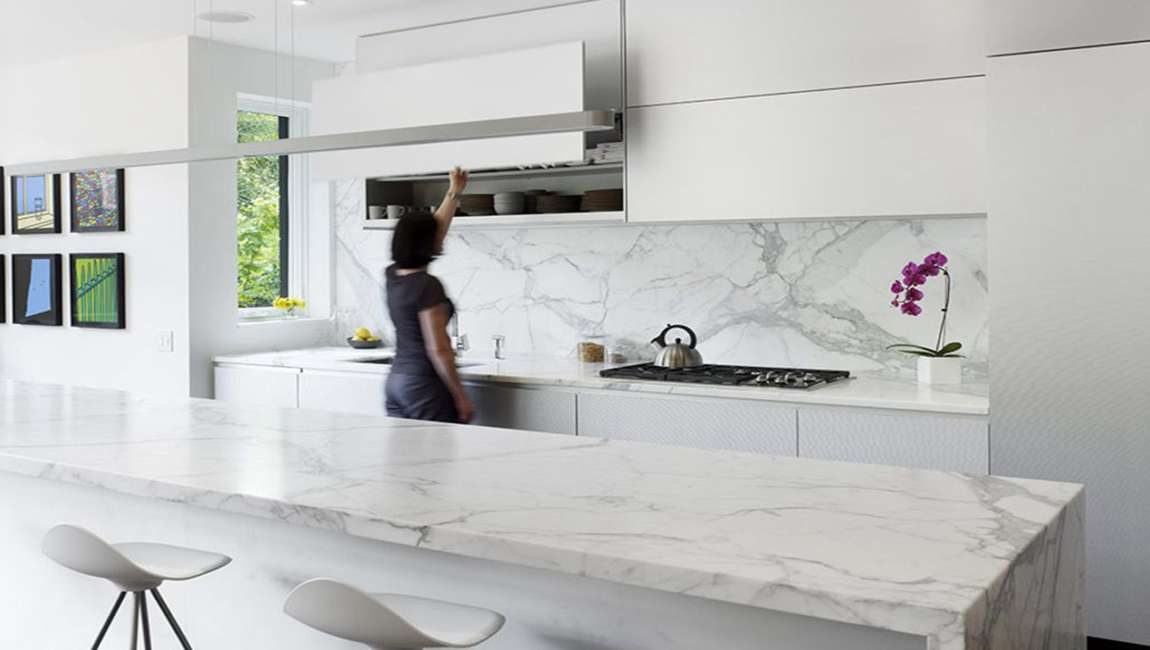
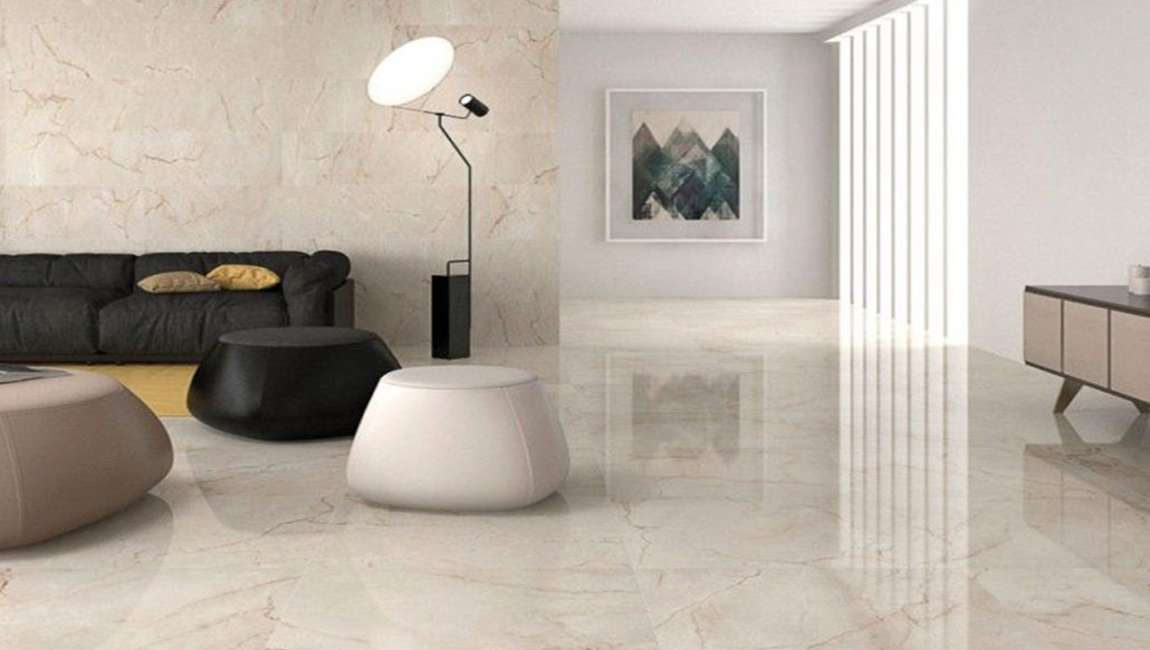
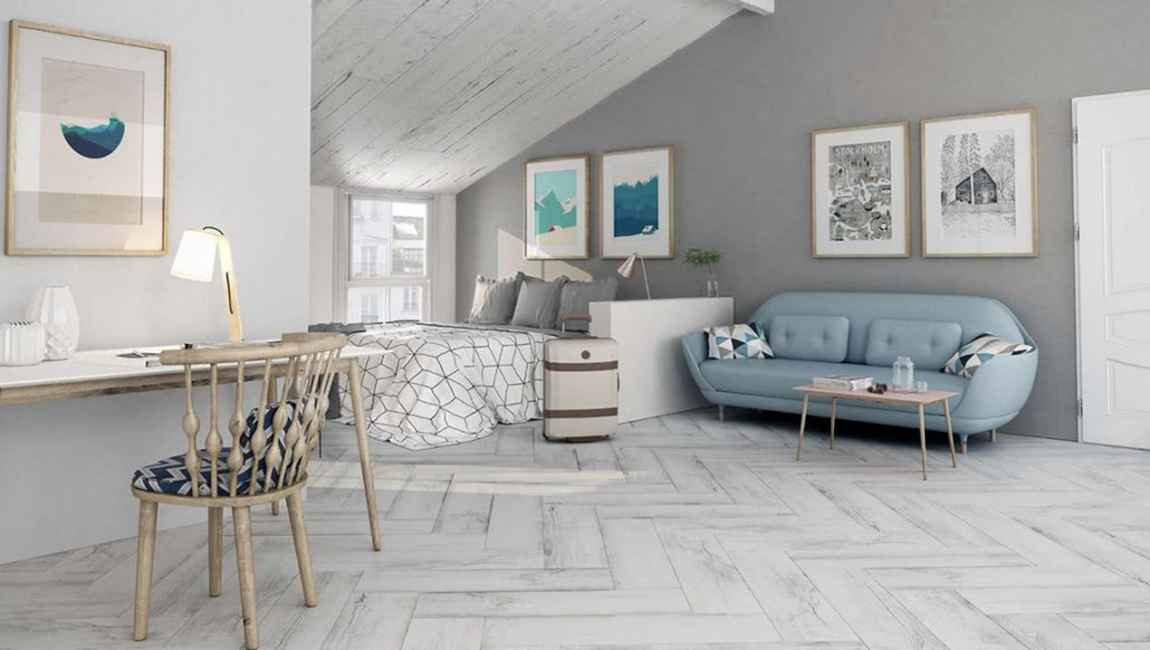
Now each building has tiled tile, become indispensable adornment.But everything has two sides.With the requirement of ceramic tile expanding continuously, then the problem comes:does ceramic tile have radiation?Let’s know the problem: Ceramic tile radiation refers to the phenomenon that ceramic tile contains radioactive material, the radioactivity of glaze brick is more apparent.Glazed ceramic tile is to apply a layer of glaze on ceramic tile base, ceramic tile surface color is varied, pattern and pattern is rich.Most of the ceramic tiles are from potassium minerals, such as feldspar and mica, which contain certain radioactive substances such as uranium and potassium. It is still radioactive after the process of physical chemistry, such as pulverization and sintering. And in order to clean the surface of the tile, the raw materials often include the high radioactive zirconium sand, which also makes some tiles highly radioactive.
The national building materials test center, however, ceramic and stone detection department senior engineering expressed: add a small amount of zirconium silicate porcelain production process is a kind of modern production technology, has a history of more than ten years in our country, it is comparatively mature technology.The radioactivity of brick is very little, wait for a year in normal household environment to absorb radiation quantity, much less than do an X-ray examination, so need not worry completely.And the radiation effect of ceramic tile on human body is less than the radiation that USES mobile phone to talk a minute to produce the influence big.
https://baranaceramic.com/wp-content/uploads/2025/09/logo.png00administratorhttps://baranaceramic.com/wp-content/uploads/2025/09/logo.pngadministrator2017-10-04 08:31:512019-09-03 06:43:28Does Ceramic Tile Have Radiation?
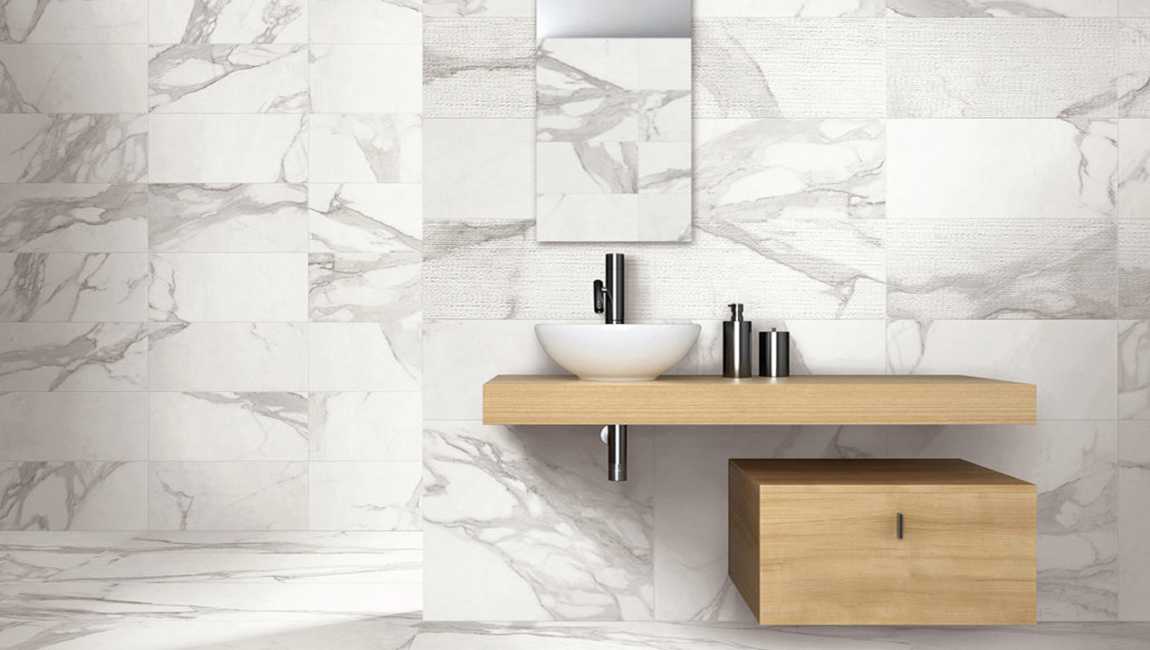
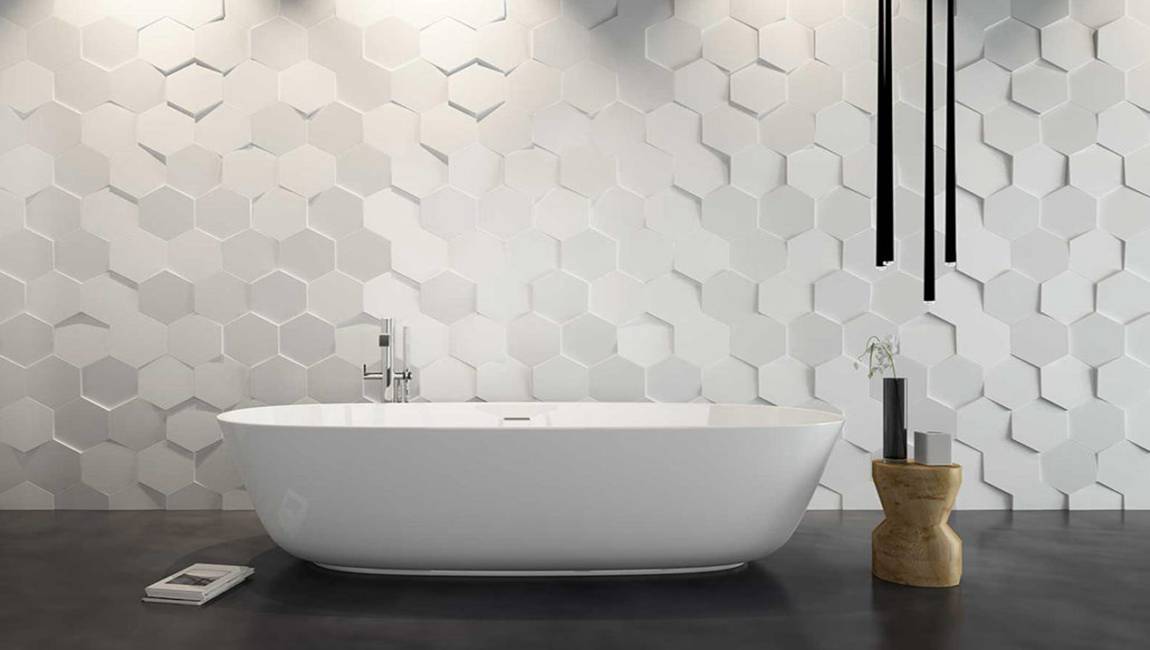
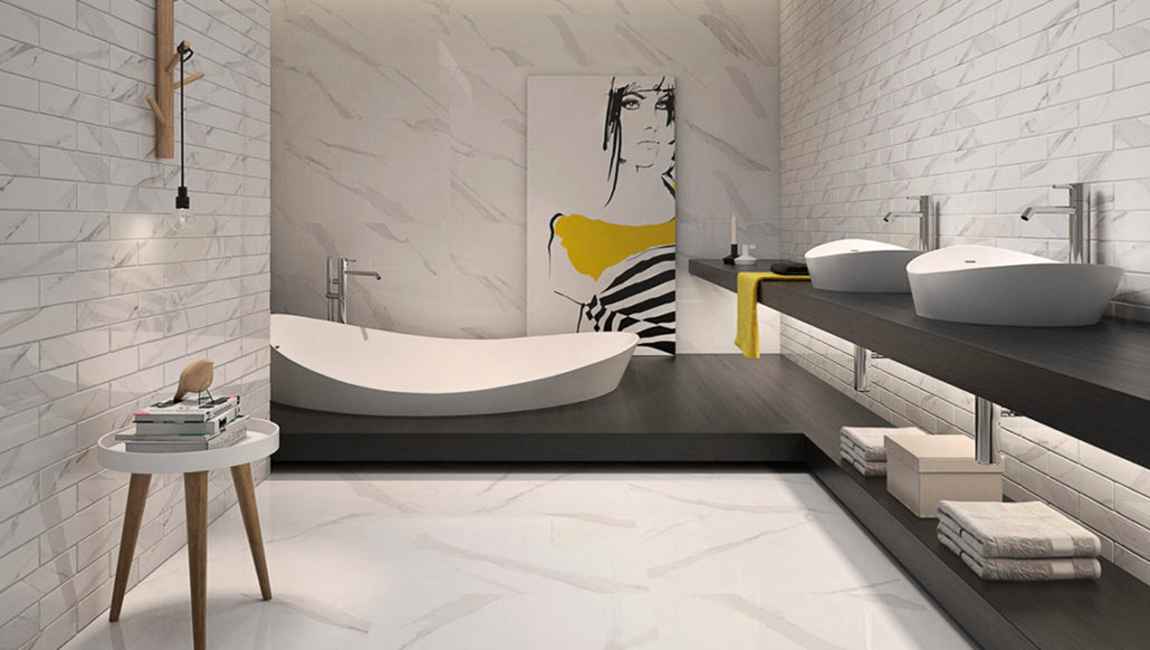
As we all know, in the Home Furnishing life, ceramic tile is very important, however, there will be wear and tear, discoloration and other common problems in the use of a long time, especially the bathroom tiles, because the bathroom itself environment is more humid, so it is more serious, which requires us to pay attention to the maintenance of ceramic tile the details in life!
There is also a convenient and environmentally friendly way to clean your body, using white vinegar and lemon peel. Clean the dirt on the surface of the sanitary ware first, then dip the soft cloth on a little white vinegar to wipe the surface of the sanitary ware or wipe with the lemon peel. Only a little while, the sanitary ware will be shining as new, and the fragrance will be sent out.
https://baranaceramic.com/wp-content/uploads/2017/06/How-To-Maintain-Tile-1.jpg600900administratorhttps://baranaceramic.com/wp-content/uploads/2025/09/logo.pngadministrator2017-06-26 03:05:292019-09-03 05:48:03How To Maintain Tile?