Mix paper towel pieces, ammonia, and hydrogen peroxide in a bowl. Rip up a couple sheets of paper towels and place them in a bowl. Note that the amount of paper towel you use depends on the size of the stain you’re trying to remove. Pour a few drops of ammonia in the bowl, and enough hydrogen peroxide to completely soak the paper towel chunks.
When handling ammonia, you should wear gloves to avoid skin irritation and burns. If the stain you’re trying to remove is quite large, you may want to fold up a paper towel instead. Attempt this method if you’re dealing with old or tenacious stains that can’t be removed with more conventional means.
Place the paper towel poultice over the stain. Pick the saturated chunks out of the bowl and place them over the stain. Be careful not to apply too much pressure, or the hydrogen peroxide and ammonia might leak out over your marble tiles. If you’re dealing with a vertical surface, the paper towel chunks should be wet enough to just stick on.
Seal the poultice with plastic wrap. Stretch a length of plastic wrap over the poultice and stain. Apply pressure to its sides, so that it completely seals the poultice, then use clear adhesive tape to secure the plastic wrap. Use a toothpick to poke a couple of holes in the plastic wrap to allow airflow. Let the poultice sit for two to three days.
Remove the plastic wrap and wash the area with warm water. You should be able to lift the plastic wrap easily with just your fingers. Pick the paper towel poultice off of your surface and throw the chunks away. Then, dampen a cloth with warm water and wipe the area clean. After washing the marble tiles, use a dry cloth or paper towel to dry the area.
https://baranaceramic.com/wp-content/uploads/2020/01/Removing-Stains-with-a-Poultice-3.jpg7501150administratorhttps://baranaceramic.com/wp-content/uploads/2025/09/logo.pngadministrator2020-01-15 08:00:342020-01-07 06:36:04How Removing Stains with a Poultice?
Make a baking soda and bleach paste. If you want to remove stains that have developed over a season or so (for example, after leaves have been collecting on your concrete throughout the fall), mix up a standard concrete cleaner using three parts baking soda and two parts bleach. The consistency of the paste should be like pea soup – thin enough to pour on your concrete but thick enough that it won’t just run off.
Make a vinegar and baking soda paste. If you’re looking for a more environmentally-safe cleaner, try mixing up vinegar and baking soda. The exact amounts of vinegar to baking soda don’t matter as much as the consistency. It should have a paste-like consistency. Start by pouring some white distilled vinegar into a bucket or bowl and then slowly add baking soda.
The mixture will foam up, so add the baking soda slowly so you it doesn’t overflow. Give the bubbles some time to deflate so you can see what your consistency looks like before adding more baking soda. Make a vinegar and water solution. For smaller stained areas, you might want to try a vinegar, water, and salt solution that you can mix together in a spray bottle.
This allows you to be more targeted in the application of the cleaner and prevents it from seeping to places you don’t want it to go – like flower beds or the lawn. Use equal parts white distilled vinegar and warm water, then add a pinch or two of salt. Let this solution soak into your concrete for about twenty minutes.
There isn’t much extra work needed to fit the panels together. The manufacturer cuts them into shapes meant to fit together. The only exception is when you need to trim the stone to fit along the edges of your wall, which you can do with a diamond blade. Spread a 1⁄2 in (1.3 cm) mortar layer on the stone veneer.
Place vertical boards along the wall to connect the strips. Cut more furring strips to the size you used previously. Line these boards up with the edges of the wall, chalking straight guidelines as needed for the installation. Drill and screw these boards to the cinder blocks. Apply more vertical strips about every 16 in (41 cm) to create a framework for the vinyl siding.
Remember to install vertical boards around each door and window to complete the furring “frame.” These components need to be framed in order to waterproof them properly. Measure and cut the vinyl to fit evenly over the wall. Run a tape measure from the top edge of the upper furring strip to the bottom of the lower one. Add an extra 1⁄2 in (1.3 cm) to your measurement to account for overlap.
Then, cut the vinyl panels evenly to fit over the height of the wall. Use a circular saw with a plywood-cutting blade to trim the panels. Remember to wear goggles, earmuffs, and a dust mask to keep yourself safe while operating a saw. Attach a vinyl starter strip below the bottom furring. The starter strip is a slotted piece of trim used to hold the vinyl to the furring board.
Position it so it extends about 1⁄4 in (0.64 cm) below the lower furring. Place 1⁄4 in (0.64 cm) galvanized siding nails in the slots pre-cut in the starter to pin it in place. Look for vinyl siding kits online or at your local home improvement store to get all the components you need. Alternatively, buy the parts separately to suit your wall.
If you’re working around doors and windows, get more vinyl starters. You need corner pieces and J-channel pieces to connect them together. They attach to the furring boards the same way the starter does. Lay vinyl panels from the bottom of the wall to the top. Position the first row of vinyl panels over the starter strip on the bottom of the wall.
https://baranaceramic.com/wp-content/uploads/2019/12/Cover-Exterior-Cinder-Block-Walls-3-1.jpg7501150administratorhttps://baranaceramic.com/wp-content/uploads/2025/09/logo.pngadministrator2019-12-12 08:00:362019-12-16 09:30:25The Knowledge of Cover Exterior Cinder Block Walls
Do any additional touch-ups required. Stand back and admire your work; it should appear as a marbled black and white checkered floor. Decorate your painted surface. Once your painted concrete floor has dried you can add your own personal touch. Apply a stencil design to your cement floor and paint on your desired pattern or style.
You can create your own stencil. Or you can check with your local paint store for stencils and designs to apply to your flooring. Have a helper on hand to hold the boards in place while you attach them to the walls. Spray another small section of the wall, completely soaking it before applying a layer of cement. Smooth out the cement before moving onto the next portion.
Keep doing this until your wall is coated in a single, perfect layer of fresh cement. If you make a mistake, scrape off the cement right away with a trowel or another tool. Cement is much easier to take care of before it hardens! Mist and dry the cement for 3 days. Get a big misting bottle and fill it with water.
Dampen the concrete twice a day for 3 days straight to ensure it cures correctly. After that, your wall is done and you can enjoy the strong but smooth finish the cement gives it. Cement can be painted over by coating it with a concrete primer. Another option is to mix colored concrete pigment into your wheelbarrow of wet cement to give it some color.
Add the stucco to the top of the wall, then spread it from left to right, repeating this as needed to finish the layer. The scratch coat is like a second base for the outer layer of stucco, so don’t skip it. Applying a large amount of stucco all at once is a recipe for an unappealing finish.
https://baranaceramic.com/wp-content/uploads/2019/12/Tile-Mist-and-Dry-Cement-2.jpg7501150administratorhttps://baranaceramic.com/wp-content/uploads/2025/09/logo.pngadministrator2019-12-02 08:00:132019-12-05 02:58:06The Knowledge of Tile Mist and Dry Cement
Mark your tile layout on the substrate and mark out your first course carefully. If your shower enclosure walls are not perfectly square, or if you plan to install accent tiles, the layout of these tiles becomes increasingly important. Measure up from the bottom of the backer board the height of a tile minus 1/2″. This will give you a 1/2″ overlap over the tile lip on your shower pan.
Make sure that you allow room for the grout joints as well. Mark this with a sharpie or chalk and using a level, transfer the mark across the shower stall. This will be a guide for the top of the first row so that all tiles will be level. Only use dry tiles make sure that the lay out works as well.
Another way to plan out the first row of tiles is to measure the high part and low part of the shower pan. Make the cut spot on the low end a full tile, mark it, and then cut the tiles on the high side down to the level of the uncut tile on the low side. Keeping grout lines away from the inside corners of the enclosure can prevent the need for tiny tiles and poor grout joints. Plan accordingly and always make cuts tight on the inside corner.
Mix enough thin-set for the bottom row. You want your thin-set to be the consistency of peanut butter — not too thick or it will dry out and not too thin or you’ll have a hard time setting the mortar with strength and cleaning. Use an electric drill and a mortar mixing bit attached to your drill to mix your thin-set mortar. This will ensure even consistency and ultimately a better product. Let the mortar set for seven minutes and then mix it again.
Dampen the cement board with a sponge before applying the mortar. If you do not, the cement board will draw the moisture out of the thin-set too quickly, making for a brittle set that is susceptible to cracking.
https://baranaceramic.com/wp-content/uploads/2019/07/How-Laying-the-Tiles-4.jpg7501150administratorhttps://baranaceramic.com/wp-content/uploads/2025/09/logo.pngadministrator2019-07-26 08:00:232019-11-26 08:13:06How Laying the Tiles?
Mix up a batch of grout and let it rest for 5 to 7 minutes. Lightly wet the area you’ll be grouting with a damp sponge and dump a bit of grout onto the area. Use a rubber float to smooth it into the joints, attacking each joint at a diagonal angle.
After 30-40 minutes (check the directions on the bag of grout) you want to wipe the excess grout with a damp sponge and a circular motion. Keep wiping with a clean sponge until the tile is clear. The tiles may look a bit hazy even after wiping, so you may have to buff them with a clean sponge to get rid of this haze.
Let the grout cure for approximately 3 days before sealing. Then, seal the grout. Run a thin bead of liquid grout or aerosol grout sealer onto the grout line and wipe away. Let dry and then test its water resistance by dropping water onto the sealed grout. Correctly sealed grout will cause the water to bead up on top of it.
Caulk any needed areas. Make sure to use a grout caulk to match the colors. As you caulk, remember to pull the caulk gun relatively quickly across the joint. Most amateurs caulk too slow and end up dropping too much caulk down on the joint. Other things to remember:Keep the tip angled as you run the bead along the joint.
Match the speed with which you pull the caulk gun trigger with the rate at which you pull the gun along the joint. You don’t want to be pulling the gun fast but triggering slowly, or vice versa. After applying the bead of caulk, “bed” it by running a damp finger across the bead with light pressure. Make sure that your grout chalk matches the grout. Let the caulk dry and redo it if you are not happy with the results.
https://baranaceramic.com/wp-content/uploads/2019/07/Grout-the-Tile-4.jpg7501150administratorhttps://baranaceramic.com/wp-content/uploads/2025/09/logo.pngadministrator2019-07-24 08:00:172019-07-23 10:28:53Grout the Tile
Sweep the wood or composite tiles every few days. Try to sweep your tiles every day or as soon as you notice dirt, leaves, or grime. Use a soft, natural bristle broom to remove the debris that’s on the tiles. Regular sweeping will prevent your tiles from becoming caked with dirt or stained.
Wash the tiles with soap and water at least once a month. Fill a 5 US gal (19 L) bucket with water and a few squirts of mild dish soap. The water should be soapy and bubbly. Dip a mop into the soapy water and wring it out. Mop the tiles until you’ve removed the dirt. You can use a string mop or sponge head mop. Just avoid using a scratchy or abrasive mop on the tiles.
Rinse the tiles. If you’re cleaning a large space, take a garden hose and rinse the tiles with clean water to remove any soap residue. If you’re cleaning a small area, you can dip the mop in clean water and wring it out. Mop over the tiles so they’re rinsed with the clean water.
Remove any grease stains. As soon as you notice an oily stain, wipe up whatever caused it. Dip a sponge or soft cloth into soapy water and wash the stain. This might remove the stain on its own. If not, use a deck stain remover that’s specifically made for wood or composite tiles. You’ll need to follow the manufacturer’s instructions. The longer the stain sits on the tile, the harder it will be to remove. That’s why it’s important to clean up the stain quickly.
Deep clean your tiles twice a year. In addition to keeping your wood and composite tilesswept and clean, you should try to deep clean the tiles in the spring and fall. Buy a tile cleaner developed for wood or composite. It should contain sodium hypochlorite. Follow the manufacturer’s instructions. Sodium hypochlorite will prevent mold and mildew from growing on your tiles.
https://baranaceramic.com/wp-content/uploads/2019/07/How-Cleaning-Wood-and-Composite-Tiles-4.jpg7501150administratorhttps://baranaceramic.com/wp-content/uploads/2025/09/logo.pngadministrator2019-07-19 08:00:212019-07-15 10:47:21How Cleaning Wood and Composite Tiles?
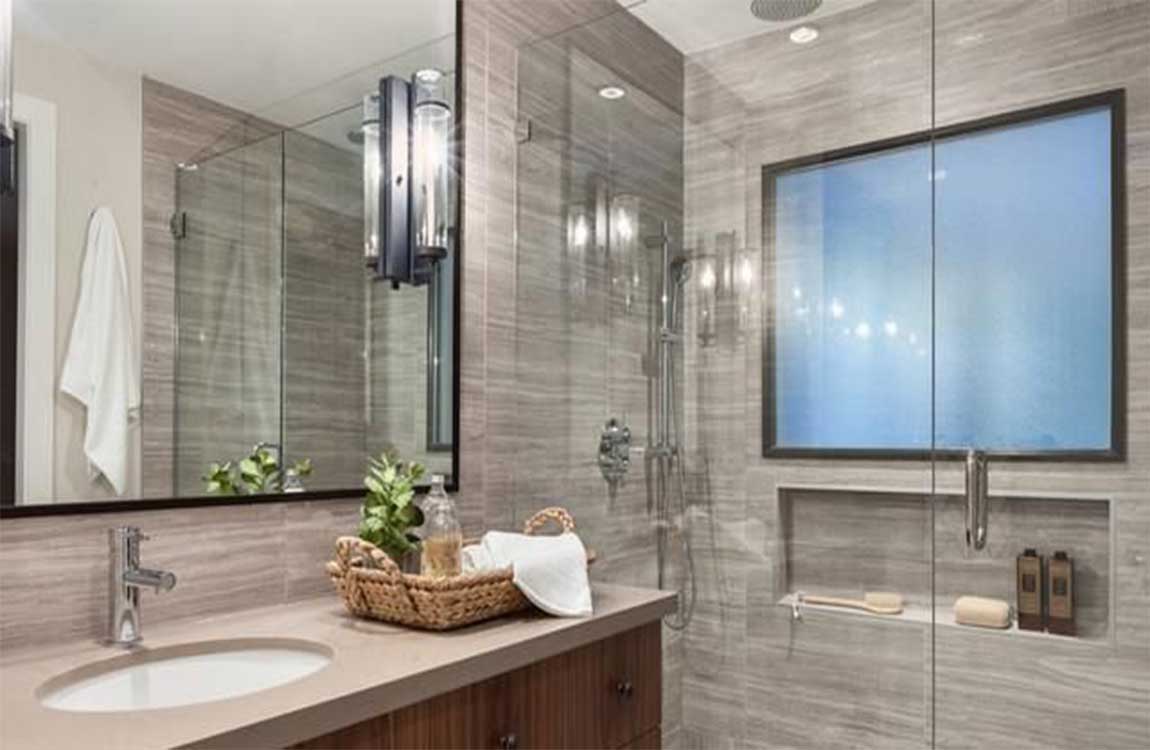
Keep porcelain tiles spotless isn’t difficult, but it can get tricky when the woodtile is stained or hasn’t been protected or sealed property. Thankfully, there are several cleaning options at your disposal to clean the porcelain tiles.
You may have polished or glazed porcelain tiles, unpolished or unglazed porcelain tiles, or textured porcelain tiles. You will need to use different approaches depending on the type of woodtile you are cleaning. With some patience and discipline, you can make sure your woodtiles are clean and stain-free.
Mop the floor. Finish your cleaning by mopping the tiles with a floor cleaner. You should use a mild cleaning solution that is safe for use on glazed or polished porcelain tiles. Make sure you mop the floor one more time with hot water before the cleaner dries on the tiles. This will ensure the cleaner does not stain or damage the tiles.
Dry and buff the floor. Use a microfiber cloth or a clean towel to dry the floor completely. Make sure there are no water spots or puddles of water remaining on the tiles. You can also open a window or set up a fan to dry the floor. Place fans in the room and open any windows to ensure an adequate airflow throughout the room.
Once the floor is dry, you can buff it to a shine with a piece of cheesecloth. Rub the cheesecloth over the tiles in circular motions to buff them. Get in the habit of using coasters on any porcelain tile counters to protect the surface from water rings due to glasses sweating water.
https://baranaceramic.com/wp-content/uploads/2025/09/logo.png00administratorhttps://baranaceramic.com/wp-content/uploads/2025/09/logo.pngadministrator2019-07-05 02:12:192019-07-30 08:36:28How to Clean Porcelain Tiles?
Start by sweeping the floor with a soft-bristled broom. Sweep the textured porcelain tiles in two directions. This will better remove any dirt or debris in the texture of the tiles. Start by brushing in the direction or texture of the tile. Then, sweep diagonally across the tile to remove any dirt or debris.
Mop the floor with a mild cleaning solution. Once the floor has been swept, you can saturate it by mopping the floor with a mild cleaning solution. Combine the cleaning solution with hot water. Mop the floor and then allow the cleaning solution to sit on the floor for five to ten minutes.
Textured porcelain requires more maintenance than other types of porcelain and you will need to clean it more frequently to keep it looking good. To maintain the textured tiles, you should try to mop and scrub the floor daily, especially if it is walked on constantly throughout the day.
Scrub the floor with a soft, nylon brush. Once the cleaning solution has been on the floor for ten minutes, you can use a soft nylon brush to scrub at any dark spots or stains on the floor. You can also use an old toothbrush to scrub the floor. Use the same two direction method that you used for sweeping the floor. Start by scrubbing the floor following the direction of the textured tile. Then, scrub in the opposite direction of the texture on the walltile.
Rinse the floor with clean water. Do not let the cleaning solution sit on the floor and dry, as it can damage the floor. Make sure you rinse off the cleaning solution with clean, clear water. You can then dry the floor with a clean microfiber cloth. Check that there are no water spots or puddles on the floor. You can also open windows in the room and turn on a fan to dry the floor more quickly.
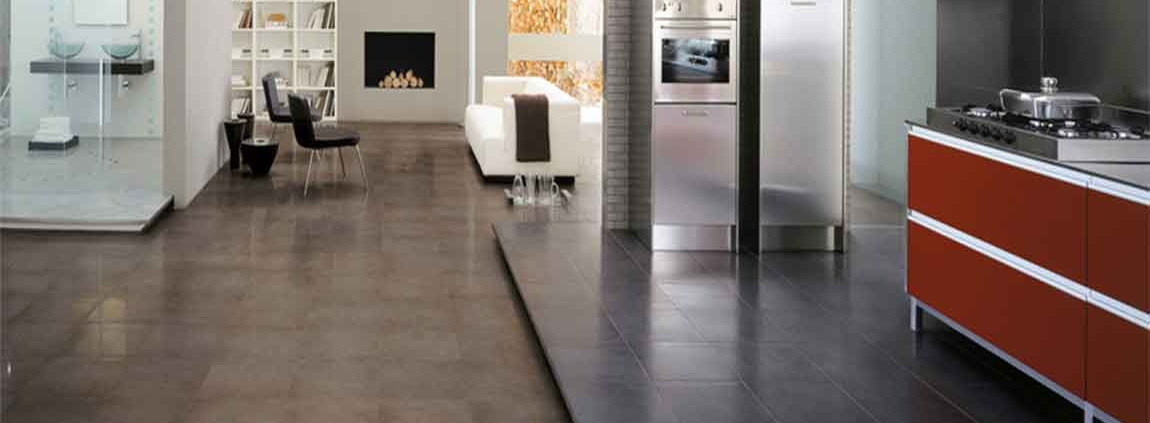
Hardness. The hardness of tiles determines the key performance of tiles, especially floor tiles. Hardness: 1-7, polished tile general 7, throwing glaze is generally 5-6, Microcrystalline stone is generally about 5, porcelain is generally 3-4, etc. Certainly, the determination of tiles hardness has a great relationship with production, such as firing time, temperature, press tonnage, material fineness. Floor tiles are larger than wall tiles, and polished tiles are more flexible than glazed tiles design. The greater the hardness, the stronger the durability of tiles. However, the hardness is also large, and the processing is difficult.
High destructive strength. Good strength of tiles crack resistance, the national standard tiles compressive strength is not less than 35Mpa, 1200N, equivalent to 120 KG people standing on the foot size of the area, the higher the tiles strength, the better resistance to weight and pressure.
Water absorption. This index can be divided into two categories, one is ceramic tile, the other is porcelain tile. Ceramic tiles water absorption rate will be high, generally about 20 percent have, low also has 5-10 percent, because there is water absorption, you can and cement well combined to prevent falling off. Porcelain tiles water absorption is relatively low, generally less than 5 percent, now many glazed tiles surface is glaze, water absorption is below 0.1 percent.
Water absorption determines the antifouling performance of cement tiles, low water absorption, weak absorption capacity, and it’s good for daily use. Inspection method: The actual effect of more than 10% water absorption is to pour a cup of 150 ml water behind the tiles, after 3 seconds, water will all infiltrate the tiles. According to the standard, tiles are divided into porcelain tiles (water absorption rate E < 0.5%), fine stoneware tiles (water absorption rate 3 < E < 6%) and stoneware Ceramic (water absorption rate 6 < E < 10%). Ceramic tiles (water absorption of more than ten percent). The inspection method should be tested on the back of the tiles.
Planeness. The level of tile surface is measured by edge curvature, middle curvature and warpage. Size is based on intuitive judgment can be, check the size of a batch of tiles is roughly the same, can better fit together, color difference is small, size regulation is top-grade. Flatness is more important to the display effect of the tiles, which is also the reason why the tiles manufacturers pay more attention. Evenness is different because of different tiles. Glazed tile is slightly worse than polishing tiles, and rustic tiles are less than polished tiles design, need to leave a gap when paving tiles. The national standard stipulates that the error is within zero point five percent.
Wear resistance. This parameter is slightly different from the hardness, and the testing method is a little different. A tile wear test is carried out on a specified wear tester according to the prescribed procedure, and the volume of the marble tiles are measured. 150 is a lower standard. The wear resistance of domestic first-line brands is generally less than 130, and good varieties reach 110. 150 is equivalent to the quality of the three line brand. The higher the wear resistance is, the more durable the tile is, the easier to non wear-resisting lay it on the floor.
The wear resistance of tiles used in public places must be less than 120. The wear resistance of tiles is divided into 1-5 grades by wear resistance test. If you want to save worry, you need to pay attention to the tiles wear resistance coefficient. Good cold resistance. It is a sign to judge whether tiles can be used normally in the climate with large temperature variation. This index deserves special attention in the climate with large temperature difference between day and night in the north. The performance is mainly for porcelain tilesand outer wall tiles, and ceramic tiles, which are easy to absorb water and crack.
https://baranaceramic.com/wp-content/uploads/2018/08/Testing-items-for-tiles-1.jpg600900administratorhttps://baranaceramic.com/wp-content/uploads/2025/09/logo.pngadministrator2018-08-22 10:31:552018-11-28 05:57:10Testing items for tiles