Posts

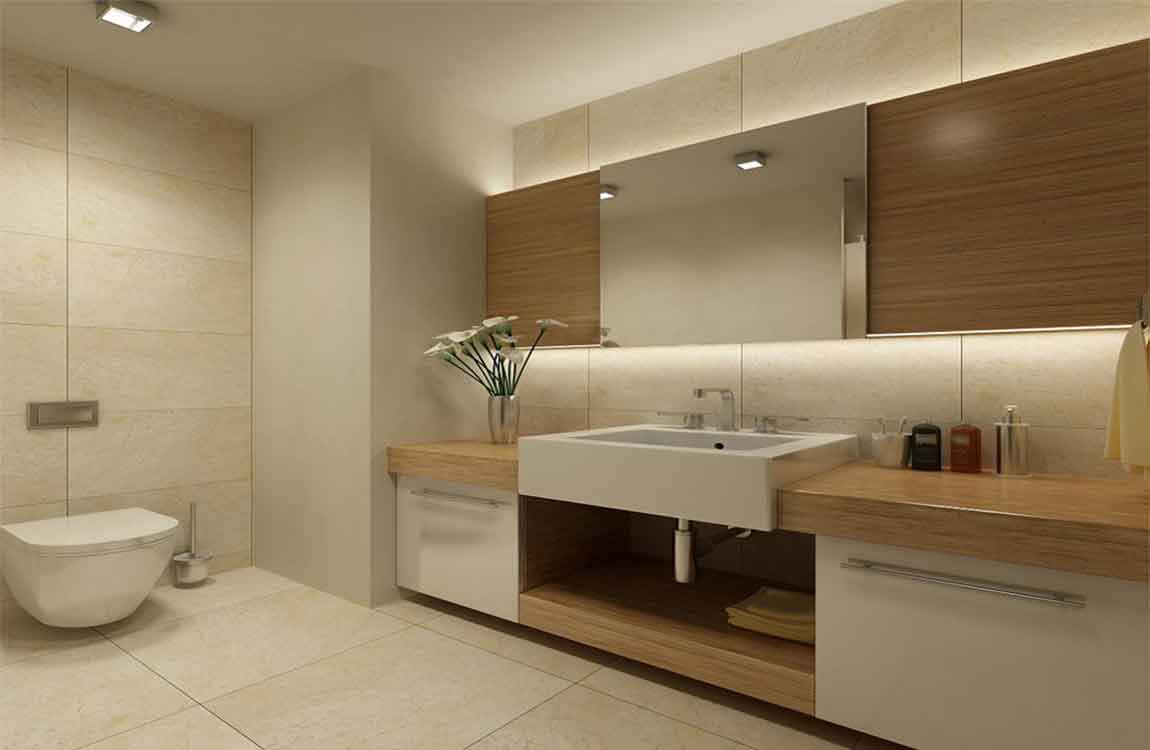
How Cutting Your marble tiles?

Measure the top of your cabinets and purchase your marble tiles slabs. Use a measuring tape to get the dimensions of the cabinet tops to determine how much marble tiles you need. Be sure to account for the sink opening when ordering pre-cut marble tiles so that it comes with a space for your sink. Always choose marble tiles with unpolished edges to ensure that there are seams between the slabs.


Choose between rounded, curved, and square edges for the outer edges of your marble tiles. Use 1.25 inch (3.2 cm) slabs for the best results. Select a pattern and color that fits with your space. Add an extra 1⁄2 to 1 inch (1.3 to 2.5 cm) to your dimensions to account for overhang. Remove the marble tiles from the packaging and dry-fit it to the tiles.


marble tiles weighs 25 pounds (11 kg) per square foot, so have at least one person help you move the slabs to be safe. If you’re using multiple marble tiles slabs, make sure that each one fits tightly against the other. If you removed your kitchen sink when removing your old marble tiles, lower it into place after dry-fitting your marble tiles to make sure that it fits. If your sink is still installed, that’s fine too.


Mark cutlines onto the top and bottom of the marble tiles to shape it to the tiles. Even with pre-cut marble tiles, you might have to make some adjustments to their size. Take note of any portions of the marble tiles that need to be removed or cut to fit the tiles and mark them off on the top and bottom with a straight edge and pencil.


Start by placing your straight edge onto the top and draw a line to mark the region to be removed. Afterward, turn the marble tiles over and mark a line on the bottom parallel to the top one. Now, connect each line via lines on the sides. Make sure that there are 4 lines total—the top, bottom, and 2 side lines.

How to Clean Cement Tiles?

Cement tiles requires routine cleaning. Routine cleaning for mildly dirty cement tiles can be done with a mild degreaser or laundry detergent. Special chemical cleaners are required for very dirty or stained cement tiles. Make sure to wear protective gear when handling harsh cleaners. Try to avoid getting mortar on the stones. If you need to clean the stones, let the mortar dry, then remove it with a dry whisk brush.


Fill in the gaps with grout if you wish to insulate the wall. Mix the grout in a bucket with water according to the manufacturer’s recommendations. Then, use a trowel to pack it into a grout bag. Hold the nozzle close to the joints between the stones and squeeze the bag to apply the grout. Fill each joint until it’s about level with the stones, then carefully smooth the grout out with a trowel as needed to complete your new wall cover.


Grout protects the stone veneer from moisture and anything that might grow inside the joints. Some people prefer the way the veneer looks without grout, but keep in mind that it may not last as long as a wall finished with grout. Mark the backs of molding pieces if there are several for that wall in the order they will be installed.


While you are fitting the molding, look for studs to nail it into and lightly mark them in the area just above where the molding will sit. The molding should sit right on top of the flooring. Nail the molding in place. Use finishing nails about 2”(5.1 cm) in length. Try to get nails into a stud. Place the nails about 18” (45.7 cm) apart or at each wall stud.


Use a pressure washer. If you don’t want to scrub or apply a cleaner, you can use a pressure washer to clean most dirt and debris off of your concrete. Keep in mind that the pressure is very high, so avoid aiming at any plants, which will be destroyed by the force of the water. Choose a pressure washer with a rating of at lease 3,000 psi and a flow rate of at least 4 gallons per minute (gpm).

The Knowledge of Tile Wood Glues


Wipe away the excess glue. Use a damp rag to blot at the glue squeezing up through the cracks in the newly-repaired gap, then go over the seam until no residue remains. Any adhesive left behind by mistake could dry to a rough texture underfoot or produce mild discoloration in the laminate.


If you used caulk or wood putty to fill the gap, you may need to sand down the excess material once it has had time to dry. For the smoothest finish, use 180-grit sandpaper or higher. Most wood glues dry clear, which means they won’t be visible in the seam between the two planks.


If there are a large number of patches on your floor, or there’s a noticeable difference in level of sheen, you might need to re-varnish the entire floor. Wipe down tiles. After the grout has completely dried, clean it off again with a dry cloth. Seal your tiles. If you want, you can apply a grout sealant to help protect your tiles.


Add a small line of silicone caulk to the bottom edge of your tile to seal out water and prevent mildew growth. Sprinkle over a little turpentine and white spirit. This will create patchy streaks on the dark paint of the squares. Leave the dark squares to dry. Remove the paper from the border. Paint entirely in black paint. While it is still wet, use a paint cloth to wipe turpentine in it here and there, to create a mottled effect.


Don’t do all of the border, just parts to give the effect of old marbling. Use a fine brush to add very thin faux white lines to the border. Only do this part once the paint has dried. Remove the paper from the entire floor. Seal the floor with five thin coats of a low-gloss polyurethane varnish. Allow each layer to dry before adding the next.

The Knowledge of Wax a Floor


Use an auto scrubber or floor machine to work in the stripping solution (optional). For large jobs, an auto scrubber or rotary machine is recommended, as it will do a thorough job pulling up all the finish. If using an auto scrubber, scrub the area leaving the squeegee tool up (not in use).


If using a floor machine or burnishing machine, use the stripping pad attachment. Large jobs may require multiple stripping pads. Scrape wax from the edges and corners of the floor. You can use a doodle pad for this or a long handled razor blade tool such as a poll scraper. If you don’t want to buy a specialized tool, any sharp flat blade such as a putty knife will do the job.


Without stepping on the slippery floor stripping solution, use the blade to work the wax away from edges, where the stripping solution and mop have difficulty pulling off the finish. You may need to scrub the baseboard as well, if it has picked up wax residue. You can purchase a special baseboard stripping pad if you are using a floor machine.


Remove the stripping solution and finish with a wet vacuum or auto scrubber. Do this after the finish has been worked off but before the solution has dried. If you worked in the stripping solution with an auto scrubber, simply lower the squeegee attachment and pick it up again. Otherwise, you’ll need a wet vacuum to remove the solution. If a section begins to dry out, pour a little water from your clean water bucket to keep it wet.


Wash your floor using the clean mop and water bucket. Rinse several times to ensure all stripping solution is removed. You can add a stripping neutralizer to your water to ensure the next wax will adhere properly. If you don’t want to buy one, simply wash it thoroughly several times.

How Caring for a Waxed Floor?


Reapply wax to the floors regularly. Wooden floors should have an additional layer of wax added once every six to twelve months. Vinyl floors should be waxed every six months, as should sealed ceramic or stone floors. Don’t use a soaking mop, and never mop waxed hardwood. The wax seal is not watertight, so the water could damage the wood.


Wipe up spills with a damp paper towel instead. Vinyl and other non-wood surfaces can be cleaned with a damp mop, not a soaking one. This does not apply to wood treated with polyurethane, which can be mopped with a mop dampened by a mixture of one quart (1 liter) water and 1/4 cup (60 mL) vinegar.


Buff or polish the floor if the shine fades. Use a terry cloth or buffing pad to polish the floor if it begins to get dull. This shouldn’t be necessary for no-buff wax. Sand or scrub off part of the wax if it becomes yellowed or discolored. If you don’t want to do this manually, use a floor machine with a light scrubbing pad just strong enough to remove a small portion of the wax.


You should apply a new layer or two of wax after removing some to create a strong protective layer again. This should not be required for several years at least if your floor was waxed properly. Buff the floor if it the wax requires it. Many waxes are no-buff and will remain glossy with no further effort.


Others require polishing with a buffing pad or burnishing machine. If you don’t want to track down specialized equipment, simply use a clean, dry terry cloth towel to polish your floor with a circular motion. Tie the towel around a dry mop head and you don’t have to be on your hands and knees. A buffing pad can be attached under the brush of the floor machine and used to buff the floor.

How Using Wood Wax or Polish?

Apply an oil based polish. Use only mineral oil or lemon oil to polish the wood walls. Do not use food based oils like olive oil or coconut oil, as they will oxidize and start to smell over time. You can get mineral oil and lemon oil at your local hardware store or online. Apply the oil to the wood with a clean, dry cloth to remove dirt and give the wood a nice glow.


You can also buy an oil based polish that is made of only mineral oil online or at your local hardware store. Use a liquid wax. Wood wax is a good option for cleaning dirt and dust off the wood walls. It will also protect the wood and give it a nice sheen. You can buy wood wax in liquid form online or at your local hardware store. Use a clean microfiber pad or cloth to apply one coat of the wax over the wood walls. Apply the wax with the grain of the wood. It should dry quickly.


You can then apply another coat if you want to increase the sheen or glow of the wood. You may want to use a dry cloth to remove surface dirt or dust before you apply the liquid wax to the wood walls. Try a paste wax. Wood wax also comes in a paste, which you can apply directly to the wood walls. Paste waxes provide long lasting protection for wood.


It will leave a hard, shiny finish to the wood to protect it from dust and dirt. Look for paste wax online or at your local hardware store. Apply one coat of the paste wax to the wood walls using a clean, dry cloth. Always apply it with the grain of the wood. Then, apply another coat if you want a shinier finish to the wood.


Let the floor air dry. Stay off the floor until it’s completely dry. Most floors will air dry on their own. You do not need to wipe up liquid with a rag or towel. Some floors, however, should never have water sitting on them. If your floor’s manufacturer’s instructions indicate they should always be free of water, pat these floors dry with paper towels.

How to Clean Grout with Vinegar?


If the grout between your tiles has turned from white to brown, it’s ready to be cleaned. Fortunately, there are several homemade grout-cleaning solutions you can make with vinegar. Most of them involve baking soda, a compound which – when mixed with vinegar – creates a bubbly, fizzing reaction that’s perfect for cleaning grout. After applying your vinegar solution, use a scouring pad, a toothbrush, or some other cleaning implement to scrub your grout.


Apply vinegar to the grout. Use a vinegar-soaked cloth or a spray bottle filled with vinegar to coat the grout you wish to get clean. If you are trying to clean grout on a vertical surface, a spray bottle is probably your best bet. nAfter applying the vinegar, wait ten minutes before moving on to the next step. Always use distilled white vinegar or specialized cleaning vinegar to clean grout.


Scrub the grout. Ten minutes after applying the grout, use a toothbrush to scrub the grout. Use firm up-and-down motions to scrub the grout clean. Wipe the grout. Use a dry or damp rag to remove the loosened grout grime. Allow the area to dry, then evaluate it. If the grout still needs cleaning, try a different method.


Wipe the grout. Once you’ve loosened the grime and grit along your grout, it should wipe away with ease. Take a damp rag or paper towel and wipe it along the grout you’ve cleaned. Wipe the area along the edges of the grout, too, to soak up any of the lingering water/vinegar. If you want to give your floor an additional level of shine, mop the whole thing after you’re done


Make a citrus vinegar spray. Mix 3.5 cups (828 milliliters) hot water, ½ cup (170 grams) baking soda, 1/6 cup (40 milliliters) vinegar, and 1/3 cup (80 milliliters) lemon juice in a spray bottle. Aim the nozzle of the spray bottle at the grout you wish to clean. Spray the bottle so that the grout is evenly covered. After one hour, scrub the grout with the scouring side of a sponge to remove the dirt crusted into the grout.

How to Clean Bathroom Grout?

Grout is wonderful for keeping tiles and appliances in place and preventing water from getting where it shouldn’t be, but it can also be a pain to clean, and it requires time and effort to keep grout free of mold and mildew. Grout is porous, so not only does it stain easily, it can also trap dirt, grime, and soap scum. The important thing to remember when it comes to cleaning grout is that you should always start with the mildest cleaning product and only work your way up to harsher cleaners if necessary.


This may mean some extra time, but it could help preserve the life of your grout for another couple years, as some harsh cleaners can damage grout. There are quite a few products and methods you can try, but as always, the best way to keep grout clean is to prevent it from getting dirty or moldy in the first place.


You should never mix vinegar and hydrogen peroxide, so clean the area well and wait a couple days before trying this method. If the hydrogen peroxide doesn’t remove all the dirt and grime, it will at least improve the appearance of the grout by removing stains, and will kill any mold that’s present.


Give borax and lemon juice a try. In a small bowl, mix together ¼ cup (63 g) borax, ½ teaspoon (3 ml) lemon oil, and enough liquid soap (such as Castile soap) to make a paste. Use your toothbrush to scrub the paste into the grout, and then rinse with warm water.


Pour a small amount of grout colorant into a container. Dip a clean toothbrush or grout brush into the color and apply it to the grout using even, back and forth strokes. Remove the excess with a paper towel, and allow to dry as per the manufacturer’s instructions.

How Create a strong bond?


Since the surface of glass is very smooth, it’s important that the setting materials have a strong bond. Materials with a high polymer content have a high bond strength, ensuring that the glass maintains its spot in the installation.


Another installation concern is the glass-making method: small, boutique glass tile makers may not manufacture their products to meet industry standards due to surface treatments or tile backings. Metallic and painted backings will not bond well to cement-based mortars and may come loose. Similarly, mesh backing can trap water beneath the tile, weakening the bond or creating mold.


Make sure to create a mock-up to test the tile installation materials before proceeding with the full-scale project. Protect glass tile installations from temperature variance. Glass tile installations occasionally fail as a result of exposure to sunlight or other forms of heat.


Glass tile and cement setting materials expand and absorb heat at different rates, which can lead to cracks in the finished surface. Once again, the polymers in the mortar will help to absorb some movement, but silicone caulk should also be used to create movement joints that can handle the flexing tiles.

Tile nippers look and work like giant fingernail clippers, and are an essential tool for any tile job. Standard nippers will cut ceramic and porcelain tiles, but you may want to use specialty nippers for glass tiles or fragile stone tiles (like slate). Wear safety glasses so shards of tile don’t get into your eyes, and sturdy work gloves to protect your hands from sharp tile edges.

How Cutting Multiple Tiles before Toilet Installation?

Score the cut lines with a tile scribe. A tile scribe is a small, sharp hand tool that etches a cut line into the tile. This etching helps make sure the tile snaps where you want it to instead of breaking or cracking elsewhere. The scoring only needs to be 0.125 in (0.32 cm) or so deep.


You can get a tile scribe at any hardware store or online. Use tile nippers to clip away the excess tile. Think of tile nippers as industrial-strength fingernail clippers. Start at the corner of the tile that’s being cut away, and squeeze the handles together to make the top and bottom blades take small “bites” out of the tile. Start “nibbling” more carefully as you approach the scored line.


Standard tile nippers will work with practically every kind of tile, although some natural stone tiles (like slate) may be too fragile. Consult your tile supplier if needed. You can also use specialty tile nippers for glass tiles or other particular types. Be careful not to nip one of your fingers while you work. Wear work gloves to protect your hands from cut tile edges and safety glasses to protect your eyes from snipped shards of tile.


Make sure your cuts are correct by dry-fitting the tiles. Because the toilet base will cover the cut tile edge, your cuts don’t need to be perfect. However, take the time to dry-fit the tiles in place to make sure your cuts are generally accurate—ideally, no more than 0.5 in (1.3 cm) larger than the flange.


Use plastic spacers to account for your grout lines when dry-fitting the tiles. If you’re going to rest a removable toilet flange on top of the installed tiles, remember to remove it before dry-fitting (and later, when laying the tile!). If your dry-fit lines up properly, you’re ready to set these tiles in place in the same way you did the rest of the floor.