Posts

How to Change the Color of Grout?

Grout can easily become discolored and dingy over time – something that is displeasing to many people. Rather than suffering through dealing with unattractive dark lines between your tiles, you can take action to change the color of your grout. Although neither is especially timely, you can choose to stain your grout or to give it a deep-cleaning.

Seal the grout. Some grouts are a combination of grout/sealant, but typically you’ll have to apply a special oil-based sealant to finish up your grout. This is especially important for areas that come into frequent contact with water (such as in a bathroom or near a kitchen sink). Follow the directions that accompany your sealant of choice as you paint over the grout.

Finish up. When you’re happy with your newly cleaned (and colored!) grout, you can do a final wipe down to remove any leftover cleaner. It is good to apply a sealant to your grout once a year, so when applicable apply an oil-based sealant to protect your grout.

Rinse and dry each section immediately. As soon as you’re done washing with your solution, switch sponges. Repeat the same process with fresh water. Pat the area dry with a soft cloth or towel, replenishing them as needed.

Get rid of any set in stains. When you finish cleaning, look for any stains that did not come out with a routine cleaning. Use a butter knife to gently ply any set in gunk off the floor. If any residue is left behind after removing the gunk, wipe it away with your rag and cleaner. Never use anything sharper than a butter knife. Remember, abrasive cleaners can harm your floor.

How Cleaning Bathroom Grout With Stronger Products?


Try oxygen bleach products. This is another name for sodium percarbonate, which is a compound made of hydrogen peroxide and soda crystals.Brand-name products include Clorox, OxiClean, Oxi Magic, and Bio Kleen. Mix the product with water as per the manufacturer’s instructions. Apply to the affected area and let it sit for up to an hour before scrubbing and rinsing.


Be sure to use these products in a well-ventilated area, and avoid contact with your skin. Always wear gloves to use these products. Always spot test commercial products in a small area on your grout to make sure the product won’t discolor, erode, or damage your grout. Don’t use any sort of bleach product on colored grout.


Use a commercial grout cleaner and whitener. There are many cleaners out there that are designed specifically for grout, and most of them can be purchased at hardware stores. Be sure to always follow the manufacturer’s instructions for use, and follow all the safety precautions. Commercial grout cleaners include: Zep, Goo Gone Grout, Outrageous, Tilex Tile and Grout.


Beware of chemical combinations. In case you find one chemical hasn’t worked and you want to try another, be sure to wash the area and wait a couple days before trying something new. Just like hydrogen peroxide and vinegar can combine to form peracetic acid, so too can commercial cleansers mix to form poisonous gasses, caustic liquids, and noxious fumes.


Stain the grout as a last resort. For dirt and stains that just won’t come clean from your grout, there are colorants you can apply to cover the stains and make your grout look like new. The area should be nice and clean, but if not give it a once over with your favorite cleaner and let the area dry overnight.

How Cleaning Bathroom Grout With Kitchen Remedies?


Steam clean the grout. One effective and environmentally friendly way of cleaning grout is to attack it with a steam cleaner. Outfit your steam cleaner with a thin and pointed nozzle, and a brush attachment if it’s available. Aim the nozzle at the grout lines, apply continuous steam, and follow the grout lines with the steamer.


Even if the steam cleaner doesn’t get the grout perfectly clean, it will clean it somewhat, and help loosen the rest of the dirt and debris to make it easier to clean with other products. Attack it with baking soda and vinegar. Take two tablespoons (30 g) of baking soda and add enough water to make a thick paste.


Dip a clean toothbrush or grout brush into the paste, and then use the toothbrush to scrub the grout with the paste. For the best results, use a new toothbrush with hard bristles, and scrub the grout in a circular motion, rather than back and forth. When you have finished scrubbing the grout, use a spray bottle to spray the area with a half-and-half mixture of vinegar and water. Let it bubble for about half an hour.


Use the toothbrush to scrub the baking soda paste and vinegar into the grout again. Rinse the area with clean water. Try baking soda and water or vinegar and water. Make either mixture and scrub the solution into the grout with a small brush. For very tough stains you can also use hydrogen peroxide. If your grout is breaking off, the best solution is removing and replacing it.


Move on to baking soda and hydrogen peroxide. In case the baking soda and vinegar mixture didn’t to the trick, try hydrogen peroxide instead of vinegar. Make a thin paste with baking soda and hydrogen peroxide, and use the toothbrush to scrub the paste into the grout. Pour on some additional peroxide if necessary. Rinse with warm water when you’re finished.

How Using a Wet Saw Cut Tiles?

Choose a wet saw if you need to cut larger or thicker pieces of tile. Large tiles can be difficult to score deep enough to be snapped or nipped, but a wet saw can effectively cut through the thickest glass tile. Wet saws release a steady stream of water as the blade cuts to decrease friction and are more time-effective and have less of a chance of damaging glass tiles.


Wet saws allow you to cut squares out of larger pieces of tile quickly and evenly, but isn’t great for cutting curved or irregular shapes. You can rent wet saws from home improvement stores like Home Depot and Lowe’s for about $50 a day.


Use a glass tile blade on the wet saw to cut your tile. A glass diamond blade will create a smoother cut in the tile and ensure an even edge. Glass tile blades have a finer and softer blade, which means it will take longer to pass through the saw, but will result in a better edge on the glass tile pieces you cut.


Use a straightedge and washable marker to draw cutting guidelines. Washable markers are easy to clean up later, but will still draw clear lines for you to follow with your wet saw. Use a straight edge as a guide and form straight lines with your marker where you want to cut the glass tile. Make sure the lines are straight and even. You can always just wipe the marker away and form the lines again.


Put on rubber gloves for extra grip. Because the wet saw uses water to reduce friction and cool the blade, the glass tile could become slippery to hold with your hands. Use a pair of rubber gloves to increase your grip on the glass. Don’t use leather or fabric gloves because they’ll become soaked in water. Latex gloves work fine, too.

How Cutting Multiple Tiles before Toilet Installation?

Score the cut lines with a tile scribe. A tile scribe is a small, sharp hand tool that etches a cut line into the tile. This etching helps make sure the tile snaps where you want it to instead of breaking or cracking elsewhere. The scoring only needs to be 0.125 in (0.32 cm) or so deep.


You can get a tile scribe at any hardware store or online. Use tile nippers to clip away the excess tile. Think of tile nippers as industrial-strength fingernail clippers. Start at the corner of the tile that’s being cut away, and squeeze the handles together to make the top and bottom blades take small “bites” out of the tile. Start “nibbling” more carefully as you approach the scored line.


Standard tile nippers will work with practically every kind of tile, although some natural stone tiles (like slate) may be too fragile. Consult your tile supplier if needed. You can also use specialty tile nippers for glass tiles or other particular types. Be careful not to nip one of your fingers while you work. Wear work gloves to protect your hands from cut tile edges and safety glasses to protect your eyes from snipped shards of tile.


Make sure your cuts are correct by dry-fitting the tiles. Because the toilet base will cover the cut tile edge, your cuts don’t need to be perfect. However, take the time to dry-fit the tiles in place to make sure your cuts are generally accurate—ideally, no more than 0.5 in (1.3 cm) larger than the flange.


Use plastic spacers to account for your grout lines when dry-fitting the tiles. If you’re going to rest a removable toilet flange on top of the installed tiles, remember to remove it before dry-fitting (and later, when laying the tile!). If your dry-fit lines up properly, you’re ready to set these tiles in place in the same way you did the rest of the floor.
How Adding a Temporary Covering?

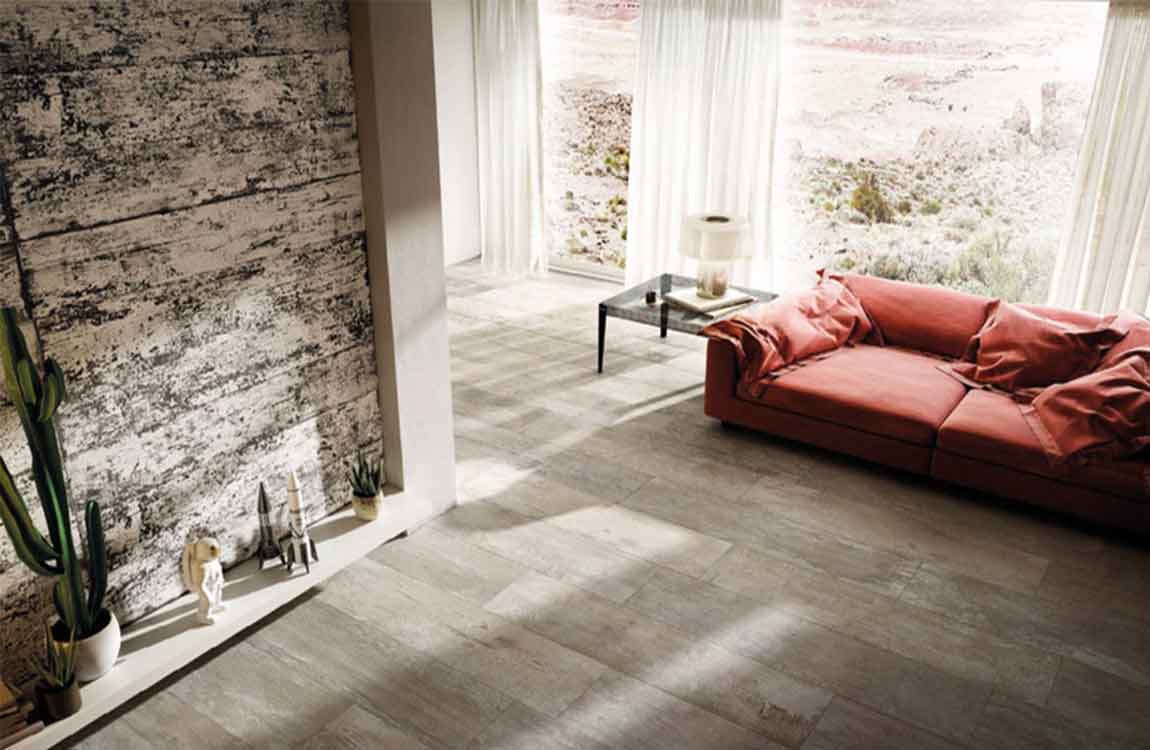
Lay down a large area rug to cover unsightly tile flooring. Measure the area that you want to cover, and find a large rug that will cover most of the flooring. Try to get as close as possible to the correct dimensions for the room to ensure that the tile is mostly covered. If you’re having trouble finding inexpensive rugs, shop at thrift stores, or purchase a variety of smaller rugs to layer them and cover the floor.

Remember to place a sticky mat under the rugs, since the fabric can sometimes slide over the tiles. You can find inexpensive sticky mats at most home improvement stores and supermarkets. If you like the original color of the tiles and want to give them a quick update, you can add decals that let the color of the tiles show through.

Stick vinyl decals over flooring or a backsplash for a fresh look. Purchase a large sheet of vinyl decals to add character to tile flooring or a backsplash. Make sure you measure the area that you want to cover, and be sure to buy enough decals to completely cover the area. When you’re ready to apply the decals, simply trim them to size, peel the backing off, stick them to the tiles, and smooth them with a credit card to remove air bubbles.

This is a great way to add a pattern to plain tiling without painting, and it’s easily removable when you want to change it up. All you have to do is peel off the decals to start over. Some decals have more “traditional” tile patterns, like mosaics or Tuscan tiles, while others are simple solid colors.

Use adhesive carpet tiles to conceal large areas of tiled floor. Measure the area that you want to cover, and visit a home improvement or flooring store to see what kind of carpeting they have in stock. Keep in mind that most carpet tiles cost about $1 for 1 foot (0.30 m) squared, so you can plan your budget accordingly. When you’re ready, peel off the backing and stick them to the tile.

How Dry-Fitting the Tiles?

Arrange the tiles outward from the center of the room. To get started, place a tile at each of the 4 corners where the wall lines intersect. Beginning at the center of the room rather than at the walls will prevent you from ending up with gaps or unsightly narrow tiles around the outer perimeter of the room. Symmetrical central tiles will also serve as an attractive focal point for the room.

Use spacers to separate each tile. After you lay down a tile, place a tile spacer at either end before putting down the next tile in the row. The spacers will ensure that your layout remains neat and even and that no 2 tiles are set too close together. Spacers also serve to show the minimum distance you’ll need to leave between each tile for your grout lines.

Tile spacers come in many different sizes. The amount of space you leave between tiles will depend on the look you’re trying to achieve, but 1⁄8 in (0.32 cm) spacers are standard for most flooring projects. Work your way toward the wall. Starting from the 4 central tiles, lay out the remaining tiles in a straight line until you reach the wall. Then, return to the center and work your way toward the opposite wall to form a single row.

Lay your tile in 2–3 ft (0.61–0.91 m) sections. The optimum size of each section will vary based on the dimensions of your tile. If you’re working with 12 in (30 cm) square tiles, your section groupings might be comprised of 2-3 tiles in each direction (for a total of 4-6 tiles per section).

If you need a visual aid to help you keep track of your sections, snap a series of chalk lines to clearly mark where each next group of tiles should go. Dry-fitting your tile in sections usually results in straighter, more precise grout lines. Be sure to complete 1 row before moving on to the next.

How Laying the Tiles?


Mark your tile layout on the substrate and mark out your first course carefully. If your shower enclosure walls are not perfectly square, or if you plan to install accent tiles, the layout of these tiles becomes increasingly important. Measure up from the bottom of the backer board the height of a tile minus 1/2″. This will give you a 1/2″ overlap over the tile lip on your shower pan.


Make sure that you allow room for the grout joints as well. Mark this with a sharpie or chalk and using a level, transfer the mark across the shower stall. This will be a guide for the top of the first row so that all tiles will be level. Only use dry tiles make sure that the lay out works as well.


Another way to plan out the first row of tiles is to measure the high part and low part of the shower pan. Make the cut spot on the low end a full tile, mark it, and then cut the tiles on the high side down to the level of the uncut tile on the low side. Keeping grout lines away from the inside corners of the enclosure can prevent the need for tiny tiles and poor grout joints. Plan accordingly and always make cuts tight on the inside corner.


Mix enough thin-set for the bottom row. You want your thin-set to be the consistency of peanut butter — not too thick or it will dry out and not too thin or you’ll have a hard time setting the mortar with strength and cleaning. Use an electric drill and a mortar mixing bit attached to your drill to mix your thin-set mortar. This will ensure even consistency and ultimately a better product. Let the mortar set for seven minutes and then mix it again.


Dampen the cement board with a sponge before applying the mortar. If you do not, the cement board will draw the moisture out of the thin-set too quickly, making for a brittle set that is susceptible to cracking.

How Preparing the Shower for Tiles?


Gut the shower stall down to the studs. You may need to remove the shower pan and ceiling, as well. Do not put down any plastic because this can trap moisture and lead to rotting. Instead, use a product that you can paint on to help prevent moisture.


Choose a vapor barrier to install and introduce according to manufacturer directions. If you fail to install a vapor barrier, you might grow mold and mildew as moisture from your shower escapes through the tiles and into walls. Improperly installed tile and grout can allow water vapor to pass into the space behind.


When installing a vapor barrier on an exterior wall, it may be helpful to seal a plastic vapor barrier to the concrete floor but not all the way up to the top of the ceiling. With insulation improperly installed, or in colder climates, there’s a chance that condensation that forms behind the vapor barrier will cause the framing members to rot. In order to avoid that possibility, install the vapor barrier with space to spare so that the gap behind the vapor barrier can breathe. Use a roll on product, such as Red Guard.


Wedi boards are another option some consider even better than cement board. If you choose a membranous barrier such as Trugard or Kerdi, you can install plain old drywall or you can just install a cement board instead.


Put up a sturdy cement board backer. Putting up cement board is just like putting up drywall. You cut it to fit using a grinder with a diamond bit, and then screw it to the studs. Leave a 1/8″ gap between panels and then a very small space between the shower pan and the bottom of the backer so that the two don’t squeak by rubbing together.

How Keeping the Porcelain Tiles Clean?

Sweep or vacuum the tiles at least twice a week. Maintain your porcelain tiles by getting into the habit of sweeping your tiles at least twice a week. Use a dry dust mop or a broom with soft, nylon bristles. Never use brushes with hard bristles or a broom with stiff bristles, as this can damage the tile.

You can also vacuum the wood tiles twice a week to remove any dirt or debris. Use a flexible, multi-surface vacuum cleaner to suck up the excess dirt. Be sure to vacuum in corners and areas where the subway tiles touch the wall. These spaces are often forgotten,leading to a build up of excess grime.

Clean up any spills right away. If there are any spills on the porcelain tile, you should make sure you wipe them up right away. Use a microfiber cloth to clean up spills with hot water. You may also use a water and vinegar solution to clean up big spills on the wall tile. Never use steel wool on the tiles to clean up spills or to remove stains. The steel wool can cause rust stains to develop in the grout between the tiles.

Do not use bleach or ammonia on the tiles. Make sure you do not use cleaning products that contain bleach or ammonia on the tiles, as this can stain the grout and damage the coloring of the porcelain tiles. You should also avoid cleaners that contain coloring or dye, as this can stain the elegant tiles. Stay away from oil-based wax cleaners and detergents, as these can also damage your porcelain tiles.

Use rugs and floor mats. You can protect your porcelain tile floors by putting down floor mats and rugs. Rugs and floor mats are also good for keeping dirt and debris off the floor. You should also make sure there are felt pads on the bottom of the legs of any furniture. This will ensure the furniture does not scratch or damage the porcelain tiles.