Posts

From China to Latin America: A Green-Compliant One-Stop Building Materials Supplier’s Rise to Industry Leader

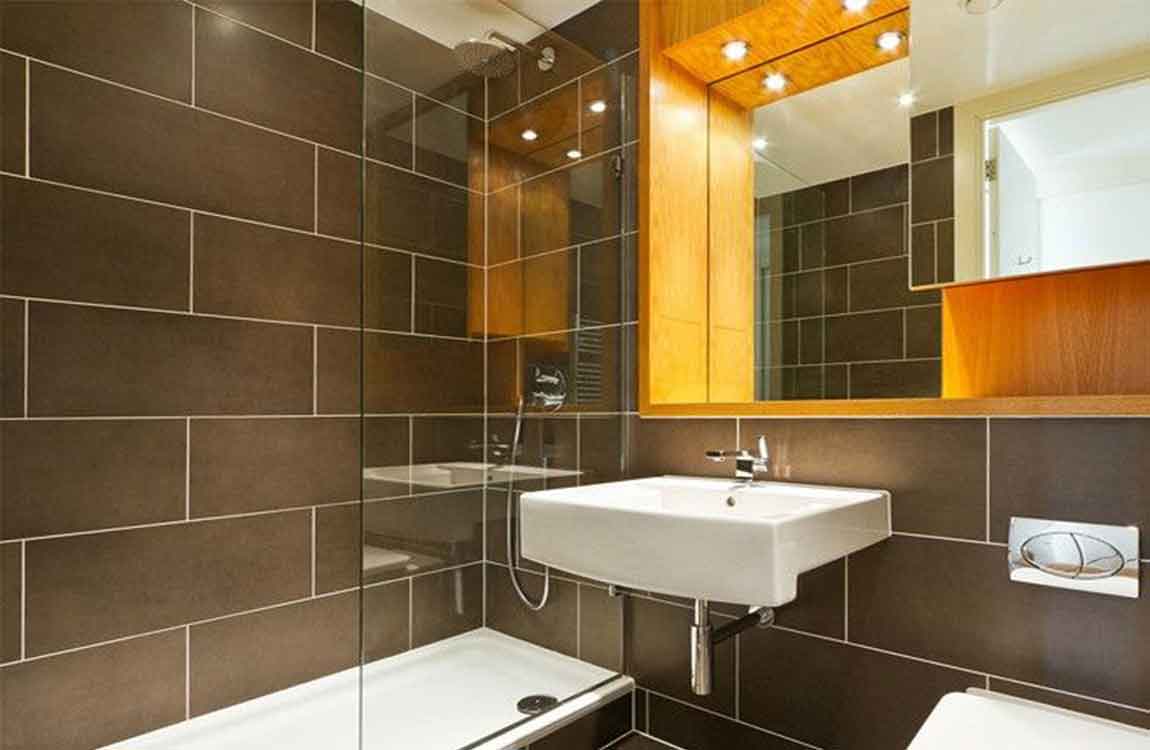
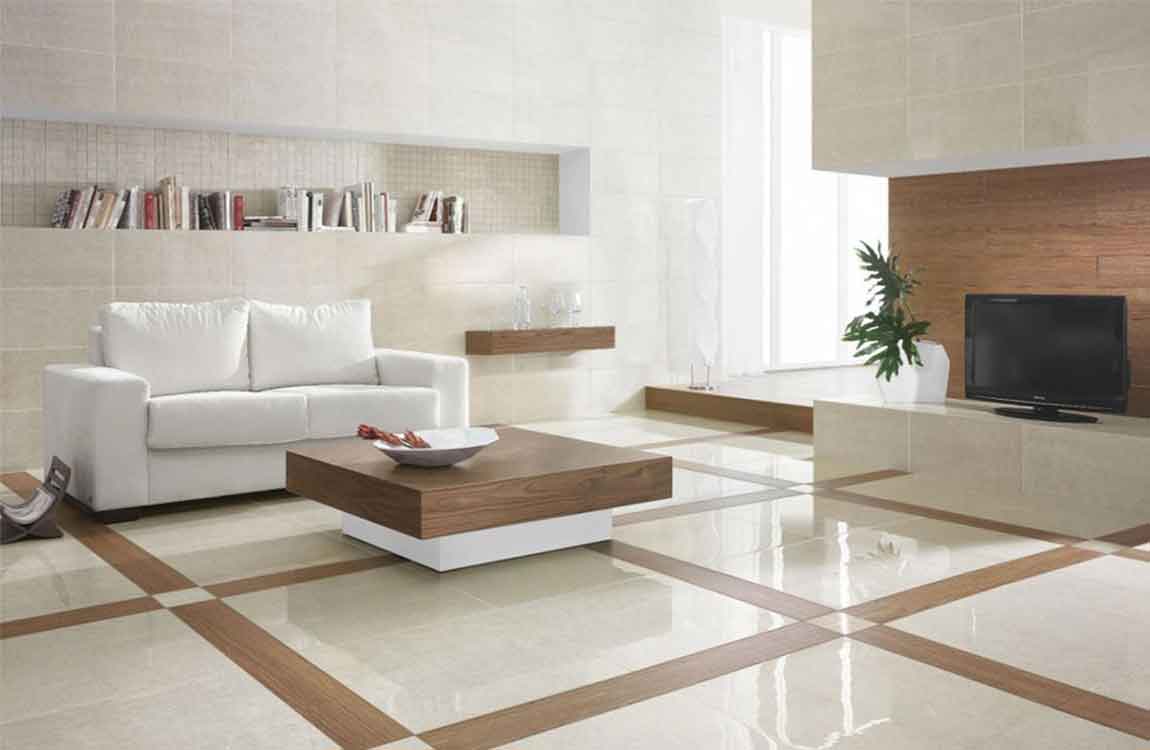
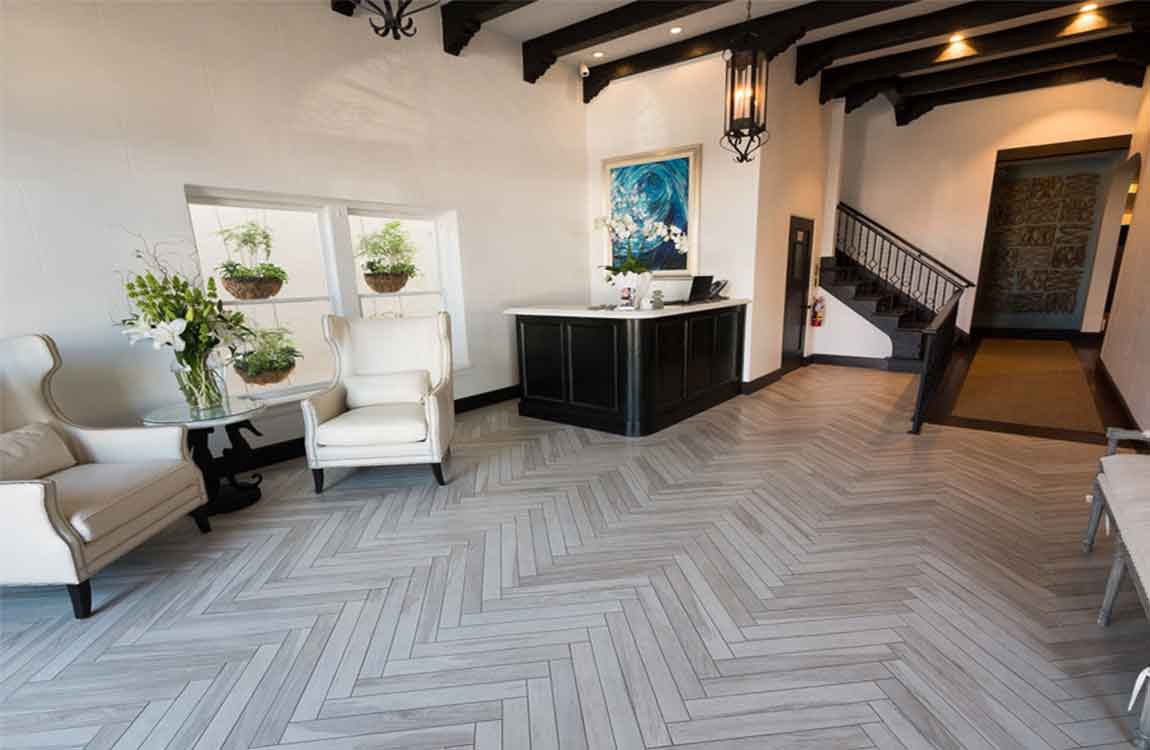
Positioned as Latin America’s leading green-compliant one-stop building materials solution provider, our company has spent over a decade transforming from a Chinese exporter into a regional benchmark enterprise. We deliver integrated solutions combining project-based packaging, rapid response, and full-category consolidation — creating long-term value for customers across the Americas. Our product portfolio includes ceramic tiles, porcelain tiles, floor tiles, bathroom vanities, sintered stone, flexible stone veneer, WPC decking, and PVC wall panels.

Our Service Footprint

Our market coverage spans 70% of Central and South America, complemented by a growing presence in Africa, Central Asia, and the Middle East. We serve large wholesalers, retail chains, project contractors, small B2B buyers, and design studios — each with unique requirements demanding tailored solutions.

Our product system encompasses green, intelligent, and design-driven materials. From ceramic tiles and porcelain tiles for residential and commercial flooring to sintered stone and large slab countertops for kitchen surfaces; from bathroom vanities, one-piece toilets, and LED mirrors combining water efficiency with contemporary design to flexible stone and bendable stone veneer enabling curved facade innovations. Our WPC decking, WPC doors, and outdoor flooring deliver sustainable, low-maintenance outdoor solutions, while PVC wall panels and waterproof wall panels provide moisture-resistant, low-VOC alternatives for wet areas.

Three Core Differentiators

One-Stop Solution Provider. We are not merely a supplier — we are a solution enabler. Clients source their entire material requirement from a single partner, reducing procurement complexity and supplier management costs. From floor tiles to sintered stone to WPC decking, our full-category matrix ensures consistency in quality and delivery.

Panama-Based Localization. Our strategic Panama headquarters enables “same-day inquiry, same-day response” service. We understand each market’s regulations, from Brazil’s ABNT to Mexico’s NOM, with Spanish and Portuguese documentation and responsive technical support.

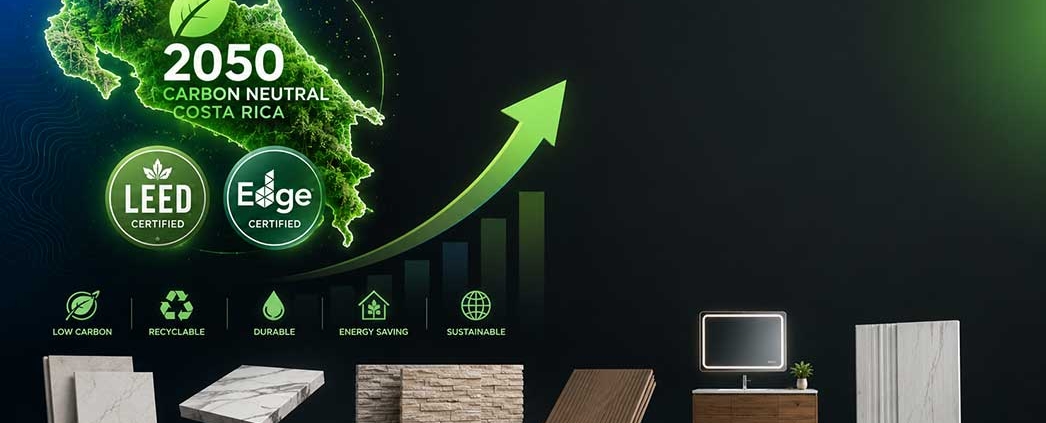
Green Compliance Leadership. Our products are pre-qualified for LEED, EDGE, and AQUA-HQE requirements. From low-emission PVC wall panels to recycled-content porcelain tiles and responsibly sourced sintered stone, we guide clients through the complex compliance landscape.

Creating Long-Term Value

For wholesalers, we consolidate multiple categories — from ceramic tiles and bathroom vanities to WPC decking and waterproof wall panels — simplifying procurement and reducing overhead. For contractors, our engineering packaging ensures on-time delivery of coordinated material sets. For design studios, our green-compliant, design-forward products — including flexible stone veneer and LED mirrors — enable sustainability goals without compromising aesthetics. We provide regulatory guidance, certification documentation, and technical training that help customers reduce costs, ensure compliance, and upgrade quality.

Looking Ahead

The Latin America green building materials market, valued at US$24.9 billion in 2025, is projected to double to US$49.8 billion by 2034. As a leading one-stop building materials supplier to Latin America, we are committed to deepening our presence, expanding our portfolio, and strengthening our green compliance capabilities. For suppliers of porcelain tiles, sintered stone countertops, WPC decking, bathroom vanities, flexible stone panels, and PVC wall panels, the region offers unparalleled growth opportunities — and we remain the partner of choice.

Brazil Green Building Materials Market 2026: COP30 Host Drives Demand for Tiles, Sintered Stone, WPC Decking & More

As host of COP30 in 2025, Brazil has set a global benchmark in green building. São Paulo now ranks 12th worldwide for sustainability‑certified buildings, with 71% of luxury developments holding a green seal – surpassing Miami (66%), Los Angeles (65%), and New York (61%). Brazil’s green building practices are reshaping procurement standards across the entire Latin American building materials market, creating unprecedented opportunities for suppliers of ceramic tiles, porcelain tiles, floor tiles, bathroom vanities, sintered stone, flexible stone veneer, WPC decking, and waterproof wall panels.

Brazil’s Green Building Policy Framework

Brazil has built a comprehensive regulatory system to drive sustainable construction. The ABNT NBR 15575 standard defines performance requirements for safety, durability, and thermal efficiency, while NBR 15220 and NBR 16401 regulate building thermal performance and HVAC systems. From 2027, all federal government buildings must achieve the highest ENCE energy efficiency rating (level A), spurring demand for insulation, high‑performance glazing, and efficient fixtures.
The country leads Latin America with over 1,000 LEED‑certified projects, alongside widespread adoption of AQUA‑HQE and EDGE certifications. In a bold move, Rio de Janeiro’s INEA Resolution No. 318/2025 allows companies adopting ESG standards to receive up to six‑year extensions on environmental licenses – a powerful financial incentive that accelerates green material adoption across all construction segments.

Market Opportunities for Green Building Materials

Demand for sustainable materials is expanding rapidly from public works into commercial and residential construction, creating substantial opportunities across multiple product categories.
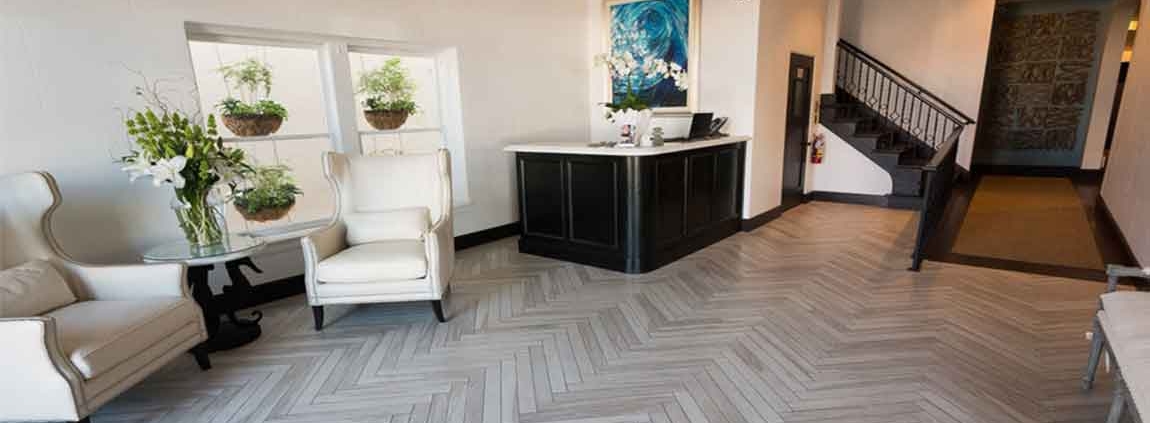
Ceramic and porcelain tiles are experiencing strong demand, driven by Brazil’s booming residential and hospitality sectors. As a leading floor tiles supplier to Latin America, companies that offer eco‑friendly production processes and recycled content are well‑positioned to capture market share. The shift toward larger‑format porcelain tiles aligns with contemporary architectural trends favoring seamless, minimalist interiors.
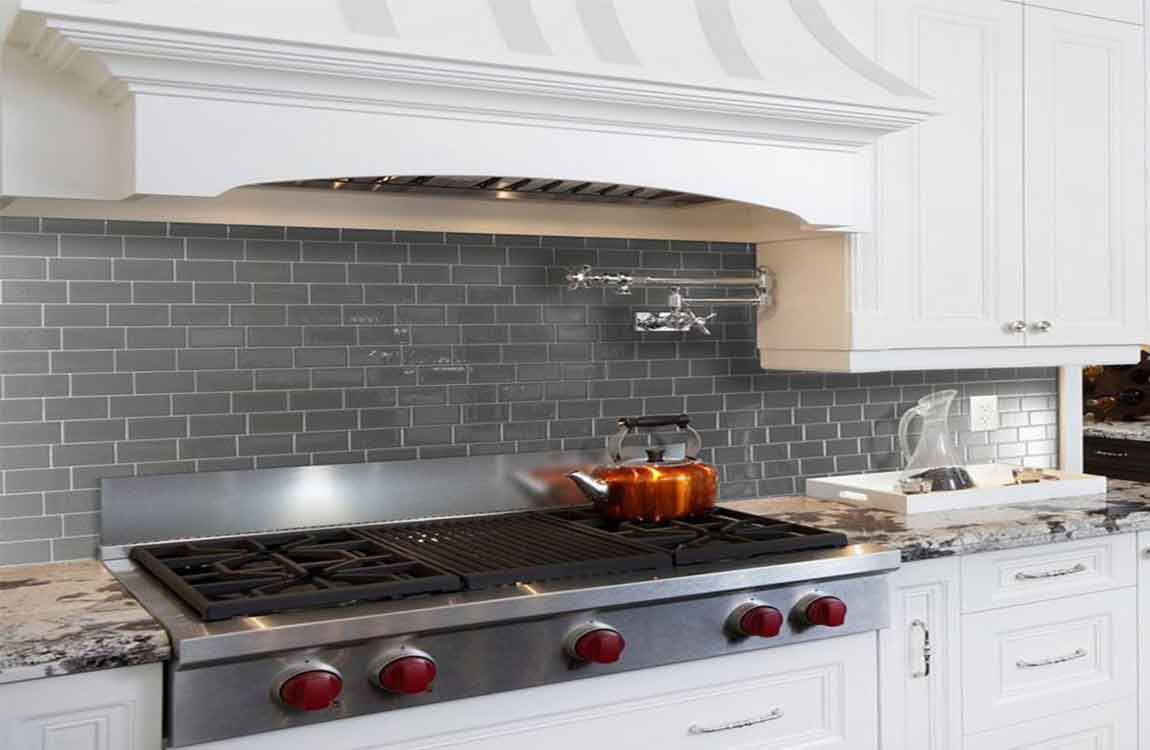
Sintered stone is gaining significant traction for kitchen countertops and large‑format wall cladding. Architects and developers are increasingly specifying sintered stone slabs for their durability, heat resistance, and low maintenance – qualities that make them ideal for both residential kitchens and high‑traffic commercial spaces. As a sintered stone supplier to Brazil, manufacturers offering large slab countertops in varied finishes are seeing growing order volumes.
Flexible stone veneer and bendable stone products are emerging as preferred solutions for curved facades and complex architectural surfaces. As green building certifications reward design innovation, the demand for flexible stone panels is rising across Brazil’s high‑end commercial and institutional projects.
The outdoor living trend is fueling demand for WPC decking, WPC doors, and other wood‑plastic composite products. As a WPC decking supplier to Latin America, manufacturers offering weather‑resistant, low‑maintenance outdoor flooring solutions are finding strong uptake in resort developments, residential projects, and hospitality spaces.
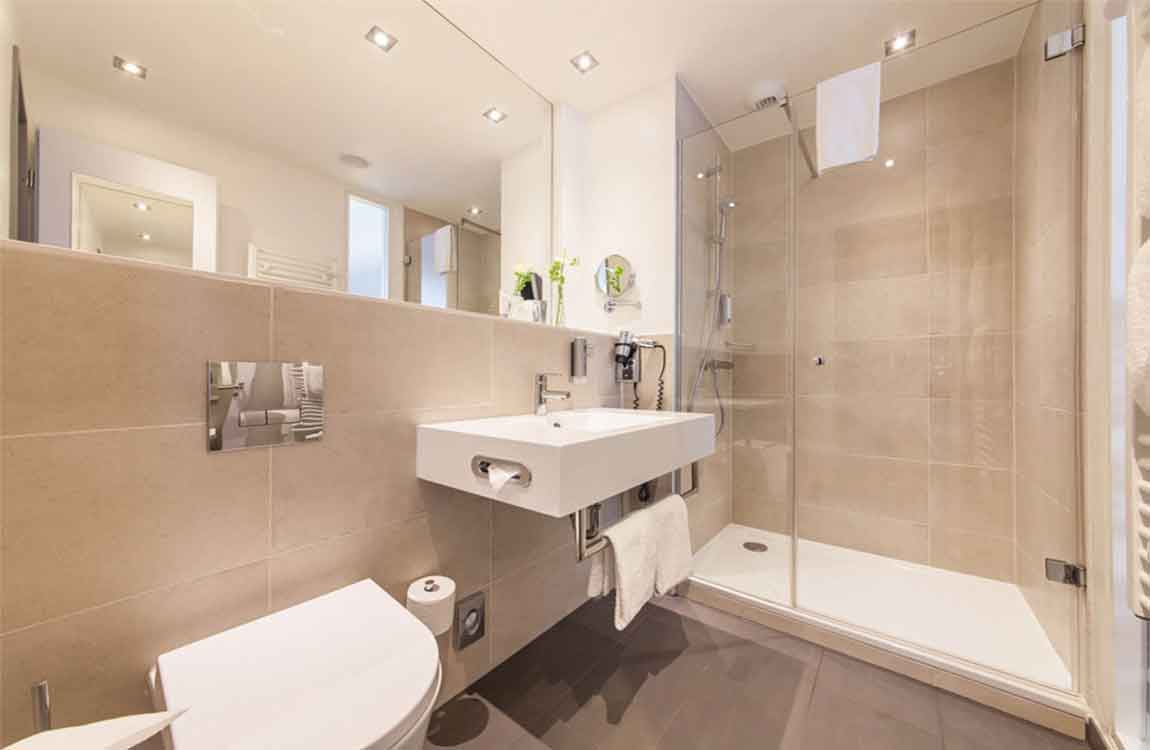
Bathroom vanities, one‑piece toilets, and LED mirrors are in high demand as Brazilian consumers increasingly prioritize design, water efficiency, and smart features. The growing middle class and rising standards in residential construction are creating a vibrant market for stylish, water‑saving bathroom solutions.
PVC wall panels and waterproof wall panels are rapidly replacing traditional materials in wet areas such as bathrooms, kitchens, and laundry rooms. As a green panels supplier to South America, companies offering moisture‑resistant, easy‑to‑install, and low‑VOC wall cladding solutions are gaining ground in both residential and commercial segments.
Across all these segments, the shift from voluntary preference to mandatory compliance is opening substantial import substitution and market expansion opportunities.

What This Means for Building Material Suppliers

To succeed in Brazil’s largest economy, compliance capability is the new competitive edge. Suppliers must first document alignment with ABNT performance standards and understand how their products contribute to LEED, AQUA‑HQE, or EDGE certification credits. Second, they need to stay ahead of evolving energy and environmental regulations. Finally, building localized technical support – including Portuguese‑language documentation and responsive customer service – is critical for earning trust with Brazilian developers and contractors.
For suppliers of ceramic tiles, porcelain tiles, floor tiles, bathroom vanities, sintered stone, flexible stone, WPC decking, PVC wall panels, and waterproof wall panels, the Brazilian market offers a rare convergence of regulatory tailwinds and consumer demand. Those who invest in product innovation, green certification, and local partnerships will capture significant share in this dynamic and fast‑growing market.
As COP30 puts Brazil’s sustainability efforts in the global spotlight, the green building materials market is entering a decade of structural growth. From porcelain tiles and sintered stone countertops to flexible stone veneer and WPC outdoor flooring, every product category presents substantial opportunities for forward‑thinking suppliers. Companies that invest in regulatory compliance, product innovation, and local presence will capture significant share in this dynamic and fast‑growing market.

How Using Soap and Water?


Clean off any debris first. You don’t want to scrub leaves or dirt into the stone if you can help it. Sweep the area with a broom or wipe it down with a clean cloth to get it ready for scrubbing. Mix dish soap and water in a bucket. Pour in 1⁄2 cup (120 mL) or so of dish soap, then fill up the rest of the bucket with water.


Slosh it around a little to mix the soap into the water. You just need enough dish soap to make the water sudsy. Scrub the area with a scrubbing broom or brush. Dip the brush or broom into the mixture, getting it thoroughly wet. Scrub the stone in a circular motion, making sure you scrub all of the tiles thoroughly.


Dip the brush back into the mixture as it gets grimy. If you need to, wash the brush or broom out with a hose or in the sink. On stubborn areas, you can try a solution of half water, half vinegar or lemon juice. Rinse off inside areas with clean water. Once you’ve scrubbed down the whole area, dump out your bucket and fill it with clean water.


Rinse out your brush or broom, then go over the tile or counter to rinse the soap off. On a counter, you can also use a clean cloth to rinse it off. Spray outside areas with a small nozzle to get off dirt and caked-on grime. Attach a small sidewalk sweeper nozzle to the end of your hose.


Turn the hose on full blast and run the thin stream of water over your window or door features or patio tile. Rinse all the soap and dirt off until the area is completely clean. You can find these nozzles at your home improvement store. You can also use a power washer, but it can scour the stone if you’re not careful.

How Avoiding Damage to Your Marble Tiles?


Test poultice and cleaner before using. Pick a hidden or inconspicuous spot on the marble tiles and do a test clean. This is important, as some products may etch or discolor marble tiles. In the end, it’s better to perform a test than to ruin your entire marble tiles floor or tiles.


Wait at least 24 hours after testing. This will give you enough time to see if the product has harmed the marble tiles. Consider testing poultice or other cleaning products underneath the granite where it overhangs a cabinet. Avoid acidic cleaners and strong chemicals.


There are a wide variety of household products that could damage your marble tiles simply by making contact. As a result, you need to avoid these products. They include: Vinegar, Ammonia, Hydrogen peroxide, Lemon, orange, or other citrus cleaners, Cleaners that are acidic.


Hire a professional to seal your marble tiles regularly. While sealing your marble tiles won’t protect it completely from staining, it will decrease the likelihood of some staining. As a result, you should have your Carrara marble tiles sealed when installed and resealed regularly.


You may need to reseal your marble tiles after three to five years. Polished Carrara marble tiles may not need to be sealed. Honed Carrara marble tiles should always be sealed. If it is not sealed, it will absorb any liquids that are spilled on it. Reapplying the poultice will very likely lighten or remove the stain that remained after you first applied it.

How Doing General Cleaning and Polishing?

Wipe marble tiles surfaces with a wet cloth. Use only warm tap water, as many household cleaners are too harsh for marble tiles counters. Wipe the length of the counter with a wet cloth. Microfiber cloths are best for this if you have them, they’ll give the counter a better scrub without needing to use a household cleaner. If you need to clean your counter more thoroughly, you can use commercial cleaners specifically designed for marble tiles.


For marble tiles floors, passing a dust mop on the surface regularly should be enough for regular cleaning. However, if the floor is dirty and requires some extra cleaning, add a couple of drops of dish soap to a bucket of water and use a microfiber head mop to clean the floor with this solution. Dry the floor thoroughly after cleaning it. This kind of cleaning should be done daily to clear crumbs or any dust that may have accumulated on the counter, it won’t clean serious stains.


Wipe tiles dry with a separate cloth. Don’t let the marble tiles just air dry, since marble tiles is easily marked by water spots. Use a microfiber cloth to wipe tiles until they’re dry. Spread a baking soda mixture over the marble tiles polish it. Mix three tablespoons (44ml) of baking soda with one quart (946ml) of water. Use a shammy to spread this mixture over your marble tiles surface.


Let the mixture sit on your marble tiles for a few hours before wiping it away with a wet cloth. Sprinkle crushed chalk over your marble tiles to polish it further. For best results, you’ll want to use a box of white chalk and use a mortar and pestle to crush it into fine dust. Use a shammy to wipe the counter in circles, buffing it and bringing out the shine.


Wipe the chalk dust away with a dry cloth after buffing it. Remove the painter’s tape after applying the silicone adhesive and before it dries. Start removing each piece of tape immediately after applying your adhesive beads. Either remove your tape after each bead or all at once after applying all of the beads.
How Removing Stains with a Poultice?


Mix paper towel pieces, ammonia, and hydrogen peroxide in a bowl. Rip up a couple sheets of paper towels and place them in a bowl. Note that the amount of paper towel you use depends on the size of the stain you’re trying to remove. Pour a few drops of ammonia in the bowl, and enough hydrogen peroxide to completely soak the paper towel chunks.


When handling ammonia, you should wear gloves to avoid skin irritation and burns. If the stain you’re trying to remove is quite large, you may want to fold up a paper towel instead. Attempt this method if you’re dealing with old or tenacious stains that can’t be removed with more conventional means.


Place the paper towel poultice over the stain. Pick the saturated chunks out of the bowl and place them over the stain. Be careful not to apply too much pressure, or the hydrogen peroxide and ammonia might leak out over your marble tiles. If you’re dealing with a vertical surface, the paper towel chunks should be wet enough to just stick on.


Seal the poultice with plastic wrap. Stretch a length of plastic wrap over the poultice and stain. Apply pressure to its sides, so that it completely seals the poultice, then use clear adhesive tape to secure the plastic wrap. Use a toothpick to poke a couple of holes in the plastic wrap to allow airflow. Let the poultice sit for two to three days.


Remove the plastic wrap and wash the area with warm water. You should be able to lift the plastic wrap easily with just your fingers. Pick the paper towel poultice off of your surface and throw the chunks away. Then, dampen a cloth with warm water and wipe the area clean. After washing the marble tiles, use a dry cloth or paper towel to dry the area.

How Doing Daily Cleanup of Marble Tiles?

Wet the surface of the tiles. Run a clean, damp cloth over the surface of the cultured marble tiles to slightly wet it. This helps you avoid damaging the glaze that gives it its shine when you apply the soap or cleaner. If the surface already has lingering water, such as from a shower, you don’t need to add more.


Apply a mild soap or all purpose cleaner to the surface. You can spray the soap or cleaner directly onto your cultured marble tiles, or you can dampen a clean towel and wipe it over the surface. Choose a water-based cleaner with a neutral pH. It’s the safest option for cleaning your cultured marble tiles without damaging the glaze or scratching the surface.


Wipe the surface of the cultured marble tiles with the rag. Make circular movements as you wipe away the soap or cleaner. If necessary, apply more soap or cleaner to the cultured marble tiles. Continue wiping with your cloth until the surface is dry. Use a soft cloth to avoid scratching or damaging the surface. Don’t use abrasive sponges or cloths.


If your cloth is very wet, switch to a clean, dry cloth to remove the remaining cleanser. Avoid using harsh chemicals, which can damage the surface. Harsh chemicals can damage the glaze on your cultured marble tiles, making it appear dull. These cleaners can also cause chemical scuffs and scratches on your cultured marble tiles. Stick to mild soaps and cleaners.


Rinse away the cleaning agent and polish the marble tiles, if desired. Fill your cup with cold water again. Pour it on the cleaned portion of your marble tiles and wipe up excess liquid and remaining dirtiness with a clean, soft, dry rag. After this, your counter should be clean. This method will remove dirt and debris but not grease.

How to Select Wood Flooring


If you choose it right, your wood flooring will last you for years to come. Decorating your home will be a lot easier as well, since beautiful floors make for an excellent base for truly outstanding interior design. By learning how to decide between different types of wood flooring and how to adjust the final touches to match your decor, make sure you choose the best option for your home.


Look for labels on the nail slots in each panel. These slots are often marked with letters to help installers line up rows of panels properly. The vinyl panels are pretty thin, so don’t put the nails in too tightly. Pound the nails in so they’re about even with the upper lip of each panel. That way, the panels can expand and contract as the weather changes.


Attach a top strip to prevent water from seeping behind the vinyl. Use a snap-lock tool to punch a hole every 16 in (41 cm) over the upper furring strip. Set a vinyl strip or J-channel over the strip. Grip the strip between tin snips to guide it onto the vinyl panels. Secure it in place with more galvanized siding nails.


These are the only nails visible in the siding. Consider adding some primer and then painting over them with water-resistant latex paint. Keep the layer of mortar the same depth throughout the wall so the stone veneer fits evenly on the wall. Consider scratching the mortar with a scarifier, a metal rake, or another tool to improve the finished bonding.


Arrange the stone panels on the ground in front of the wall. The panels fit together like puzzle pieces, but you have to assemble them first to ensure they go together. Spread them out face down on the ground and push the pieces as close together as possible to eliminate gaps. Create the finished pattern you want your wall to have.

The Knowledge of Tile Wood Glues


Wipe away the excess glue. Use a damp rag to blot at the glue squeezing up through the cracks in the newly-repaired gap, then go over the seam until no residue remains. Any adhesive left behind by mistake could dry to a rough texture underfoot or produce mild discoloration in the laminate.


If you used caulk or wood putty to fill the gap, you may need to sand down the excess material once it has had time to dry. For the smoothest finish, use 180-grit sandpaper or higher. Most wood glues dry clear, which means they won’t be visible in the seam between the two planks.


If there are a large number of patches on your floor, or there’s a noticeable difference in level of sheen, you might need to re-varnish the entire floor. Wipe down tiles. After the grout has completely dried, clean it off again with a dry cloth. Seal your tiles. If you want, you can apply a grout sealant to help protect your tiles.


Add a small line of silicone caulk to the bottom edge of your tile to seal out water and prevent mildew growth. Sprinkle over a little turpentine and white spirit. This will create patchy streaks on the dark paint of the squares. Leave the dark squares to dry. Remove the paper from the border. Paint entirely in black paint. While it is still wet, use a paint cloth to wipe turpentine in it here and there, to create a mottled effect.


Don’t do all of the border, just parts to give the effect of old marbling. Use a fine brush to add very thin faux white lines to the border. Only do this part once the paint has dried. Remove the paper from the entire floor. Seal the floor with five thin coats of a low-gloss polyurethane varnish. Allow each layer to dry before adding the next.

The Knowledge of Tile Mist and Dry Cement


Do any additional touch-ups required. Stand back and admire your work; it should appear as a marbled black and white checkered floor. Decorate your painted surface. Once your painted concrete floor has dried you can add your own personal touch. Apply a stencil design to your cement floor and paint on your desired pattern or style.


You can create your own stencil. Or you can check with your local paint store for stencils and designs to apply to your flooring. Have a helper on hand to hold the boards in place while you attach them to the walls. Spray another small section of the wall, completely soaking it before applying a layer of cement. Smooth out the cement before moving onto the next portion.


Keep doing this until your wall is coated in a single, perfect layer of fresh cement. If you make a mistake, scrape off the cement right away with a trowel or another tool. Cement is much easier to take care of before it hardens! Mist and dry the cement for 3 days. Get a big misting bottle and fill it with water.


Dampen the concrete twice a day for 3 days straight to ensure it cures correctly. After that, your wall is done and you can enjoy the strong but smooth finish the cement gives it. Cement can be painted over by coating it with a concrete primer. Another option is to mix colored concrete pigment into your wheelbarrow of wet cement to give it some color.


Add the stucco to the top of the wall, then spread it from left to right, repeating this as needed to finish the layer. The scratch coat is like a second base for the outer layer of stucco, so don’t skip it. Applying a large amount of stucco all at once is a recipe for an unappealing finish.