Posts

How to Wash Marble Floors?

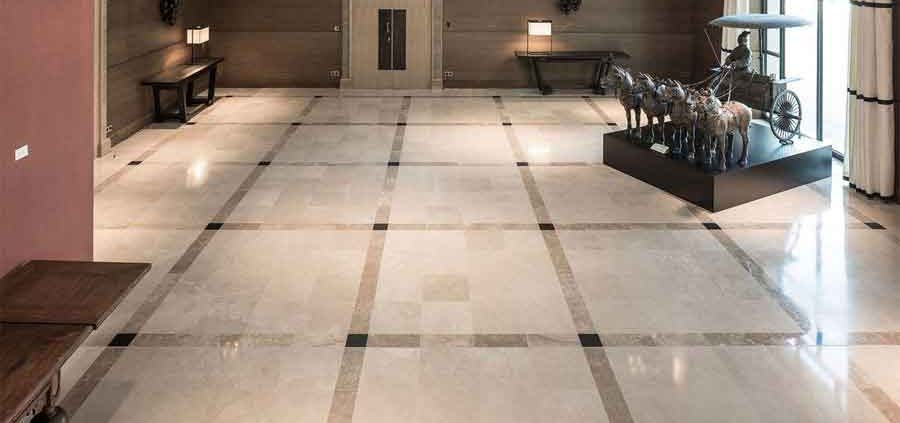
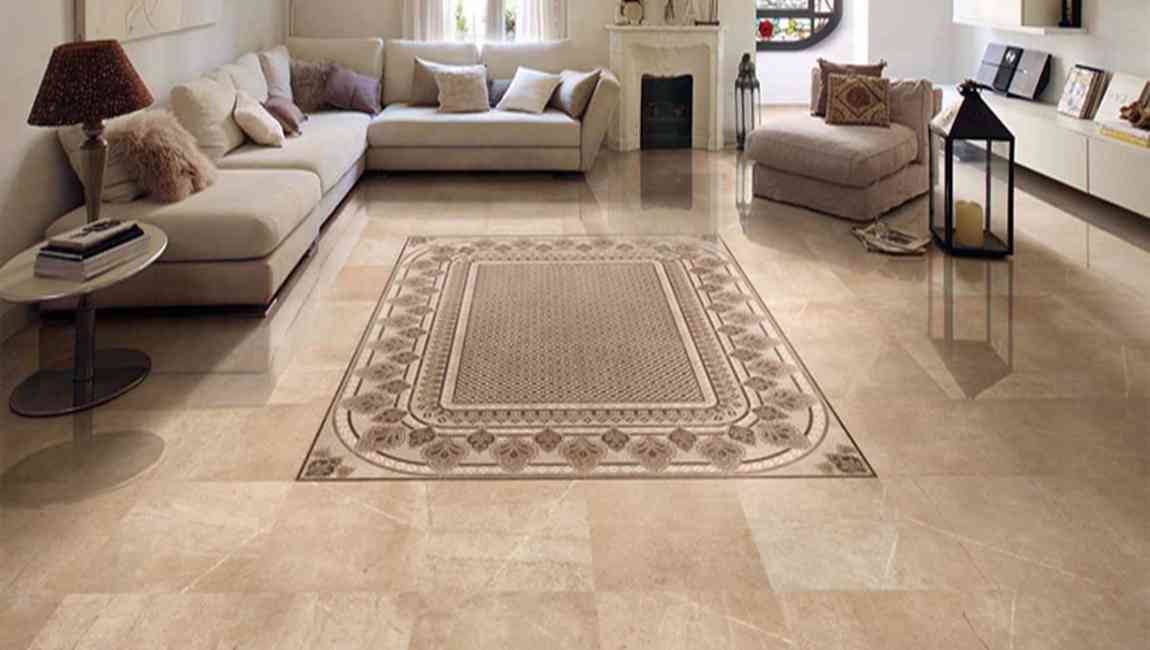
Marble is a somewhat soft and porous stone that needs to be cleaned with care. Due to the traffic they get, marble floors, especially, need extra care. There are, thankfully, several ways to safely clean marble floors. By using appropriate cleaning products and avoiding things that could damage your floor, you’ll be better prepared to wash marble floors.


Mop the floor again with clean water. After you’ve mopped your floor with a detergent solution, you should mop it again with cool clean water. By mopping it again, you’ll help pick up any dirt or debris that remains on the floor. In addition, you’ll remove any suds that remain on the floor.


Change your water frequently. When mopping your floors, you need to make sure you change the cleaning solution or water often. If you don’t, your floor might become streaky or could be scratched by debris in the mopping water. If your water appears brown or you see it full of dirt, dump it. Refill it with new water (and soap, if you want).


Use a soft towel to dry the floor. Since marble is relatively porous, it’s important to sop up as much of your cleaning solution or water as you possibly can. If you don’t, the solution could leech into the marble and discolor it. Switch out wet and dirty towels as needed.


Sweep and mop your floors regularly. Regularly removing dirt and debris from your marble floors will help prevent future scratching and scuffing. How often you clean your floors will depend on how frequently they get dirty. Aim to remove debris as you notice it. For example, you have children or pets that easily track in dirt, you may need to sweep your floor a few times a week as opposed to once a week.

How Waxing Your Floor?


You can use an auto scrubber or floor machine for this step as well, as long as you change the pad beforehand. Don’t use the same pad you used to apply or wipe up the stripping solution. Wash all tools used. Thoroughly clean any tools used, including the interior of machinery hoses and tanks. If left uncleaned, the stripping solution will dry into a hardened mess and ruin your tools.


Let your floor dry completely. Don’t move on to waxing your floor until it is completely dry, or the wax may not attach properly. You can put a fan in the room to hasten the drying process. Apply wax to your mop. Immerse a sponge mop into the wax, or pour some wax onto the upper side of a flat wax applicator mop.


If your mop is dripping, you should press it into the wringer portion of the mop bucket or press it against the sides of the bucket. Don’t actually wring your mop; the goal is to make it damp with wax, not dry or dripping. Apply the wax to one small section of floor at a time. Start at the opposite end of the room from the door so you don’t have to cross the waxed portion to leave the room.


If you try to wax too large an area at once, you are more likely to miss spots or apply the wax unevenly. If your first layer is too thick, the whole process could fail to set properly. Be careful not to drip excess wax onto the floor, and only use a damp,not soaked mop. Once the floor in one section is evenly covered, mop over it with broad strokes in the same direction to create an even appearance. Now you can move on to the next section.


Wait for it to dry completely. This should take about half an hour, but could be longer in areas with high humidity. After ten minutes of natural drying, you can point a fan into the room to make it dry faster, but do not point it directly at the waxed floor. This could interfere with the adhesive. Read the label of your floor wax for more accurate estimate of drying time.

How To Pave The Floor Tile More Beautiful And Practical?

1.Bedding before the notice of floor tiles:
(1)the shop must be checked before the product, see the product packaging, qualified tiles are mostly use cardboard boxes for packaging floor tiles. The manufacturer’s name, product name, trademark, specification, size, grade, weight, color number and quantity shall be printed on the package. Avoid buying floor tiles that are inferior or inappropriate.
(2)floor tiles in use before soaking half a day, until the floor tiles are not bubbling before they can.


2.The process for floor tile:
(1)floor brick, bedding is the most important to have totally different tile joints, namely gap horizontal and vertical direction are on the straight, let new bricks as before on the wall of the same level. Otherwise, cracks appear between the bricks and bricks, which is not only beautiful, but also affects the actual use of the floor tiles.
(2)in the bedding floor tiles to knock a knock, listen to the sound to identify whether the cement is not real enough, hear gaps, then rework immediately.


3.When the floor tile is finished, cover the brick face with cardboard, etc., and walk on the brick face at least 24 hours later.

Related Steps Of Tile Anti-Slip Treatment

Ceramic tile is an indispensable part of our home decoration, it is also very interesting in anti-skid performance.So what are the methods of tile anti-slip treatment?Now let’s take a look at the relevant contents of tile anti-slip processing.


Related steps of tiling anti-slip processing:
1.In order to ensure better prevent slippery effect, use clean water to rinse the ground first, and then USES the brush with special cleaner to remove the ground floor is stubborn dirt, grease, wax polish, etc., and then 2 times waiting for the ground is dry, wash with water(no water stains on the surface, no need to wait until completely dry)
2.Spray or spray the product evenly on the ground, wait for 8-15 minutes, wash twice with clean water, brush with a stiff brush 2–3 times, until the residue on the surface is brushed. (note: when cleaning at last, brush the floor with hard hair)


3.Generally need to stay 8 to 15 minutes, but according to the different material quality, in order to better achieve prevent slippery effect, the product, the time stay on the ground will be elastic and a maximum stay of 30 minutes, the specific time shall be in accordance with the small area of the ground material test results.(if it is a homogenous brick, it is suggested that the anti-slip liquid should be cleaned with a rag after 8 minutes, and then the anti-slip solution will be coated once again. After 5 minutes, rinse with water.)
4.If large areas of spraying are needed, the ground will be divided into several areas to avoid the effects of uneven effects.