Posts

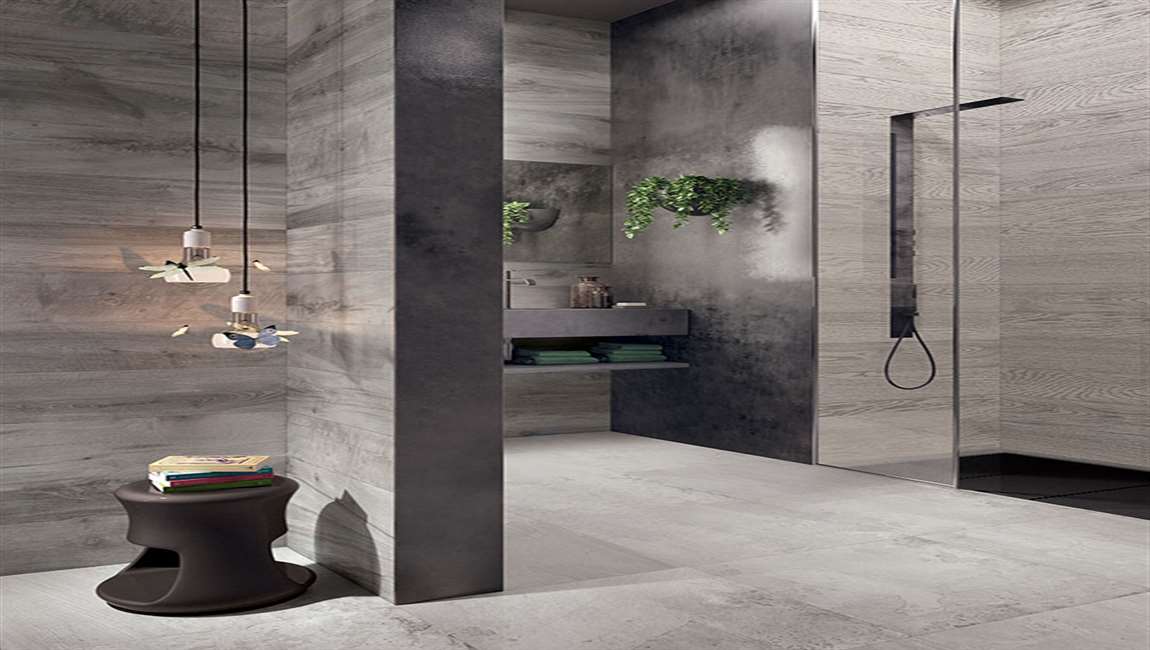
How Laying the Tiles?


Mark your tile layout on the substrate and mark out your first course carefully. If your shower enclosure walls are not perfectly square, or if you plan to install accent tiles, the layout of these tiles becomes increasingly important. Measure up from the bottom of the backer board the height of a tile minus 1/2″. This will give you a 1/2″ overlap over the tile lip on your shower pan.


Make sure that you allow room for the grout joints as well. Mark this with a sharpie or chalk and using a level, transfer the mark across the shower stall. This will be a guide for the top of the first row so that all tiles will be level. Only use dry tiles make sure that the lay out works as well.


Another way to plan out the first row of tiles is to measure the high part and low part of the shower pan. Make the cut spot on the low end a full tile, mark it, and then cut the tiles on the high side down to the level of the uncut tile on the low side. Keeping grout lines away from the inside corners of the enclosure can prevent the need for tiny tiles and poor grout joints. Plan accordingly and always make cuts tight on the inside corner.


Mix enough thin-set for the bottom row. You want your thin-set to be the consistency of peanut butter — not too thick or it will dry out and not too thin or you’ll have a hard time setting the mortar with strength and cleaning. Use an electric drill and a mortar mixing bit attached to your drill to mix your thin-set mortar. This will ensure even consistency and ultimately a better product. Let the mortar set for seven minutes and then mix it again.


Dampen the cement board with a sponge before applying the mortar. If you do not, the cement board will draw the moisture out of the thin-set too quickly, making for a brittle set that is susceptible to cracking.

Commercial Polishing of Tiles


For really stubborn grout, you can use a toothbrush to scrub it. For stains or darkened grout, sprinkle baking soda over the grout, then spray white vinegar over it. Let the baking soda and vinegar sit for 5 minutes, then scrub the grout with your toothbrush.


Mop the floor with warm water and 1 to 2 drops of dish soap. A little bit of dishwashing soap goes a long way. One to two drops is plenty for 1 gallon (3.8 L) of warm water. Dip your mop into the bucket and slosh it around a bit to get the water nice and sudsy. Then wring the mop into the bucket to remove any excess water.


Start at one part of the room and work your way across the entire floor, mopping in big sweeping motions. It’s best to use as little soap as possible when cleaning your tile because excess soap can leave a residue on the tile. Make sure the bucket is large enough to hold 1 gallon (3.8 L) of water without sloshing over the sides.


The bucket itself should be clean to start with as well. You don’t want to start by adding more dirt to your soapy water! When you are finished mopping, clean your mop by rinsing with clean water so that it doesn’t harden and build up dirt. Allow the tile floor to fully dry. When you have finished mopping the floor, empty the bucket and rinse out any residue to give your floor some time to dry.


It’s very important to let your tile dry completely before you do anything else to it. Wet tile will make it difficult to add any cleaning solutions or to buff the tile. Wait at least 1 hour to let your floor dry. You can use a fan in the room to help your floor dry quicker.

How to Clean Outdoor Tiles?


Outdoor tiles are a great way to beautify a space, but you do need to clean them regularly. Identify what your tiles are made of (porcelain, wood, composite, or solid stone). Dust or dry mop the dirt and debris before you wash the tiles with a mild soap or vinegar solution. You’ll need to deep clean the tiles once or twice a year to prevent mold and mildew from growing. To keep the tiles looking great, always avoid using abrasive cleansers and products.


Remove stains as soon as you notice them. Try to remove any stains as soon as you notice them. Fill a 5 US gal (19 L) bucket with water. Buy a commercial floor cleaner that’s safe to use on porcelain and add 3 to 4 capfuls of the product to the water. Use a small brush or mop to scrub the mixture over the stain until it’s removed. Avoid using an oil-based cleanser for stain removal on your porcelain tiles. These can leave an oily residue on the tiles which can make them slippery.


Avoid cleaning with abrasive materials. While you might think that you need to scrub built on dirt with a rough brush, you should avoid anything that’s abrasive to the porcelain. Avoid using abrasive cleaners like: Hard bristle brushes or steel wool, Cleaning products with ammonia or bleach, Oil-based detergents or wax cleansers.


Avoid cleaning with abrasive materials. Your wood or composite tiles may become slightly scuffed over time. These scuffs may disappear on their own, so avoid trying to remove them with abrasive cleansers (like sandpaper or pressure washers). If you place salt or ice on your tiles in the winter, clean it off as soon as the hazardous weather passes. Ice and salt can damage the tiles if they sit on them for very long.


You’ll need to change the water several times and keep rinsing until the soap residue is completely removed. Stone tiles tend to fade in color over time due to sun exposure, so use a stone enhancer and sealer to protect them. Make sure you find one that is safe for outdoor use.

How to Removes the Dirt and Sanitizes the Tiles?

Removes the dirt and sanitizes the tiles. A sponge mop works best for this method; however, any mop will do the job. Change the water in your bucket if it turns brown or grey so you don’t leave a film on your tiles.

Buff and dry the tiles with an old towel. Rub an old towel over the wood marble tiles to dry the area. Press down on the towel while you rub it back and forth to buff the tiles and give them a shiny clean look.

This process removes the dirt and sanitizes the tiles. A sponge mop works best for this method; however, any mop will do the job. Change the water in your bucket if it turns brown or grey so you don’t leave a film on your wood tiles.

Buff and dry the tiles with an old towel. Rub an old towel over the tiles to dry the area. Press down on the towel while you rub it back and forth to buff the tiles and give them a shiny clean look.

Wipe the soap suds off the tiles with warm water and a dishcloth. Dunk a clean dishcloth in warm water and wring it out to remove any excess water. Wipe the entire tile surface until all the soap suds are gone. If the dishcloth get soapy, rinse it in warm water and then carry on wiping the tiles.

Dry the area with a tea towel. This avoids the wall tiles from growing mold or mildew. Use a clean tea towel to dry all the moisture from the tiles and grout. If you don’t have spare tea towel, use paper towels instead.

How Cleaning Textured Porcelain Tiles?

Start by sweeping the floor with a soft-bristled broom. Sweep the textured porcelain tiles in two directions. This will better remove any dirt or debris in the texture of the tiles. Start by brushing in the direction or texture of the tile. Then, sweep diagonally across the tile to remove any dirt or debris.


Mop the floor with a mild cleaning solution. Once the floor has been swept, you can saturate it by mopping the floor with a mild cleaning solution. Combine the cleaning solution with hot water. Mop the floor and then allow the cleaning solution to sit on the floor for five to ten minutes.

Textured porcelain requires more maintenance than other types of porcelain and you will need to clean it more frequently to keep it looking good. To maintain the textured tiles, you should try to mop and scrub the floor daily, especially if it is walked on constantly throughout the day.

Scrub the floor with a soft, nylon brush. Once the cleaning solution has been on the floor for ten minutes, you can use a soft nylon brush to scrub at any dark spots or stains on the floor. You can also use an old toothbrush to scrub the floor. Use the same two direction method that you used for sweeping the floor. Start by scrubbing the floor following the direction of the textured tile. Then, scrub in the opposite direction of the texture on the wall tile.

Rinse the floor with clean water. Do not let the cleaning solution sit on the floor and dry, as it can damage the floor. Make sure you rinse off the cleaning solution with clean, clear water. You can then dry the floor with a clean microfiber cloth. Check that there are no water spots or puddles on the floor. You can also open windows in the room and turn on a fan to dry the floor more quickly.

The Knowledge Protect Bathroom Grout

Wet the surface of your bathroom tile. Fill an empty salt shaker with baking soda. Sprinkle baking soda generously all over the grout. Let it sit for 10 minutes and then scrub it with a nylon brush. Rinse well with warm water and dry immediately.

Remove mold or mildew with a stronger oxygen bleach mixture. Make a paste with a small amount of water and apply it directly to the affected areas. Allow it to sit for 30 minutes. Scrub the grout with a toothbrush, and then rinse and dry it.

Seal bathroom grout with a latex penetrating sealer after installation, and again every year. A penetrating sealer is important for bathroom grout, because it is absorbed into the grout’s pores and protects it from mold and mildew. Some of these sealers can be expensive, but it is a good idea to choose based on quality rather than price.

Allow your cement tiles to dry. It will take approximately 5 days for the moisture behind the floor tiles to evaporate. Do not use your bathroom during this time. Apply the sealer to a sponge. Wipe it over the tile and grout of the entire bathroom surface you want to protect. Leave the sealer on for the time indicated by the product’s directions.

Wipe the excess sealer off the surface of the wood tile with a damp cloth or paper towels. The directions may suggest you use a pH neutral cleanser first and then rinse off the tile with a damp cloth. Apply a second coat, if it is recommended by the product. Allow the last coat of protective grout sealer to sit overnight before you use the bathroom.

How to Protect Bathroom Grout?

Bathroom grout is usually made of sand, cement and water. Although it is traditionally white, it is now made and sold in a number of colors. Grout adheres your bathroom tile to the walls, floors or ceilings. It also absorbs water, mold and mildew because it is a porous material. In order to protect bathroom grout from discoloration and bacteria, it is essential to clean, dry and seal the grout regularly. Read more to find out how to protect bathroom grout.

Dry your bathroom after every shower or cleaning. Use a squeegee, towel or cloth to dry all marble tiles after they get wet. Make sure you have a bathroom fan or window that can suck the excess moisture out from the air. If you do not do this, grout will absorb excess moisture, which will turn into mold and mildew. It will stain and breakdown the structure of the grout, causing it to crumble prematurely. In extreme cases, the water and mold can get behind the grout and into the floor tiles.

Clean bathroom tile and grout weekly with a pH neutral cleaner. Many multipurpose surface cleaners are pH neutral, so check on the bottle before you buy and use it. A neutral cleaner means that the pH, or “potential of hydrogen” is not acidic or alkali. The potential of hydrogen is judged on a scale of 0 to 14, with 0 to 6.9 being acidic, 7 being neutral, and 7.1 to 14 being alkali. Water is also neutral, at a pH level of 7.

Clean the rustic tile and grout occasionally with a mild alkali cleaner. The frequency of deep cleaning grout depends upon the amount of traffic the bathroom gets. Deep clean every month, if it is heavily used, with 1 of the 2 methods below.

Mix 1/2 cup of powdered oxygen bleach into a gallon of water. Use a spoon to stir it until it is completely dissolved. Pour the mixture all over your dry bathroom grout. Reapply after the solution soaks into the grout, or about every 15 minutes for vertical surfaces. After 30 minutes scrub the tile and grout with a nylon brush, or a toothbrush for an extra thorough cleaning. Rinse well with warm water and dry with a towel or squeegee. The more you reapply the oxygen bleach on your wall tile and scrub it, the cleaner your grout will become.

How to Remove Permanent Marker from Tile?

Use melamine foam for a quick option. Melamine foam, commonly known as a “Magic Eraser,” can quickly and easily remove permanent marker from various surfaces. Wet foam to wipe the tiles, then use it to scrub the stained area. Keep scrubbing wood tile until all the marker is removed.

Try hairspray if that’s what you have on hand. Surprisingly, hairspray can be an effective cleaning agent. Simply spray the stained tile with hairspray and let it sit for 5-10 minutes. Then, Wipe off stained rustic tiles with a damp cloth.

Use nail polish remover if all else fails. Be sure to test this product on an inconspicuous area first, as it can damage your wall tile design. If you don’t see any negative results, apply a little nail polish remover to the marker stain. Wipe the stained marble tiles away using a damp rag.

Use a sponge to wipe off the toothpaste. After the toothpaste has set, begin wiping floor tile off with a sponge. If your tile is textured, then you may want to use a toothbrush or a scrubbing brush to remove traces of the stain from smaller crevices in the bathroom tile. Once the stain is removed, clean the affected area with soap and water to remove any residue.

Give the tiles plenty of time dry, ideally overnight. Once your tiling is finished and sealed, leave it for a further 24 hours to ensure that the mastic, grout, and caulk, are all given plenty of time to dry before you interact with them. This will ensure that your tiling sets and that it will last for years to come.

How to Stop Floor Tiles from Cracking?

Different sealers are used for different grouts ceramic tiles. Make sure you have the correct sealer for the application. Add a second coat of grout sealer. Wait an hour and add a second coat of sealer using the same process to the cement tile. Test the second coat with a few drops of water – if they bead on the grout, then the grout has been sufficiently sealed. Depending on the grout sealer you use, it could take between 24-28 hours to dry completely.

Replace grout with caulk. If you are fixing the grout that has come loose bathroom tile next a toilet, sink, or tub, you might want to replace the grout with caulk instead of new grout. Silicone caulk is waterproof and can act as a better sealant in areas where there is a lot of water and can add some flexibility to the mosaic tile in areas where there is a lot of movement.

Check with an employee at the hardware store to make sure you are getting the right kind of caulk for the job. Clean out the seam so that no pieces of grout or other debris are present. Filling the wall tiles with a tube and caulking gun, gently fill the seam with a bead of caulk. For best results, keep moving as you apply the caulk.

Smooth the caulk. Use a wet fingertip or wet cloth to smooth the caulk. A small lip of caulk on the side of the tub will create a waterproof barrier between the tiles and the tub. A flexible buffer of caulk and less water seepage will lead to less wood tile problems later on.

Using Heavy-duty Bathroom Tile Cleaners

Mix water and bleach to clean marble tile. Combining bleach and water in a 1:3 ratio will yield an effective tile-cleaning solution. For instance, you might mix five tablespoons of bleach with 15 tablespoons of water. Fill a spray bottle with this solution and spray it on the bathroom tile you wish to clean. Rinse the tiles design clean with a cloth dampened with warm water. Bleach exudes noxious fumes. Open doors and windows before you get started to prevent the fumes from building up. Bleach can also irritate the skin, so wear thick rubber cleaning gloves when cleaning your bathroom tile with it.

Utilize ammonia. Combine ammonia and water in a 1:2 ratio. For instance, you could mix 10 tablespoons of water with five tablespoons of ammonia. Fill a spray bottle with the mixture and apply it to the bathroom tile you want to clean. Let it sit on the bathroom tile for about 60 minutes, then wipe it away with a clean, damp cloth. Ammonia, like bleach, exudes noxious fumes. Ventilate the bathroom you’re cleaning by opening doors and windows. Additionally, ammonia can irritate the skin, so wear thick rubber cleaning gloves when cleaning your bathroom tile with it.

Use a steam cleaner. A steam cleaner is a cleaning machine that uses steam to clean tiles floors and other flat surfaces. Generally, steam cleaners work the same way that vacuum cleaners do – simply turn the machine on and push it along the surface of your bathroom tiles. You’ll probably have to fill the steam cleaner with water before using it. Consult manufacturer directions before using your steam cleaner. You may be able to rent a steam cleaner at your local hardware or home goods store.

Make a baking soda paste. Combine baking soda and water in equal amounts. For instance, you might mix three tablespoons of water and three tablespoons of baking soda. Use a stiff-bristled brush to wipe the paste onto the grout. Work the paste into the grout, then wipe it away using a damp cloth or sponge. Create a salt and vinegar cleaning agent. Combine one cup (237 milliliters) of plain white vinegar, one cup (273 grams) of salt, two tablespoons of liquid dish soap, and one cup (237 milliliters) of hot water. Dab a sponge in this mixture and wipe your bathroom grout with it. Wait ten minutes, then wipe the grout with a clean, damp sponge.

Scrub the grout with bleach. Dip a stiff-bristled grout brush in bleach. Scrub the along the grout using the brush. After scrubbing, rinse the grout with a clean, damp cloth. Throw open the windows and door before you get started in order to ventilate the noxious bleach fumes. Use a cotton ball to clean corner cement tiles. Cleaning corner tiles with a regular sponge or brush can be difficult. Instead, soak a cotton ball in the tile cleaner of your choice and press it into the corner you wish to clean. Wait several minutes then remove the cotton ball. Wipe the corner with a damp rag to remove any excess grime. Alternately, you could use an old toothbrush to scrub the corner area clean.

Apply a coat of wax to ceramic tile. Once annually, apply a coat of car wax after cleaning bathroom tile. This will cause water to roll off and prevent the growth of mildew. Plus, it gives your bathroom tile a nice shine. While the exact technique for applying the car wax varies with the specific wax you’ve chosen to utilize, you can generally dab a clean cloth in the tub of wax, then rub it in a thin layer across the bathroom tiles after cleaning. After applying the wax to bathroom floor tile, buff it down to prevent the bathroom tile from being too slippery.