Posts

Vacuum Cleaning Floor Before Clean the Tile Floor
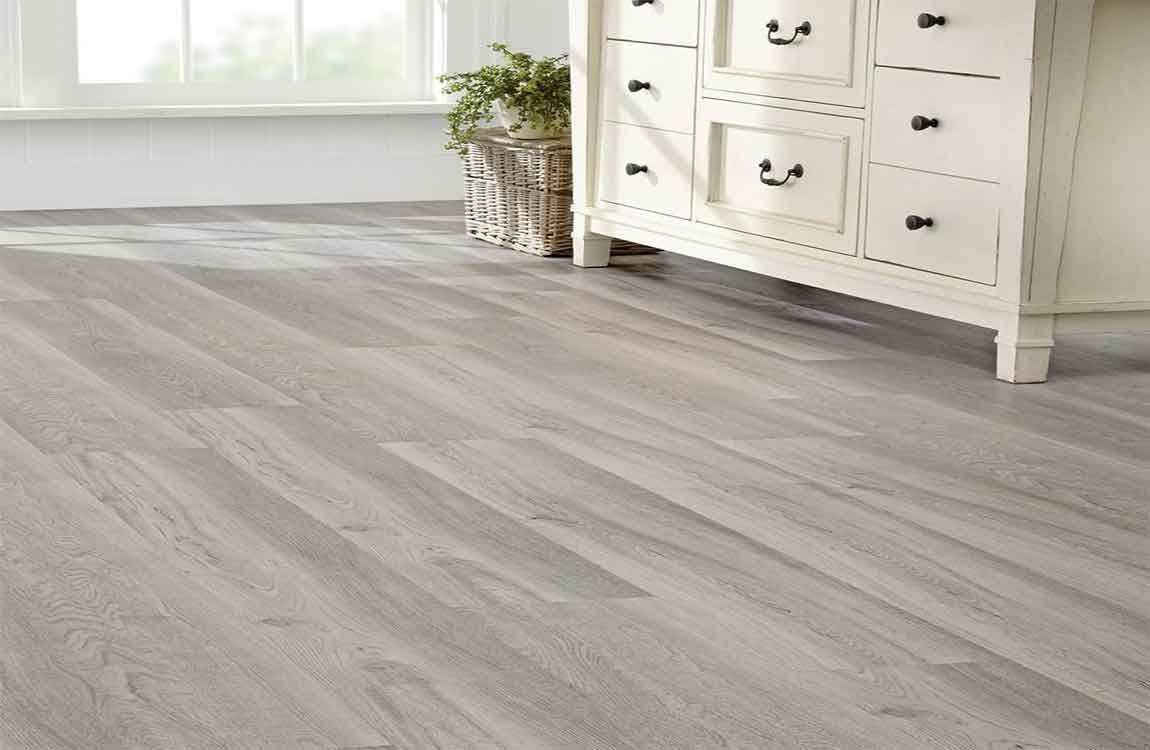
 

Clean the active floor with a vacuum cleaner at least 3 times a week. The floors of the kitchen and living room need to be vacuumed regularly, and as the number of people living in the house increases, so does the floor. The area floor with less activity, such as bedroom floor, should be cleaned once a week. 

According to general experience, the number of times a week that an area is vacuumed is the same as the number of people using the space. For example, one person’s bedroom floor can be cleaned once a week. However, a living area with four people should be cleaned four times a week.

If your pet is depilated or your child is allergic, you need to vacuum the floor frequently. Move all the small furniture out of the room once a month, so you can vacuum the floor under the room. Move all the big furniture out of the room and vacuum the floor once or twice a year.

Clean the floor first. The high efficiency air filter in the modern vacuum cleaner can prevent small pieces from being discharged from the vacuum cleaner, which means you don’t need to dust the floor again. Wipe objects, surfaces, and furniture with microfiber cloth.

You shake the curtains off when you dust them. Leave the curtain dust on the floor for a few minutes before vacuuming. Remove the big toys and pet bed from the floor. At this point, anything touching the floor should be moved. So you can vacuum the floor of the room thoroughly.

How Cleaning Exterior Surfaces?

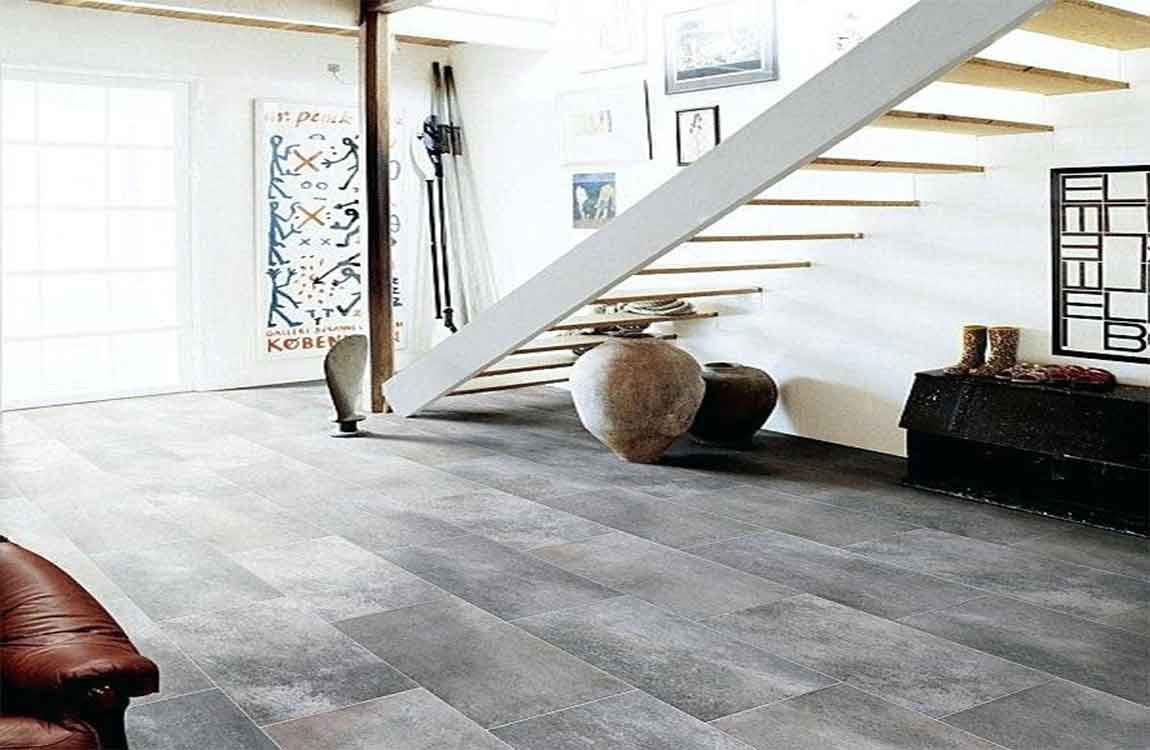
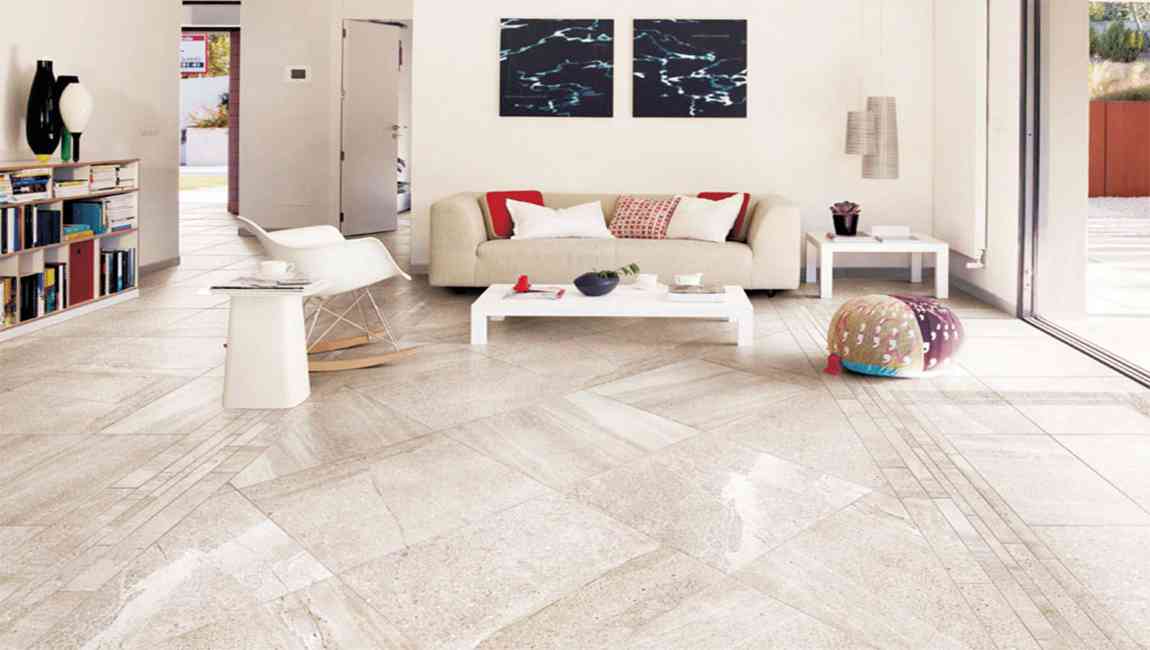
Sweep off the surface. Remove any loose debris from the outdoor surface you are cleaning. If you are cleaning off a patio, use a large broom to sweep it off. If you are cleaning a small retaining wall or a monument, use a small broom to sweep the detailed areas. Removing the top layer of dirt and debris this way will help you assess what areas need to be deep cleaned and which just need a light scrubbing.


Wet the surface and allow the water to sit for about 30 minutes. Spray the surface with your hose so that it is all damp. A layer of water will start to loosen anything growing on the surface. Wait for the stone to soak for about 30 minutes before continuing on and your overall cleaning process will be much easier.


Tip: If the temperature is below freezing, wait for it to warm up before putting water on your sandstone tiles. Purposely putting water on sandstone tiles, especially older sandstone tiles that might have tiny cracks in it, can cause the stone to crack if water gets inside of it and freezes.


Scrub the surface with water and a plastic-bristle brush. Use a circular motion while scrubbing to get any organic material off of the stone. This often includes moss, lichen, and mold. Keep scrubbing until you are happy with the color of the stone. Most outdoor scrub brushes will work for fine for this. You can use a hand brush or a brush on a pole.


Just make sure that bristles are medium-firm, meaning that they bend when you push the brush across the surface. Never use a wire brush or extremely firm plastic-bristle brush on sandstone tiles. It will scratch the surface and speed up decay. Use a squirt of dish-washing soap, if necessary.

How to Clean Cultured Marble Tiles?

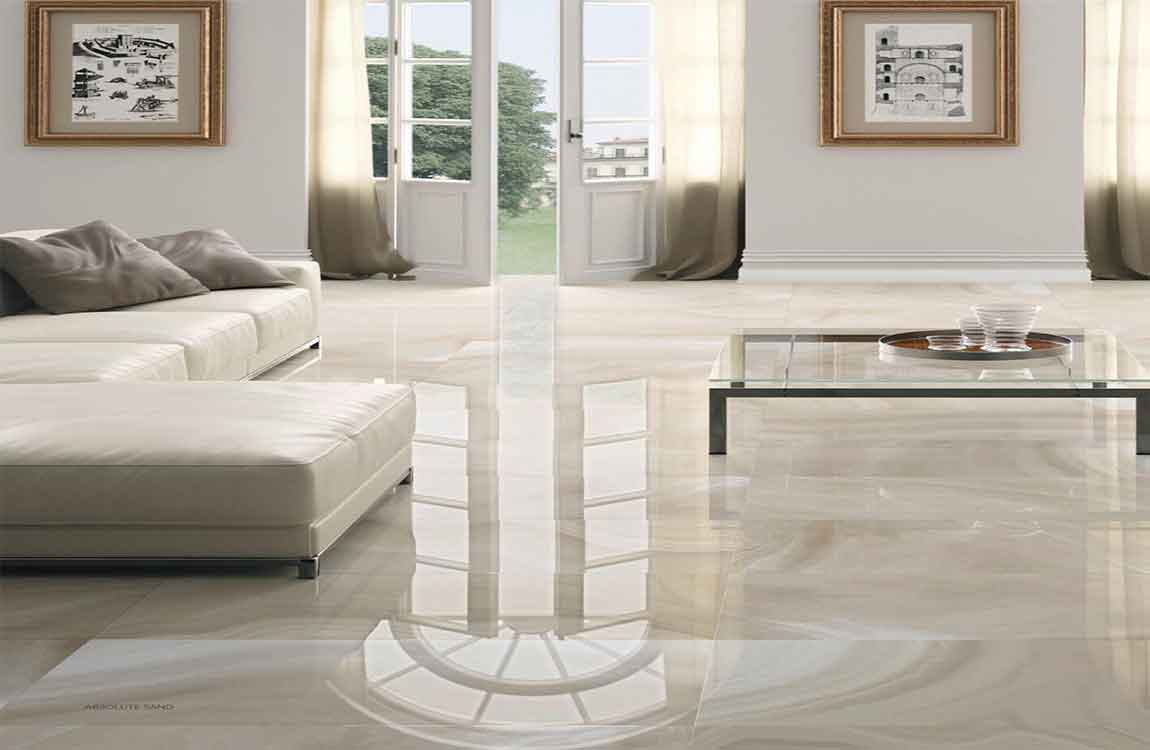
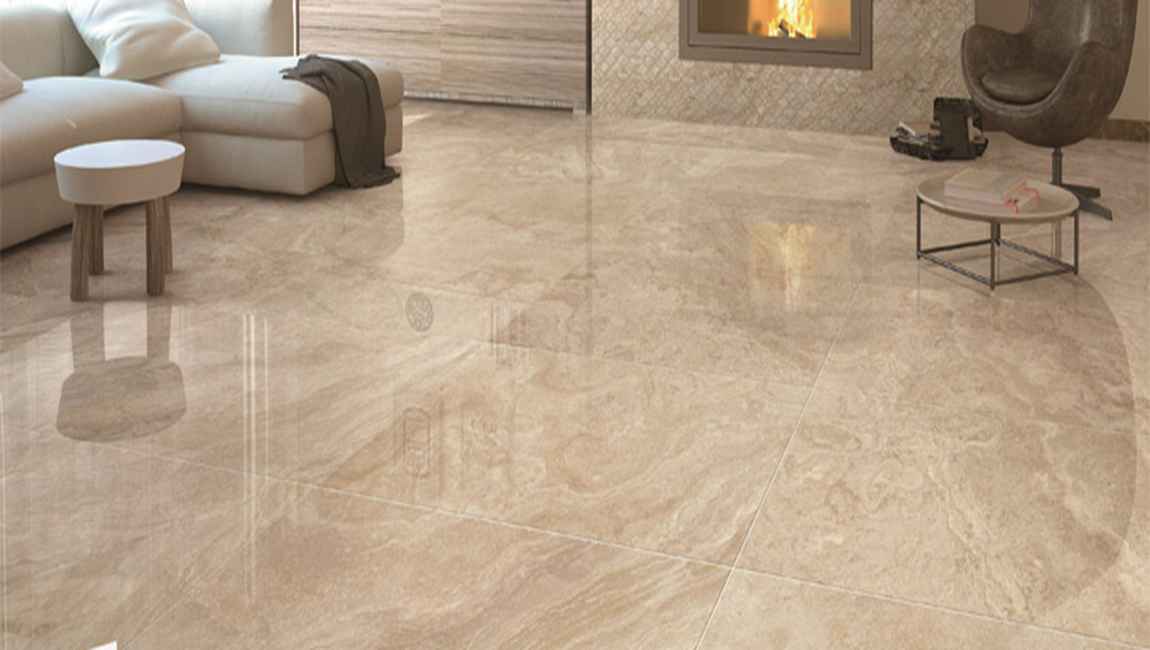
Cultured marble tiles is a resilient material frequently used for tiles, sinks, and vanities. Mineral deposits and soap scum can build up on your marble tiles, negatively impacting its appearance. Remove mild buildup and stains with a soft rag and white vinegar. Eliminate difficult stains with hydrogen peroxide or a special, heavy-duty cleaning solution.


Ensure safe cleaning by avoiding harsh chemicals and abrasives. Some stubborn stains might require a longer soak time. However, soaking your marble tiles too long in this solution may be harmful to its finish. Cleanse the area with water. Rinse the cleaned area with cold water in the same fashion as previously described.


Wipe up water remaining on your marble tiles and any dirtiness with a clean, dry, soft rag. Your cultured marble tiles should now be clean. Any excess sealer that’s pooled on the surface of your marble tiles or that has not been absorbed must be removed for the health and appearance of your marble tiles, as leftover sealer can stain it.


Allow the sealer to set for 24 hours. Let the sealer fully absorb and dry into your marble tiles before trying to use your shower again. You should seal your marble tiles bathtub once every six months. Let everyone in your house know that using the shower before the sealer dries could damage your marble tiles.


After receiving your pre-cut marble tiles slabs, the first thing to do is make sure they fit on your tiles. Place the slabs on top of their installation location—also known as dry-fitting—and make sure that each piece fits into its space without creating any large gaps between its surroundings.

How Creating a Vinegar Solution?

Start with a mild mixture. Expect a relatively small amount of vinegar mixed with warm water to be sufficient for the job a lot of the time. Simply combine 2 to 3 tablespoons of white distilled vinegar with 1 gallon (3.8 L) of water in a bucket or similar container. However: Keep in mind that you’ll be carrying that bucket around the room with you.


Depending on the size of your bucket, adjust the amounts as needed to keep it only halfway filled to avoid spills. Test-clean a select spot on your wall. Pick an area that is blocked from view by furniture or otherwise hidden. Wet a sponge in your mixture and squeeze it until the excess water has been wrung out. Wipe the area in a circle, using minimal pressure. Repeat with a second sponge and clean water to rinse. Then pat dry with a soft cloth or towel.


Use soft sponges (as opposed to a more abrasive kind meant for scrubbing burnt food), especially if your walls are painted. Using tougher sponges could ruin your paint’s surface. Sponges in bolder colors may leave their color on the wall.


Add more vinegar if necessary. Compare the test-spot with the rest of the wall. If your mixture did the trick, use it as is. If the test-spot still seems dirty, increase the ratio of vinegar to water and repeat. Start by adding ½ cup (118 ml) of vinegar to your gallon of water. If that still seems weak, keep adding ½ cup of vinegar at a time. Extremely dirty walls may require a ratio of 2 parts vinegar to 3 parts water.


Add baking soda if needed. If the dirt on your walls has crusted over and/or built up, you may need something a bit more abrasive than just vinegar and water. Start by adding a ¼ cup (55 g) of baking soda to your solution and test-clean again. If necessary, keep doing so up to 2 to 3 cups (442 to 662 g). However, bear in mind: If your walls are painted, abrasive agents like baking soda may damage the paint, especially if it’s latex-based. If your solution starts ruining your paint job, you may need to apply a fresh coat rather than clean.

How Preparing the Backsplash Surface?

Turn off the power to your kitchen. Find the electrical panel in your home. It is typically a small, metal panel painted to match your wall. Open the panel, then find the switch for the bathroom or kitchen electrical outlets (wherever you are doing the backsplash). Flick the switches to the off position. Remember to flick the switches back on after you have finished installing the tiles.


If your tiles are already on the wall and you wish to cut a hole in them, complete this step, then click here to learn how. Remove any light switch and outlet covers. Use a screwdriver to remove the screws from each cover. Place the covers into separate zippered bags along with their matching screws. Work 1 cover at a time so that you don’t mix or lose the pieces.

You will need to reinstall the light switch and outlet covers after you have finished installing the tiles. Clear and cover the counters. Move anything on the counter that might get in the way, such as coffee makers and toasters. Cover the counter with a plastic sheet to protect it. If you are installing the tiles later, it would be a good idea to mask off counters and cabinets.

This will save you a step. To mask off the counters and cabinets: lay strips of painter’s tape along any counter or cabinet edges that touch the backsplash wall. Mark the center of the wall, then draw a plumb line through it. Find the center of the backsplash wall, and make a like mark with a pencil.

Place a 2-ft (61-cm) level against the mark and orient it vertically. Use the edge of the level as a ruler to draw a vertical line spanning the height of your backsplash. The plumb line will help you lay out your tiles evenly once you go to mount them on the wall. Make sure that the level is straight. The bubble inside the glass tube should be centered between the lines.

Kitchen And Toilet Ceramic Tile, How Should Choose Better?

Ceramic tile of choose and buy not only depends on its beautiful appearance, if only judging from beautiful degree tend to ignore the immanent quality of ceramic tile, once the quality is unqualified, caused of repair, water in the future, it is regret that quality is the life of ceramic tile products.The quality of ceramic tile is good or bad, want to see content of three aspects commonly: wear-resisting degree, absorb water, hardness. According to the use of ceramic tile and place is different, the range of choice is more extensive. Kitchen and toilet, because use frequency is taller, so need to choose wear-resisting degree relatively high, compared with our ordinary family, choose wear-resisting degree is in moderate to be able.

The wear-resisting degree of ceramic tile will be marked on the top of the price tag, or carefully ask the salesperson, understand the quality, also be the source of important information. According to the kitchen ceramic tile is afraid of oil pollution, the principle of ceramic tile is afraid of water, toilet when choosing the kitchen ceramic tile, often want to consider the water absorption of ceramic tile, if the ceramic tile with low water imbibition, its density of ceramic tile is taller, also to have some stains and water barrier. Especially in the environment of the bathroom, low water absorption can ensure that ceramic tile does not overexpand and produce deformation. It is very simple to judge the high and low water absorption rate of tile, as long as it drops a drop of water on the back of the tile of the sample, and observe whether it can absorb rapidly.


Hardness is also an important factor of ceramic tile quality. High quality ceramic tile general hardness is high, the toughness is strong, not easily broken. The inner quality of tile can be checked by tapping the debris. The two tiles are lightly tapped. If the brick’s voice is crisp and the sound of some metal indicates that the inner quality is very good and the hardness is high; If the sound is hoarse, the inside of the brick may have a crack, the hardness is not high.
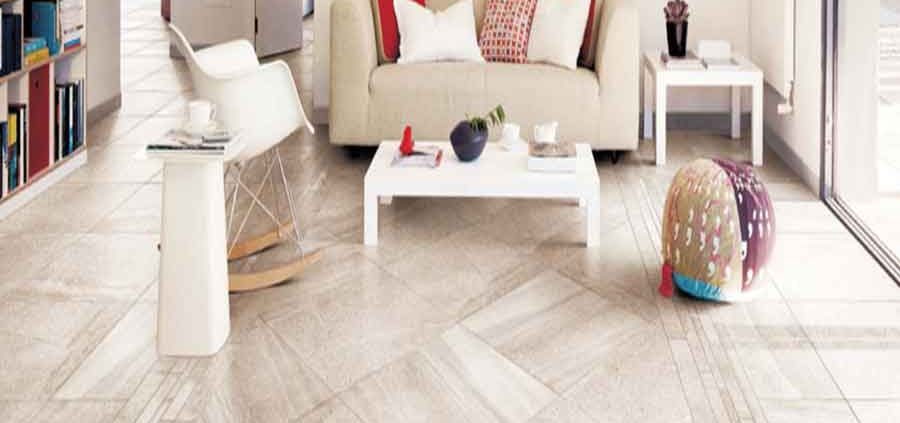
Randomly to produce four specifications as ceramic tile, flat to the ground, the middle gap as small as possible, if it is tile must use four pieces to piece together a complete pattern, if relatively flat, when work that shows ceramic tile more conform to the specifications. The advantages and disadvantages of bricks are sometimes not easy to judge, especially when buying now, they are on board, inconvenient to pick off and compare carefully.

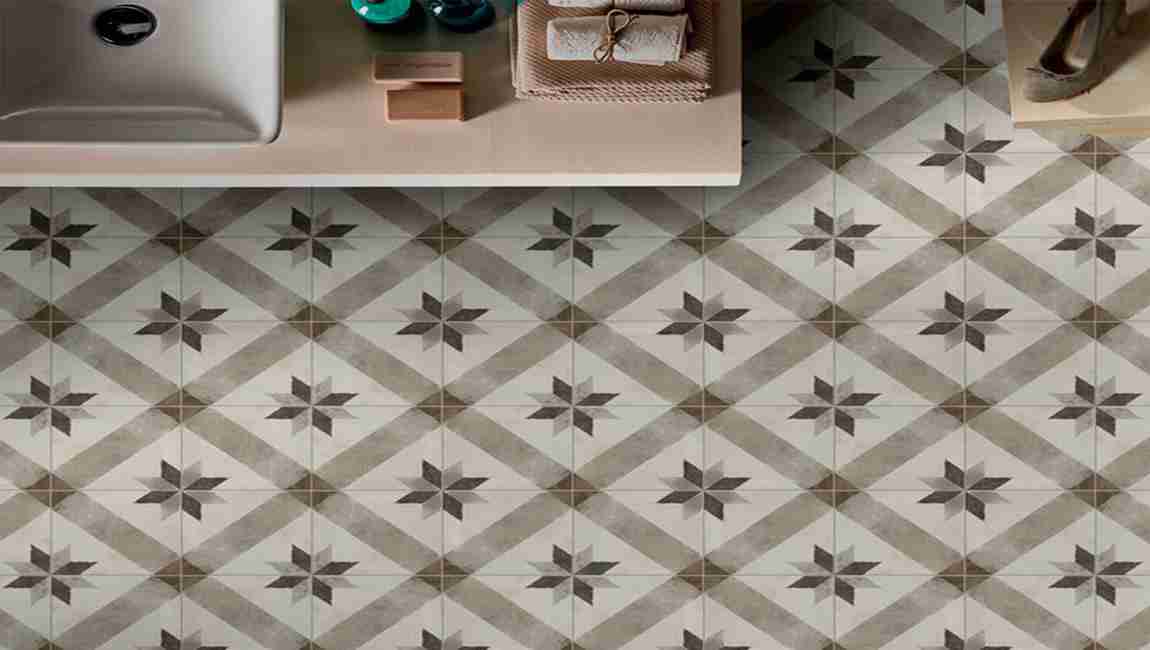
What Are The Advantages Of Retro Tiles?

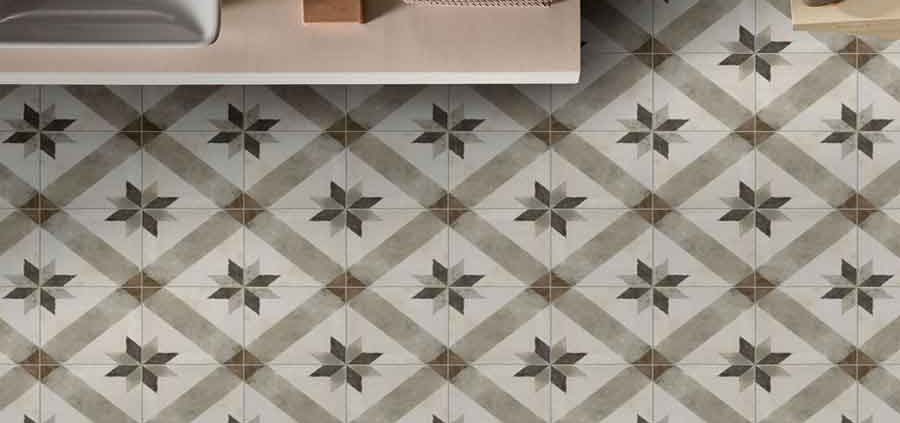
1, the use of ceramic tile has a lot of benefits such as slip, the ceramic tile appearance is no polishing processing, so the brick surface friction coefficient will be relatively high, in the above step sureness, warm and comfortable, wear resistance. Because the surface glazing reduces polishing link, non mirror effect is not prone to scratches, many families in the kitchen using retro brick, because of its strong anti fouling, the surface glaze layer to prevent stains permeable brick, easier to clean.

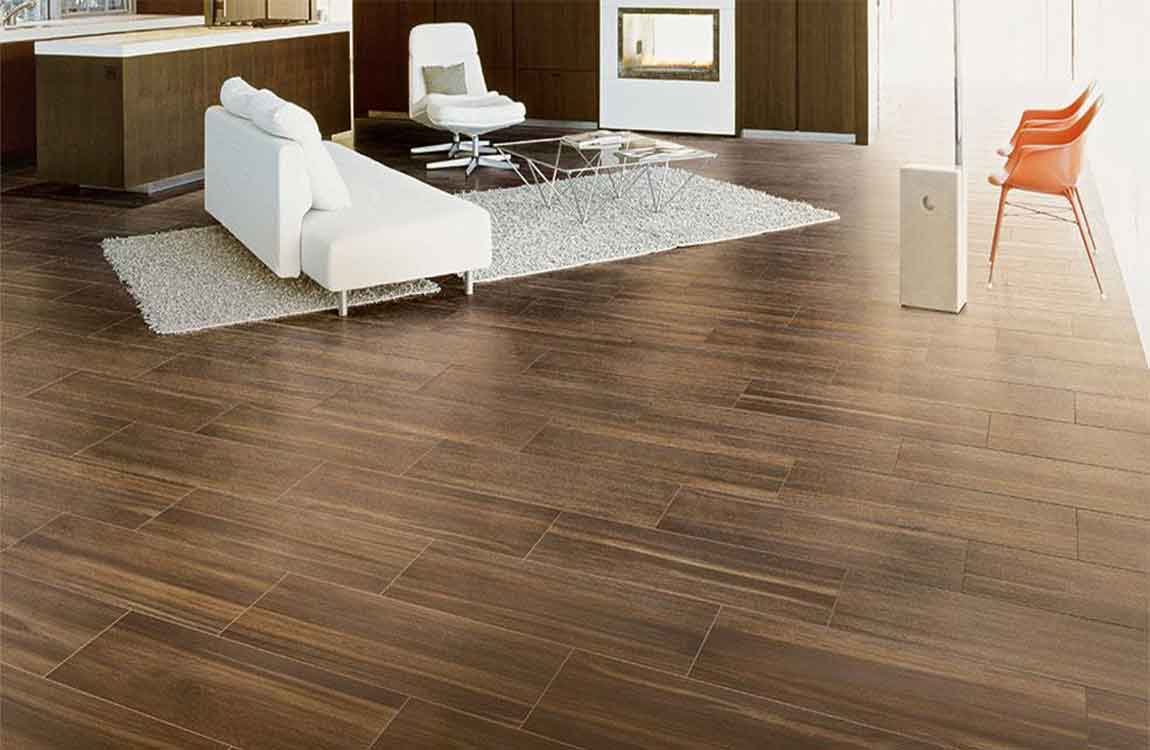
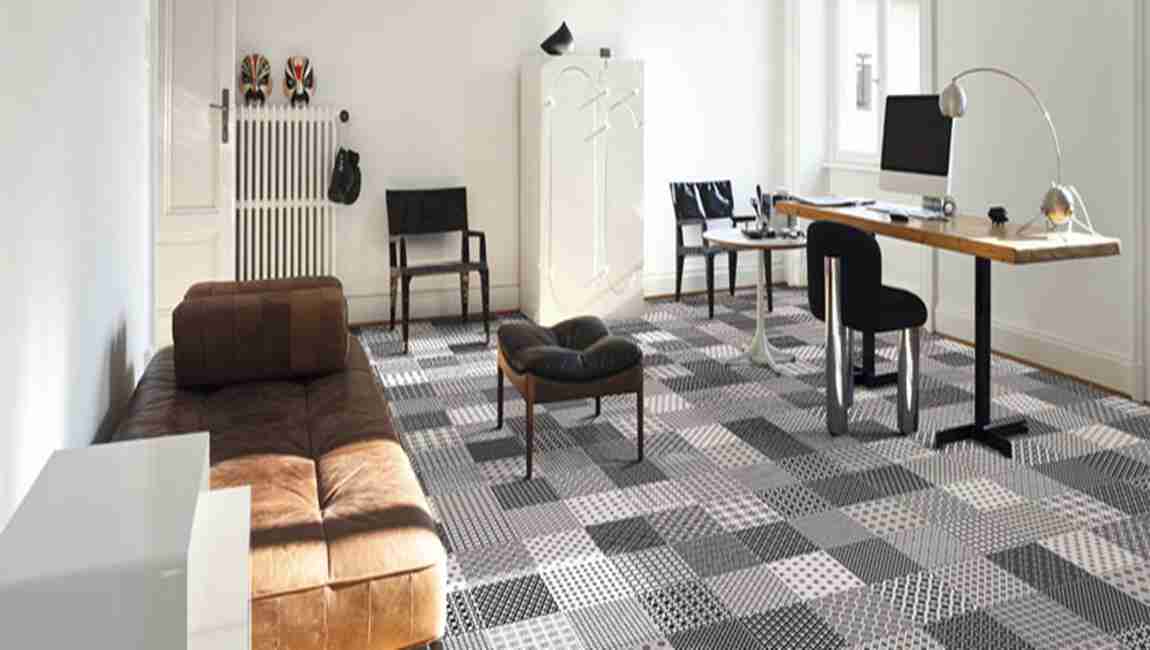
2, as well as in color and pattern of the style is very much, in the design are almost according to some wood, crystal, flowers, skin and other patterns of modeling, production color, pattern rich and colorful, specifications change. At the beginning of more than a small Vintage brick available specifications, the development has also appeared in many large retro brick specifications, six more angle, octagonal shape, more easy to do mosaic style, different styles of decorative Home Furnishing. When restoring the ancient style becomes the trend, the retro brick is the spokesman of the fashion. Its waterproof, anti-skid, wear-resistant and acid alkali characteristics make its physical properties stable. The decorate space timeless, the use of a wide range, suitable for indoor living room, bedroom, kitchen, balcony, more suitable for outdoor square, walkways etc.

Classical style should use soft color, uniform texture, delicate perception marble tiles to decorate can dilute the whole space Home Furnishing dull atmosphere, but also can enhance the sense of space “, that space is very quiet, gentle, low-key style show.