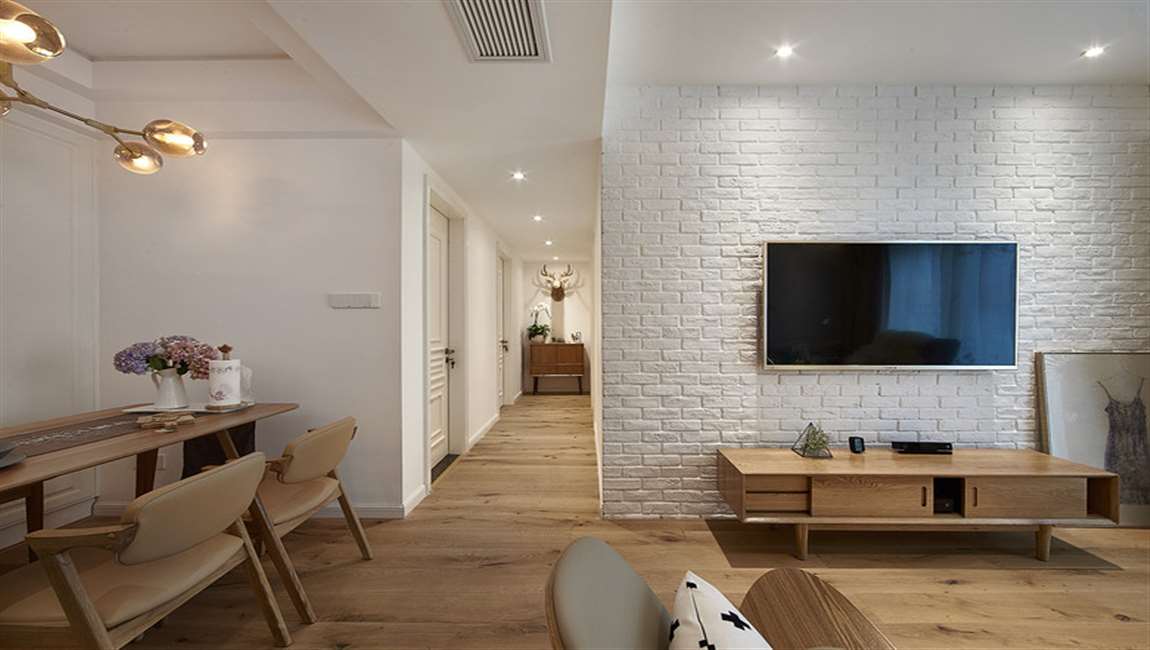
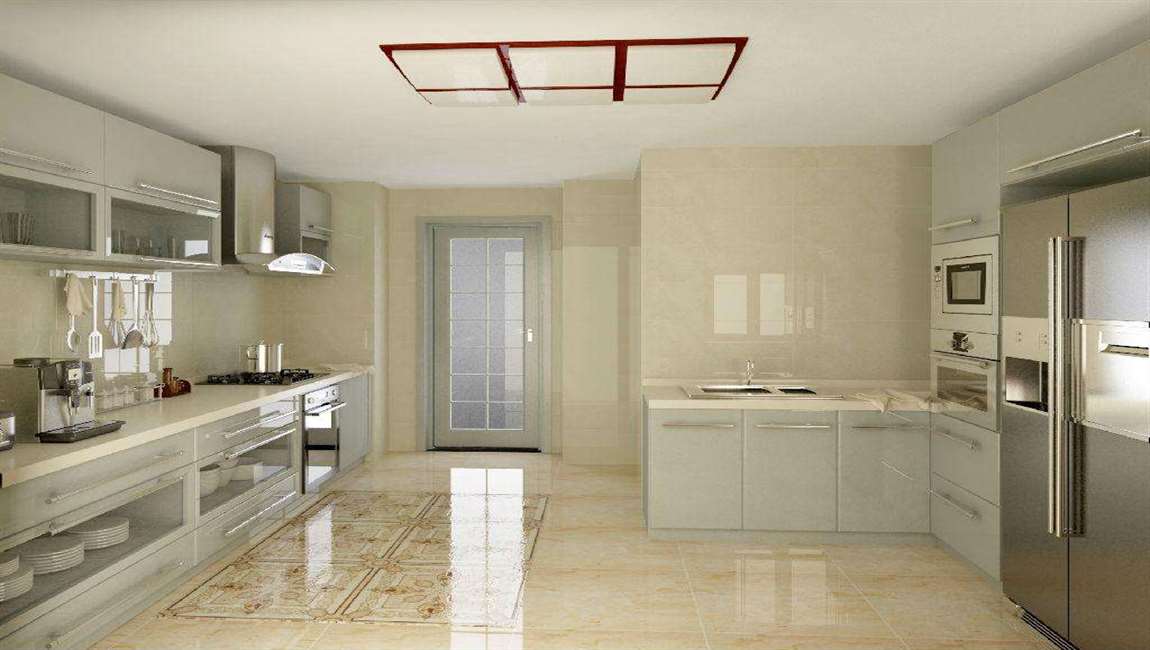
How to Reinforcing Floor Joists to Stop Floor Tiles from Cracking?

Measure the distance between kitchen tile joists. Many problems with tile stem from issues with the tile it sits on. The bathroom tiles often comprised of a layer of plywood and then a layer of cement board laid across tile joists. Too much space between tile joists means that the tile may sag, which can lead to tile cracking. You can add more blocking between joists to give more support to the tile. Measure the distance between wood tile joists with a measuring tape. This is the measurement you’ll use for the pieces of blocking, as the blocking is going to fit between the tile joists.

Determine how much blocking you’ll need. You can place the blocking at even intervals throughout the room or in areas that specifically need reinforcement. Depending on the size of the tile, you may want to space blocks closer together in order to make the joists more resistant to movement, which will in turn lead to less tile damage.

Cut the blocking to length. Using the measurement you took of the space between wall tile joists, mark very-slightly longer intervals on the boards you’re going to use for blocking. Once the blocking is measured on the boards, use a saw to cut the blocking. A carpenter’s square can be used to ensure a straight line when marking your saw guidelines on the boards.

Remember to leave around 1⁄8 in (0.32 cm) of space between block measurements to account for the width of the saw blade. If you don’t leave this space, each of your blocks will be short.

Put the blocks between the joists and use a hammer to tap them into place. The blocking should fit snugly but should not have to be pounded. If you are struggling to get them in, they may be too wide and can add a bend to the joist boards. If they are too small, they can cause squeaking underfoot.

Secure the blocking between the joists with screws. Screws are preferable to nails because the shape of the screw and the way it is driven into the wood allows for less movement than nails, which is one cause of wood marble tile squeaking. Position a screw on the outside of the joist beam angled downward toward the tile. Using a drill with the appropriate bit, drive the screw through the joist and into the blocking. Do this on both sides of the blocking.

How to Cleaning Grout with Vinegar?

Vinegar is a natural, effective cleanser for porcelain tile. You can clean tile floors, countertops, backsplash, and bathroom surfaces using a mixture of equal parts water and vinegar. Cleaning wood tile grout is also easy. You can use vinegar alone or a mixture of baking soda and vinegar to remove tough stains and grime from grout.

Pour vinegar along tile edges. Vinegar can effectively clean grout when applied at full strength or when diluted with water. Carefully pour vinegar along the edges of the marble tile, allowing it to soak into the grout.

Let the vinegar sit for 10 minutes. After you pour the vinegar along the wood marble tiled edges, allow the vinegar to soak into the grout. Letting the vinegar sit for 10 minutes will help loosen debris and stains.

Scrub the grout with a toothbrush. After you allow the vinegar to soak into the grout for 10 minutes, scrub the grout using small, circular motions. An old toothbrush works best, but you can also use a small cleaning brush.

Rinse with clean water. When you finish scrubbing the grout, you will want to rinse away the remaining vinegar from the wall tile and grout. You can pour clean water over the tile, or you can wipe with a clean, wet cloth.

Use vinegar and baking soda for a deeper clean. Add a small amount of vinegar to baking soda. Add just enough vinegar so that the two ingredients form a paste. Use a toothbrush to scrub the grout with the paste. Rinse with clean water when finished, making sure you remove any residue from the mixture.

How to Cleaning Countertops, Backsplash, and Bathrooms Tiles with Vinegar?

Pour equal parts vinegar and water into a spray bottle. You can make as little or as much vinegar cleaning solution as you desire. Pour the vinegar and water into a spray bottle. Add lemon or essential oils. You can add fragrance to your vinegar cleaning solution with lemon or essential oils. Try adding the juice of ½ a lemon, or 15 drops of an essential oil like lavender or peppermint.

Shake to combine. Once you’ve added all the ingredients to the spray bottle, screw the nozzle on the bottle. Then shake the bottle to thoroughly combine the ingredients. Spray the wood tile with the solution. Spray the wall tile thoroughly with the vinegar cleaning solution. Make sure you saturate the tile design surface with the solution.

Allow the solution to sit. Once you spray the porcelain tile surface with vinegar cleaning solution, allow the solution to penetrate the grime on the tile. Let the solution sit on the tile for 1-5 minutes, depending on the level of grime you need to remove.

Rinse with water. After you allow the vinegar cleaning solution to sit on the wood marble tile surface, rinse the surface with clean water. You can pour water directly on the tile surface, or you can wipe the cement tile surface down with a clean, wet cloth.

Use a vinegar and baking soda paste to work out any tough stains. If there are still visible stains on the surface, then make a paste using baking soda and vinegar. Mix 3 parts baking soda with 1 part vinegar to form the paste. Then apply the paste to the stain with a sponge and work it around using firm pressure. Use a wet paper towel to remove the leftover paste after you are done.

How to Cleaning a Tile Floor with Vinegar?

Sweep or vacuum the floor. Before cleaning a tile floor with vinegar, you will want to remove all debris from the surface of the floor. Use a broom, dust mop, or vacuum cleaner to remove all loose dirt and debris from the tile floor. Vinegar is great for ceramic tile floors. Don’t use vinegar on marble or granite. Instead, use a cleanser specifically formulated for these delicate stone types.

Mix hot water and vinegar in a bucket. Add equal parts hot water and vinegar to a bucket. The bucket should be large enough to easily rinse and wring out a mop. Wring out a mop. Place a mop in the bucket of hot water and vinegar. Lift the mop from the bucket and wring it out. Try to wring as much water out of the mop as possible.

Mop the floor tile. Use side-to-side motions to mop the tile. Rinse and wring out the mop frequently while mopping. If you are cleaning a large area, make a fresh batch of hot water and vinegar when you finish mopping half the area. Fill the bucket with clean water. Once you finish mopping the rustic tile with the vinegar solution, you will need to rinse the tile with clean water. Dump the vinegar solution down a drain. Fill the bucket with fresh, hot water.

Mop the tile with clean water. Dip the mop in the fresh water, wring it out, and mop the tile using side-to-side motions. Rinse and wring the mop frequently as you mop. If you are mopping a large area, fill the bucket with fresh water after mopping about half of the surface area.

Let the tile air-dry. Allow the bathroom tile to air dry before you walk on it. This will prevent footprints and debris from sticking to the wet wood tile. You can also dry the floor with a clean, soft towel if desired.

Create a vinegar and baking soda paste to work out tough stains. If there are any stains on the marble tile, then try mixing a small amount of vinegar into some baking soda to dorm a paste, such as 1 part vinegar to 3 parts baking soda. Apply the paste to the stain with a scrub brush or sponge. Then use a wet paper towel to remove the paste.

How to Clean a Stone Tile Shower?

Caring for the stone tile in your shower will preserve its appearance and maintain its condition. Proper care can keep your stone looking like-new for generations. Clean most kinds of dirtiness from your cement tile with a mild detergent, a soft cloth, and a soft bristle brush. Remove stains from ceramic tile by identifying the kind of stain and using the right kind of treatment, like ammonia for oil based stains. Maintain your element tile by avoiding acidic and abrasive cleaners and by removing excess moisture from the stone after every shower.

For severe stains, you may have to reapply the poultice a few times before it is fully removed. Some stains may take five applications or more. Stain removing poultices can be purchased from your local hardware store or home center. Look for it among stone care products.

Some kinds of poultice are sold as pre-made strips of treated paper. These are generally applied to stains similarly to paste poultices.

Buff out water spots and rings with 0000 steel wool as necessary. Hard water can leave rings, a white film, or scale on your stone. When the stone is dry, buff the surface in a circular motion with a dry piece of 0000 rated steel wool. Wipe the surface with a clean, dry, soft cloth or rag after. Use light to moderate pressure when buffing your countertop. Too much pressure may harm the appearance of your stone.

Hire a professional to deep-clean your spots tile. Professional cleaners have special tools and techniques that can extract dirt or grime that may have impacted the pores of the stone, which causes dullness. Have your rustic tile cleaned by a professional when thorough cleaning fails to restore the stone’s luster.

Persistent stains or blemishes that are difficult to treat may require an expert. Call a stone care professional, installer, or restoration specialist to treat problems like these.

How to Maintaining Your Stone Tile?

Evaluate the condition of your stone. Cracked wood marble tiles will accumulate buildup and dirtiness more quickly than those without any. These may need to be replaced or repaired. Uneven wall tiles may require a professional to grind, hone, and polish them flat. Note any stains and try to determine what caused these.

Knowing the source of a stain will make it easier for you to eliminate later if general cleaning techniques don’t work. Avoid abrasive and acidic cleaners. Abrasive and acidic cleaners will damage to your stone. Check the labels of all cleaners before using them to make sure they don’t contain either of these. Before using a cleaner, test it on an out of sight part of the stone to verify that it won’t damage or discolor.


Cleaners that are specially formulated for the kind of stone used in your shower will likely be the safest to use. Remove excess moisture from the tile after showering. Water remaining on your white tile will eventually evaporate, leaving behind minerals that cloud your stone, dirtiness, and more. After every shower, use a squeegee or soft towel to wipe away excess water and prevent this from happening.

Many squeegees come with suction cup hangers that you can attach to the wall of your shower. This way, your squeegee will be easily accessible after showering. Protect the condition of the tile with a non-slip mat. Your feet can grind small debris, like dirt, into your stone tile, wearing it down over time. This can cause it to lose its luster. Place a non-slip mat on the tile and vacuum under it occasionally to suck up these small particles.

Clean mats at least once a month to prevent stains from hiding underneath them and increasing in severity over time. Polish out etch marks. Etch marks are usually caused by an acid. Remove any dirtiness first with general cleaning methods. Apply a suitable stone polishing powder to the marble tile. Use a damp cloth to rub the powder into the stone in a circular motion. Continue rubbing until the etch mark disappears.

Some of your shower products may contain acids. Take care to keep these off your stone to prevent etching. Etching that is especially deep may be impossible to remove with polishing powder. In these cases, call a stone repair or maintenance professional.

How to Removing Stains With a Stone Tile Shower?

Investigate the location of the stain. This can provide useful information for what caused the stain. Certain cement tile stains will need special cleaning procedures to be removed from the stone. Note the color, size, shape, and pattern of the stain, along with anything in the area that might have caused it.

Cleanse oil based tile stains with a household detergent or ammonia. Some common examples of oil based wood tile stains include grease, tar, or cosmetics. These will cause your bathroom tile to darken. To dissolve oil based mosaic tile stains, clean the area by gently wiping it with a soft cloth and a household detergent, like dish soap, or ammonia. Afterwards, dry the area with a soft towel.

If detergent and ammonia fail to remove the stain, try mineral spirits or acetone. Use these sparingly and as a last resort. Flush these cleaners with water after applying, then dry the area. Eliminate mildew and algae with a heavy-duty cleaner. Mix a diluted cleaning solution containing a half cup (237 ml) of ammonia, bleach, or hydrogen peroxide with a gallon (3.8 L) of water. Clean the surface with the solution with a soft cloth, rinse the area well, then dry it with a soft cloth or towel.

Never mix bleach and ammonia. Doing so will create toxic fumes that can result in serious harm or death. Erase organic marble tile stains with hydrogen peroxide and ammonia. The most common kinds of organic casstle tile stains come from bodily fluids, like urine or feces, tobacco, paper, and food. These may create a brown-pink stain. Clean these areas as you would normally with 12% hydrogen peroxide and a couple of drops of ammonia.

In some cases, you may be able to get rid of an organic stain just by removing its source. After removal, wait a few days to see if the stain disappears. Hydrogen peroxide may fade or lighten the color of your stone. Test it on an out of sight location before you use it. Only use this technique occasionally to prevent color loss.

Use a stone poultice for metal wood tile stains. Mix the poultice according to its directions. Usually this will result in a paste that is the consistency of peanut butter. Wet the stain with distilled water. Apply the paste to the stain so it is roughly ¼ to ½ in (.64 to 1.3 cm) thick. The paste should extend beyond the stain by roughly an inch (2.5 cm). Tape plastic over the poultice, wait the time indicated on the label, then remove it according to its directions.

How to Doing Routine Cleaning a Stone Tile Shower?

Wipe away loose buildup and grime. Wet a clean, soft cloth, like one made of microfiber, in warm water. Firmly wipe down all of your shower’s stone tiles and the grout in between. This will make it easier for you to find and target more severe buildup and hidden stains. Soft clothes will be the gentlest on the finish of your stone. Rough fabric, over time, could cause the surface of your stone to pit or cloud.

Scrub grout with a toothbrush and a mild detergent. The narrow crevices between cement tiles and filled with grout are a prime location for buildup. Use a mild detergent, like dish soap, warm water, and a toothbrush to scrub the grouted cracks between ceramic tiles. Rinse the area thoroughly afterwards and repeat as necessary until the grout is clean.

Because grout is often dirtier than the tile itself, clean the grout first to prevent it from spreading to the kitchen tile. Avoid using general grout cleaners when cleaning the grout of natural stone tile. These often have ingredients that can damage your stone. Stiff bristle brushes can harm the finish of your stone and cause scratches. Only use soft bristle brushes and soft cloths when cleaning.

Clean the stone with a mild detergent or stone soap. Mix together warm water and a couple drops of mild detergent, like dish soap. Stir the solution to distribute the soap. Dip a soft rag into the solution, wring excess liquid from it, and use it to wipe down the casstle tiles. Rinse the tiles frequently as you do so.

Soaps that are formulated for the natural stone used in your shower can be found at most hardware stores. Cleaners that are acidic can damage your stone tile. Only use cleaners that are pH neutral (a 7 pH rating), which should be indicated on the cleaner’s label information. Using more soap isn’t always better. Too much soap in your solution could result in streaks or a film remaining on the marble tiles after cleaning.

Cut through soap scum with an ammonia and water solution. Soap scum is a common problem and it can be difficult to remove. Cut through it with a solution of a half cup (237 ml) ammonia and a gallon (3.8 L) of water. Apply the solution to the tile with a clean, soft cloth.

Using ammonia to clean your stone too frequently can negatively impact its appearance, causing it to dull. Stay on top of general cleaning to prevent soap scum from building up. This way, you’ll only have to infrequently use ammonia. Dry the stone after cleaning. Avoid leaving cleaners on your stone for long periods of time, especially ones that can cause dulling or fading, like ammonia or hydrogen peroxide. Rinse the tiles design thoroughly and then wipe them dry with a clean, soft towel.

How to Repair Tile?

Tile is a very tough and durable wall and floor covering, but it is not indestructible. Tile can be made of ceramic, porcelain, quarry stone or terracotta (clay) and is vulnerable to damage caused by virtually any item heavy or strong enough to crack those materials. A floor tile may even crack on its own if it’s hiding a manufacturer defect or if it’s installed on an uneven subfloor. Fortunately, cracked cement tile is repairable and you don’t have to be a flooring contractor to be able to do it. If you have a broken tile that needs to be replaced, follow these steps for how to repair wood tile.

Find a replacement tile that matches. Flooring contractors often leave spare tiles design in the garage or storage room for when the homeowner might need to repair tile mishaps. Choose a matching grout. Borrow colored grout samples from a well-stocked flooring supply store and bring it home to find the closest match.

Remove the old fashion impression tile completely. Be careful not to damage any of the surrounding tiles. Use an electric drill with a masonry bit to drill a diagonal series of small holes into the cracked polished tile, keeping drilled holes less than 1 inch (2.54 cm) apart.

Split the tile through the horizontal hole-line by using a ball-peen hammer to tap a cold chisel into the ceramic tile. Tap very lightly so as not to crack neighboring grout joints. Remove the loosened pieces. Use a flat bar to pry up any shards that you cannot get up by hand.

Scrape the remaining old mortar from the subfloor using a stiff-bladed scraper. It is not important that you get every last bit up. Just make sure the area is fairly clean of mortar. Vacuum up any loose dirt or debris.

Set the replacement tile. Use a notched trowel to spread mortar onto the subfloor and lay the new fashion tile in. Use a level to ensure tile is laying perfectly flat and also to determine that the newly set tile is flush with surrounding marble tiles. Grout the area according to the grout manufacturer’s directions.

What Should We Do After Finishing Your Countertop?

Allow the mortar to set overnight. After tiling a countertop, you should let the mortar dry according to the manufacturer’s instructions. While it may be only a few hours, waiting overnight ensures that everything is well set when you get back to work.

Grout the marble tile countertop using the grout of your choice. Remove the vinyl natural marble floor tiles spacers. Then, use a rubber float to press grout into the grout lines. Work smoothly and methodically, using a rubber float to spread the grout and wipe up any excess.

Remove excess grout by holding the rubber float at a 45-degree angle and dragging it across the floor tiles in a diagonal direction.

Clean the tiles with a damp sponge when finished. Once the grout is evenly distributed in the joints, clean the grout off the room tile faces using a damp sponge. This should wipe off any residue or grit that got on the wood tiles while installing. Only swipe over the surface of the tiles — do not dig into the grout lines.

Allow the grout to dry before adding a finish to the counter. To protect your onyx tiles for years, you’ll want to apply a finishing solution to the grout. Find a grout and tile sealer that works for you at your local hardware store and apply according to the directions on the bottle.