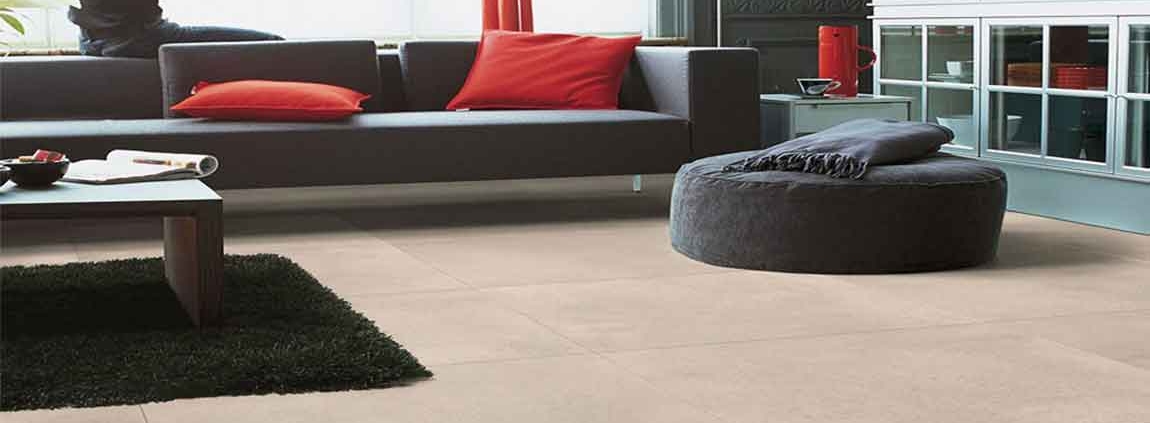
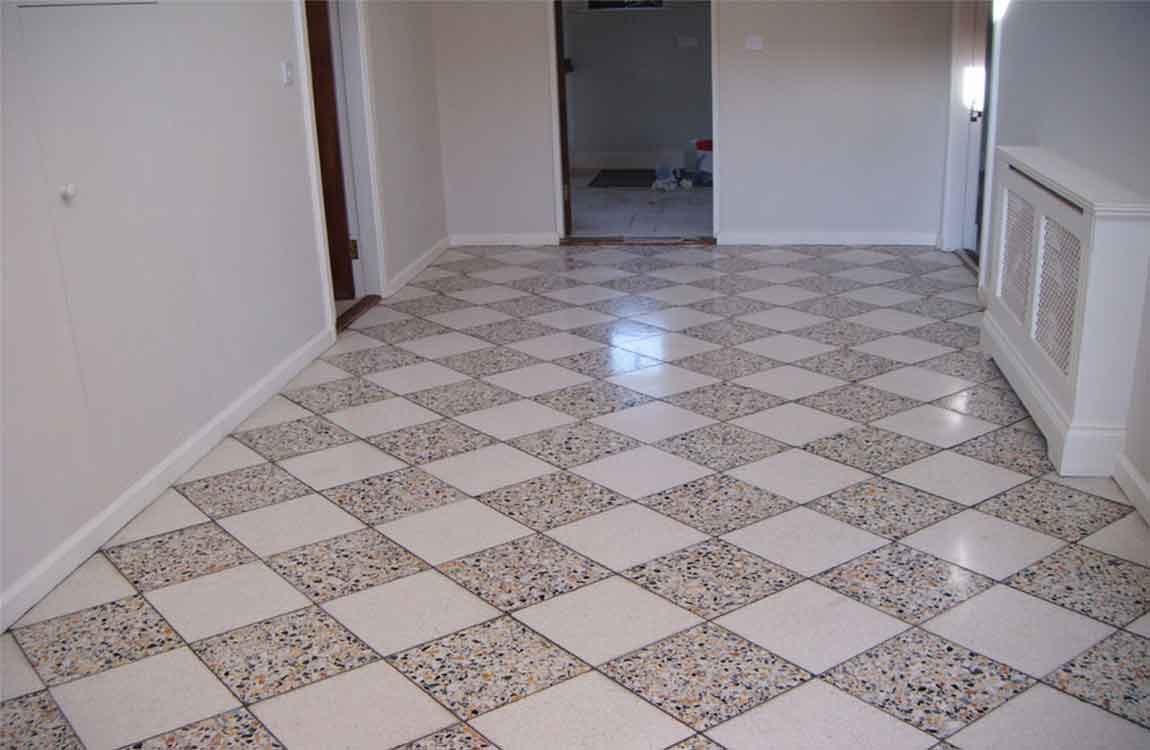
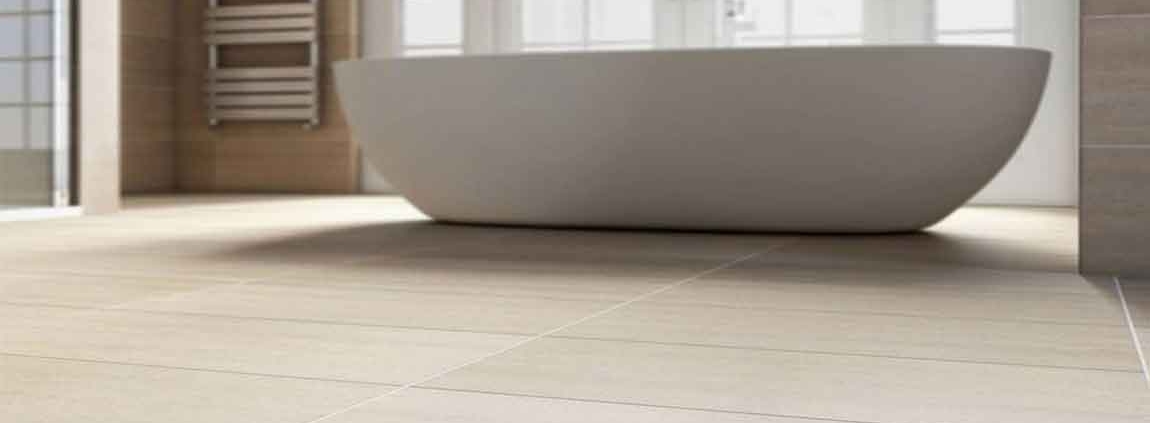
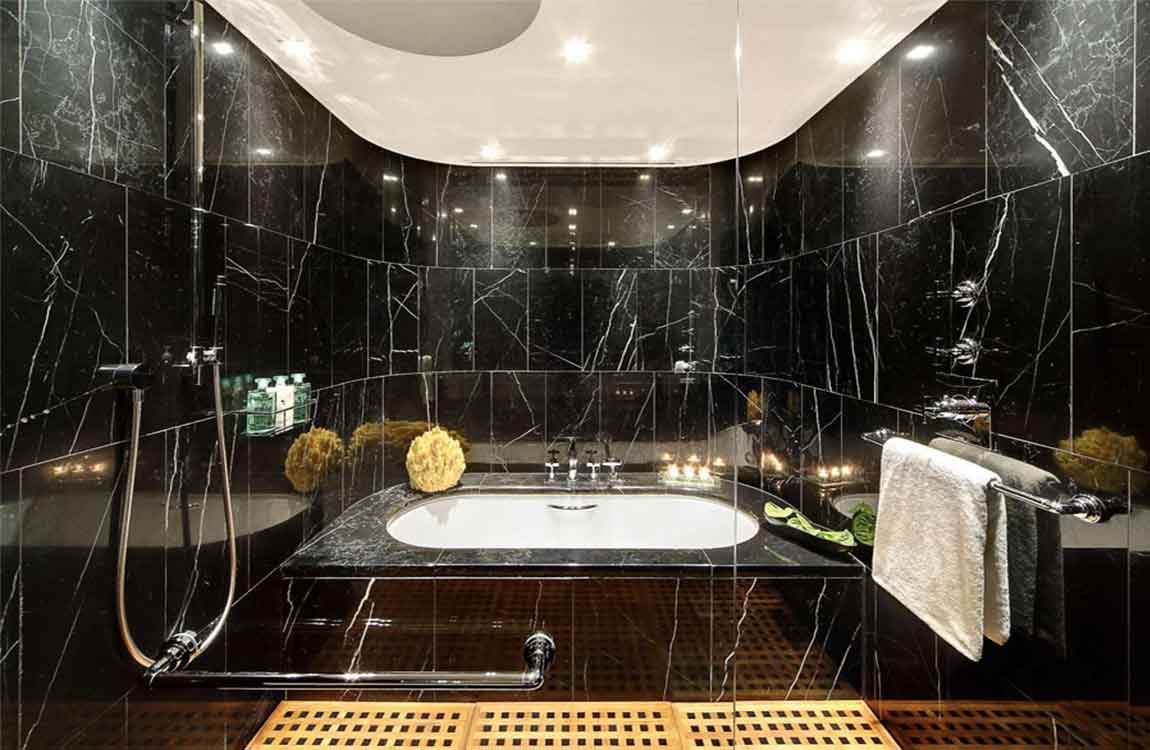
How to Clean a Cement Patio Tiles?

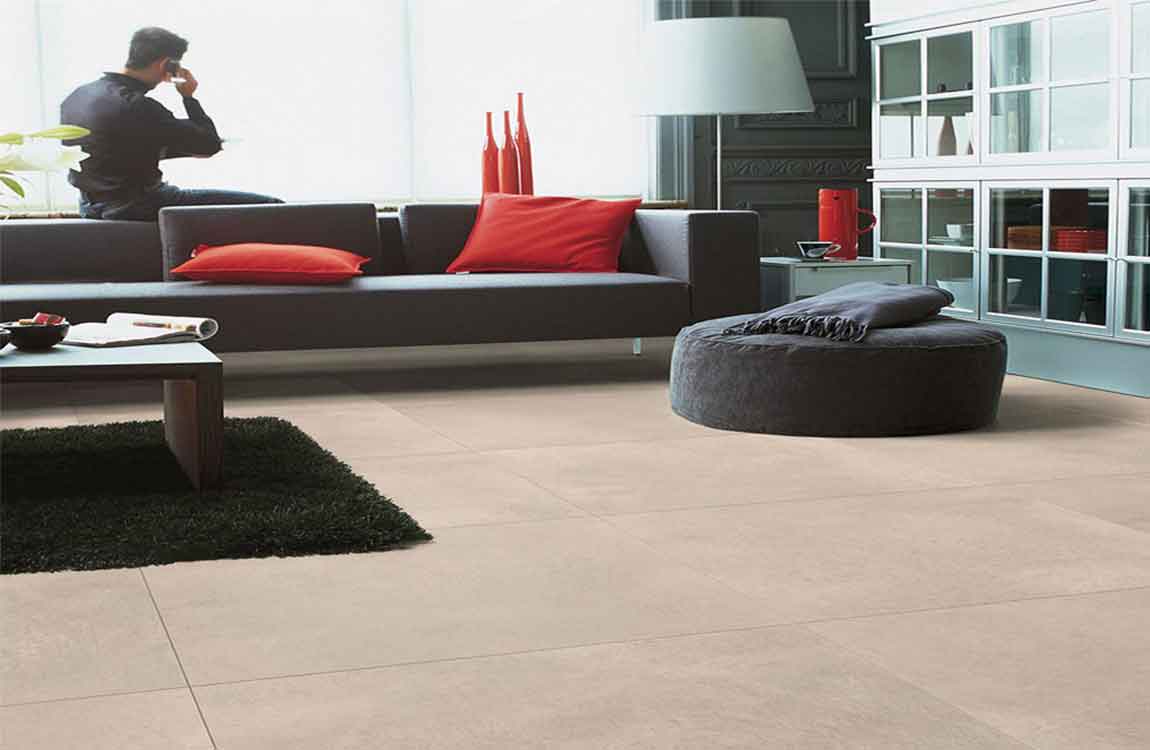
Also referred to as a concrete Patio Tiles, cement Patio Tiless are made of a durable material that can withstand a good amount of wear and tear over a long time. Unfortunately, because of their porous nature, cement Patio Tiless can get dirty and aren’t the easiest thing to clean.

If you stay diligent, you can maintain your cement Patio Tiles by cleaning it regularly with soap and water. However, if your Patio Tiles has stains or is old, there are other methods of deeper cleaning that include power washing and creating an acetone paste to absorb stains.

Mix the water together until bubbles start to form and the solution starts to create soap suds. Look for a dish soap that says it’s non-acidic on the label. Look for a pH-neutral dish soap when doing a simple cleaning of your Patio Tiles.

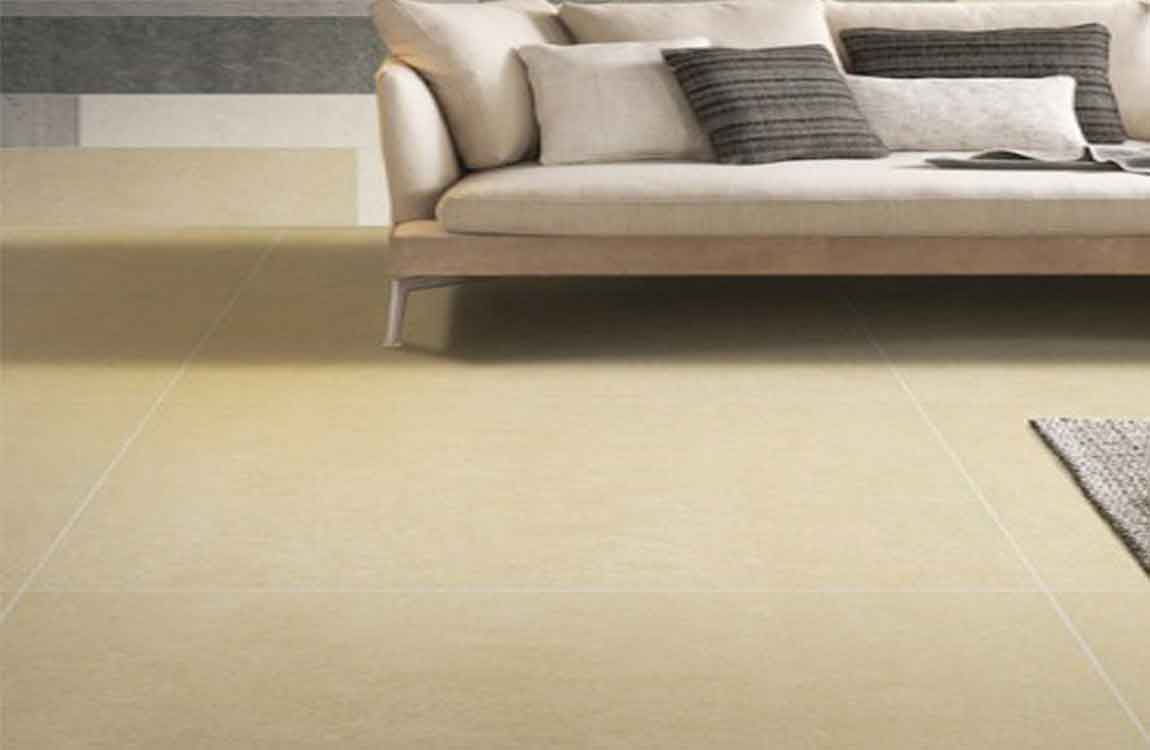
Clean the Patio Tiles floor with a wet mop. You can purchase a wet mop at most department or hardware stores. Dip the mop into the bucket and get it completely saturated with the water and soap solution that you created.

Move the mop onto the floor, working in a back and forth pattern to clean the floor. Use a hard-bristled brush to scrub tougher stains. Let the Patio Tiles dry. Wait 24 hours to let your Patio Tiles completely dry or use a leaf blower to dry your Patio Tiles faster.

How Using a Power Washer?

Rent a power washer from a hardware store. Some chain hardware stores will offer rentals on power washers if you don’t have one and don’t want to purchase one. Make sure to talk to the representative about options for attachments as well as different detergents made specifically for your washer. 

Explain that you are power washing concrete so that they can give you their recommendations. A surface cleaner attachment is the best attachment for cleaning concrete. To clean cement you’ll want a pressure washer that runs at least 3000 psi and can pump at least 4 gallons per minute.

Remove any furniture from your Patio Tiles. Obstructions could get in the way as you clean and make it harder to reach different areas of your Patio Tiles. You’ll need to move all of your furniture out of the way before you start using the power washer.

Rinse down your Patio Tiles with a garden hose. Use a garden hose to do a once over of your cement Patio Tiles. Get the cement saturated with water and remove any initial debris like sticks or leaves.

Apply detergent to the surface of your Patio Tiles. Use a detergent made specifically for the power washer that you have. Sprinkle the detergent over the entirety of your cement Patio Tiles and let it soak in for five minutes.

How Removing Grease and Oil Stains?

Blot oil and grease stains as soon as you see them. The longer that a grease or oil stain sits on the concrete the harder it will be to remove. Blot any stains that you see immediately with a paper towel so that it isn’t as difficult to remove later on.

Concrete is a porous material and absorbs oil and grease very easily.Combine acetone with kitty litter to form a paste. Put on a pair of gloves and dump 10 ounces (283.49 grams) of kitty litter into a bowl and add a couple of drops of acetone or nail polish remover to the bowl. 

Mix the solution together and then continue adding acetone until it starts to form a paste. If the paste is too dry, continue adding acetone to the bowl. If your paste comes out too watery, add more kitty litter to the solution.

This combination of an absorbent material and a solvent is called a poultice. You can use shredded paper towels, old newspapers, or sawdust as an alternative to kitty litter.

Spread the paste over the stains. Put on protective gloves and use your hands to spread the paste over the stains. Cover the paste with plastic wrap and allow the paste to oxidize for two hours. It should absorb some of the oil and grease stain.

How Performing a Simple Cleaning?


Remove the furniture from the Patio Tiles. Clear off your Patio Tiles of any tables, chairs, and any other furniture that makes contact with the ground. Having an empty Patio Tiles while you clean will enable you to wash the parts of the Patio Tiles that are usually under furniture.

Don’t forget to move plants, decorations, and lighting fixtures that might get in your way.If there are things you can’t move off the Patio Tiles, cover them with a tarp so they don’t get wet.

Sweep the floor. When dirt gets wet, it becomes sticky and is harder to clean. Before you get your Patio Tiles wet, use a push broom, leaf blower, or vacuum to expel dirt and dust. Make sure to remove all debris like sticks or leaves.

Rinse the surface with a garden hose. After you’ve gotten rid of the majority of dust and dirt, you can start to get the surface of the Patio Tiles wet. This will help wash away any initial dirt and any leftover dust.

If you have a pressure washer or a high-pressure nozzle for your garden hose you can use them to rinse down your Patio Tiles. Mix dish soap and warm water in a bucket. Fill a five-gallon bucket half way with warm water and put two to three squirts of a degreasing dish soap into the bucket.

How to Clean Soapstone Tiles?

Soapstone tiles is a type of soft stone mined from quarries, similar to limestone and granite. Since it’s naturally non-porous and stain-resistant, it makes a popular choice for household surfaces like countertops and sinks. Another one of Soapstone tiles’s perks is that it’s easy to clean, though there are a few important maintenance tasks that you’ll want to stay on top of.


Start by giving your Soapstone tiles a preliminary coat of mineral oil to lubricate it and give it a deep, rich charcoal color. After that, get in the habit of re-oiling your Soapstone tiles surface every few months to keep them looking their best. Rub the oil into the Soapstone tiles with a clean, dry cloth.


Polish the surface using smooth, circular motions, working your way gradually from one end to the other. Fold your cloth or sponge or press your fingers into a central point to penetrate into corners and narrow recesses. When you’re finished, inspect the surface from various angles. It should appear faintly glossy all over. If you’ve missed a spot, it will be obvious.


If you apply the oil unevenly, some sections of the Soapstone tiles make turn out darker than others. Allow the oil to sit for about half an hour. Remember, the oil won’t actually soak into the Soapstone tiles. What it’s doing is trapping moisture against the outer surface of the stone, which will eventually cause it to oxidize and take on a deep, rich, near-black color.


Soapstone tiles fresh from the quarry is a very light gray color. After a few coats of mineral oil will darken it to a more robust earthy tone. Use a separate cloth to remove any excess oil. Take a second clean, dry, lint-free cloth or paper towel and run it over the top of the Soapstone tiles. Doing so will pick up any lingering oil residue, leaving the surface sleek and ready for use.

How Cleaning and Maintaining Soapstone Tiles?


Re-oil your Soapstone tiles surface once a week for the first 1-2 months. For subsequent applications, simply dab a little oil onto a folded cloth and use it to lightly buff the surface from corner to corner. Frequent treatments will encourage the stone to deepen in color even further. There’s no need to re-oil the surface at all following its initial treatment, if you don’t want to.


In fact, many homeowners opt to let their Soapstone tiles return to its original light gray color. Tip: Another benefit of periodic oiling is that it remedies the appearance of light scratches caused by cookware and cutlery. Continue oiling the surface as needed when its water-resistance wears off.


After the first couple of months, you can cut back to applying oil on a provisional basis and reduce the amount of attention you give your Soapstone tiles. A good rule of thumb is to polish on a fresh coat whenever you notice that water is no longer beading on the surface, or forms dark stain-like spots where it collects on the stone.


If you want to add oiling your Soapstone tiles surfaces to your cleaning schedule, once every 2-3 months is a good interval to shoot for. Discoloration caused by moisture is temporary, and won’t affect the look of your Soapstone tiles surfaces in the long run. Clean your Soapstone tiles quickly with a mild soap solution.


No expensive products or complicated techniques required—just stir a few drops of liquid dish soap into a container of warm water and wet a clean cloth, microfiber towel, or non-abrasive sponge or scrubbing pad. A light scrubbing will leave the surface spotless and restore its subtle shine. Use a stiff-bristled brush to get down deeper into corners, recesses, grooves, and other hard-to-reach areas.

How Oiling Your Soapstone tiles Surface?


Wait a full day to treat your Soapstone tiles following installation. After having your Soapstone tiles surface put in, hold off on handling it for at least 24 hours. This will give the adhesives used during the installation process time to finish curing, ensuring that each piece stays remains secure for a good long time.


Putting off cleaning or oiling your Soapstone tiles for a while will also give you time to consider whether you want to oil it at all—some homeowners prefer to let the stone develop its own unique patina organically through regular use. Clean the surface with soap and water.


Before you begin oiling your Soapstone tiles, saturate a soft, clean, lint-free cloth, microfiber towel, or sponge with a mild soapy water solution and use it to go over the entire surface. Then, wring out your cloth, re-wet it with clean water, and wipe the surface again to rinse it. Be sure to soak up any standing water or traces of soap remaining on the surface prior to proceeding.


A quick wipedown will help remove dust and other debris so it doesn’t end up in your initial coat of oil. Drizzle a small amount of mineral oil onto the surface. Use just enough oil to spread a thin coat onto the surface by hand. Pour the oil directly onto the Soapstone tiles—it’s naturally non-porous, so it won’t absorb oil or moisture.


The fact that Soapstone tiles has a solid finish also means you won’t have to worry about it feeling slick or greasy as a result of becoming clogged with oil. of oil for every 1 square foot (0.093 m2) of Soapstone tiles should be plenty.}} Tip: 1 teaspoon (4.9 mL) of oil for every 1 square foot (0.093 m2) of Soapstone tiles should be plenty.

How Removing Stains?


Test cleaners in an inconspicuous area first. No matter what cleaner you’re using, it’s always a good idea to test it first, particularly with stronger cleaners. Put a little cleaner on the stone in a spot that’s out of the way. Leave it on for 5-10 minutes to see if it affects the Bluestone tiles.


If the cleaner causes a change in the stone color (after it dries), you shouldn’t use it on the stone. Be aware, though, that just lifting the grime off the stone can affect the color, so make sure it’s the actual stone that’s changing color. Apply an oxidizing cleaner to mold and mildew. Put on gloves and eye protection. Mix the cleaner into a bucket of water according to the package’s instructions.


Use a scrubbing brush to apply the cleaner to the surface, moving it back and forth to thoroughly cleanse the area. You can apply a lot of pressure to Bluestone tiles, so don’t worry about harming it. Leave the cleaner on for at least 12-15 minutes. When you’re done, make sure to rinse the area thoroughly.


Oxidizers work by adding oxygen to the area, removing stains and grime. Bleach is an oxidizer, but many other cleaners are oxidizers, too, which is actually an oxygen bleach cleaner. Don’t use this cleaner in direct sunlight, as it may evaporate before it can work. Pick a cleaner like Stain Solver for this purpose.


Try ammonia, bleach, or hydrogen peroxide for algae or mildew. Mix 0.5 cups (120 mL) of your chosen cleaner into 1 gallon (3.8 L) of warm water. Apply the cleaner with a scrubbing brush to the soiled area and let it sit for 5-10 minutes. Thoroughly rinse the area when you’re done. Never mix ammonia and bleach, as the solution creates toxic gases!

How Using Soap and Water?


Clean off any debris first. You don’t want to scrub leaves or dirt into the stone if you can help it. Sweep the area with a broom or wipe it down with a clean cloth to get it ready for scrubbing. Mix dish soap and water in a bucket. Pour in 1⁄2 cup (120 mL) or so of dish soap, then fill up the rest of the bucket with water.


Slosh it around a little to mix the soap into the water. You just need enough dish soap to make the water sudsy. Scrub the area with a scrubbing broom or brush. Dip the brush or broom into the mixture, getting it thoroughly wet. Scrub the stone in a circular motion, making sure you scrub all of the tiles thoroughly.


Dip the brush back into the mixture as it gets grimy. If you need to, wash the brush or broom out with a hose or in the sink. On stubborn areas, you can try a solution of half water, half vinegar or lemon juice. Rinse off inside areas with clean water. Once you’ve scrubbed down the whole area, dump out your bucket and fill it with clean water.


Rinse out your brush or broom, then go over the tile or counter to rinse the soap off. On a counter, you can also use a clean cloth to rinse it off. Spray outside areas with a small nozzle to get off dirt and caked-on grime. Attach a small sidewalk sweeper nozzle to the end of your hose.


Turn the hose on full blast and run the thin stream of water over your window or door features or patio tile. Rinse all the soap and dirt off until the area is completely clean. You can find these nozzles at your home improvement store. You can also use a power washer, but it can scour the stone if you’re not careful.

How to Clean Quartz Tiles?

Quartz is a popular material for kitchen tiles and tables. It’s scratch-resistant, antimicrobial, and easy to clean. However, it’s not stain-proof or scratch-proof. Whether you have a quartz tiles or are thinking of installing one, you’ll need to know how to safely perform daily cleanings, tackle stains, do twice-yearly deep cleanings, and make a poultice for especially tough stains.


Wipe down the tiles. Use a clean soft cloth to avoid scratching the surface. Mix equal parts warm water and dish washing liquid. Dip the cloth in the soapy water and wring out the excess. Wipe the surface using gentle counterclockwise strokes. Dry the surface with a clean nonabrasive cloth. Even if you don’t soil the tiles, wipe it down every day to keep it in good repair.


Fight grease with degreasing cleaner. You can buy this product in grocery stores or big box stores. Stick to a product labeled safe for quartz surfaces. Spray the cleaner on a clean nonabrasive cloth. Clean the tiles in a gentle counterclockwise motion. Rinse the surface immediately. As an alternative, you can use disinfectant wipes that don’t contain bleach.


Scrape away hardened spills. This includes egg, nail polish, and similar substances. Use a blunt plastic scraper to tackle these substances. Aim for the underside of the mess, scraping away from your body. Use warm water before anything else. Soak a clean nonabrasive cloth with warm water. Wipe the stain in a gentle counterclockwise motion. Use a clean soft cloth to dry the affected area.


Remove permanent marker with rubbing alcohol. If warm water doesn’t work, wet a cotton ball with isopropyl (rubbing) alcohol. Rub the stain in a gentle counterclockwise motion until the stain disappears. Dry the area with a clean soft cloth. Tackle wine with a magic eraser. Wet the magic eraser under a stream of warm water.