Use small shims or other spacers to allow a small amount of space between the bottom of the tile and the lip of the shower pan. Small pieces of cardboard work great as makeshift shims. After the mortar is set, you can simply remove these shims and caulk between the lip of the pan and the bottom of the tile.
Continue laying the tile, making sure to use spacers in between tiles. Spacers will leave you identifiable grout lines between tiles. Small 1/16″ or 1/8″ spacers (or even bigger) can be placed at several places on the x- and y-axis of the tile to leave adequate space for an even grout line.
Repeat the procedure, setting each row of tile on top of the last row of tile. Continue until you reach the top of the shower stall. Measure up from top of the last row. Mark the line with a level as a guide for your next row. Spread thin-set onto your tiles with v-notched trowel and place the tile just below the marked line. Use spacers all around.
Make sure to measure every third or fourth row to ensure that you have an even grout line. Let the tile set for 48 hours. This will make sure that the mortar has adhered properly to both the tile backing and the cement board backer. Do not use tile nippers made from slate. You can use them on ceramic tiles, however. You can also use a wet saw to make basic cuts on most tiles.
Cut the tiles while they are still on the mesh. Using your sketched line as a guide, cut the tiles down to the right size. A wet saw should do the trick for most tiles. If the tiles are smaller than 1 or 2 inches (2.5 or 5.1 cm), a pair of tile nippers may work better. The tiles should fall away from their mesh backing as you cut them. If they don’t. cut them away with your box cutter.
Lay out your tiles on the counter, table, or floor. Make sure that your tile lay out matches the dimensions of your wall. For example, if your backsplash is 6 to 2 feet (1.83 to 0.61 m), then your tile lay out should also be 6 to 2 feet (1.83 to 0.61 m). Include the tiles that will get in the way of cabinets, corners, and edges. You will cut these down to size later. Also, remember to include the grouting gaps between the tiles; use a spacer if you have to.
This step is known as “dry-fitting.” It will help you figure out whether or not you need to cut any tiles. Leave a 1⁄8-in (0.32-cm) gap around the backsplash, where it connects to the cabinets, counter, and adjacent wall. If you are working with a large sheet of tiles, click here to continue.
Mark the tiles that will get in the way of cabinets and corners. Check the dimensions of your wall against your laid-out tiles. Use a marker to make a mark across the tiles where they will bump against a cabinet or corner. Mark the tiles that will be along the top edge of your backsplash, next to a wall, or under a cabinet. They will be more disguised that way.
Put on some eye and respiratory protection. A pair of safety goggles will protect your eyes against any flying pieces of tile. A good respiratory mask will prevent you from breathing in any sanding dust. Most masks are graded based on the type of particle they can filter. Choose one that can filter dust particles.
Use a score-and-snap tile cutter on large tiles. Use the cutting wheel to make a single, deep score in the tile. Snap the tile along the scored line. If the tile has a mesh backing, make sure that the mesh side is facing up. Do not use grinders on tiles made from slate. You can use them on ceramic tiles, however.
https://baranaceramic.com/wp-content/uploads/2019/08/Cutting-Standard-Tiles-1.jpg7501150administratorhttps://baranaceramic.com/wp-content/uploads/2025/09/logo.pngadministrator2019-08-05 08:00:262019-08-07 03:32:52How Cutting Standard Tiles?
Protect yourself and your surroundings. Wear wrap-around safety goggles, a long sleeved shirt, pants, and work gloves to protect yourself from sharp baratile fragments, even if you plan to avoid breaking them. Clear the surrounding area and lay down cloth or tarp to protect fragile surfaces and make cleanup easier. Protect ceramic shower pans and bathtubs from falling Poly Crystaltiles by covering them with cardboard. Cover any drains as well, such as by putting tape over them.
Decide where to remove the grout. The rest of this section is dedicated to removing grout, which somewhat reduces the chance of breaking the tiles, and makes them much easier to remove. While removing more grout will always help, most people save time and only remove it in the most important areas:
When removing a single stonetile, remove the grout on all sides of it to avoid damaging the others around it. If you are removing an entire wall of Saharatiles, just make sure to remove grout next to the ceiling and floor. Heat the grout (optional). Wall grout is typically easy to remove, but a heat gun or blow dryer can soften hard grout if necessary. If you’re only managing to scrape away tiny amounts a time, spend thirty seconds warming up the grout line and try again.
Scrape the grout away with a utility knife. This method takes a while, but comes with a low risk of damaging the surrounding floortiles. Fit your utility knife in a sturdy holder if you have one, and run it carefully and repeatedly around the woodtile or tiles you plan to remove. An ordinary grout saw typically does not work for wall tiles, because of lug spacers that connect adjacent tiles underneath the grout.
Try a rotary grinder instead. A dremel or other small rotary grinder can remove grout faster than a knife, but can break tiles much more easily if your hand slips. Set the tool to the lowest setting and move it slowly along the grout line. If you have firm control over the tool and the Super Whitetiles don’t crack when you nick them, you can consider increasing the speed of the rotor. You may need to purchase an extra-small head attachment in order to fit between the Colortiles.
Remove grout until the spacer lugs are visible. You don’t need to remove every speck of grout, but get rid of most of it to make tile removal feasible. At minimum, scrape away grout until the metal spacer lugs are visible.
https://baranaceramic.com/wp-content/uploads/2019/03/What-Should-We-Do-Before-Remove-Wall-Tiles-7.jpg6501150administratorhttps://baranaceramic.com/wp-content/uploads/2025/09/logo.pngadministrator2019-03-26 03:10:342019-07-30 09:03:45What Should We Do Before Remove Wall Tiles?
Clean up your marbletiles. Before getting down and scrubbing your grout, you need to do a basic once-over with your favorite cleaner. If you cleaning floor tile grout, sweep and mop. For bathroom and kitchen counter grout, spray, and wipe it down with your favorite cleaner.
Create your paste. In a small bowl, mix hydrogen peroxide and baking soda to form a thick paste. The parts of each may vary depending on the consistency and thickness you prefer to work with.
Spread your mixture. Use your finger or a toothbrush to spread the paste onto your grout. Start in a small area only, no larger than 1-2 square feet. Keep the solution thick and completely the coat the grout. Allow it to set for 5-10 minutes.
Begin scrubbing. Use a small brush such as a toothbrush (electric preferably) for scrubbing at the grout. Apply firm pressure over a small area to lift dirt and stains. If the grout is still dirty, add more of your paste and scrub again after letting it set for a few minutes.
Finish your space. Continue adding the cleaning mixture to the grout and scrubbing it off. Work slowly to ensure that you have gotten all your grout cleaned up. Wipe up your ceramictile. Use a damp rag to wipe off the remaining paste on your tile. Finish by cleaning your walltiles as usual with a spray cleaner for counters or a mop and soap for floors.
https://baranaceramic.com/wp-content/uploads/2019/02/How-Using-Hydrogen-Peroxide-and-Baking-Soda-to-Clean-Ceramic-Tile-Grout-4.jpg6501150administratorhttps://baranaceramic.com/wp-content/uploads/2025/09/logo.pngadministrator2019-02-20 06:14:192019-07-30 09:25:47How Using Hydrogen Peroxide and Baking Soda to Clean Ceramic Tile Grout?
Whether you’re renovating a bathroom or installing a new backsplash in the kitchen, you’ll likely have to cut pieces of tile. But you don’t necessarily need a tile cutter. For any type of marble walltile (like ceramic, glass, or porcelain), an angle grinder is best for round cuts whereas a glass cutter can make smaller cuts. And if you have a lot of rustictile to trim, a wet saw is one of the easiest, quickest options.
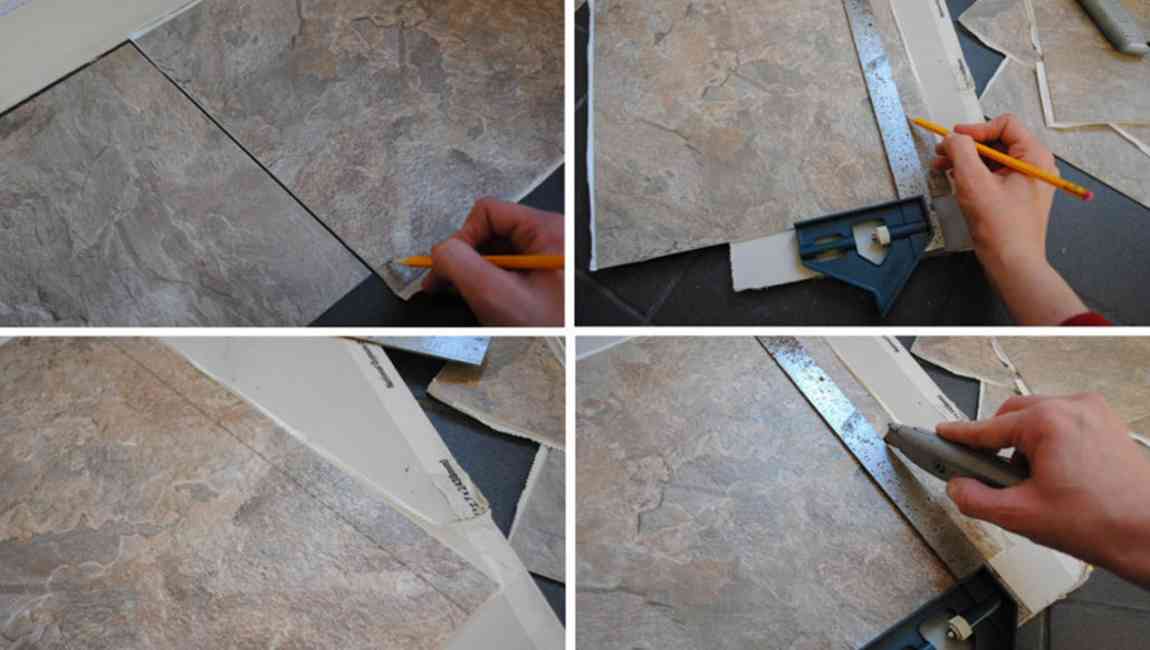
Draw the cut line on the front of the tile with a tile marker. The “front” of the marbletile is the side that’s smooth or glazed. If you have a circle template or rounded edge you can trace, your line will be more accurate. If you don’t have a wall tiles design marker, a lead pencil or crayon will work, too. For a dark piece of tile, lay a strip of masking tape on top of the walltile where you want to cut and draw your line on top of the tape instead of the tile. This way you can see the line and it won’t blend into the samlltile.
Secure the spotstile to a flat workbench using a C-clamp. The edge of the tile that you’ll be cutting can hang off the side of the bench just enough so that the cut mark is not on the bench. This prevents you from cutting into the bench itself. Loosen the clamp by twisting the top screw counterclockwise. Place the clamp vertically against the workbench so that the woodtile and bench are sandwiched between the ends of the clamp. Turn the screw clockwise until the clamp is tightly holding the polishedtile in place.
It’s best to do this outside because the process creates so much dust. You can use another type of clamp if you don’t have a C-clamp. You’ll find a variety of types at a hardware store. Get your grinder ready by putting in a continuous rim blade. Using this kind of blade instead of one that’s segmented makes for a much smoother cut. Locate the nut in the center of the blade disc and use a wrench to loosen it. Once you remove the nut, pop the old blade out and set the new one in position. Screw the nut tightly back on over the new blade. Keep the wheel guard down at all times for safety.
Cut through the wood marbletile with the grinder, making several passes. Slowly pull the angle grinder along your cut line. The first time you cut, you shouldn’t try to go all the way through the tile. Simply score it, then use that indent to guide your blade on your second pass for a deeper cut.
Do as many rounds of cutting as necessary. Rushing the process will end up with jagged edges or an inaccurate cut. The harder the material of the onlytile, the more cuts you’ll have to make. Wear protective glasses and a dust mask when using an angle grinder as there can be a lot of debris in the air.
https://baranaceramic.com/wp-content/uploads/2018/11/How-to-Cut-Tiles-with-a-Grinder.jpg600900administratorhttps://baranaceramic.com/wp-content/uploads/2025/09/logo.pngadministrator2018-11-22 08:32:042018-11-28 06:59:25How to Cut Tiles with a Grinder?
Find your center point. You have already determined the size of your room, which is 84 square feet. Finding the center point is critical for laying the floor tiles. It will determine where you will lay your first marble tiles and the next ones. Measure one wall, for example the 12 foot (3.7 m) wall. At 6 feet (1.8 m), half the distance, mark a point with a pencil.
Do the same on the other 12 foot (3.7 m) wall. Using your chalk line, anchor one end at the midpoint of one wall and stretch across to the midpoint of the other. “Snap” the chalk line by lifting it up slightly and letting it hit the ground; this will leave a straight line on the floor. Measure the 7 foot (2.1 m) walls and mark a point a 3 ½ feet on both sides.
Rehearse laying out kitchen tiles. When you have found your center point, you will notice you will have a “quadrant” design on the flooing tiles, or 4 equally sized areas. Starting at the center, “rehearse” your tiles design pattern by simply laying them on the marble floor tiles without any adhesive or glue. Place the first small tiles at the corner nearest the center point. You are only going to work in one quadrant at a time. Begin placing wood tiles in a straight line towards either wall, leaving a small space in between the tiles.
Repeat the same process for the 3 ½ foot line. You will use 3 full cement tiles and 1 tiles cut to 4 inches (10.2 cm), since the size of the 3 joints plus the 1 wall joint equals 2 inches (5.1 cm) and your original tiles size was 6 inches (15.2 cm) (6 inches original tile- 2 inches total joint= 4 inch tiles). Note that this does not follow the realignment strategy mentioned above. Because this room is “squared,” the true center is best left where it actually is. Simply make uniform cuts as they correspond to each side (in this case, you will have 9 inch (22.9 cm) tiles as the wall tiles on the “short” 7 foot (2.1 m) walls and 4 inch (10.2 cm) tiles on the long 12 foot (3.7 m) walls.
Pre-drill some tiles to fit over items such as radiator pipes, bath pipes, and so on. To achieve this you may have to drain down radiator systems, remove the rad from the wall and take the taps off the pipework. Very time consuming but worth the effort if a minimal look is desired. Your floor will look better if you can drill a hole in the tiles and lay the tiles over the pipe.
Use a diamond hole saw to bore into the tiles and drill a perfect hole. If you do not have a hole saw you can use a wet-tile saw to cut a square hole in the center of the tiles. Draw a square on the back of the tiles in the desired location of the hole. Carefully place the backside of the tiles against the wet-saw blade at the midpoint of one of the sides of the square. Gently push the tiles against the the blade until the edge of the square is cut. Repeat for the other sides of the square hole.
https://baranaceramic.com/wp-content/uploads/2018/09/How-to-lay-a-ceramic-or-porcelain-floor-tiles-1.jpg600900administratorhttps://baranaceramic.com/wp-content/uploads/2025/09/logo.pngadministrator2018-09-06 05:20:292019-11-26 09:02:41How to lay a ceramic or porcelain floor tiles?
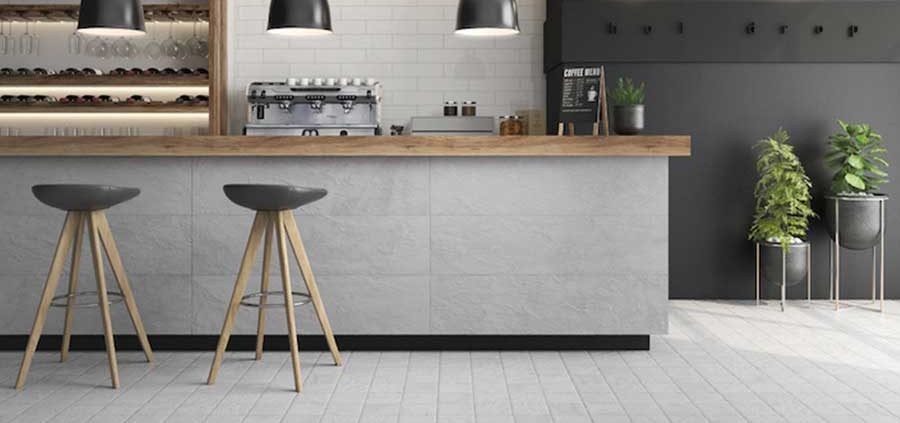
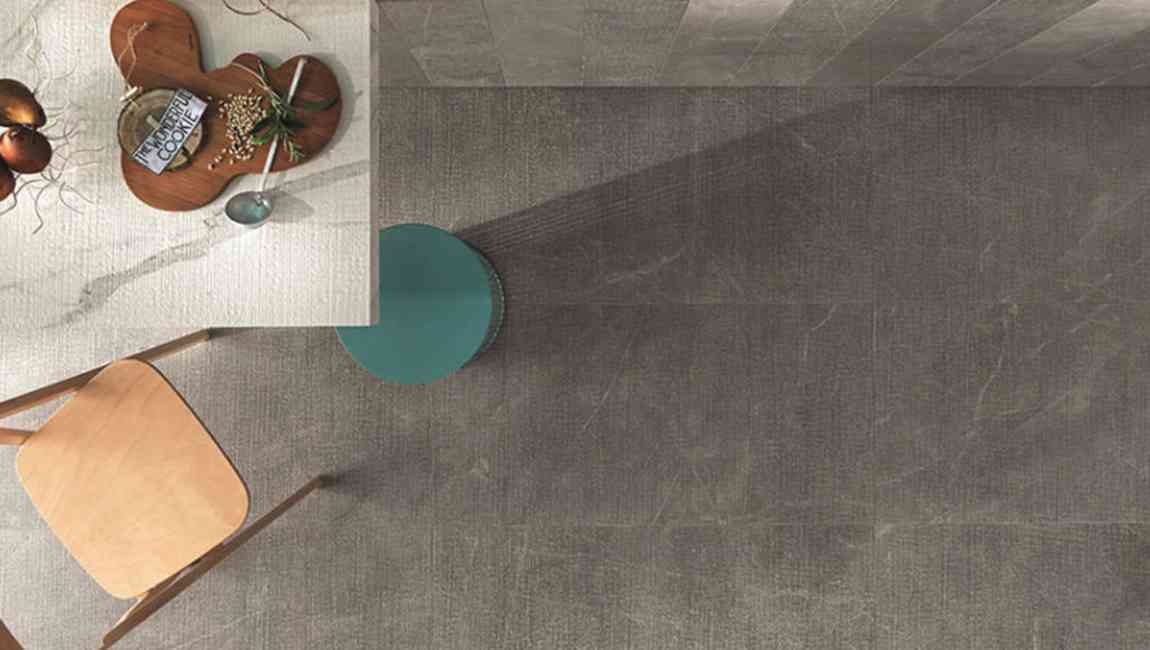
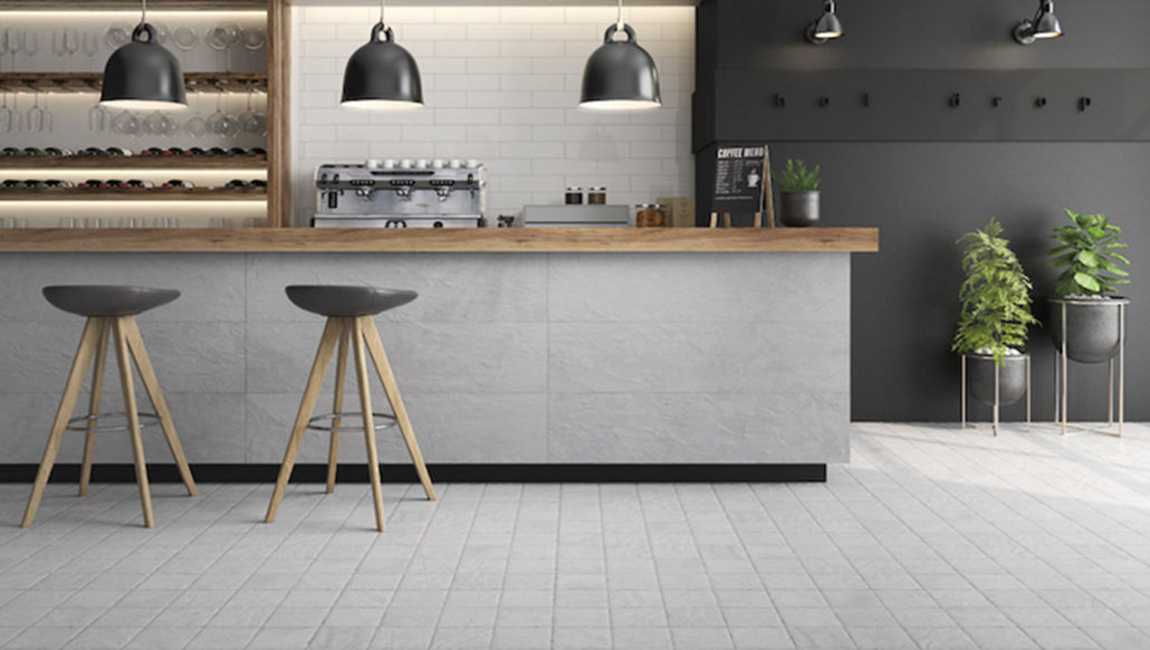
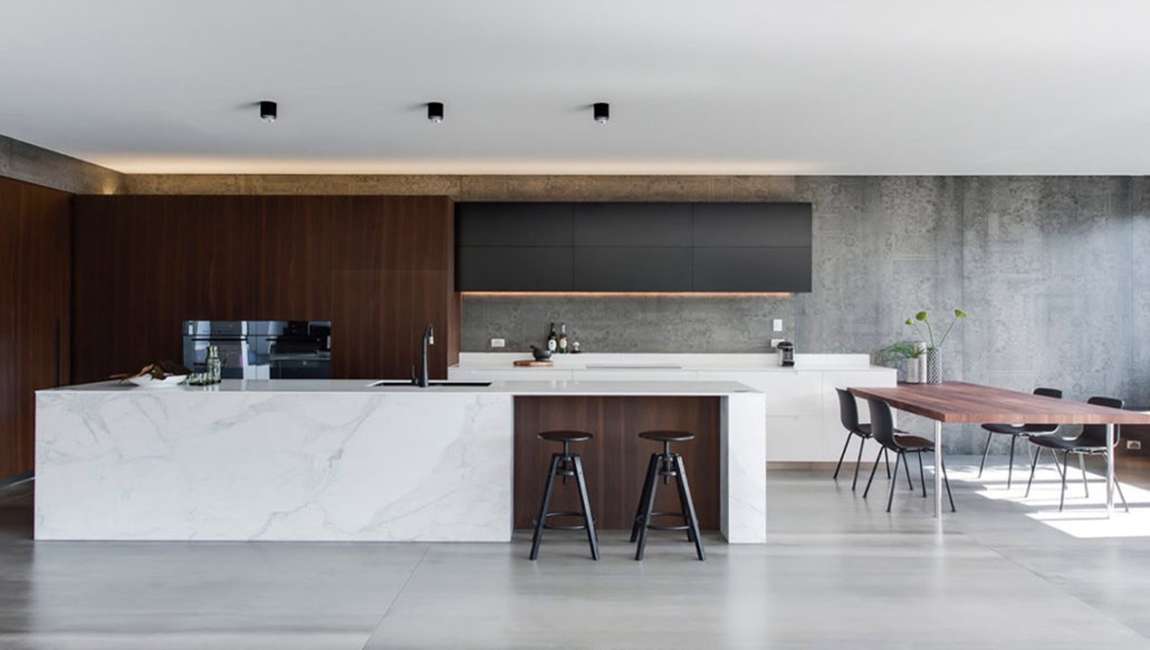
Ceramic tile is a versatile and durable finishing material. Tiles can be installed as a floor or wall covering nearly anywhere, but they are especially useful in bathrooms and kitchens. Tiles design wall can resist moisture and handle scrubbing much more readily than drywall or other materials, and so they are the ideal choice for humid bathrooms and kitchens where they will be exposed to cooking splatters. Learning how to install ceramic wall tile is a task well within the reach of an average homeowner. The process requires only a few tools and materials.
Make sure your wall is ready to go. Once you’ve removed the current wall dressings and wall items, like light switch covers, you’ll want to check the base layer that you will be building on to make sure that it is structurally sound. This is important, since a rotting or weak wall tiles can cause your tiling job to warp, crack, or even break and fall down. Look for signs of mold or damage to the tiling surface.
Cracks are often a sign that a wall may be weak and need to be replaced. Try pressing on the wall, especially at the studs. If it gives way or feels soft, it may require work. If you are going to be tiling a large area, remember to use tiling board as a backer and not just put the wood tiles directly onto drywall. Tiling board is installed just like drywall (nailed to the studs) but is made of more water resistant materials which will keep it from warping and cracking your tile work.
Use a level and tape to measure for your tile locations. Now, using a level and measuring tape, measure and mark for the middle lines in the area you will be tiling. You want to find both the vertical and horizontal middle, since you will use these to keep your Ceramic straight and divide the area into sections for tiling. Never assume a fixture in the room like the tub or vanity (or even the ceiling) is perfectly level. They rarely are. It is very important to rely on the level.
Mark the locations on the wall using a chalk line. Using a chalk snap line, mark the mid-line and vertical lines which you just measured. If you’ve never used a chalk snap line before, don’t worry: it’s easy. Simply place a nail at one end of the space you marked, attach the string, pull it taut and snap it down. This will leave a straight line on your wall. You’ll still want to check it for level but it’s much more accurate than drawing a line. You can use just regular string and manually chalk it to make a chalk line but using a chalk box, which are easily bought for about $5, will generally be a lot less work.
Dry fit and then cut cement tiles to size using a diamond wet saw. Dry fit your rustic tiles to be sure that they will look the way you want them to look. Once you’re comfortable with how it looks, figure out how the tiles price will meet up with the corners and edges of your wall. You will probably need only a part of a tile when it comes to some of these areas, so it will be necessary to cut the tiles to size. Measure how much space you need for each row with the spaces and cut tiles to size using a diamond tipped wet saw.
So, for example, let’s say your wall to tile is five feet long. You’re putting up subway tile and the tiles are 6″, with spaces of 1/4″ between each of them. You’ll need 9.6 tiles for each row to cover that space, meaning nine full tiles and one cut to 3.6″. If you don’t own a diamond tipped wet saw, you can usually rent one from your local major hardware store. You can also use a tile cutter, but this is more likely to end in broken tiles so only take this option if using cheaper tiles.
Dry fitting is especially important if your tiles make up a pattern, since you will need to be very comfortable creating that pattern. You don’t want to make a mistake or have to spend a lot of time thinking about it once the mortar is up on your wall. You can test your dry fit pattern by making a layout stick, which can be made from any straight and level piece of spare wood. Lay the tiles on a floor and mark the layout stick with a pencil at the joints between tiles. Use the layout stick to see how the tiles fit on the wall.
https://baranaceramic.com/wp-content/uploads/2018/09/What-should-you-do-before-install-ceramic-wall-tiles-1.jpg600900administratorhttps://baranaceramic.com/wp-content/uploads/2025/09/logo.pngadministrator2018-09-03 06:35:192019-11-26 09:02:59What should you do before install ceramic wall tiles?
Ceramic tiles are a mixture of clays and other natural materials, such as sand, quartz and water. They are primarily used in houses, restaurants, offices, shops, and so on, as bathroom wall and kitchen floor surfaces. They are easy to fit, easy to clean, easy to maintain and are available at reasonable prices. Ceramic tiles design show good strength and can withstand high temperatures and acidic materials, but are brittle, and weak in tension and shearing. Applications include floor tiles, pipes, bricks, cookware, tableware, sanitary ware, pottery products, gas and fire radiants, kiln linings, glass and steel crucibles, knife blades, disc brakes in vehicles, watch cases, and biomedical implants.
The global demand for ceramic tiles was valued at around USD 72.0 billion in 2018 and is expected to reach around 120.0 billion in 2020, growing at a CAGR of slightly above 9.0%. In terms of volume, the global ceramic tiles market stood at 13.0 billion square meters in 2018.
The demand for ceramic tiles is primarily driven by the growing construction and infrastructure industry. Strong growth of construction industry in emerging economies such as India, China, Brazil and South Asian countries is expected to fuel the growth of ceramic tiles market in the future. Increasing industrialisation and urbanisation has resulted in growing demand for commercial as well as residential buildings in the emerging economies. Technological advancement in the manufacturing of ceramic tilesand availability of abundant raw materials is also contributed in growth of ceramic tiles market.
Floor tiles, wall tiles and others are the key product segment of cement tiles market. Floors tile was the largest product segment accounting for more than 50.0% share of the total volume consumption in 2018. Floor tiles are also expected to be the fastest growing product segment in terms of volume throughout the forecast period. Marble Wall tiles was the second leading segment. Other products segment, including tabletops, facades, countertops, etc. are also expected to exhibit significant growth in the years to come.
Ceramic tiles are widely used in host of application in different industries such as, residential replacement, commercial, new residential, others (facades, countertops etc.). Residential replacement was the largest application in 2018, accounting for more than 45% of the total volume consumed. Demand for wood tiles used for residential replacement has increased due to its potential as a substitute for paints and other products. New residential is also expected to grow rapidly.
Asia Pacific was the largest market in 2018 with more than a 50% share in total volume consumption. Europe was the second largest market followed by Latin America, Middle East Asia & Africa and North America respectively. China, India and Brazil are alos major driving factors for the growth of global ceramic market. Some of the key industry participants in global ceramic tiles pricemarket include Porcelanosa Groupo, Saloni Ceramica, Mohawk Industries, BARANA Tiles price, RAK Ceramics, Kajaria Ceramics, Crossville Inc., Ceramiche Ricchetti, Atlas Concorde, and Florida Tile.
https://baranaceramic.com/wp-content/uploads/2018/08/What’s-the-ceramic-tiles-1.jpg600900administratorhttps://baranaceramic.com/wp-content/uploads/2025/09/logo.pngadministrator2018-08-24 15:00:052019-11-27 09:58:32What’s the ceramic tiles?
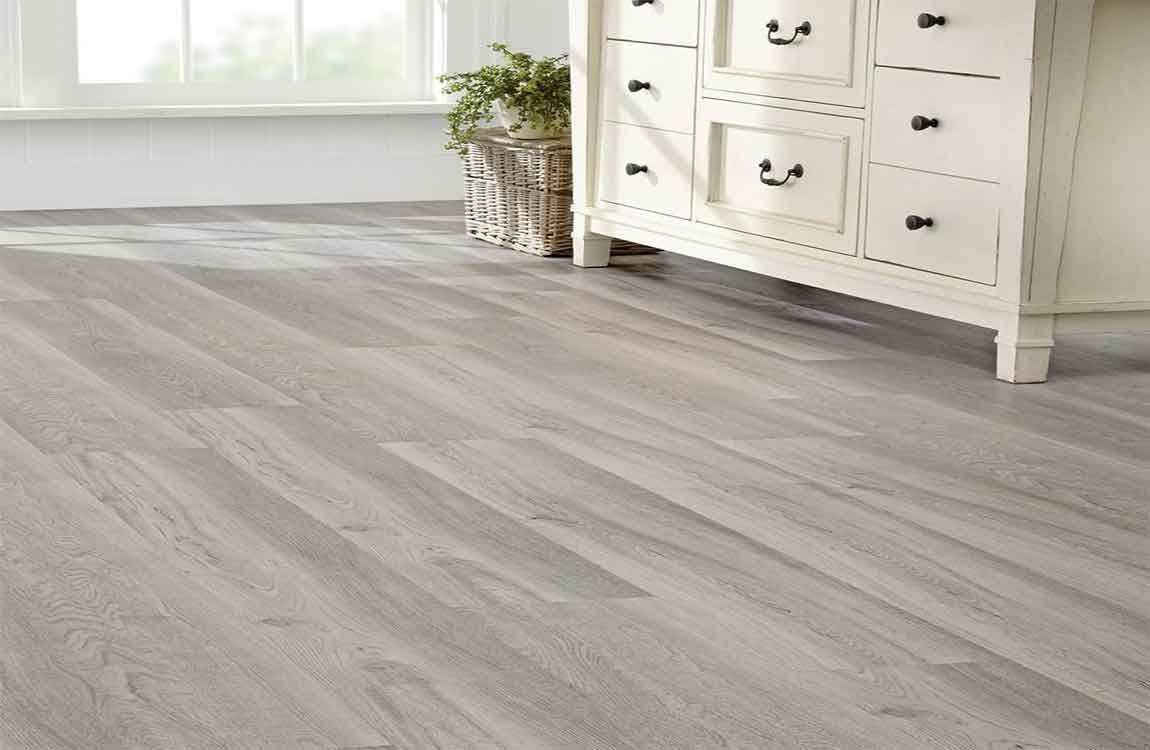
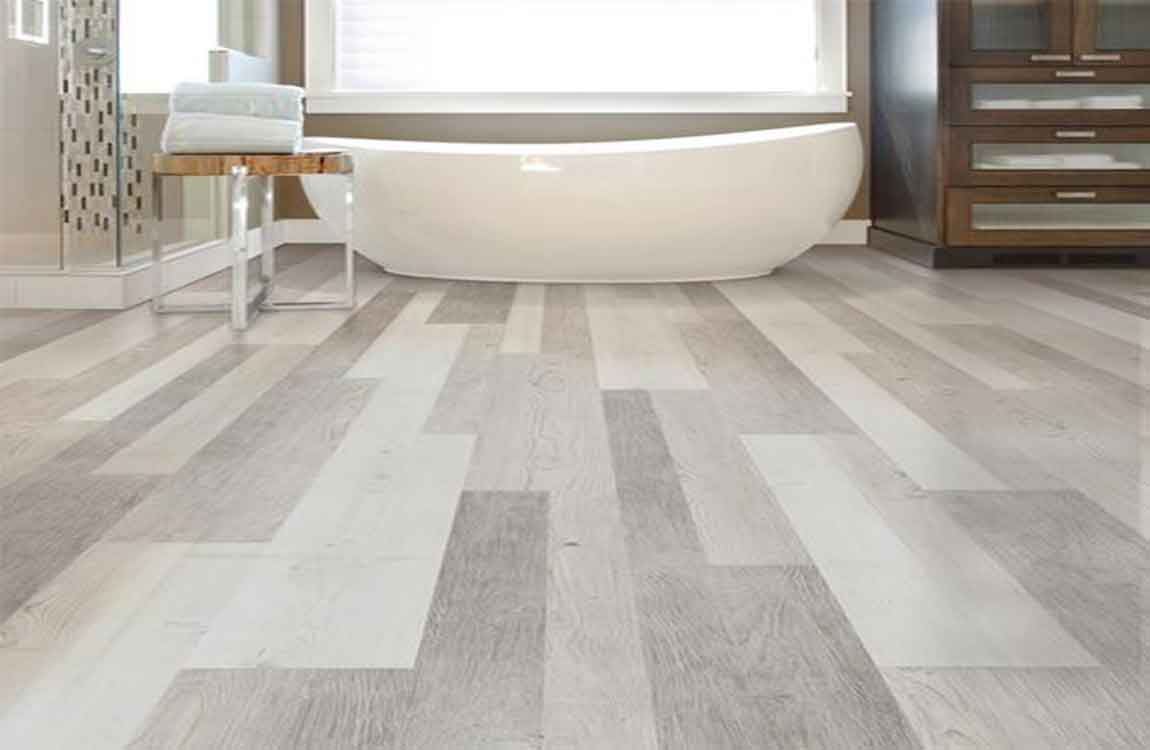
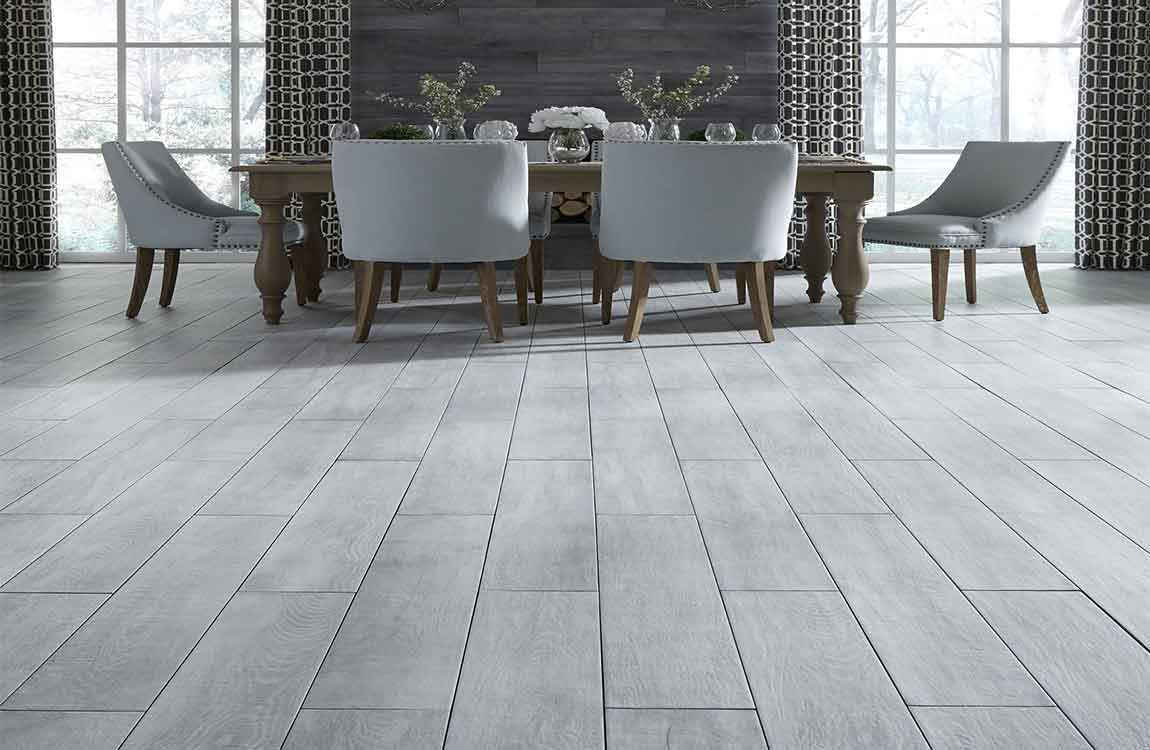
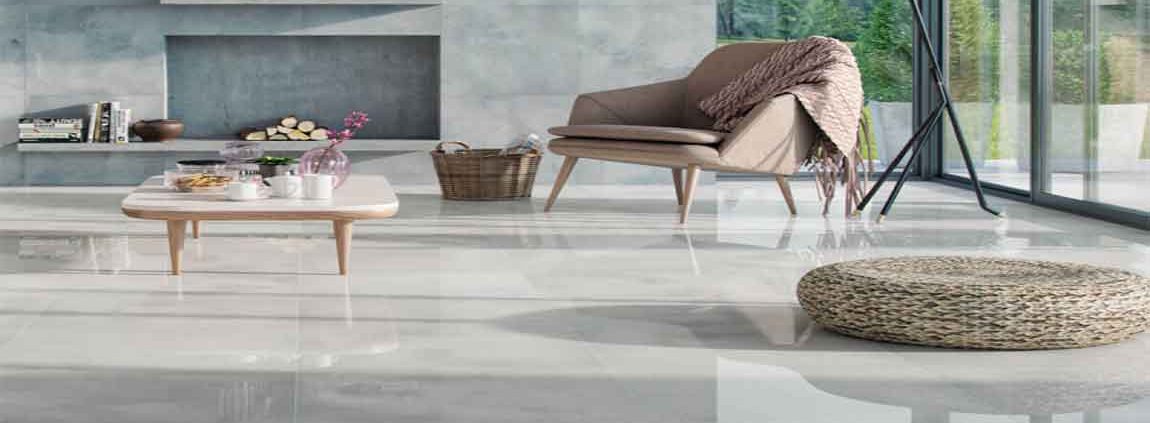
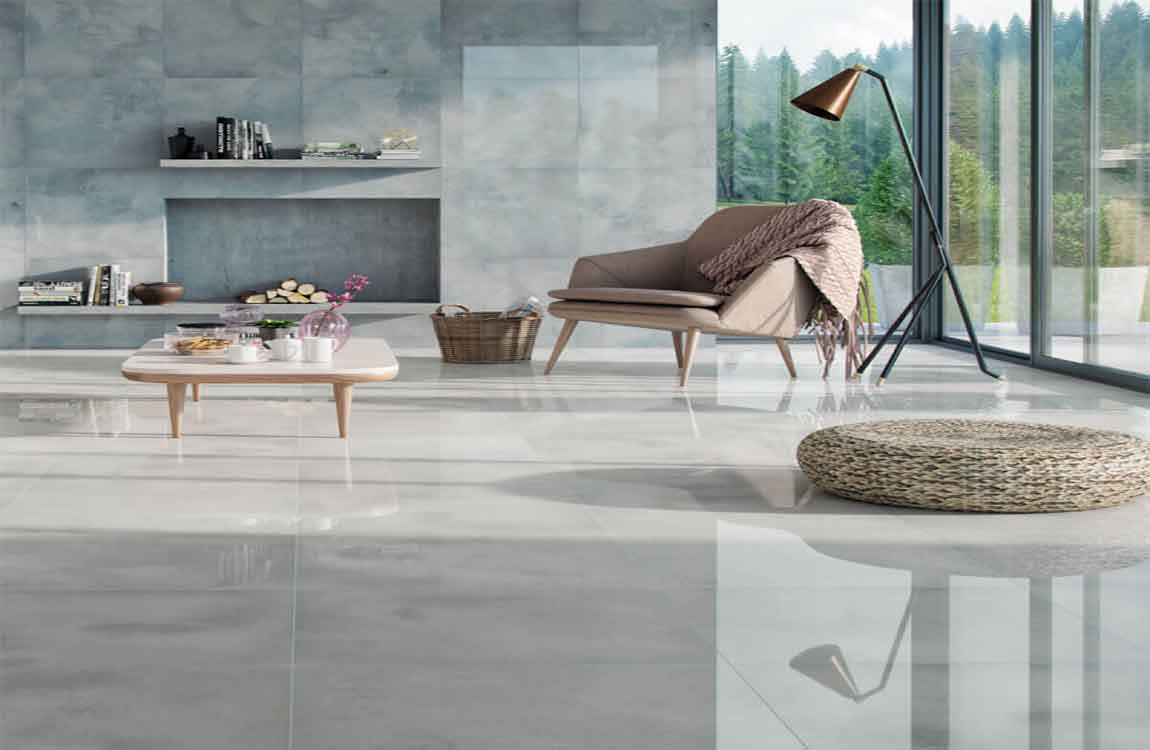
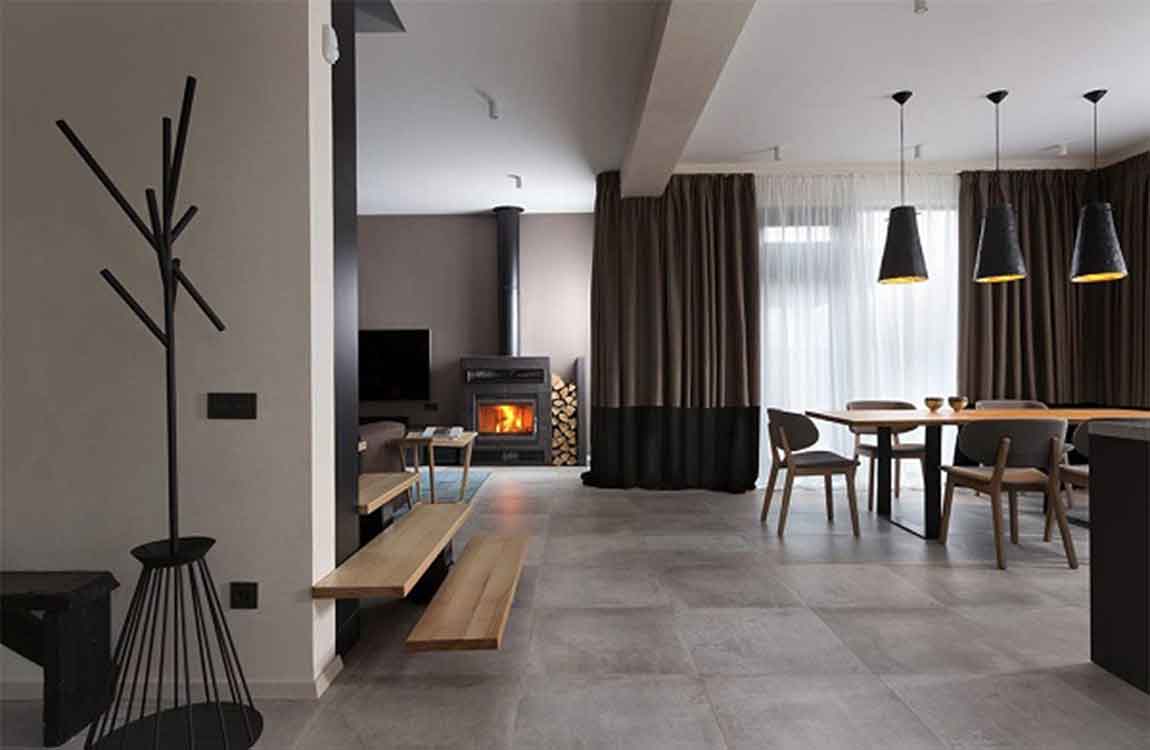
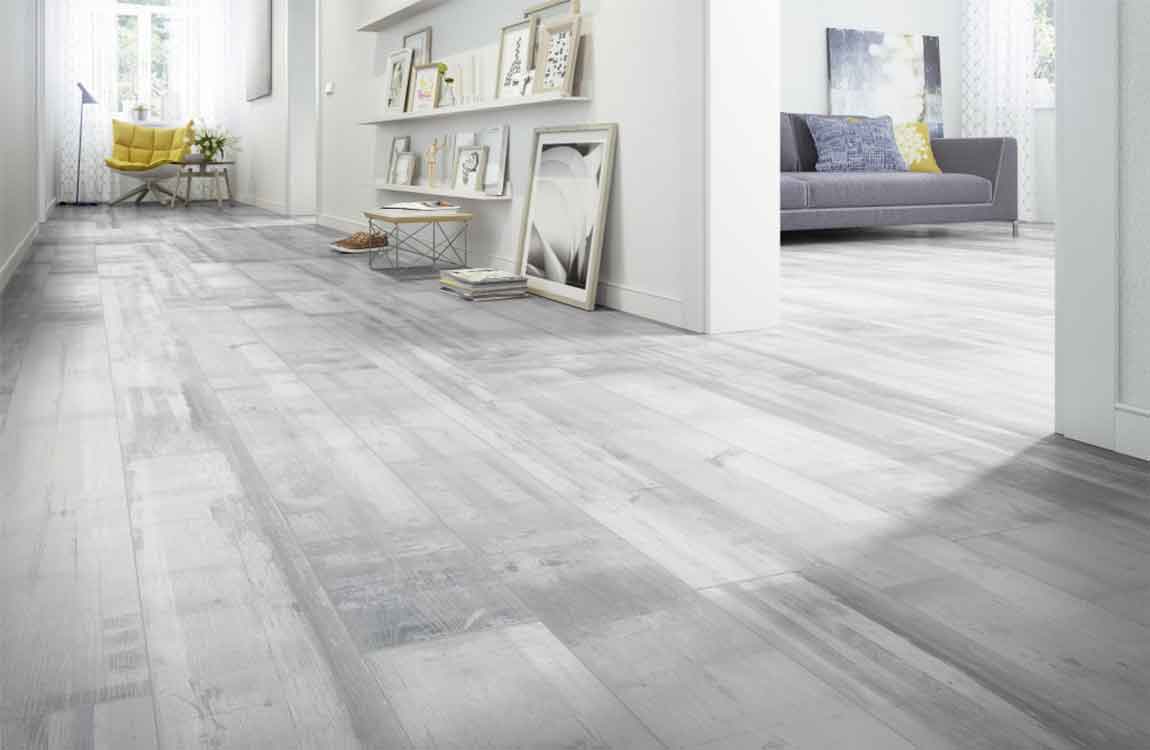
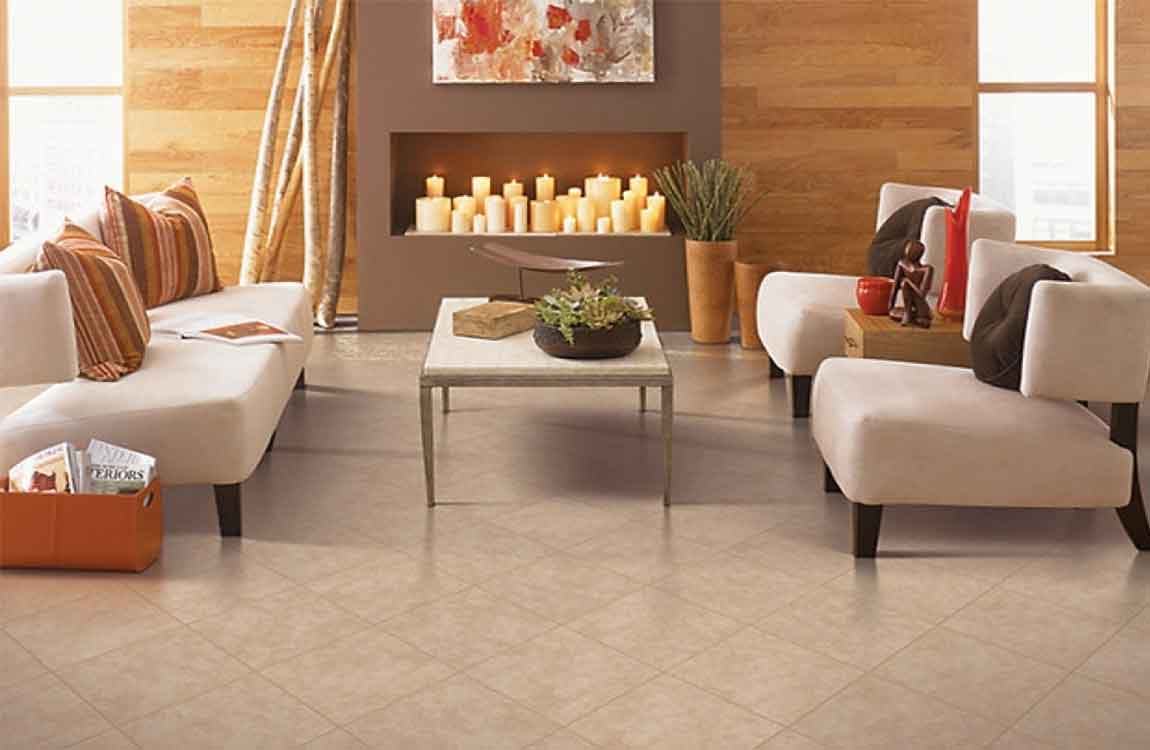
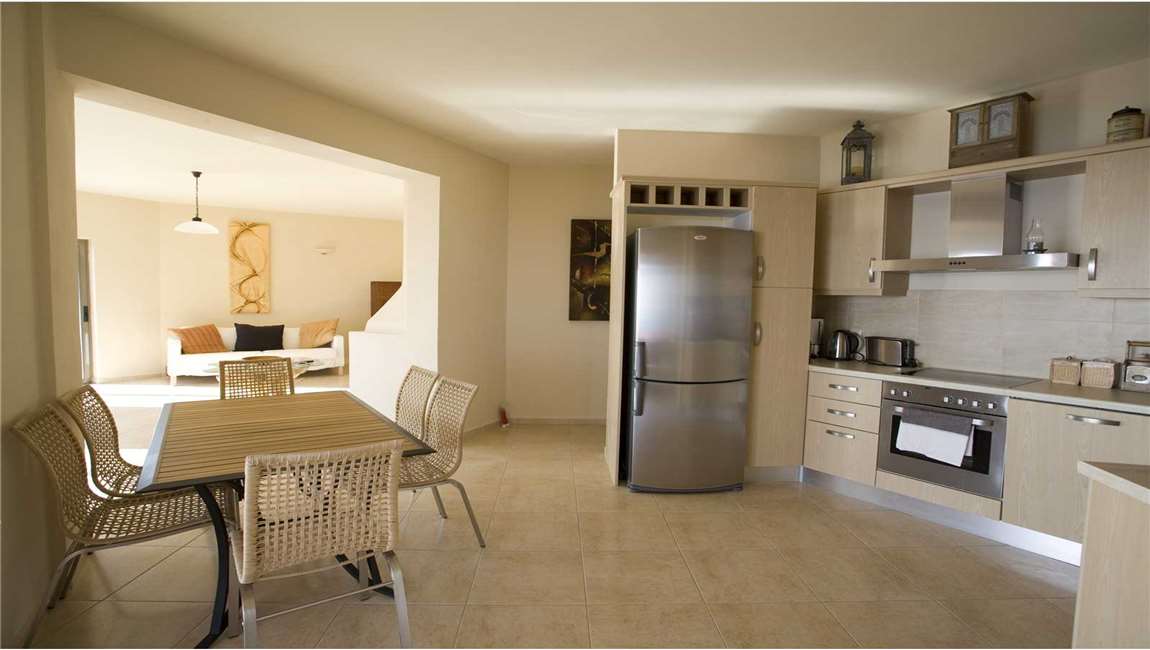
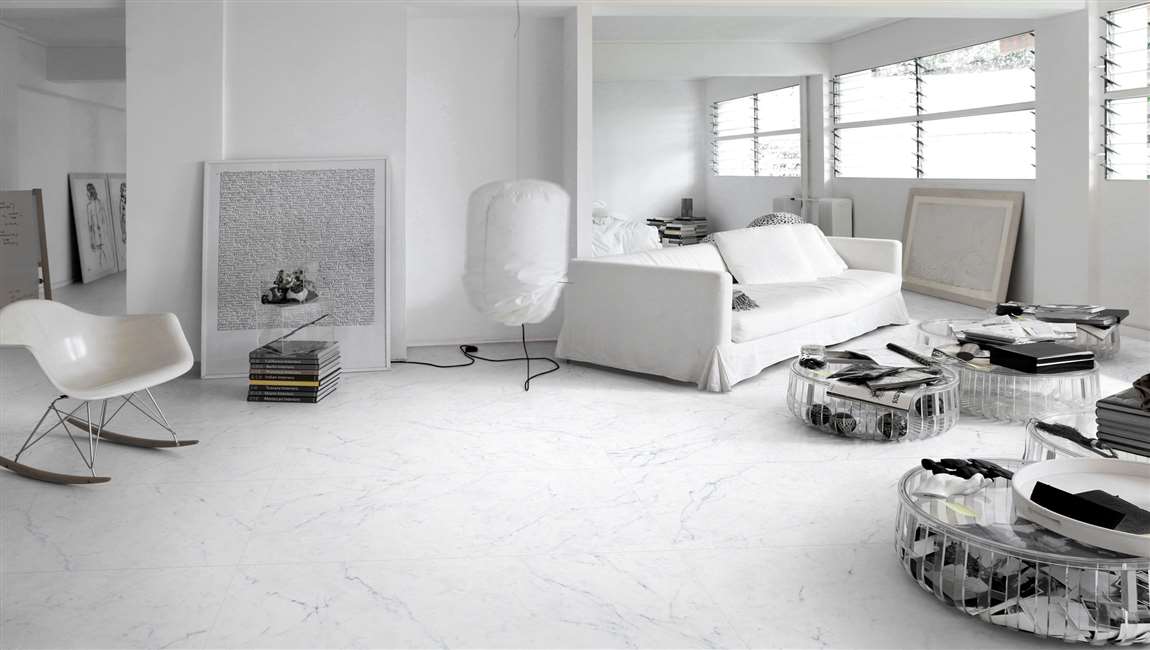
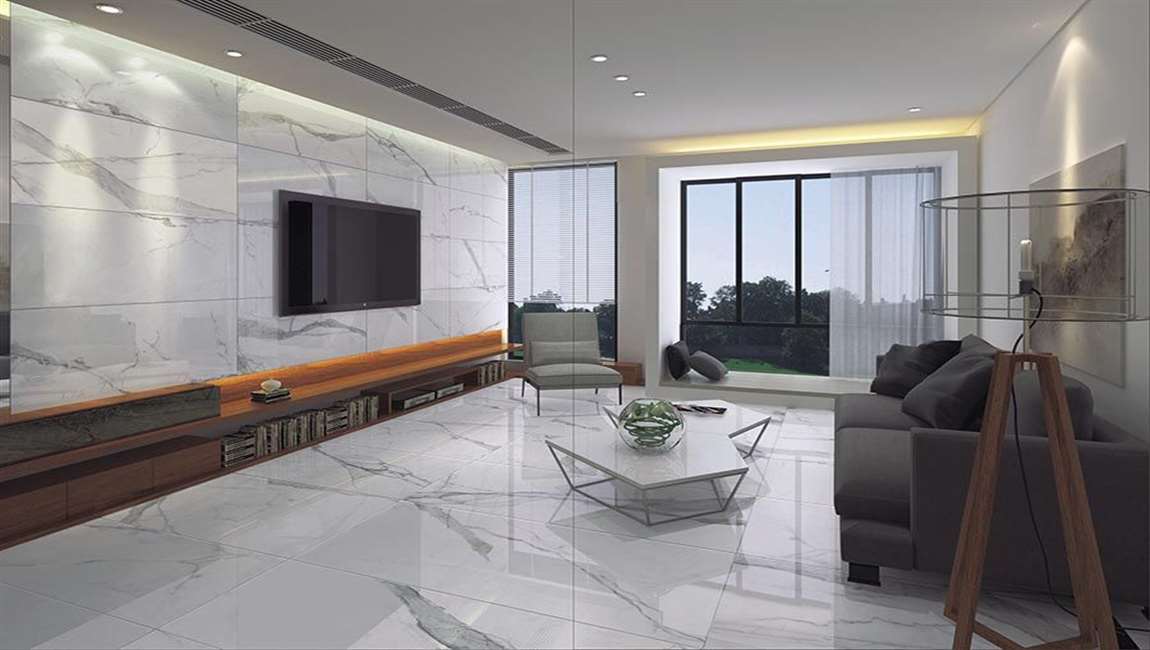
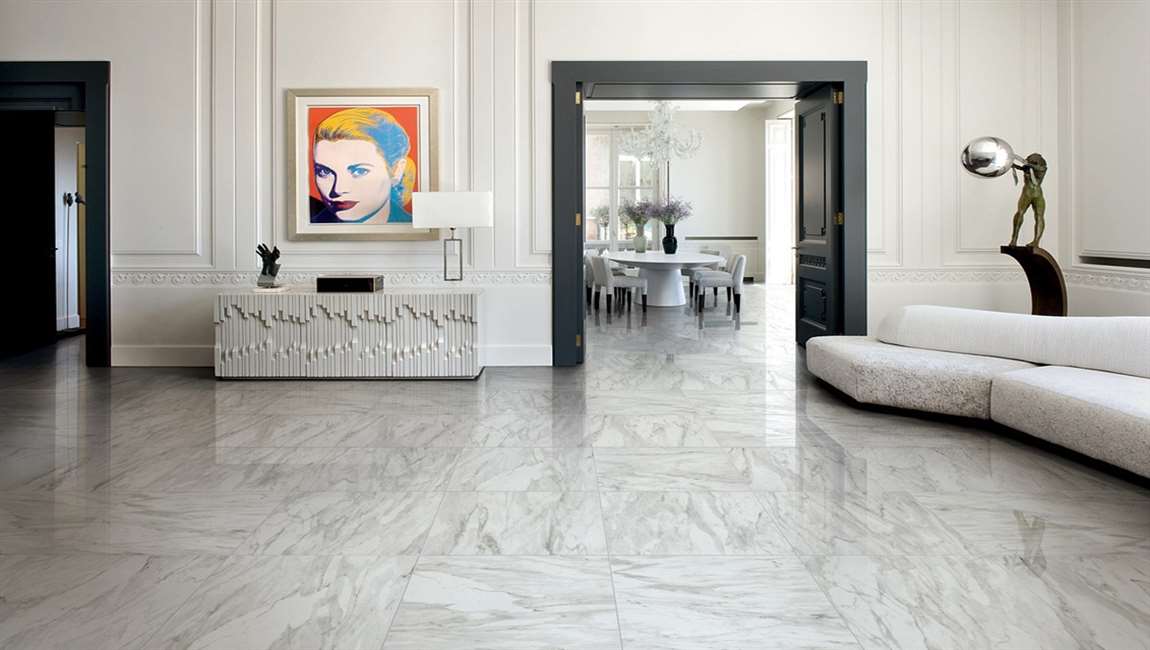
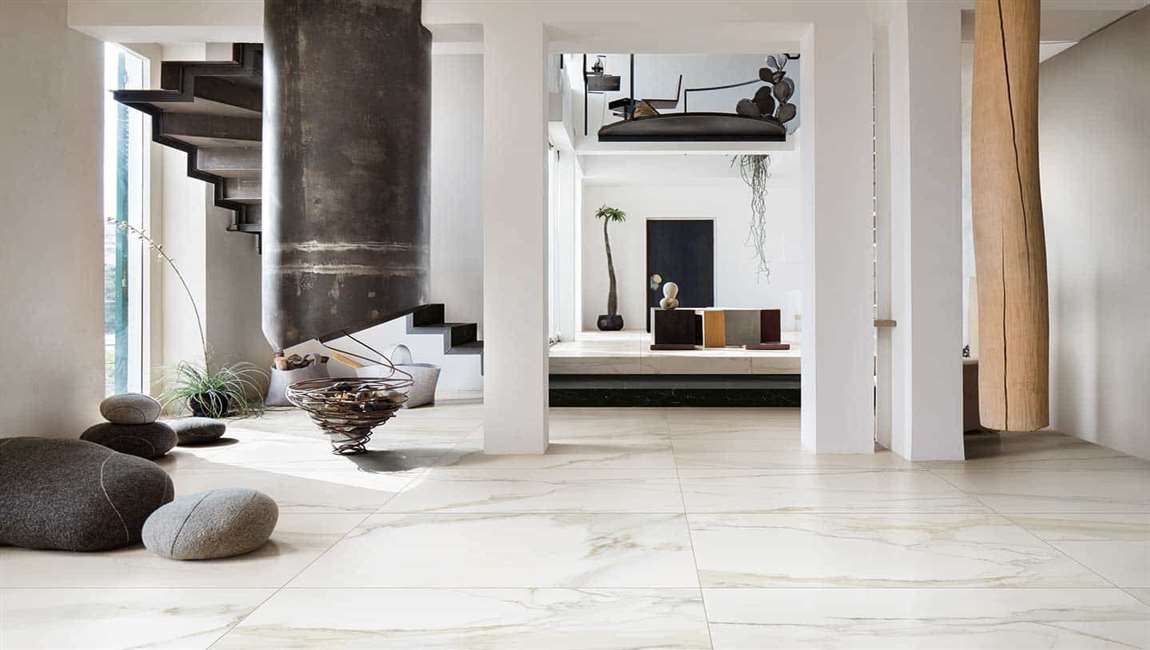
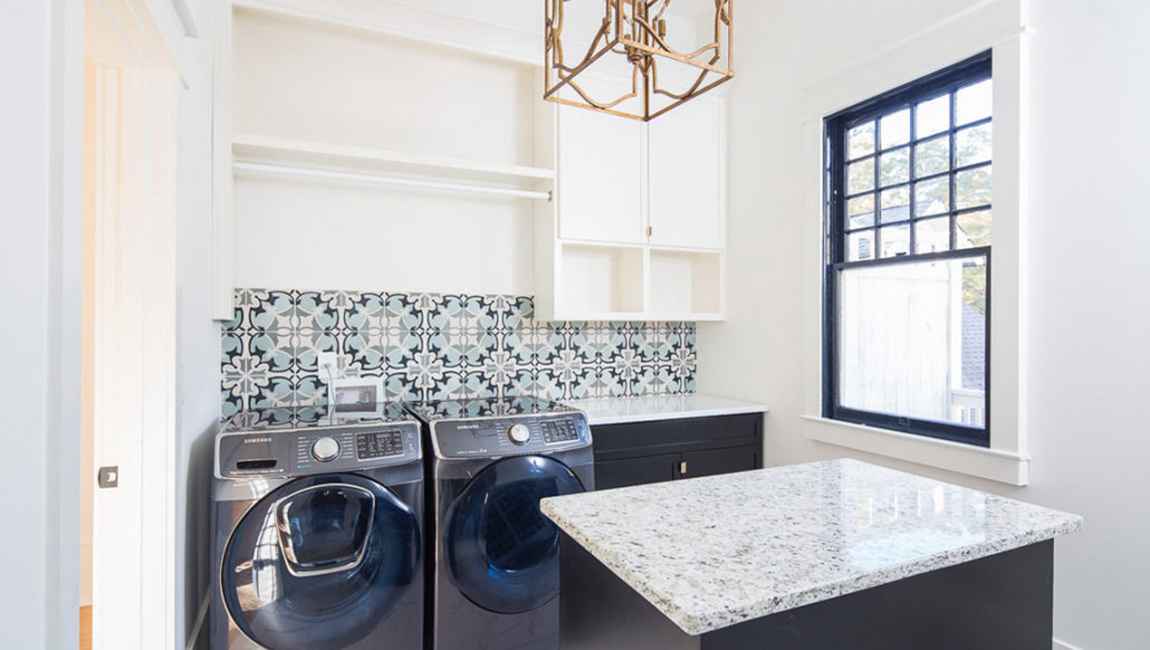
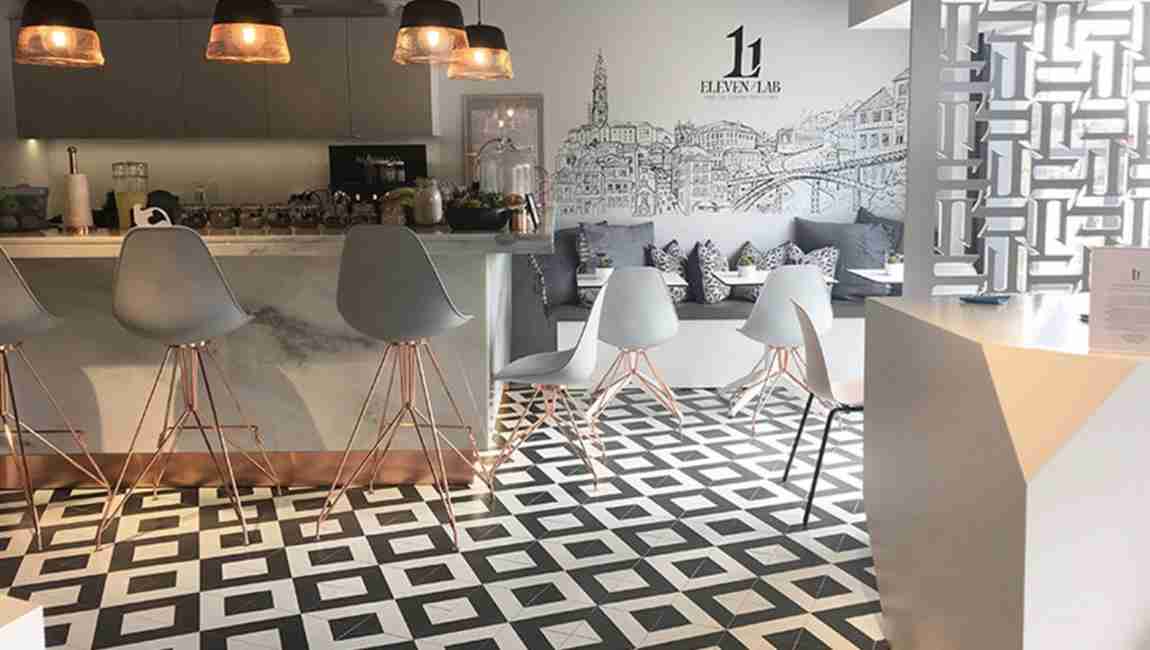
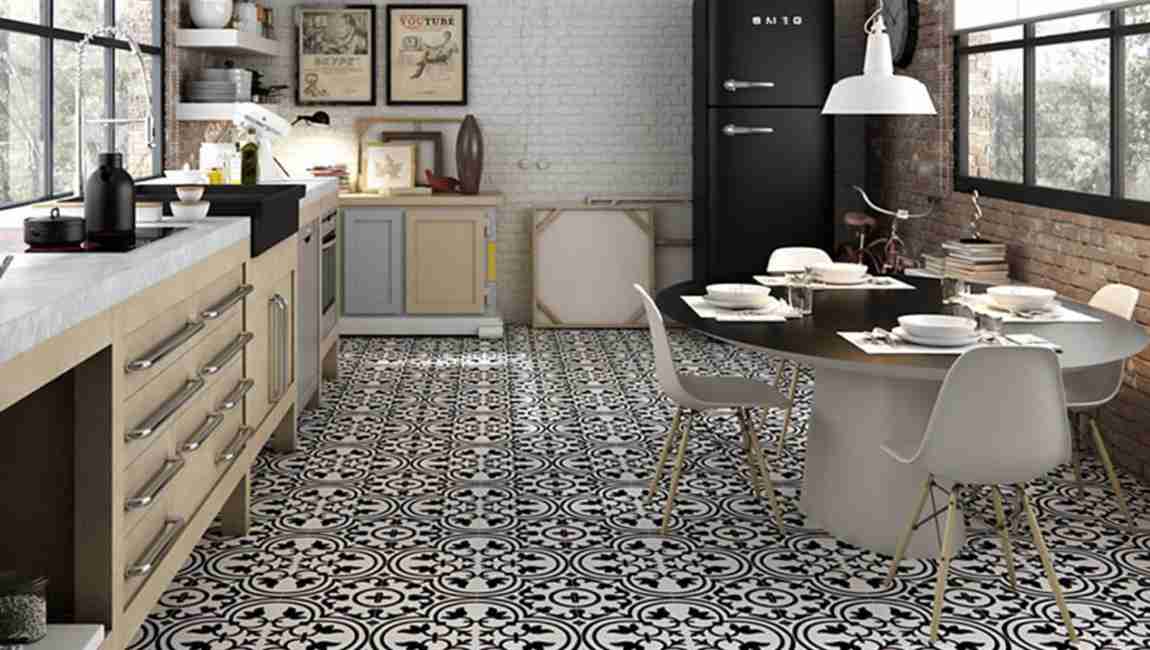
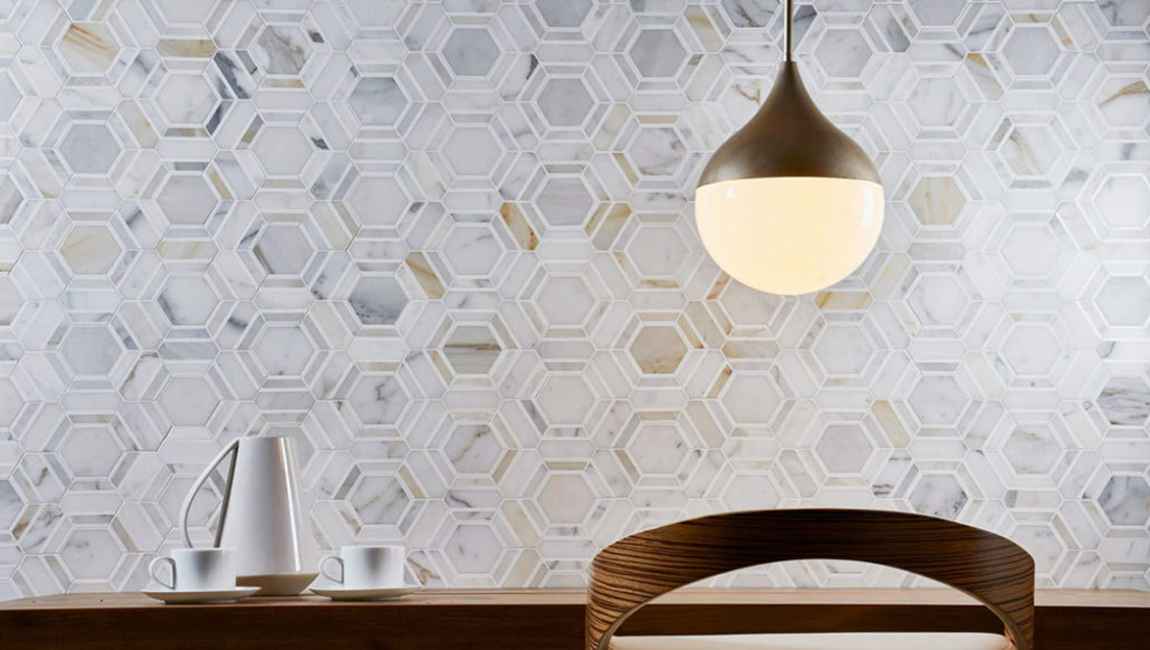
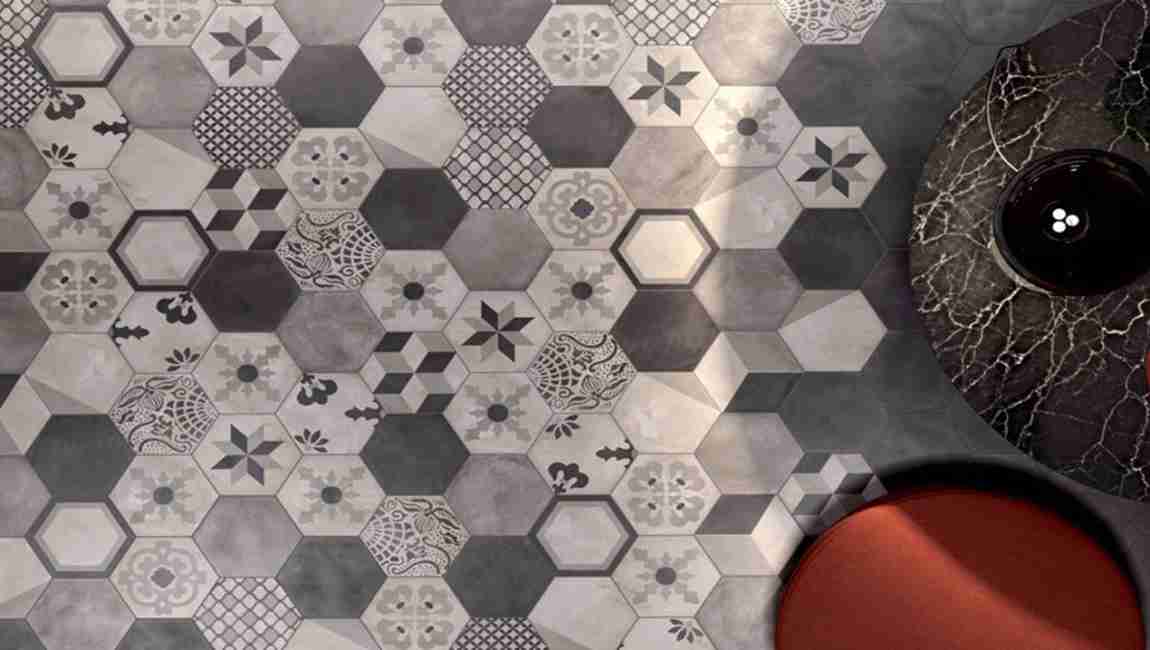
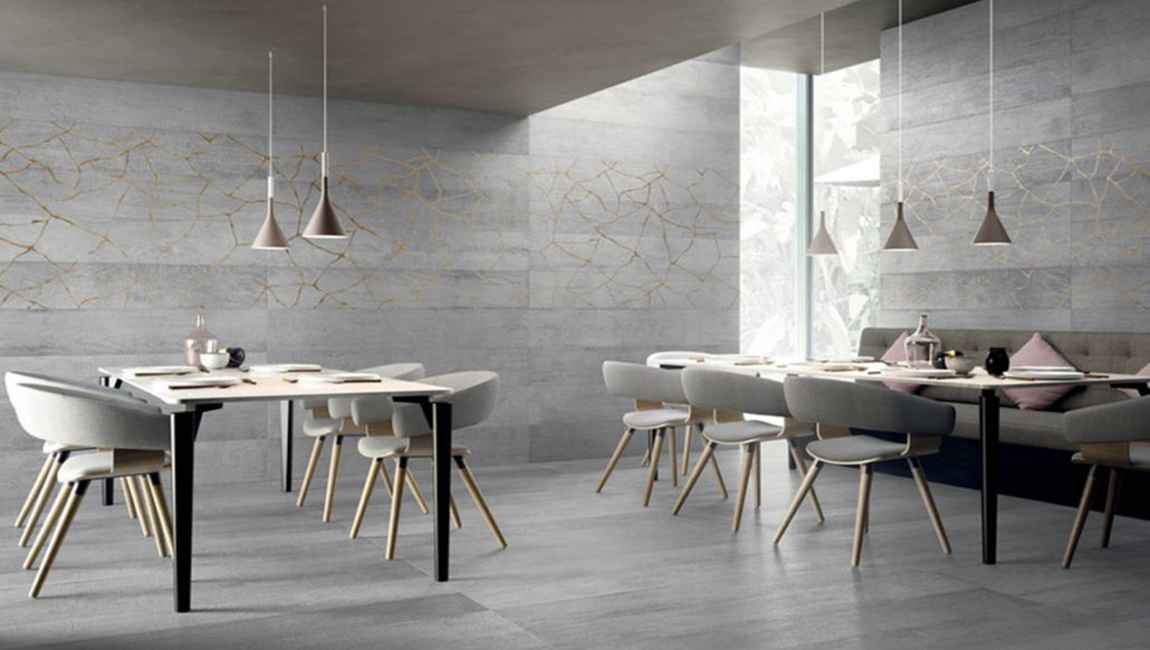
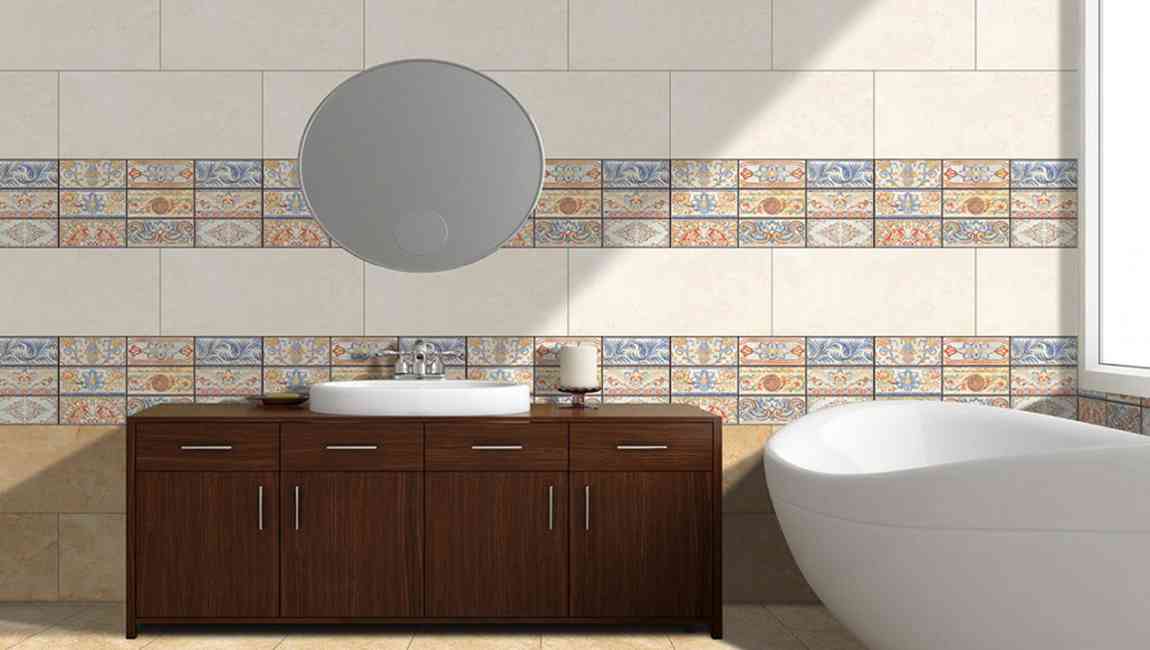
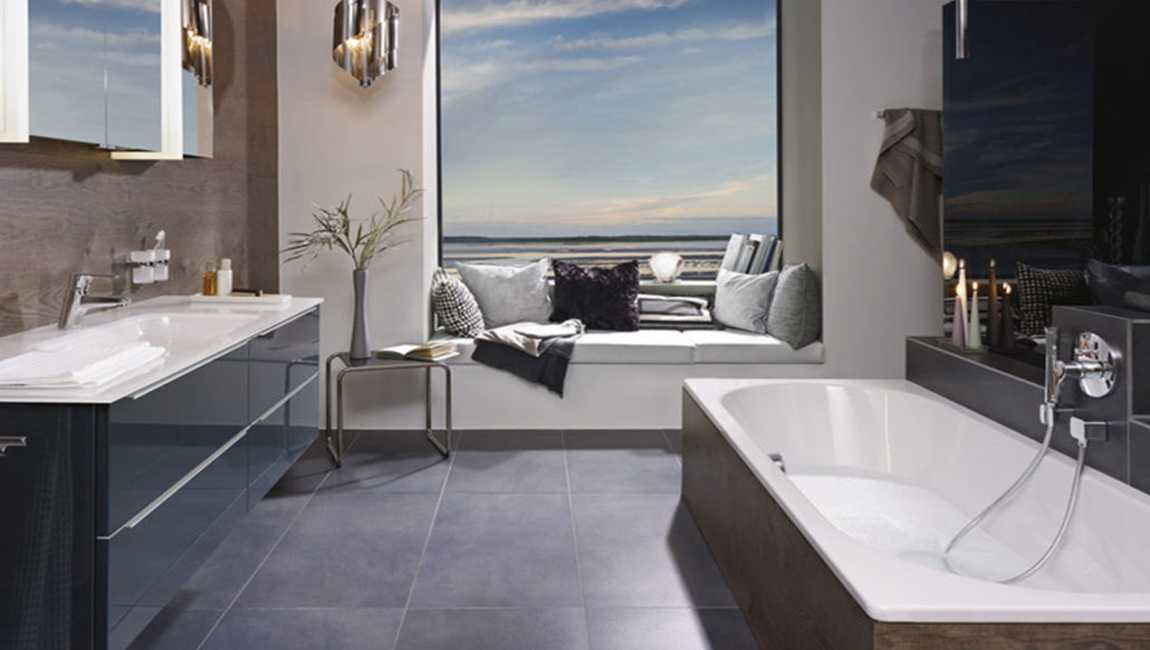
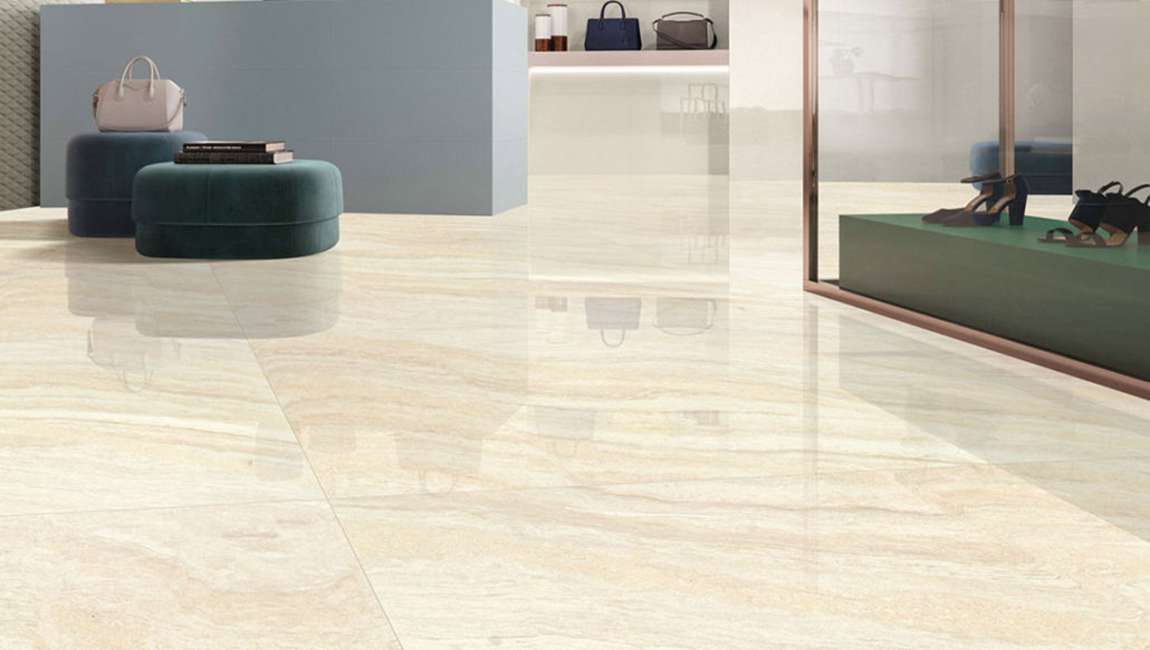
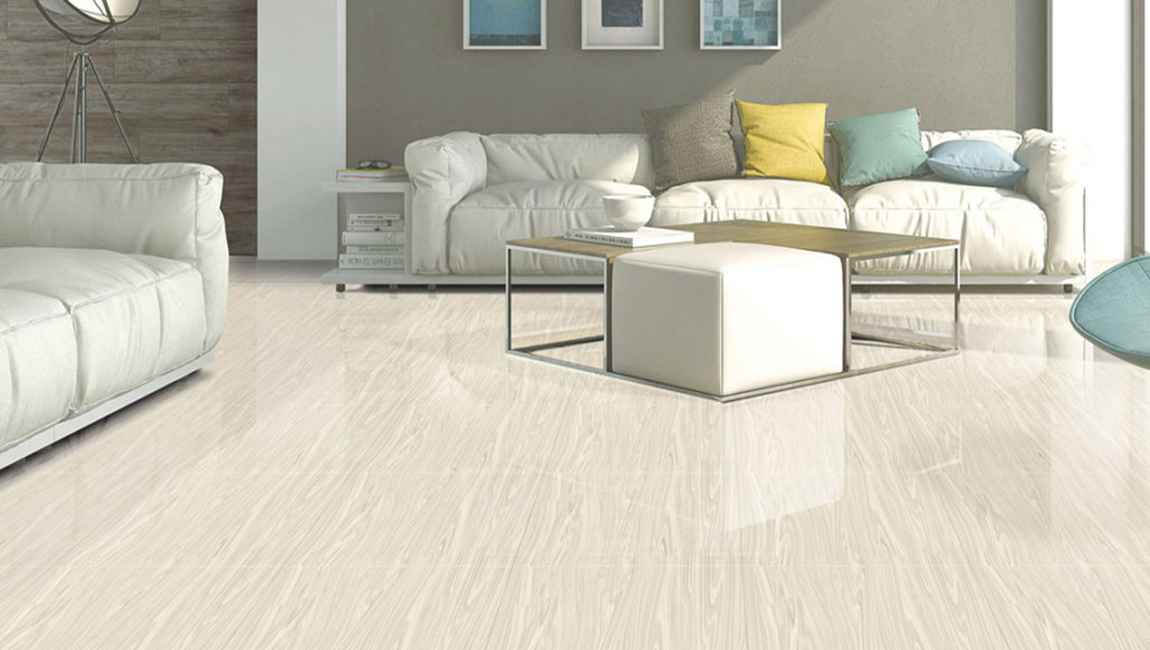
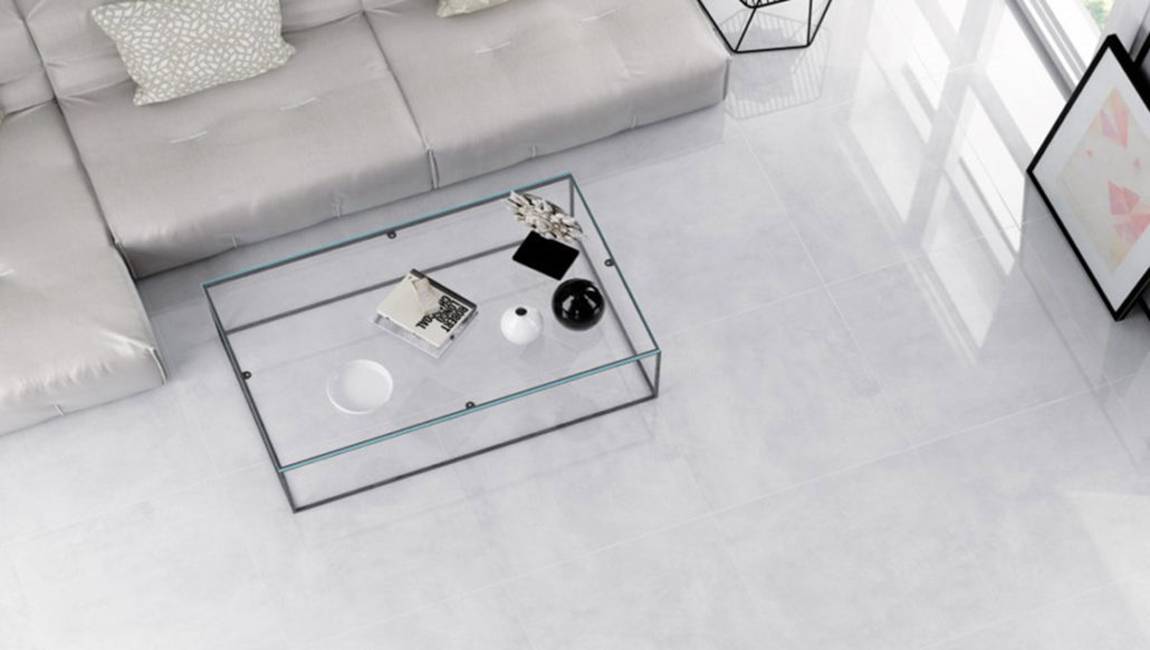
Wall tiles are indispensable part of the material when decorating at home, kitchen and bathroom walls will use marble wall tiles, and some living room television background wall will choose to paste wood wall tiles as decoration, which is enough to illustrate the universality and importance of Wall tiles. Most people make mistakes when choosing wall tiles.
Think that bright tiles can enhance indoor lighting. Most families and office buildings tend to use brighter tiles for decoration, because bright tiles not only make the room look rich and bright, but also to some extent make up for the lack of daylighting. Bright polished tiles and some rustic tiles have a light reflection coefficient of up to 90%, while ordinary white walls have a light reflection coefficient of about 70% and a mirror glass of about 80%. If long-term living in a room with a smooth floor tiles environment, light reflection will make the eyes very tired, and even lead to visual function decline, so domestic tiles not recommended to use too bright tiles.
Do not blindly match the waist line. In daily household decoration, the edge of the wall is often decorated with waist line tiles. It can add a sense of hierarchy to the space visually, and reflects the owner’s personality, taste and interest in life. It is quite popular with the public. However, it should be noted that although the personality is very beautiful, but the waistline tiles are not always applicable.
There are two common cases that are not suitable for paving the waist line: first, the height of the bathroom is not enough, paving the waist line will make the overall space is divided, the original not high bathroom appears even lower. Second, the kitchen area is small, or the use of the entire bathroom cabinet family, cabinet height and waist line height are almost 80-90 cm, waist line just appeared on the top of the bathroom cabinet counter not only no decorative effect but also messy.
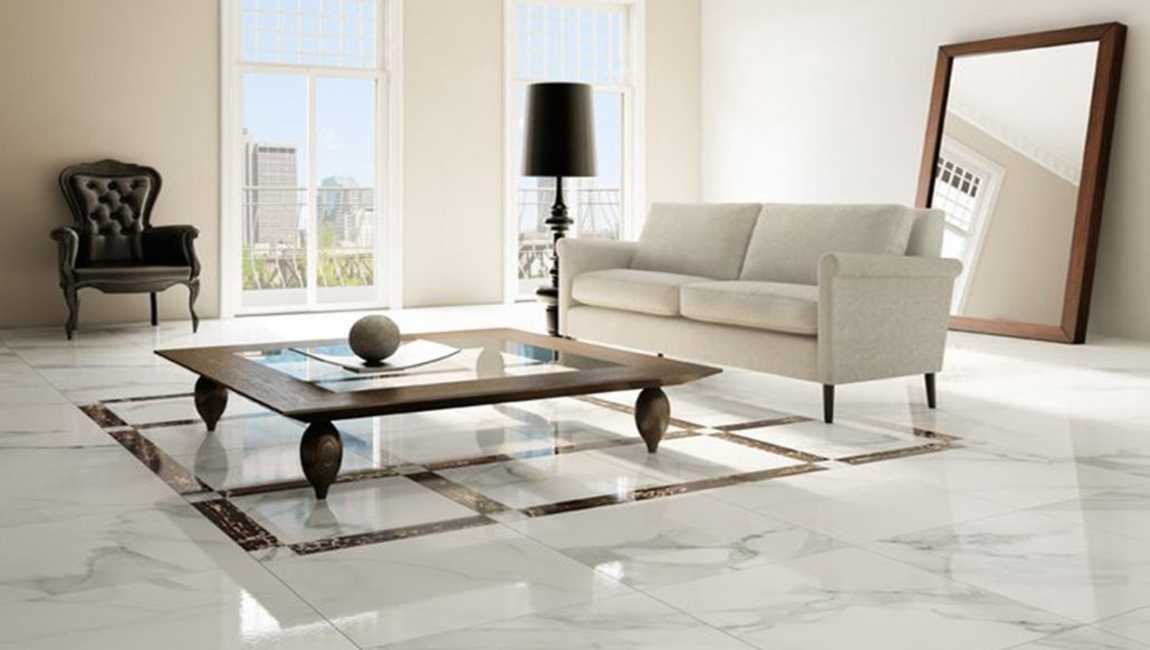
Thick small tiles are better than thin marble tiles. Many home decoration tiles are thicker and better quality, so consumers tend to form an inherent idea that thicker things are more realistic, in fact, the market of thick floor tile than thin bathroom tiles are more attractive, and the specifications of the larger floor tiles thicker, and the same specifications of floor tiles than wall tiles thicker. As far as the use value is concerned, the greatest value of bathroom tiles or decorative effect, as long as the carrying capacity and anti-destruction ability to meet the standards, too thick floor tiles are not actually environmentally friendly.
The styles of tiles are too mixed. Whether it is avant-garde or national style, too chaotic wood tiles are not suitable for a daily living environment, with more patterns and colors as the standard to purchase tiles. Finally, it is easy to decorate a pot of chaotic stew of the home, colorful, beautiful design is not the same as suitable for your home, but will cause a sense of living discomfort.
https://baranaceramic.com/wp-content/uploads/2018/08/What-should-I-pay-attention-when-choosing-wall-tiles-1.jpg600900administratorhttps://baranaceramic.com/wp-content/uploads/2025/09/logo.pngadministrator2018-08-20 10:31:212019-11-26 09:11:21What should I pay attention when choosing wall tiles?
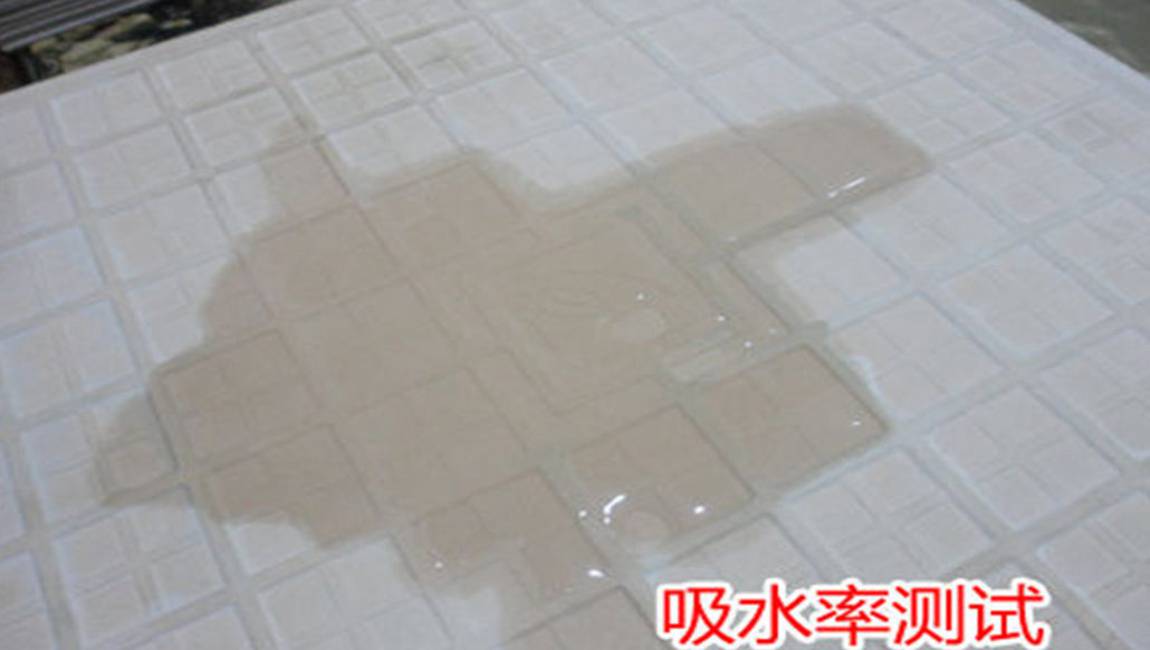
When we decoration home we need to buy tiles design for use, but how to buy a value-for-money and satisfactory marble tiles also has a certain knowledge, Generally, the principles of cement tiles choosing are: Check the surface of ceramic tiles, listen to the sound, drip water test and measurement tiles size.
Check the surface of floor tiles. The color and lustre of the wall tiles should be uniform, the surface finish and the whole degree are better, the surrounding rules and the pattern are complete, and four or five pieces of color difference, deformation and angular and less angle are drawn from a box.
Listen to the sound. With the hard objects hitting the kitchen tiles, the clearer the sound, the higher the porcelain quality, the better the quality. Also can the left hand of the thumb, index finger and middle finger of the corner of marble tiles design, easy to hang down, with the right hand index finger to light the lower part of large marble tiles, such as the sound, sweet as the upper products, such as dull sound, stagnation of turbidity is the next product.
Drip water test. You can drip water on the back of the tiles, see the speed of infiltration after the water dispersed, generally, the slower the water absorption, indicating that the tiles density is greater. On the contrary, the faster the water absorption, the less the density, the better the intrinsic quality.
measurement small tiles size. The higher the accuracy of the edge length of the tiles, the better the effect after laying and pasting. Buying high-quality tiles are not only easy to construct, but also can save time and accessories. The size of each tile is measured with a tape measure. There is no difference in the size of each tile.
In addition, its hardness can be observed. The tiles are of good hardness, toughness, and are not fragile. The edges and corners of the tiles are scratched with each other to see whether the broken fragments are fine or loose, hard, brittle or soft, leaving scratches or scattered powders, such as the former, and the latter is a poor quality. Standard size is the key to judge the quality of tiles. Measure the diagonal and quadrilateral dimensions and thickness of tiles with tape or caliper.
The color sense is whether the tiles have chromatic aberration, the color is rich, the good tiles have no color difference, the flower color is rich and diverse. You can put the tiles flat on the ground, spelled one square meter and three meters away from the ground, whether there is a different color or a feeling that can’t connect. If there is no defect, there is no color difference. Texture: the material, quality of tiles give people the feeling, different texture gives people with soft and hard, virtual and solid, tough and brittle, slippery, transparent and turbid and other feelings.
Aesthetic feeling is a kind of overall feeling, it is the overall feeling of wood tiles sense, texture and paving effect. At the same time, considering the hardness, toughness, wear resistance, flatness and so on, in the choice, it needs to choose the smooth and smooth wood marble tiles, the surface is not curved, the angle is not warped, the construction is easy, the surface of the ground is smooth after construction. The glaze of tiles should be uniform, smooth, neat, bright, delicate, bright and uniform. And when paving, the ground and walls are coordinated to give people a sense of beauty.
Tiles are also rich in emotion, which can be reflected in many aspects, such as the cultural spirit promised by the tiles, the service provided in the process of selling tiles, and the after-sales service provided by the manufacturer. From brand to product, from sales to service, many links are systematized and combined, forming the feeling of tiles.
https://baranaceramic.com/wp-content/uploads/2018/08/How-to-identify-the-quality-of-the-tiles-1.jpg600900administratorhttps://baranaceramic.com/wp-content/uploads/2025/09/logo.pngadministrator2018-08-06 03:41:202018-11-28 06:00:42How to identify the quality of the tiles?