Posts

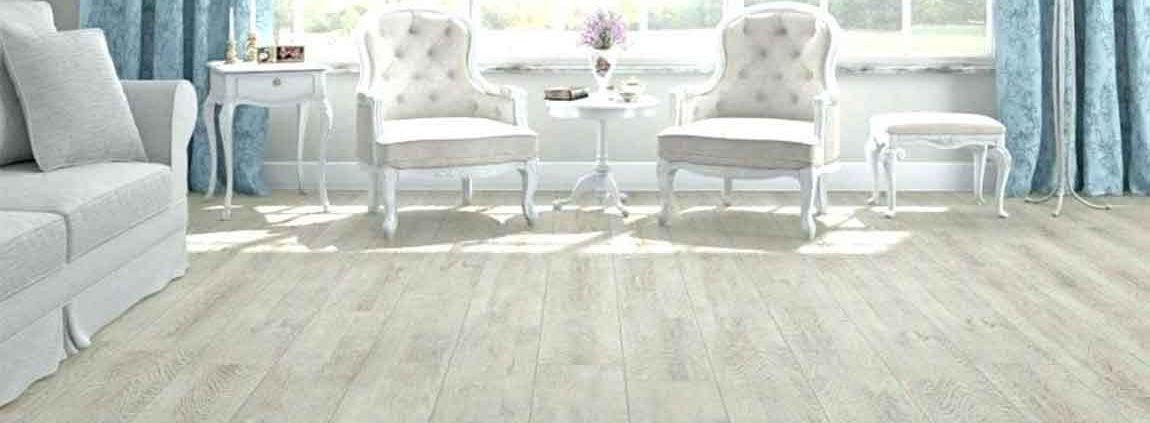
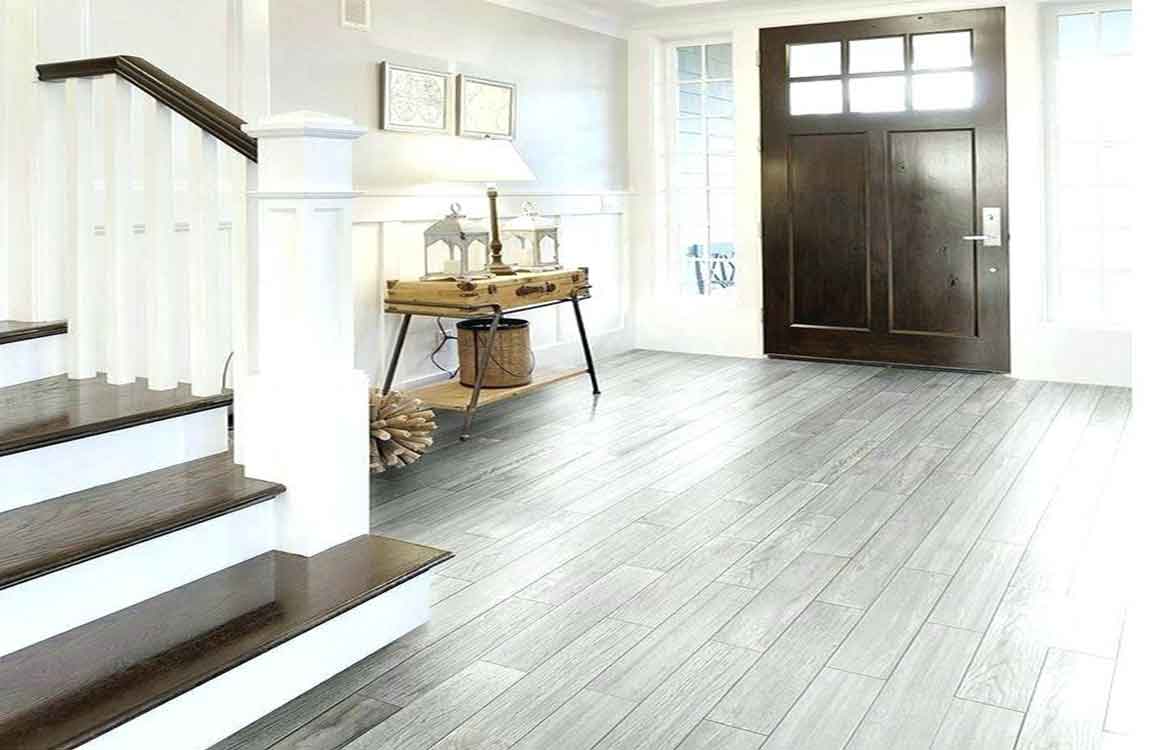
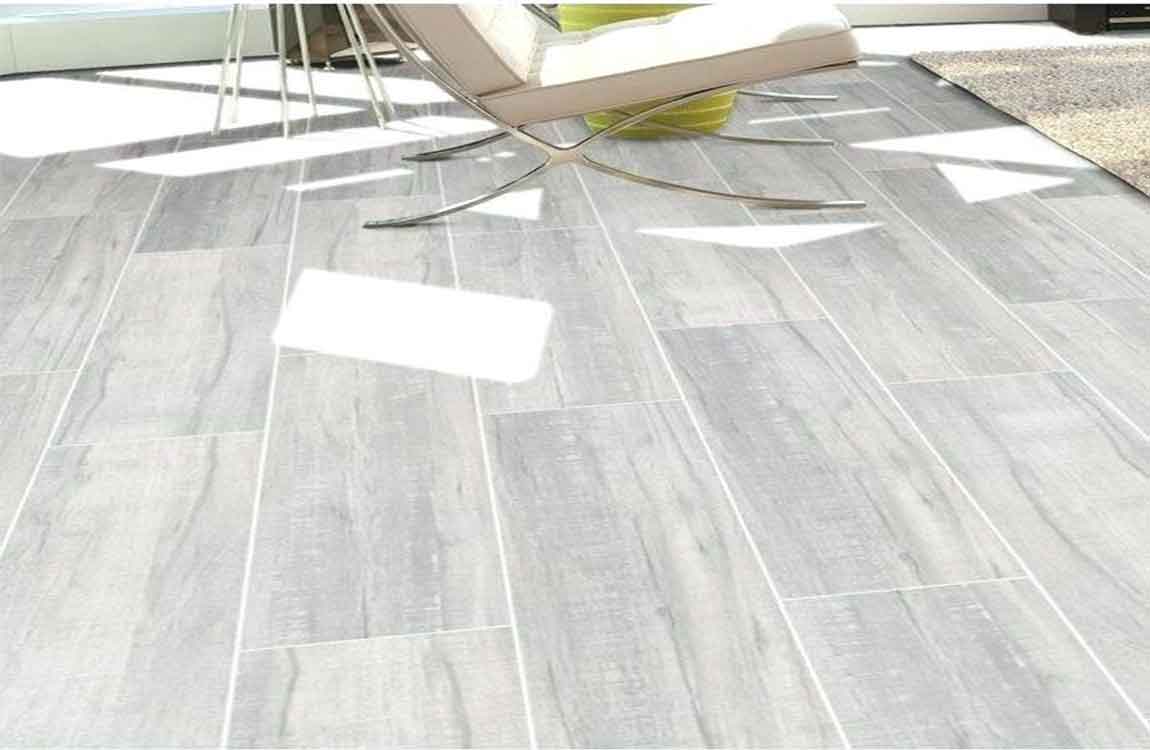
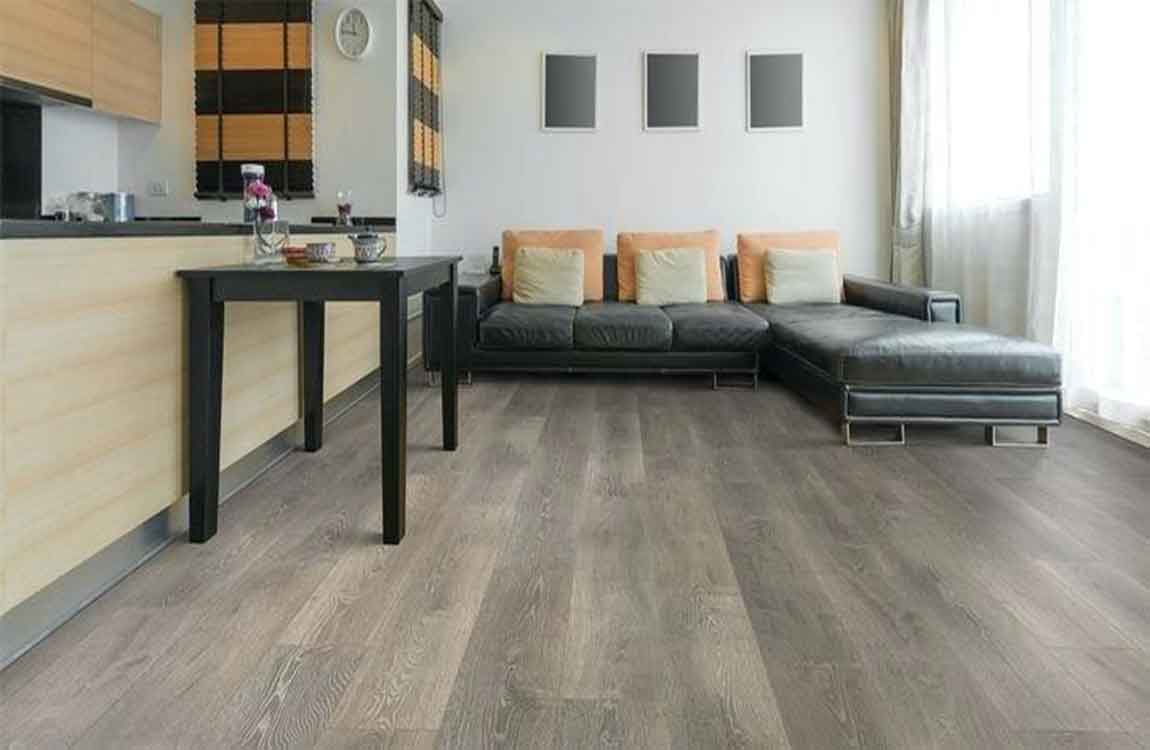
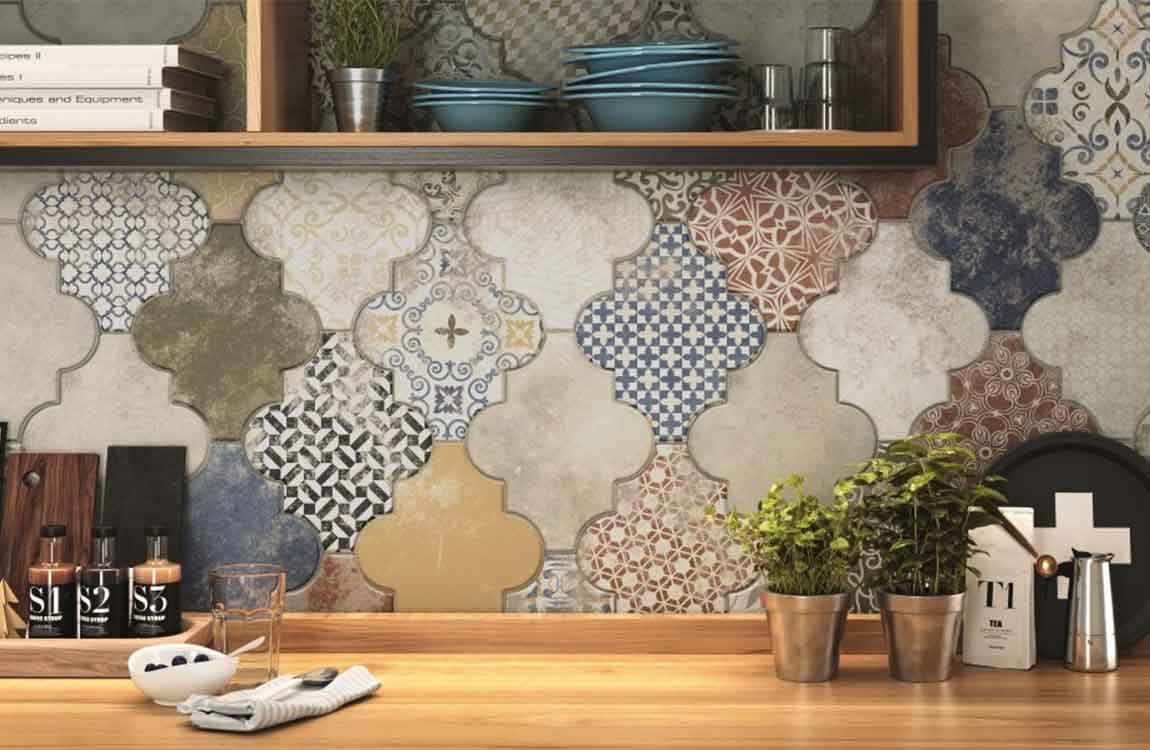
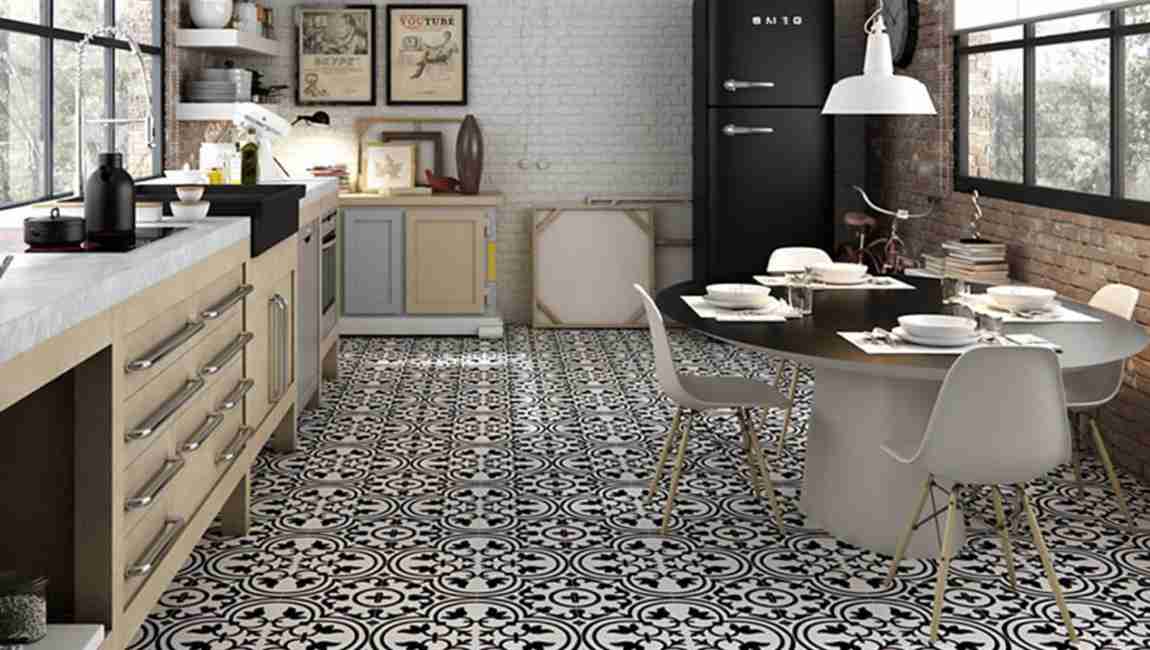
The Knowledge of Saw Cut Tiles

Wipe away the marker and use a rubbing stone to smooth the edges tile. Use a clean, damp cloth to wipe away the washable marker. The glass tile piece will be sharp and possibly a little rough, so take a rubbing stone, hold it at a 45 degree angle to the front of the tile, and rub it in a parallel motion over the edge to round and smooth it out. Rub the rubbing stone down the whole length of the edge. A rubbing stone can also be used to buff out any small irregularities in the break.


Turn on the saw and let it run for 15 seconds. Give the saw a chance to warm up and get going by turning it on and allowing the water to flow freely over the blade of the saw. Wait about 15 seconds before you begin cutting so you can be sure the saw is functioning properly and the water is flowing smoothly. Warning: If the water isn’t flowing, don’t cut with the saw! The friction could cause the glass to shatter and the blade could heat up and damage the saw.


Line up the cutting guide on the wet saw and the guidelines on the tile. The wet saw will have measuring or cutting guides that will lock the glass tile in place. Use the guide on the wet saw and match it up to the lines you drew on the tile with the washable marker, then slide the guide to lock the tile and keep it from moving. Align the saw carefully, because you won’t be able to undo a cut once you make it.


Push the tile through the saw and away from you. Feed the tile slowly through the saw with a light but consistent pressure as the blade cuts through it. Push with your hands on the edge of the glass away from the blade, keeping your movement continuous. Push the tile through the saw until it cuts all the way through for an even cut and a smoother edge.


Turn off the saw and wipe away the washable marker. When you have finished cutting your glass tile, use a clean cloth to wipe away the washable marker guidelines. Power down the saw and wait for the blade to stop spinning completely before you pick up or handle the saw. Wipe up and dust or glass pieces that may be on your saw or workstation.

How to Cut Tile Around a Toilet?

If DIY tasks like replacing a toilet and installing a tile floor are within your skill set, then you can also handle tiling around a toilet. Cutting tiles to fit neatly around the base of an installed toilet requires careful template-making and tile-nipping, however, so patience and precision are critical.


In most cases, you’ll have more room for error if you remove the toilet, trace and cut one or multiple tiles to fit around the toilet flange, and then reinstall or replace the old toilet. For instance, imagine that you have a toilet with an angular base that will necessitate cutting a triangular section away from one of the corners of one of your tiles.


You’d cut the parallel slits into that same area of the corresponding sheet of paper, with a little extra “wiggle room” added to your cuts. Lay each sheet into place and crease the slits along the toilet base. One at a time, lay the sheets of paper down where their corresponding tiles will go, remembering to account for spacing between tiles due to grout lines. The slits will fan up and over the installed toilet’s base.


Use your finger to press a crease into each slit—one at a time—where the subfloor meets the toilet base. When you’re done, you’ll have created an accurate template for that tile. Then you can move onto the next sheet of paper. To account for future grout lines, utilize the same plastic spacers that you use when permanently setting the tiles in place.


Cut the slits along the traced lines and dry-fit the sheets. Once you’ve creased all the sheets of paper, take your scissors and cut carefully along the crease lines. Then, lay all these cut sheets of paper down around the toilet (again, accounting for grout lines) and make sure they fit snugly against the toilet base.

How Concealing Tiles Permanently?


Paint the tiles to match the color scheme of the room. For a more permanent solution to unsightly tiling, choose a color or a set of colors that matches your design aesthetic. Then, sand, wash, and prime the tiles to prepare for the paint. Apply the paint in 2 even coats, and add a layer of sealant over the painted tiles, especially if they might be exposed to foot traffic or water.

There are a variety of different paint options for tile, including chalkboard, latex, and oil-based. Opt for chalkboard paint if you want to save money, since you don’t need to apply a primer. You can even add a pattern to the surface by hand painting the tiles or using a stencil.

Cover a tile backsplash with wood and liquid nails for a rustic effect. Visit lumber yards and home improvement stores to find inexpensive wood, and cut it to fit the tiled area. Apply the adhesive and stick the boards to the tile in your desired pattern. Follow the adhesive instructions to let the area dry before applying a sealant or touching the backsplash.


Affix a layer of beadboard over a backsplash for a fresh, clean look. Purchase a few large sheets of beadboard, and paint them to your desired color. Measure and cut them to fit the area that you’re covering. Then, apply a layer of liquid nails adhesive to the existing tile and press the beadboard against the tile. Be sure to leave some overhang if possible, and use a nail gun to secure the corners of the beadboard.

It’s important to use traditional nails to keep the corners in place, since the material can sometimes warp due to high humidity or exposure to sunlight. Tip: Since you won’t see the adhesive, you can choose whichever color is the cheapest for this project.

How Cutting Installed Tiles?

Cover your counter and put on a mask and safety goggles. Cover your counter with plastic sheeting to protect it and make cleaning up easier. Put on a pair of safety goggles to protect your eyes against dust. Finally, put on a mask suitable for working with fine particles. Most dust masks and respirator masks come with a description of what they are used for, such as sanding dust, aerosol, etc. Choose the one for dust.

Make the tile where you wish to cut it. A pencil may work just fine on a slate or ceramic tile, but if the tile is glazed, you should switch to a marker. Try to be as precise as possible for this step. Installing a new electrical fixture will require you to get inside the wall. Mounting a towel rack does not.

Cut along the top, bottom, and side edges. If you need to get inside the wall, then you should cut through the dry wall as well. A dremel rotary cutter with a diamond tile blade will work for most tiles. If your blade can’t go around the corners, skip them for now.

Use an oscillating cutter to cut through tight corners. While a dremel rotary tool will work for most lines, it won’t work on tight corners. For that, you should switch to an oscillating cutter instead. You may have to experiment before you find the right one for your type of tile. A multi-surface blade seems to work better than a tile blade, however.

Pull the tile away. Wedge a thin knife or spatula behind the tile and pop it out. If you had to cut through the wall, try not to lose anything inside the wall. Your hole is now complete and ready to finish.

How to Remove Grout and Cement Spots off Ceramic Tiles?

Have you got extra grout marks or cement tile adhesive spots on your recently renovated bathroom? If so try these tips for removing them. If it is a just a few spots and your floor tiles have a good hard surface that won’t scratch easily, cleaning  tiles design like this should be easy.

Assemble cleaning tools. For the first steps, you only need a steel scourer pad and something to scrape with, such as a screwdriver. For harder stains, you will need to resort to a professional response using acid. See “Things You’ll Need”. Try rubbing the ceramic tiles with a stainless steel scourer pad. Scrape off. If you still have a few larger lumps try scraping with a blunt screwdriver to get the worst off and then the scourer.

Try intermediate measures if the above steps don’t do the job. A grout haze remover may be of use. You can find this at a home store or tile shop. Follow the instructions on the container. You can use the stainless steel scouring pad as above, or you may try a man made scouring pad.

Try advanced measures if the above steps don’t do the job. If you have a lot of hard grout or Vatican tile adhesive on them, cleaning Element tiles like this calls for extreme measures. Tilers use diluted Hydrochloric acid as a last resort; it is also known as Muriatic acid. This acid eats at the cement base of the product you are trying to shift. It is important to read the warnings in detail before proceeding – cleaning Windstone tiles with acid must to be done in a responsible way:

Use a very small spot at a time and observe how it goes. This is important, as doing a small section at a time, you will be working safely and in control. Use a small bristle brush and dab a spot on at a time. When the bubbling stops wash it off with water, and try the spot with your scourer again and with a bit of luck it will come off easily. Repeat the process as needed. Wash clean and wash again, get rid of all traces of the acid.

How to Tile a Backsplash?

Installing a tile backsplash in your kitchen offers numerous benefits over painted or paper drywall. Tiles can protect the wall they cover, can be easily scrubbed of grease and grime, are much more durable than drywall, and make for a fantastic addition to your kitchen if they’re installed correctly. Learning how to add a tile backsplash is well within the reach of anyone willing to put in a few days of DIY work.

Once you’ve applied the first few Valley tiles, take a step back and evaluate the way it looks. Straighten up any crooked tiles, or adjust any that aren’t quite sitting in the right place. You’ll only have a few minutes to do so before the mastic hardens, so work quickly. Use a grout float or another flat surfaced tool to press the Phyllite tiles into place and make sure they are all level.

Use a score-and-snap element tile cutter to trim the tiles for corners. If your polished porcelain tiles don’t fit perfectly into the space you’re tiling, you’ll need to trim some tiles around the edges. Hold your tile in place and mark the point you’ll need to cut. Firmly score the tile along that point with a score-and-snap cutter, before bending it to snap it to the right size.

It may help to sand down the side of the wood tile you have cut slightly, to remove any sharp edges before you put it into place. Put the cut side away from the tiles you have already placed so that the pattern of the edges remains the same across the entire backsplash.

Leave the tiles design to set overnight. While the mastic will begin to harden after roughly 10 minutes, it will take much longer for it to set up entirely. Leave your tiles overnight, or ideally for a full 24 hours, to allow the mastic to harden and keep your tiles in place.

Your classico tiles won’t be protected during this time. If your backsplash covers the area above your stove, you may need to avoid using it until the wall tiles have set into place.

What should you do before install ceramic wall tiles?

Ceramic tile is a versatile and durable finishing material. Tiles can be installed as a floor or wall covering nearly anywhere, but they are especially useful in bathrooms and kitchens. Tiles design wall can resist moisture and handle scrubbing much more readily than drywall or other materials, and so they are the ideal choice for humid bathrooms and kitchens where they will be exposed to cooking splatters. Learning how to install ceramic wall tile is a task well within the reach of an average homeowner. The process requires only a few tools and materials.

Make sure your wall is ready to go. Once you’ve removed the current wall dressings and wall items, like light switch covers, you’ll want to check the base layer that you will be building on to make sure that it is structurally sound. This is important, since a rotting or weak wall tiles can cause your tiling job to warp, crack, or even break and fall down. Look for signs of mold or damage to the tiling surface.

Cracks are often a sign that a wall may be weak and need to be replaced. Try pressing on the wall, especially at the studs. If it gives way or feels soft, it may require work. If you are going to be tiling a large area, remember to use tiling board as a backer and not just put the wood tiles directly onto drywall. Tiling board is installed just like drywall (nailed to the studs) but is made of more water resistant materials which will keep it from warping and cracking your tile work.

Use a level and tape to measure for your tile locations. Now, using a level and measuring tape, measure and mark for the middle lines in the area you will be tiling. You want to find both the vertical and horizontal middle, since you will use these to keep your Ceramic straight and divide the area into sections for tiling. Never assume a fixture in the room like the tub or vanity (or even the ceiling) is perfectly level. They rarely are. It is very important to rely on the level.

Mark the locations on the wall using a chalk line. Using a chalk snap line, mark the mid-line and vertical lines which you just measured. If you’ve never used a chalk snap line before, don’t worry: it’s easy. Simply place a nail at one end of the space you marked, attach the string, pull it taut and snap it down. This will leave a straight line on your wall. You’ll still want to check it for level but it’s much more accurate than drawing a line. You can use just regular string and manually chalk it to make a chalk line but using a chalk box, which are easily bought for about $5, will generally be a lot less work.

Dry fit and then cut cement tiles to size using a diamond wet saw. Dry fit your rustic tiles to be sure that they will look the way you want them to look. Once you’re comfortable with how it looks, figure out how the tiles price will meet up with the corners and edges of your wall. You will probably need only a part of a tile when it comes to some of these areas, so it will be necessary to cut the tiles to size. Measure how much space you need for each row with the spaces and cut tiles to size using a diamond tipped wet saw.

So, for example, let’s say your wall to tile is five feet long. You’re putting up subway tile and the tiles are 6″, with spaces of 1/4″ between each of them. You’ll need 9.6 tiles for each row to cover that space, meaning nine full tiles and one cut to 3.6″. If you don’t own a diamond tipped wet saw, you can usually rent one from your local major hardware store. You can also use a tile cutter, but this is more likely to end in broken tiles so only take this option if using cheaper tiles.

Dry fitting is especially important if your tiles make up a pattern, since you will need to be very comfortable creating that pattern. You don’t want to make a mistake or have to spend a lot of time thinking about it once the mortar is up on your wall. You can test your dry fit pattern by making a layout stick, which can be made from any straight and level piece of spare wood. Lay the tiles on a floor and mark the layout stick with a pencil at the joints between tiles. Use the layout stick to see how the tiles fit on the wall.

How to calculate the price of floor tiles?

Tiles are indispensable decoration material in modern home decoration, and the floor area is large. It is precisely because of a large number of demand has been stimulating the tiles design industry to promote the old and bring forth the new, the marble tiles on the market is very diverse, the price is also very different.

There are two ways to sell floor tiles: sold by block or sold by square meters. Before purchasing tiles, you should calculate the area of wood marble tiles which needs to be laid before decoration. Some building materials stores have conversion charts. As long as you know the area to be laid, you can find out the number of tiles needed. Some conversion charts are simpler, as long as you know the length and width of the area pasted can find the number of tiles needed. Some floor tiles boxes will also list the size of a box of tiles.

Usually, 640 tiles are needed to cover an area of 80 square meters and 320 tiles are needed to cover an area of 14 cm by 14 cm and 20 cm by 20 cm by 20 cm. Another thing to note is that ceramic tiles tiling will have a certain amount of wear and tear, so prepare the amount of this part. This formula can also be used to roughly calculate the amount of tiles required: (decorative area per tile area) X (1 + 3%) is the number of flooring tiles required for construction, of which 3% is the construction loss.

In addition to the main material of tiles, ordinary cement, white cement, medium sand, 107 glue and so on are needed for ceramic laying and pasting. Usually a 12.5 square kilogram of cement and 34 kilograms of medium sand are needed for laying a square floor tiles. After the tiles are finished, it needs to be sealed with white cement, about 0.5 kilograms per square meter.

The common marble tiles are 200 *200mm, 300 *300mm, 400 *400mm, 450 *450mm, 500 *500mm, but there are other larger floor tiles. In terms of production technology, floor tiles are mainly divided into two types: block tiles and glazed tiles. Among them, body wood tiles are divided into anti-skid tiles and polished tiles, but polished tiles design of the same color are about 1.2 times more expensive than non-skid tiles.

It has become an unwritten rule that the wall and floor of bathroom decoration should be all tiled. In fact, bathroom tiles can have other functions in bathroom. Because the environment in the bathroom is humid, so if you want a locker, you might as well use cement tiles directly. The bathroom tiles lockers are easy to clean, strong and durable, and are more adjustable with the walls and floors tiles. Of course, it is also a good idea to use tiles to build a bathtub or shower screen.

The secret of tiles

The marble tiles are one of the main materials we need when decorating, but when selecting tiles design, is there have any way to choose tiles, what are the points of attention about tiles price, how should professionals person to buy tiles? When buying kitchen tiles, first of all, to distinguish the use of the place, secondly to understand the various parameters of tiles, and then to know how to distinguish the quality of tiles, and finally do not greedy cheap, to buy a good quality small tiles.

There are many kinds of cement tiles, different types of tiles characteristics, advantages and disadvantages are different, different places on ceramic tiles requirements are different, according to the characteristics of tiles and the use of place to buy ceramic. The kitchen need anti dirt and anti slip floor tiles, and the living room needs bright and nice tiles. In addition, the requirements for floor tiles and wall tiles are different.

The parameters of each tile are different. Knowing these parameters can help you choose the most appropriate marble tiles design. The water absorption rate of tiles, the national standard is flooring tiles to be less than or equal to 0.5%, the water absorption rate of internal wall tiles design between 10% and 20%. The tiles wear resistance, different tiles wear resistance is different, according to the use of different site requirements are also different. The length and width error, size and right angle of tiles need to be clearly understood.

The choice of wood marble tiles are not only in good color but also in good quality. Then how to detect the quality of wood tiles? The simplest way is to see whether the surface of the tiles are flat, gloss is not high, whether the pattern is clear, whether the cut surface is neat. Then tap the polished tiles again, and the crisp and continuous bath tiles are better. At this time, you can also weigh the weight of the tiles at the same time, the better the quality of the heavier tiles.

Finally, the method of dripping to test the water absorption of tiles, as well as the way to test the load-bearing capacity by pressing, using a pen to write on the tiles, testing the wear resistance of the tiles. The price difference of tiles are bigger, do not believe the tiles with discount sale easily. There are many discount information just to attract customers, but the quality is not necessarily good.

How to distinguish the good and bad of the tiles?

Water absorption reflects the density of floor tiles, and indirectly reflects the hardness of tiles, but there is a point need to pay attention, the marble tiles are not be the lowest water absorption the better quality is. When purchasing tiles, we need to pay attention to the smoothness of the tiles design. Poor quality flooring tiles the smoothness will be uneven.

The surface of the bathroom tiles determines whether the effect is smooth, and the straight test of the edge corner of the wall tiles are to see if the kitchen floor tiles are tidy and the size of the gap is consistent. To test the stain resistance on tiles price, we must know that wood tiles will accompany us for a long time.

The tile now have a series of innovations in wear resistance, such as polished tiles, microcrystals tiles, full body glazed tiles, and rustic tiles, which have a qualitative leap. To judge whether the surface is wearable, we only need to pick up the knife or key in the hand and scrape to the surface of the tiles to check if it will scrape the glaze off the surface of the tiles. If such a small description can not be accepted, it can be concluded that this tiles are not a good companion who can accompany us for a long time.

The qualified tiles are usually packed in cartons, and the name of the production plant, the product name, the trademark, the size, the grade, the weight, the color number and the quantity should be printed on the packing box. The national standard stipulates that the surface quality of the superior tiles should be observed at least 95% surfaces at least 0.8 meters without obvious defects. Of course, most of the tiles will be able to reach the standard if they are based on this standard. But we mainly do not look at 95%, but have no obvious defects, from the packing box random checks of several tiles, see the surface of the product has the following defects: ripples, spots, glaze, knock, crack, lack of glaze and so on.

The dust, the debris thoroughly clean, no empty drum, crack and sand and other defects, the smoothness will fundamentally determine the quality of the tiles, good tile workers this step is in place. Before laying the tiles, we need to find the vertical line in advance so that the tiles are uniform and vertical. In addition, the elevation control line should be popped around the wall before the construction, and the cross line is popped out on the ground so as to control the size of the floor tiles.

On the basis of the design requirements of the drawings, the color, texture and surface leveling of the floor tiles are selected strictly, and then the pre paving is required according to the requirements of the drawings. The possible size, color and texture errors in the pre paving are adjusted and exchanged until the best effect is achieved, and a smooth stack is stacked smoothly according to the paving.

The surface of floor tiles should be wetted before paving. The floor tiles are placed on the cement mortar according to the requirements, and the cement floor tiles are tapped with a rubber hammer until the dense and smooth surface reaches the requirements. It is very uniform when the mortar is smeared. It is to prevent the possible cause of the tile empty, and there is a hole and other tools to smooth the post paving of the cement layer.