Sweep off the surface. Remove any loose debris from the outdoor surface you are cleaning. If you are cleaning off a patio, use a large broom to sweep it off. If you are cleaning a small retaining wall or a monument, use a small broom to sweep the detailed areas. Removing the top layer of dirt and debris this way will help you assess what areas need to be deep cleaned and which just need a light scrubbing.
Wet the surface and allow the water to sit for about 30 minutes. Spray the surface with your hose so that it is all damp. A layer of water will start to loosen anything growing on the surface. Wait for the stone to soak for about 30 minutes before continuing on and your overall cleaning process will be much easier.
Tip: If the temperature is below freezing, wait for it to warm up before putting water on your sandstone tiles. Purposely putting water on sandstone tiles, especially older sandstone tiles that might have tiny cracks in it, can cause the stone to crack if water gets inside of it and freezes.
Scrub the surface with water and a plastic-bristle brush. Use a circular motion while scrubbing to get any organic material off of the stone. This often includes moss, lichen, and mold. Keep scrubbing until you are happy with the color of the stone. Most outdoor scrub brushes will work for fine for this. You can use a hand brush or a brush on a pole.
Just make sure that bristles are medium-firm, meaning that they bend when you push the brush across the surface. Never use a wire brush or extremely firm plastic-bristle brush on sandstone tiles. It will scratch the surface and speed up decay. Use a squirt of dish-washing soap, if necessary.
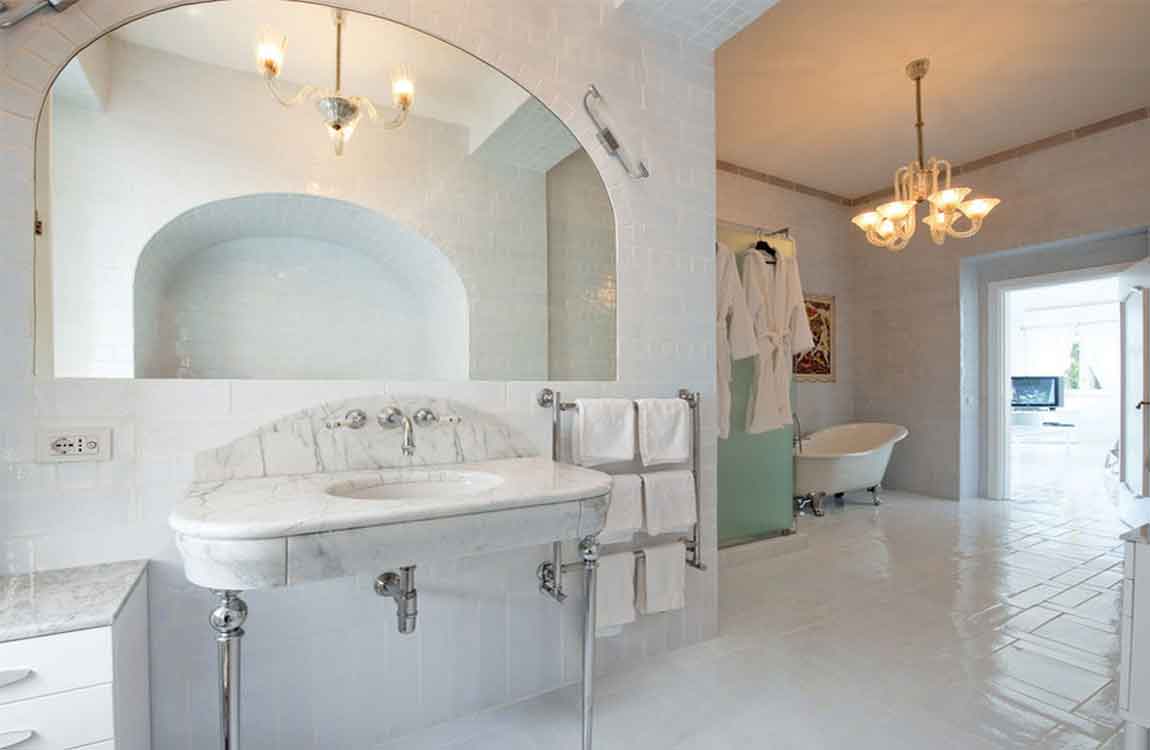
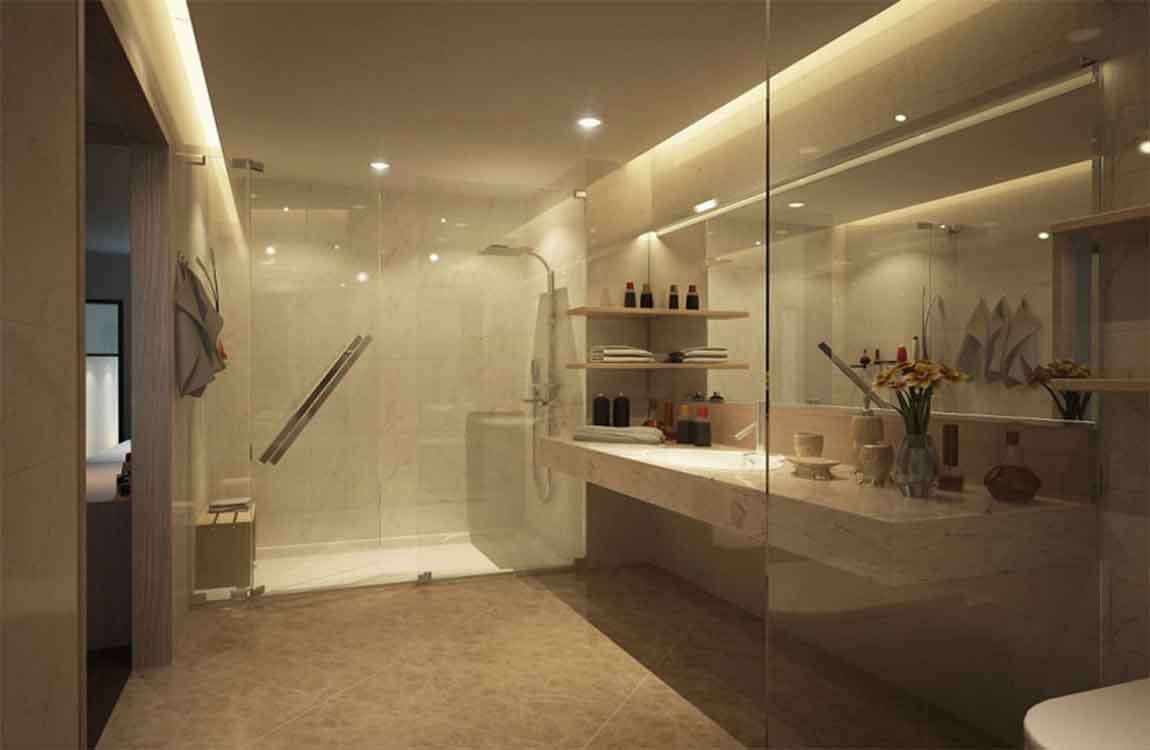
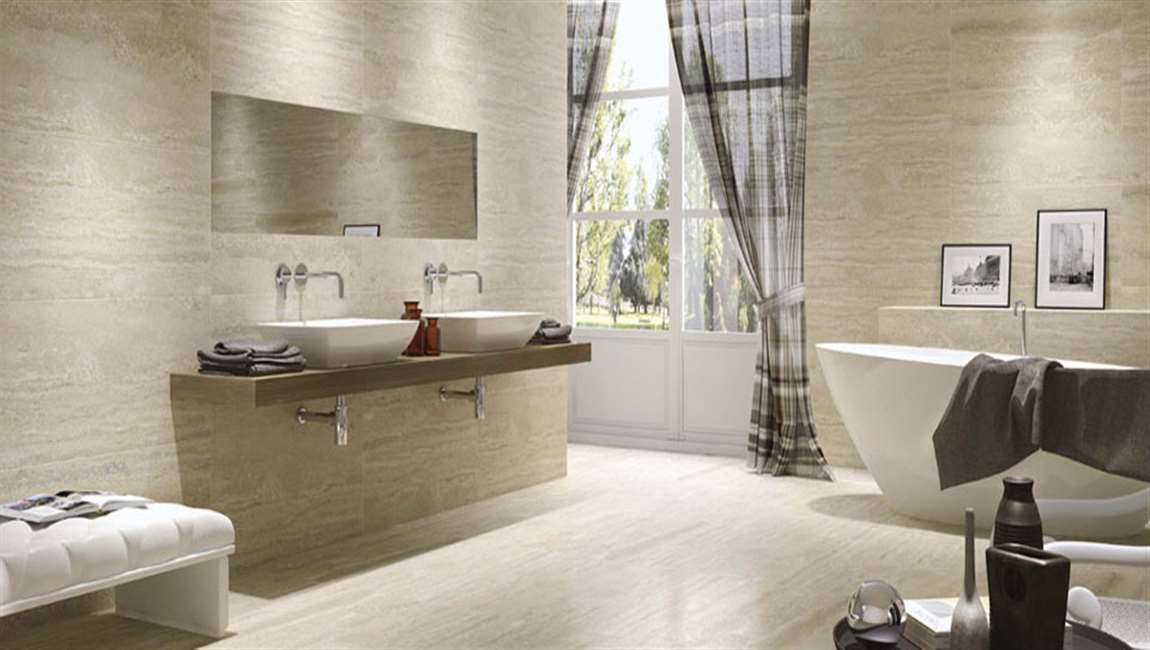
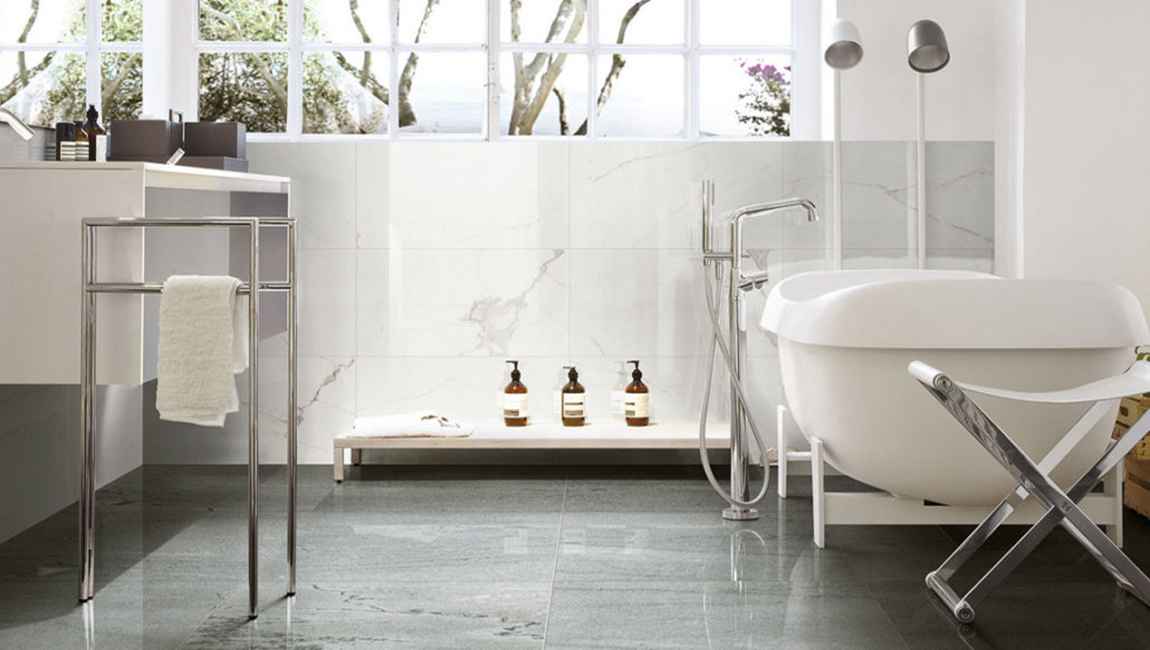
A marble tiles shower is an elegant and chic addition to anyone’s bathroom. Unfortunately, there are also drawbacks with marble tiles, especially when you have to clean it. marble tiles is a porous rock that tends to absorb chemicals and dyes that are found in traditional cleaners. For this reason, many different things can end up ruining your shower’s sleek finish.
Luckily, if you use the right techniques and limit the chemicals you use when you clean, you can have a shiny marble tiles shower that’s free of stains and dirt. Wipe down your shower after each use. It’s important that you wipe it clean after every use because the chemicals found in your soap may hurt the marble tiles.
Use a dry cotton rag or dishcloth to wipe the moisture from the walls and basin of your shower after you use it. Fill a spray bottle with warm water a tbsp (14.7 ml) of mild dish soap. Use regular warm water to fill a spray bottle and add a tbsp (14.7 ml) of non-abrasive, pH-neutral, dish soap into the bottle.
Select an undyed dish soap that does not contain any abrasives like sand or stone, and that doesn’t contain any acids like citrus, lemon, or vinegar. It will say pH-neutral on the label of your dish soap. Conventional cleaners may contain acids that can damage the surface of your shower. There are specially made marble tiles cleaners that you can purchase at department stores or online.
Popular commercial marble tiles sprays include Black Diamond, Simple Green, and Zep marble tiles Cleaner. Spray the solution onto your shower and rub it in with a damp cloth. Coat the walls and basin of your shower with the solution and rub the solution in a small circular motion. Continue to work around your shower in small circles, concentrating on any built up mildew or dirt.
https://baranaceramic.com/wp-content/uploads/2020/01/Clean-a-marble-tiles-Shower-3.jpg7501150administratorhttps://baranaceramic.com/wp-content/uploads/2025/09/logo.pngadministrator2020-01-07 08:00:032020-01-07 05:46:50How to Clean a marble tiles Shower?
Choose solid flooring if you want to be able to refinish it in the future. Solid flooring comes in planks made solely of wood. It’s noticeably quieter and can be refinished over and over again since it gives plenty of solid wood to work with. However, solid flooring is also prone to expansion and contraction, which can change its appearance over time.
Opt for engineered flooring if you want the wood to be more stable. Engineered flooring consists of multiple layers, only the top one being solid wood. The way engineered flooring is made prevents it from expanding and contracting, which means it always stays the same. However, it usually comes with a pretty thin layer of solid wood, which doesn’t leave enough room for future refinishing.
If price is a big concern, engineered flooring is a better option. Not only is it cheaper, it can also be installed directly onto concrete floors, which can significantly reduce your costs. Get prefinished flooring if you prefer not taking risks. With prefinished flooring, the top coat is added before the planks leave the factory, so you know exactly what you’re getting.
Also, you don’t need to rely on your contractor’s skills when it comes to finishing touches. Once the flooring is delivered, it only needs to be installed. Go with unfinished flooring if you want a higher level of control. Unfinished flooring gets delivered without the top coat and has to be finished on site.
This is riskier, since you don’t see the end product before it’s already installed. However, choosing for the flooring to be finished on site allows you to make adjustments during the entire installation process. When it comes to price, unfinished flooring is less affordable, since you need to pay a contractor to first install your flooring and then do the finishing touches as well.
https://baranaceramic.com/wp-content/uploads/2019/12/the-Right-Type-of-Flooring-1.jpg7501150administratorhttps://baranaceramic.com/wp-content/uploads/2025/09/logo.pngadministrator2019-12-10 08:00:322019-12-16 09:31:50Choosing the Right Type of Flooring
Concrete is an affordable flooring option compared with linoleum, vinyl, ceramic tile or carpet. It is easy to maintain and anti-slip for safety in your home. Cement flooring doesn’t have to be dull-grey, you can decorate your flooring to match the design of your home or work. By staining or painting your floor you can have a stylish new look for less!
Apply sealer to the larger surfaces with a roller. Once the edges are finished you can apply a sealer to the remainder of the area with a roller. This will make the application quick and easy for you. Make sure that your roller is clean. Dirt will stick to the wet surface and be hard to remove once the sealer dries.
Wait for two hours before applying the second and final coat. The sealer will need two coats to protect your stained surface. Once the first coat has dried, apply the final coat with a paintbrush for the edges, and then a roller. Apply a sealer every 3 to 4 years to ensure the long life of your concrete stain. If applied correctly, the seal you’ve placed on your stained surface will last for 3 to 4 years.
Wait 24 hours before placing anything on the stained surface. After 24 hours, only use the area for light activities. Any pressure on the surface can damage the stain. For any vehicle traffic on the surface wait 72 hours. Then cover the whole surface with a roller. This will give your cement floor a clean and smooth finish.
Make sure your tools are clean when applying the final coat. It is important that there is no dirt on the surface to get the cleanest finish. Hence, some of the base colour should also show through. The only brush strokes should be fine ones to soften the look as the paint is still wet.
https://baranaceramic.com/wp-content/uploads/2019/11/Decorate-Cement-Floors-4.jpg7501150administratorhttps://baranaceramic.com/wp-content/uploads/2025/09/logo.pngadministrator2019-11-27 08:00:292019-11-27 06:22:47How to Decorate Cement Floors?
Choose a grout. There are two main types of grout: sanded and unsanded grout. Sanded grout is used when the gaps between light colortiles are larger than 3mm. Unsanded grout is used when the gaps between woodtilesare smaller than that. Measure the gaps between your tiles to find out which grout is best for your project.
Glass tiles almost always come in sheets these days and these sheets tend to have very small gaps between the marbletiles, meaning you will probably want unsanded grout. It is important to choose the right grout for your project because not doing so will cause cracks (and all the problems that come with them) in your tiles. There is also technically epoxy grout, which you can use, but it is more expensive and difficult to apply if you do not have experience applying grout.
Mix your grout. Mix your grout according to the instructions on the packaging, making sure to also mix in any additives you want. It should have a consistency like smooth peanut butter. Make sure that you mix no more than what you can spread in 20 minutes. This will keep the grout from drying out. You should only work on small areas at a time, finishing one section before continuing on to the next, so plan on mixing many small batches of grout.
You can get grout additives that make it more mold resistant or water resistant, as well as additives that do things like giving the grout a color. Spread your grout. Grab a grout float and get ready to spread! Working in only a small area at a time (again, what you can cover in 20 minutes), spread the grout onto the walltiles. Hold the float at a 45 degree angle and criss-cross the gaps between the tiles. You do not want to move the float parallel or perpendicular to any tiles, since this will push the grout out of the gaps.
Let the grout cure for 20 minutes. Use the float to remove the major excess grout and then let the grout begin to cure. Wait roughly 20 minutes, or whatever time is recommended in the instructions for your specific product, so that the majority of the grout can set enough for you to remove the excess that is on the tiles.
https://baranaceramic.com/wp-content/uploads/2019/06/How-Grouting-the-Tiles-1.jpg6501150administratorhttps://baranaceramic.com/wp-content/uploads/2025/09/logo.pngadministrator2019-06-19 08:34:552019-06-18 09:44:14How Grouting the Tiles?
Many people believe that the only way to color a tile is to glaze it in a kiln, but you can actually paint tile yourself at home! If you do the right prep work, it’s a quick, easy task that will let you re-color your flooring or bathroom, or even add a decorative element to your floors, counters, or mantel. Learning how to choose the right supplies, prepare your tile for painting, and paint and seal your woodtile correctly will help you re-do your home quickly and inexpensively.
Use bleach or hydrogen peroxide to remove any mold. Vinegar works well for removing soap scum and shower residue. Sand your vaticantile with 1800-grit paper until it’s no longer smooth. You won’t need to sand unglazed tile, but any ceramic that has already been glazed will need to be sanded to provide a rough surface for the paint to adhere to. Use 1800-grit sandpaper to smooth the tile and remove uneven gloss.
Wipe off the dust with a damp rag. Sanding creates a lot of dust, and it will affect the look of your paint. Make sure all of the dust from sanding is gone by wiping the entire surface with a damp cloth. You can also vacuum away any accumulated dust. Apply an oil-based high adhesion primer to home surfaces. Oil primers are efficient at preventing stains and holding on to ceramic and/or oil-based paint, but you won’t need to use them for decorative art tiles that won’t be walked on or used.
If you’re planning to paint in a high-traffic area, like the shower or the hallway floor, use two coats. Wait at least 24 hours for the primer to dry. Check the primer’s label for a precise drying time. If you’re working in an area with a lot of moisture, like the bathroom, you may want to wait 48 hours.
Lay the cementtiles. Once everything is ready, start by applying a layer of mortar to the floor. Mortar is basically the adhesive that helps the tile stick to the concrete, so choose the one that best suits your needs and your current situation. The commercially available mortars generally need to be mixed with a proportional amount of water. Be sure to read the manufacturers instructions on this.
https://baranaceramic.com/wp-content/uploads/2019/05/How-to-Do-Tile-Painting-3.jpg6501150administratorhttps://baranaceramic.com/wp-content/uploads/2025/09/logo.pngadministrator2019-05-09 01:49:312019-05-06 02:53:16How to Do Tile Painting?
When the family decoration is purchased, many ordinary consumers are entangled in the color and lustre of the brick. Generally, they will choose the brick products with white brick. Although the color and quality of most tiles are not proportional to the quality, the normal quality of the tiles can not be determined by the color and lustre of the bricks, but the undeniable point: White tiles with large size tiles have great competitive advantages in product sales.
In the case of fierce market competition and serious product homogenization, the manufacturer makes a distinction between the quality of the product, and the selection of the white tile material and the iron removal process are more complex. Due to the related marketing, the low degree of quality of tile itself has created the effectiveness of marketing, resulting in general consumers blindly being followed and misled. Some ceramic manufacturers sell their inferior quality and color and lustre ceramic tiles in the market. For a long time, the ceramic tile products with deep color and lustre have left a very bad reputation in the market.
Some ceramic tiles have high requirements for whiteness, such as micro – powder tiles. It is necessary to improve the whiteness of white lines and transparency of transparent materials to improve the sense of the product. There are several ways to increase whiteness: One is to increase the amount of zirconium silicate; The two is to reduce the content of iron oxide in raw materials (white and transparent materials), so as to improve the permeability of products.
The most important factor affecting whiteness of ceramic floor tile is the content of ferric oxide and titanium dioxide in raw material, especially iron oxide content.
The raw materials for producing ceramic bath tile are mainly divided into two parts, feldspar raw materials account for about 80%, and clay materials account for about 20%. Generally, the content of ferric oxide in raw feldspar material is less than 0.2%, and the content of feldspar iron oxide in finishing (such as water mill) is less than 0.08%. The content of iron oxide in clay materials is about 1.2% ~ 1.8%, and the content of iron oxide in washed clay is about 1.2%.
The iron oxide in the green body is mainly carried by clay materials. In order to improve the whiteness of ceramic tile flooring, we must control the content of iron oxide in clay and choose refined clay. For example, the main indicators of ultra white washed clay produced by some manufacturers are: The content of iron oxide is less than 0.5%, generally around 0.4%, and the electric furnace is 90 degrees white, and the firing degree of kiln is 82 degrees. High strength and proper loss of ignition will not cause difficulty in forming or black heart when firing.
The main means to reduce the content of iron oxide is to select high quality mineral resources and two to remove iron from water.
After processing, the composite white iron oxide with low content and high strength meets the needs of tile production. However, it should be noted that some ultra white mud is very harmful to tile production when it is processed to increase whiteness and add a lot of quartz powder. Some of the northern clay with high whiteness and high fixed carbon content and large loss of burning loss is used as raw material. Although the clay whiteness of the synthesized clay is high, it is easy to produce black heart, and its strength is low, and it is not easy to form.
The whiteness of ultra white mud can not be examined solely, but also the brightness of the simulated products.
The general method of detection is: 70% of the billet was mixed with albite and 30% super white mud. After mixing ball milling, the cake was fired and the whiteness was measured in the furnace. The whiteness measured in this way is the whiteness reflected in the actual production. There is also a simple way to soak the burnt white mud cake into the water to see the change of whiteness after soaking. All iron oxide with high content of clay, whiteness of white mud super hard; low iron content, whiteness of generally not more than 10 degrees.
In addition to whiteness, mud mobility and forming strength are also important indicators of ultra white mud. Poor fluidity of mud will cause difficulties in ball milling. When the forming strength of the slurry is low, the product will crack easily.
The core index of ultra white water washing mud is: Low iron oxide content, high forming strength and whiteness after porcelain. Using ultra white mud, the production cost can be reduced and the production cost can be reduced without or less use of zirconium silicate, and the problem of excessive radiation caused by the use of zirconium silicate is also avoided.
https://baranaceramic.com/wp-content/uploads/2018/05/Is-the-better-the-whiter-quality-of-tile-1.jpg600900administratorhttps://baranaceramic.com/wp-content/uploads/2025/09/logo.pngadministrator2018-05-16 03:30:082019-09-03 07:23:12Is the better the whiter quality of tile?