Posts

How to Buff Floors?

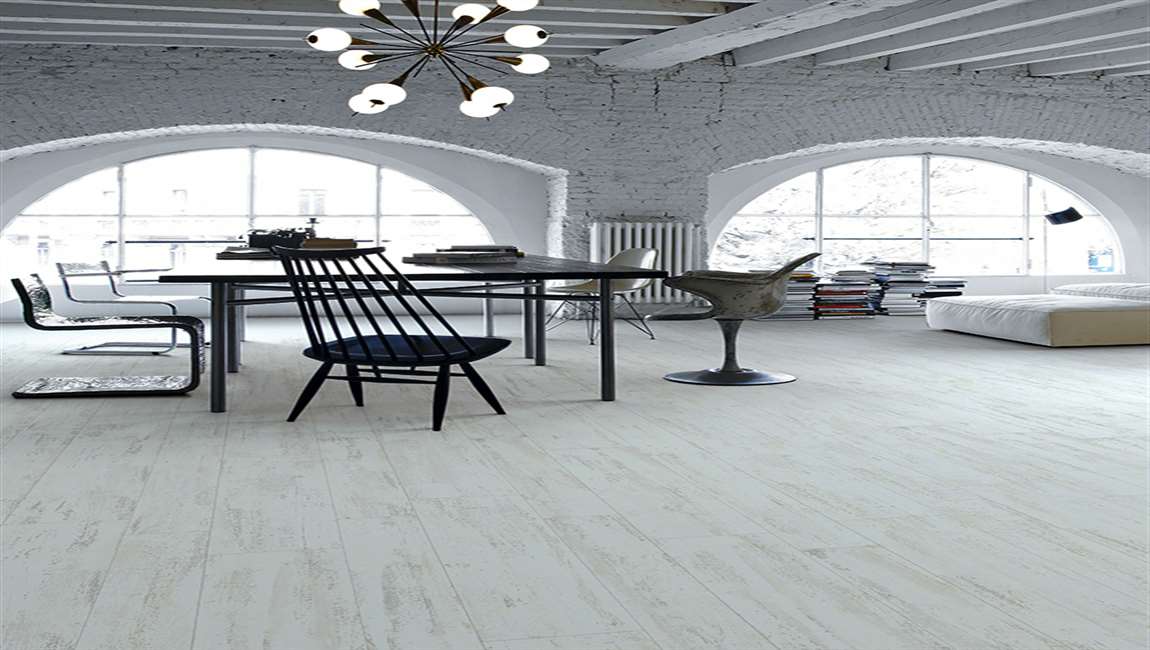
If you have scratched or scuffed floors, buffing them can refresh their shine. You can improve the look of your floors by buffing them by hand, but it’s best to buy or rent a floor buffer, which uses slow speeds and high pressure to remove and replace the top layer of finish on your flooring. You can buff any type of floor, whether it’s wood, vinyl, concrete, or tile.


Before you buff your floor, make sure you secure the area and clean the floor to remove any grime. Then, use a microfiber cloth or a spray buffing machine to restore your floor’s shine. Rotate your machine back and forth as you move across each section


Although the buffer is doing most of the work for you, rotating it will help you achieve a better result. Not only does it ensure the buffer covers all of the surface area, but it will also help you really work areas where there are scratches or scuffs. Your motion should swing back and forth like a pendulum.


Move backward as you work so you don’t step on the buffed sections. This helps you avoid stepping on the parts of the floor you’ve already buffed. You don’t want to step on the buffed areas because they will be very slippery. Also, you don’t want to mess up the finish. Walk slowly so you don’t accidentally trip over your own feet.


Hold the buffer over scratches and scuffs for a few extra seconds. As you work, look for visible scratches and buffs. It’s okay to give these areas special attention by holding the buffer over them for a few extra seconds. Additionally, you can make several passes over them. If you still notice a scratch or scuff after you finish, you can try hand rubbing it with a soft cloth soaked in buffing solution.

How Mopping Tile Floors with Vinegar?

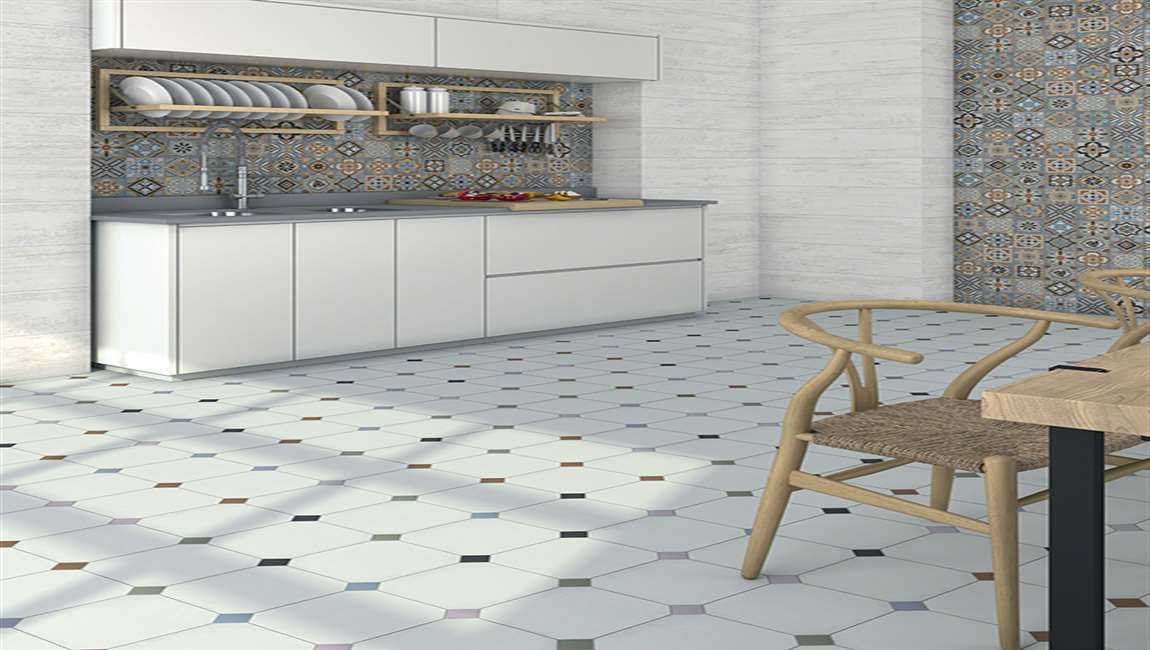
Fill a bucket with hot water. For most floors, one or two gallons of water will suffice. If you need to clean a larger area, you can add an extra couple gallons incrementally. The warmer the water, the better it will be for loosening stuck-on dirt and grime.

Before you start mopping, make sure you’ve cleared the floor of all removable furniture, appliances and other objects that might get in the way or be damaged by water. If the bucket is too big to fit under the sink, try filling it your bathtub.

Add a cup of distilled white vinegar. Aim for a ratio of roughly ½ to 1 cup of vinegar for every gallon of water. Swish the vinegar solution gently to make sure it’s blended. Vinegar is mildly acidic, which makes it useful for dissolving hardened residue. Diluting the vinegar will prevent it from bleaching the color or wearing down the finish of your floor tiles. Other high-potency types of vinegar, such as apple cider vinegar, will also get the job done.

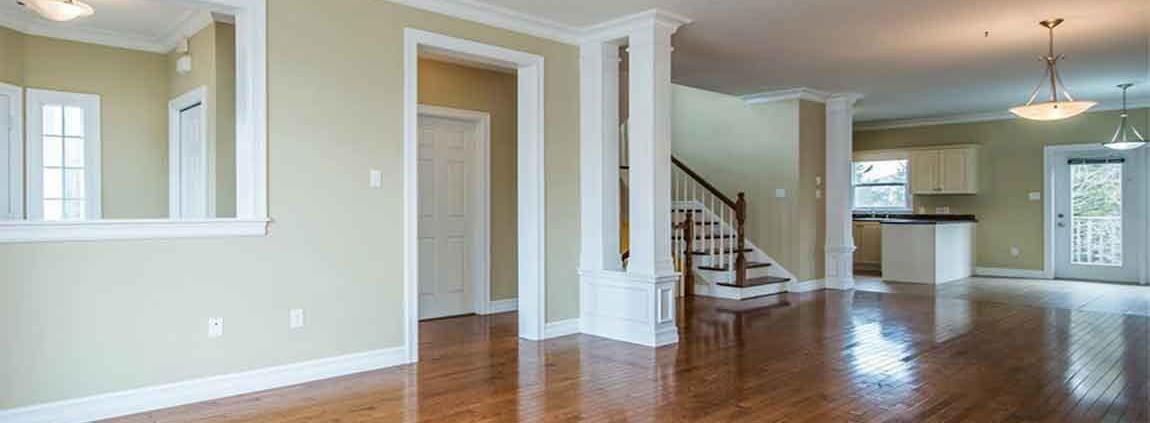
Mop the tiles with the vinegar solution. Work your way across the tiles, mopping in a circular or side-to-side direction. Make sure to spread the vinegar over the entire surface of the floor. Don’t forget to run the mop beneath nearby furniture and along the baseboards. As you mop, you should be able to see the results of the vinegar right away. Be careful not to saturate bordering wood or carpet flooring with the vinegar solution.

Rinse the floor with fresh water. Empty the bucket and refill it with clean, warm water. Go back over floor once more, wringing out and rewetting the mop every few feet. This will help clear the tiles of loose residue and any remaining traces of vinegar. Soak up excess water with the mop, a squeegee or an absorbent towel, the allow it to air dry completely.

If you skip the rinsing step, the dingy water will dry on the floor, leaving behind streaks and splotches. Making sure that the grout has a chance to dry out is essential for preventing the growth of mold and mildew, which thrive in warm, moist spaces.