Posts

How Maintaining marble tiles Surfaces?


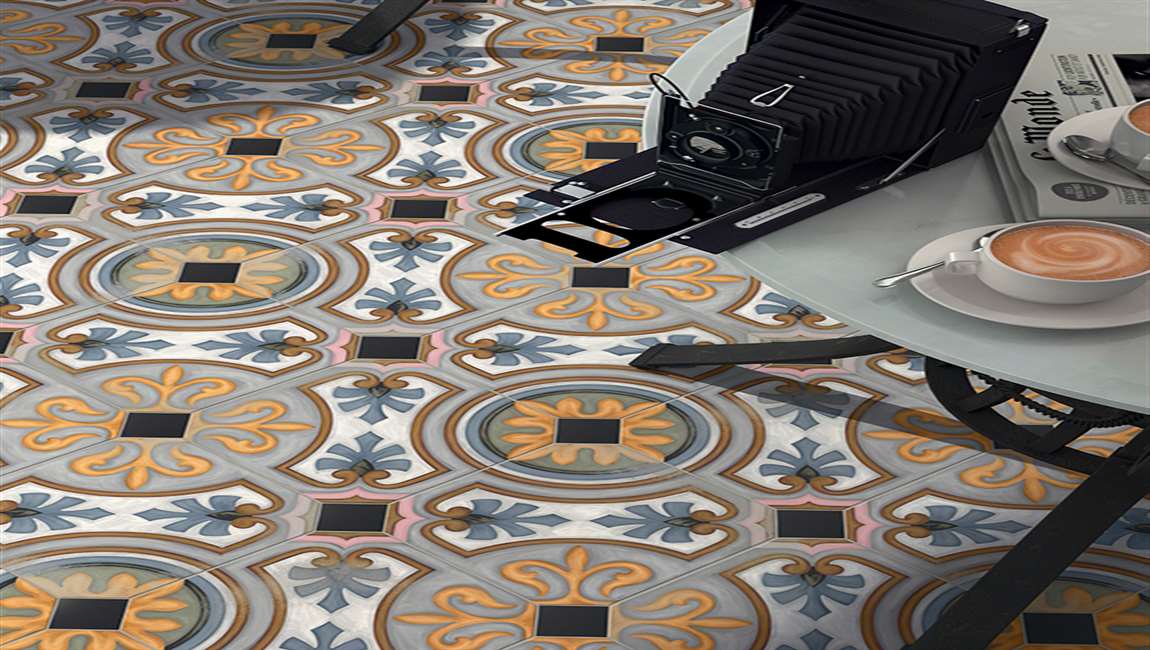
Wipe away spills quickly. marble tiles is a sensitive, porous surface, and spilled liquids can stain or etch these surfaces. Acidic substances like coffee, juice, wine or toiletries are especially damaging to marble tiles. Use a microfiber cloth or paper towels to mop up and wipe spills as soon as they happen.


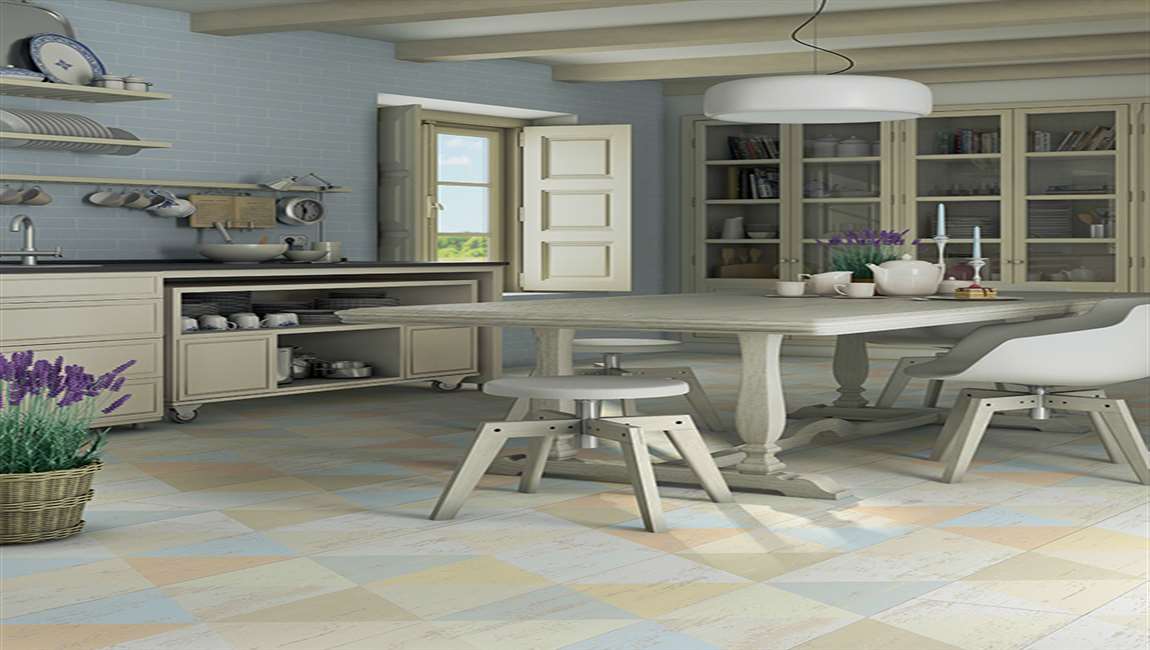
Choose your cleaners carefully. Even general purpose cleaners can damage marble tiles surfaces, especially if they contain acids or alkalis. If you’re going to apply a cleaner directly to your marble tiles tiles or floors, make sure it’s specially formulated to clean marble tiles.


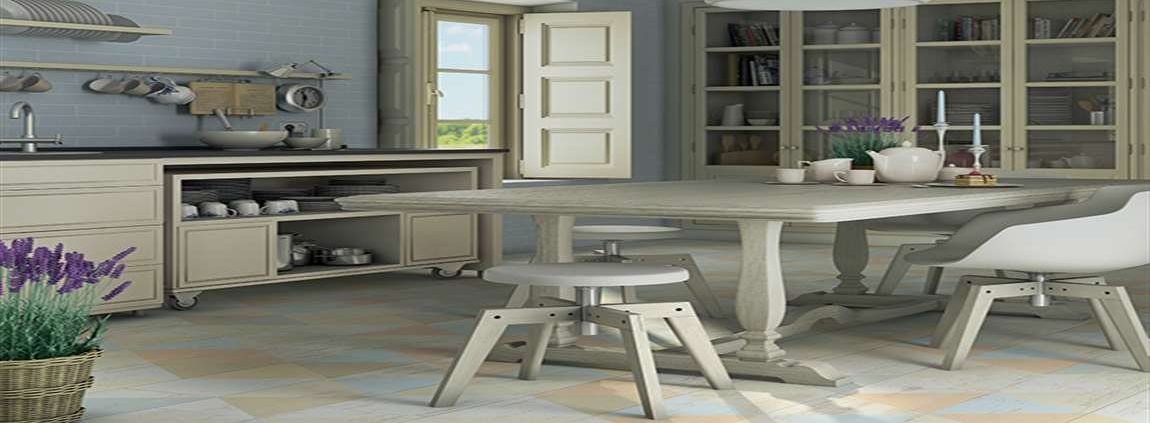
Use coasters and cutting boards on marble tiles tiles. Condensation rings on marble tiles tiles can etch and stain the surface, so make sure to place coasters under any glass placed on them. When cutting fruits and vegetables, cutting boards will prevent any acids or juices from staining the tiles.


Work as fast as you can so that the adhesive is still wet before you lay down your marble tiles. Attach your marble tiles slabs to the cabinets with the adhesive beads. After applying the adhesive, carefully lower each marble tiles slab into place over the beads. Now, press them down gently to ensure that they adhere to the cabinets beneath them.


Be sure to lower the slab onto the adhesive while it’s still wet. Have a friend help you lower each slab into place. Seal the joints between each slab if there are any. A proper dry-fitting can avoid this step, but sometimes it can’t be helped. Start by lining the top of each seam’s sides with painter’s tape.

Installing a Traditional Tile Backsplash

Bring everything you have. There are several different items required to install a traditional ceramic back panel in the kitchen. Before you start your project, make sure you are well prepared. Materials to be prepared before starting include tiles, tile adhesives, and grout.


Make sure you have the necessary tools, including a notched trowel, tape measure, sponge, level, utility knife, and a tile cutter. You may need spacers for tiles that are not attached together in sections. You may want to use something to cover your countertops during this process to keep them clean.


Clean your walls. In order for the tile adhesive to stick the walls, they must be free of any dust or grease. Wipe them down with a damp rag, and give enough time for them to completely dry. Measure your space. It is important to make sure you get a good measurement so you know exactly what size you should cut your tiles.


Choose a stopping point, either directly below your cabinets or at an arbitrary point on the wall. Make sure that you have enough tiles to fill the measured space, as well as a few extras for precaution. Use a level and straight edge to mark your stopping point along the wall.


Apply the tile adhesive. Use your trowel to smooth the tile adhesive across the wall, working in small sections. If you apply too much at once, it will begin to dry before you get a chance to attach the tiles. Always start applying your tiles from the bottom center, and working outwards from there. Don’t apply the tile adhesive to the backs of the tiles, as it will be more difficult to attach them to the wall.

How Mopping Tile Floors with Vinegar?

Fill a bucket with hot water. For most floors, one or two gallons of water will suffice. If you need to clean a larger area, you can add an extra couple gallons incrementally. The warmer the water, the better it will be for loosening stuck-on dirt and grime.

Before you start mopping, make sure you’ve cleared the floor of all removable furniture, appliances and other objects that might get in the way or be damaged by water. If the bucket is too big to fit under the sink, try filling it your bathtub.

Add a cup of distilled white vinegar. Aim for a ratio of roughly ½ to 1 cup of vinegar for every gallon of water. Swish the vinegar solution gently to make sure it’s blended. Vinegar is mildly acidic, which makes it useful for dissolving hardened residue. Diluting the vinegar will prevent it from bleaching the color or wearing down the finish of your floor tiles. Other high-potency types of vinegar, such as apple cider vinegar, will also get the job done.

Mop the tiles with the vinegar solution. Work your way across the tiles, mopping in a circular or side-to-side direction. Make sure to spread the vinegar over the entire surface of the floor. Don’t forget to run the mop beneath nearby furniture and along the baseboards. As you mop, you should be able to see the results of the vinegar right away. Be careful not to saturate bordering wood or carpet flooring with the vinegar solution.

Rinse the floor with fresh water. Empty the bucket and refill it with clean, warm water. Go back over floor once more, wringing out and rewetting the mop every few feet. This will help clear the tiles of loose residue and any remaining traces of vinegar. Soak up excess water with the mop, a squeegee or an absorbent towel, the allow it to air dry completely.

If you skip the rinsing step, the dingy water will dry on the floor, leaving behind streaks and splotches. Making sure that the grout has a chance to dry out is essential for preventing the growth of mold and mildew, which thrive in warm, moist spaces.