Posts

How to Cutting Curves with an Angle Grinder Before Cut Marble Tiles?

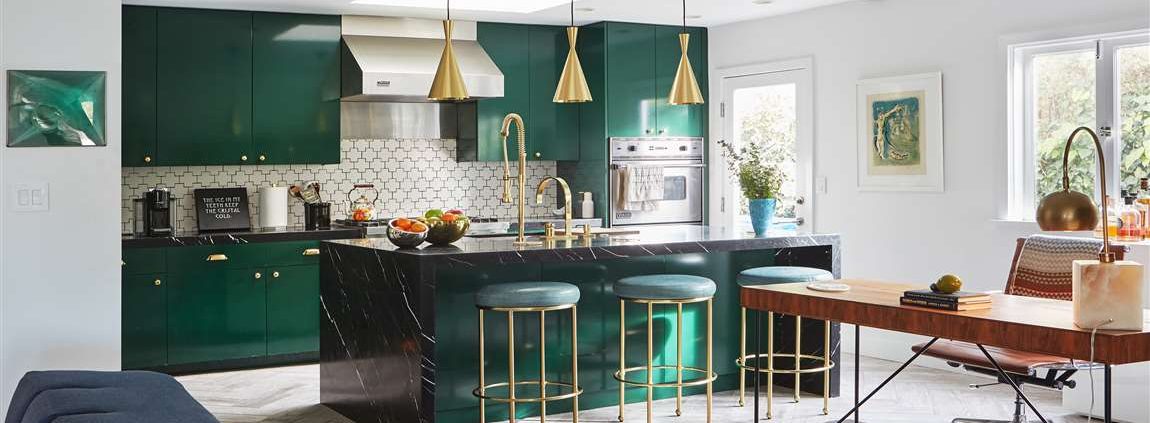
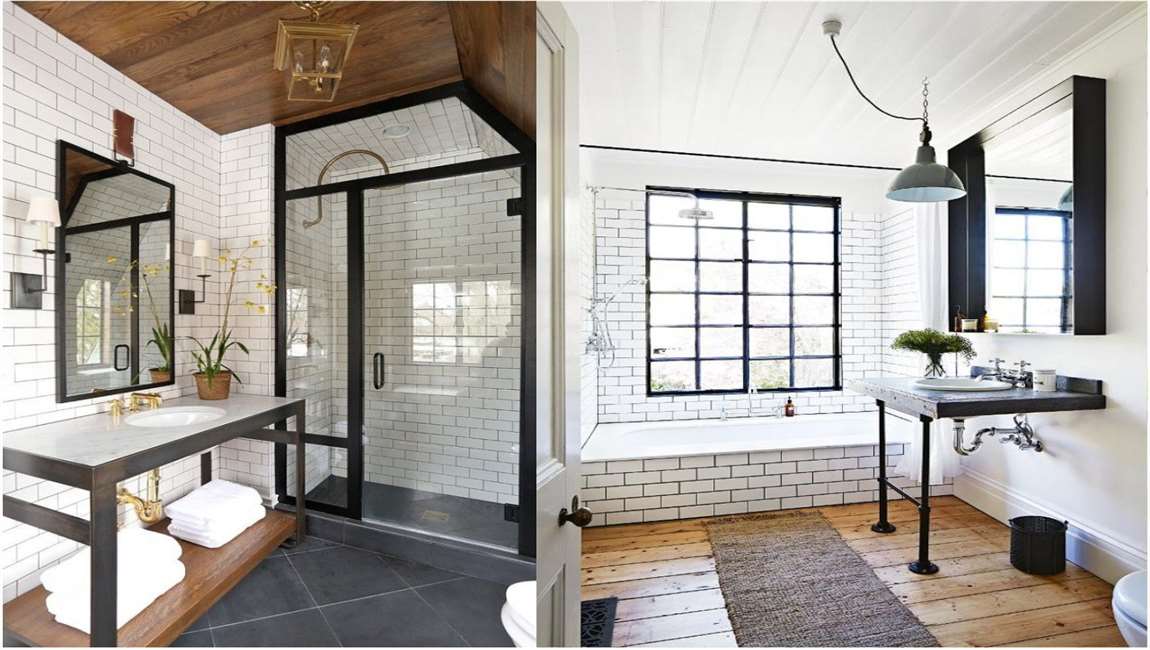
Marble tiles look great in a bathroom or kitchen, but sometimes you may need a smaller piece of tile to fill in a gap. While ceramic tiles can be scored and snapped, marble needs to be cut completely or else it will shatter. You can use either a wet saw to make straight lines or an angle grinder to make curves as long as you have a diamond blade. Once you make your cuts, you can make marble tiles any size you need.

Change the blade on your grinder to a diamond blade. Loosen the nut attaching the blade to your grinder using a ratchet wrench. Remove the current blade, and set the diamond blade in its place. Put the nut back onto the blade and tighten it again with your wrench. Check your grinder’s rotation in the instruction manual and compare it to which direction the arrow faces on your blade. If they go in opposite directions, install the blade upside-down so it cuts the right way.

Place a 2 in (5.1 cm) piece of scrap wood or foam underneath the wood tile. Find a flat piece of plywood or stiff foam that you can put underneath your tile. Make sure the wood or foam is at least 2 inches (5.1 cm) thick. That way, your angle grinder won’t cut into your work surface.

In a pinch, clamp multiple pieces of cardboard together to make a new cutting surface. Warning: Don’t hang your cement tile over the edge of your work surface since it’s more likely to break or shatter.

Cut halfway through the tile design for its entire length. Turn your angle grinder on with the switch on the main body. Carefully lower the blade of the grinder onto your kitchen tile in a slow and steady motion. Push the grinder halfway through the wood marble tile and follow along with your line for the entire length. When you finish your cut, turn off the grinder.

Keep your fingers clear from your blade so you don’t accidentally cut yourself. Don’t attempt to cut through the entire tile right away since it may create sparks or break your blade. Follow along with the line again to cut through the wall tiles design completely. Turn on your grinder again and start from one side of your cut line. This time, push the grinder through the rest of the element tile so it cuts through it completely. Push the grinder slowly in a straight line so it doesn’t jump out of the cut.

How to Stop Floor Tiles from Cracking?

Different sealers are used for different grouts ceramic tiles. Make sure you have the correct sealer for the application. Add a second coat of grout sealer. Wait an hour and add a second coat of sealer using the same process to the cement tile. Test the second coat with a few drops of water – if they bead on the grout, then the grout has been sufficiently sealed. Depending on the grout sealer you use, it could take between 24-28 hours to dry completely.

Replace grout with caulk. If you are fixing the grout that has come loose bathroom tile next a toilet, sink, or tub, you might want to replace the grout with caulk instead of new grout. Silicone caulk is waterproof and can act as a better sealant in areas where there is a lot of water and can add some flexibility to the mosaic tile in areas where there is a lot of movement.

Check with an employee at the hardware store to make sure you are getting the right kind of caulk for the job. Clean out the seam so that no pieces of grout or other debris are present. Filling the wall tiles with a tube and caulking gun, gently fill the seam with a bead of caulk. For best results, keep moving as you apply the caulk.

Smooth the caulk. Use a wet fingertip or wet cloth to smooth the caulk. A small lip of caulk on the side of the tub will create a waterproof barrier between the tiles and the tub. A flexible buffer of caulk and less water seepage will lead to less wood tile problems later on.

How to Cleaning a Tile Floor with Vinegar?

Sweep or vacuum the floor. Before cleaning a tile floor with vinegar, you will want to remove all debris from the surface of the floor. Use a broom, dust mop, or vacuum cleaner to remove all loose dirt and debris from the tile floor. Vinegar is great for ceramic tile floors. Don’t use vinegar on marble or granite. Instead, use a cleanser specifically formulated for these delicate stone types.

Mix hot water and vinegar in a bucket. Add equal parts hot water and vinegar to a bucket. The bucket should be large enough to easily rinse and wring out a mop. Wring out a mop. Place a mop in the bucket of hot water and vinegar. Lift the mop from the bucket and wring it out. Try to wring as much water out of the mop as possible.

Mop the floor tile. Use side-to-side motions to mop the tile. Rinse and wring out the mop frequently while mopping. If you are cleaning a large area, make a fresh batch of hot water and vinegar when you finish mopping half the area. Fill the bucket with clean water. Once you finish mopping the rustic tile with the vinegar solution, you will need to rinse the tile with clean water. Dump the vinegar solution down a drain. Fill the bucket with fresh, hot water.

Mop the tile with clean water. Dip the mop in the fresh water, wring it out, and mop the tile using side-to-side motions. Rinse and wring the mop frequently as you mop. If you are mopping a large area, fill the bucket with fresh water after mopping about half of the surface area.

Let the tile air-dry. Allow the bathroom tile to air dry before you walk on it. This will prevent footprints and debris from sticking to the wet wood tile. You can also dry the floor with a clean, soft towel if desired.

Create a vinegar and baking soda paste to work out tough stains. If there are any stains on the marble tile, then try mixing a small amount of vinegar into some baking soda to dorm a paste, such as 1 part vinegar to 3 parts baking soda. Apply the paste to the stain with a scrub brush or sponge. Then use a wet paper towel to remove the paste.

How to cutting standard tiles as backsplash?

Lay out your marble tiles on the counter, table, or floor. Make sure that your tiles design lay out matches the dimensions of your wall. For example, if your backsplash is 6 to 2 feet (1.83 to 0.61 m), then your ceramic tiles lay out should also be 6 to 2 feet (1.83 to 0.61 m). Include the tiles price that will get in the way of cabinets, corners, and edges. You will cut these down to size later. Also, remember to include the grouting gaps between the polished tiles; use a spacer if you have to.

This step is known as “dry-fitting.” It will help you figure out whether or not you need to cut any wood tiles. Leave a 1⁄8-in (0.32-cm) gap around the backsplash, where it connects to the cabinets, counter, and adjacent wall. If you are working with a large sheet of tiles, click here to continue.

Mark the small tiles that will get in the way of cabinets and corners. Check the dimensions of your wall against your laid-out tiles. Use a marker to make a mark across the cement tiles where they will bump against a cabinet or corner. Mark the tiles that will be along the top edge of your backsplash, next to a wall, or under a cabinet. They will be more disguised that way.

Put on some eye and respiratory protection. A pair of safety goggles will protect your eyes against any flying pieces of tiles. A good respiratory mask will prevent you from breathing in any sanding dust. Most masks are graded based on the type of particle they can filter. Choose one that can filter dust particles.

Use a score-and-snap tiles cutter on large tiles. Use the cutting wheel to make a single, deep score in the tiles. Snap the tiles along the scored line. If the tiles has a mesh backing, make sure that the mesh side is facing up. Do not use grinders on tiles made from slate. You can use them on ceramic tiles design, however.

Use tile nippers for small tiles. Tiles that are smaller than 1 or 2 inches (2.5 or 5.1 cm) may be difficult to cut on a score-and-snap tiles cutter. Not only could you hurt yourself, but you could break the tiles. Instead, use a pair of tiles nippers to pinch the tiles where you need to break it. You can use tiles nippers on larger tiles to “cut” curves. Do not use tiles nippers made from slate. You can use them on ceramic tiles, however.

Use a wet saw to notch tiles, if needed. Sometimes, the corner of a cabinet or outlet cover will extend into your backsplash tiles. Measure the corner, then trace it onto the tiles with a pencil or marker. Place the tiles onto the sliding table of the wet saw. Gently guide the tiles into the saw to make the first cut. Pull the tiles back, then create the second cut. Use a tiles nipper to break off the piece between the 2 cuts. You can also use a wet saw to make basic cuts on most tiles.