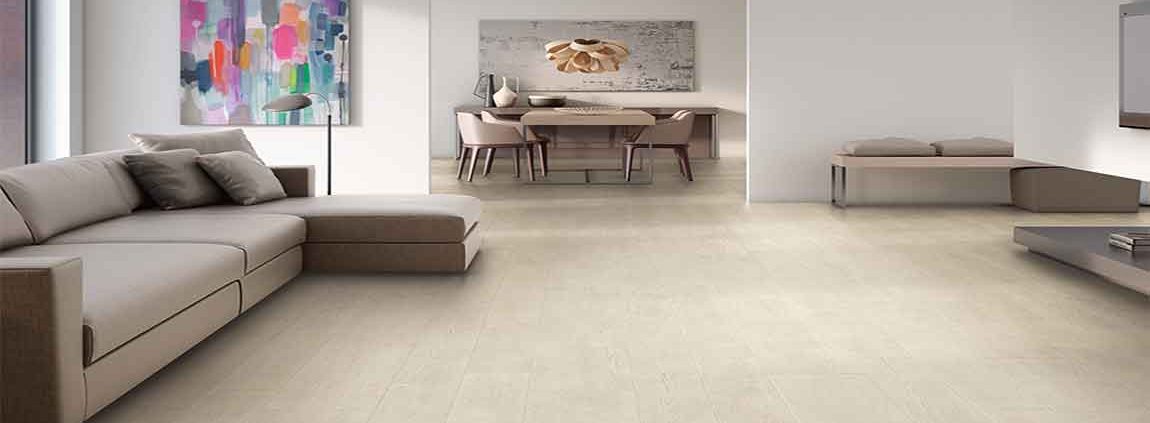
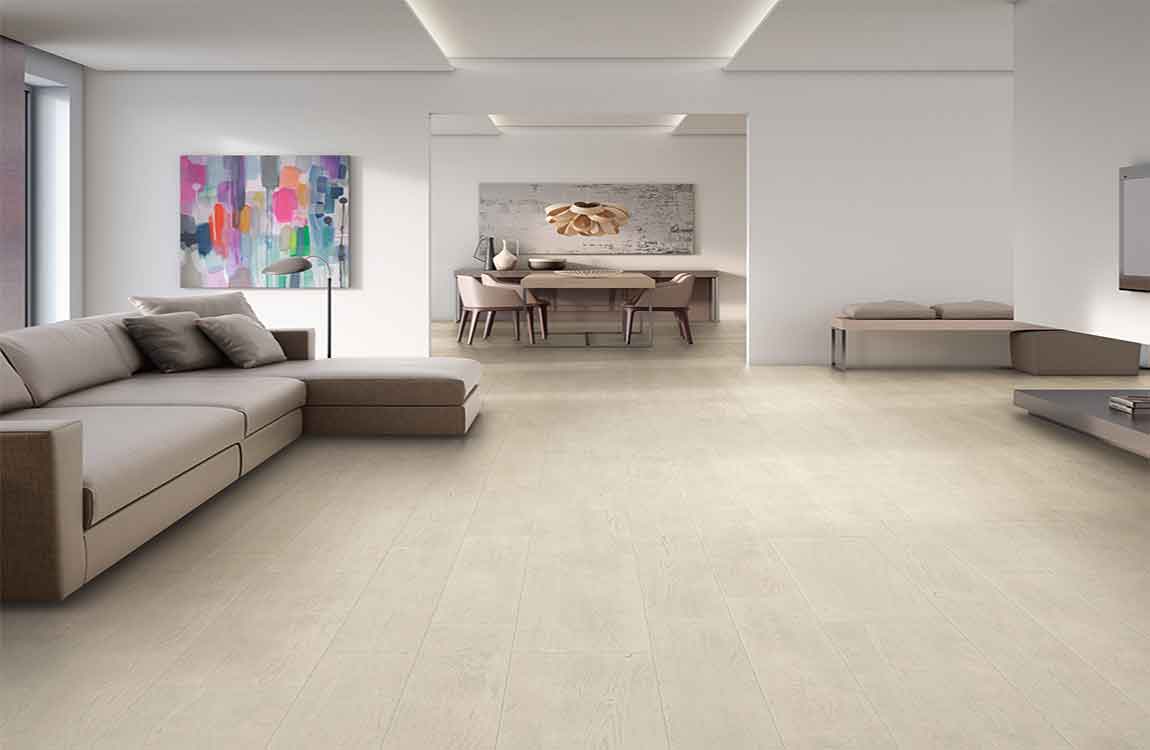
If you choose it right, your wood flooring will last you for years to come. Decorating your home will be a lot easier as well, since beautiful floors make for an excellent base for truly outstanding interior design. By learning how to decide between different types of wood flooring and how to adjust the final touches to match your decor, make sure you choose the best option for your home.
Look for labels on the nail slots in each panel. These slots are often marked with letters to help installers line up rows of panels properly. The vinyl panels are pretty thin, so don’t put the nails in too tightly. Pound the nails in so they’re about even with the upper lip of each panel. That way, the panels can expand and contract as the weather changes.
Attach a top strip to prevent water from seeping behind the vinyl. Use a snap-lock tool to punch a hole every 16 in (41 cm) over the upper furring strip. Set a vinyl strip or J-channel over the strip. Grip the strip between tin snips to guide it onto the vinyl panels. Secure it in place with more galvanized siding nails.
These are the only nails visible in the siding. Consider adding some primer and then painting over them with water-resistant latex paint. Keep the layer of mortar the same depth throughout the wall so the stone veneer fits evenly on the wall. Consider scratching the mortar with a scarifier, a metal rake, or another tool to improve the finished bonding.
Arrange the stone panels on the ground in front of the wall. The panels fit together like puzzle pieces, but you have to assemble them first to ensure they go together. Spread them out face down on the ground and push the pieces as close together as possible to eliminate gaps. Create the finished pattern you want your wall to have.
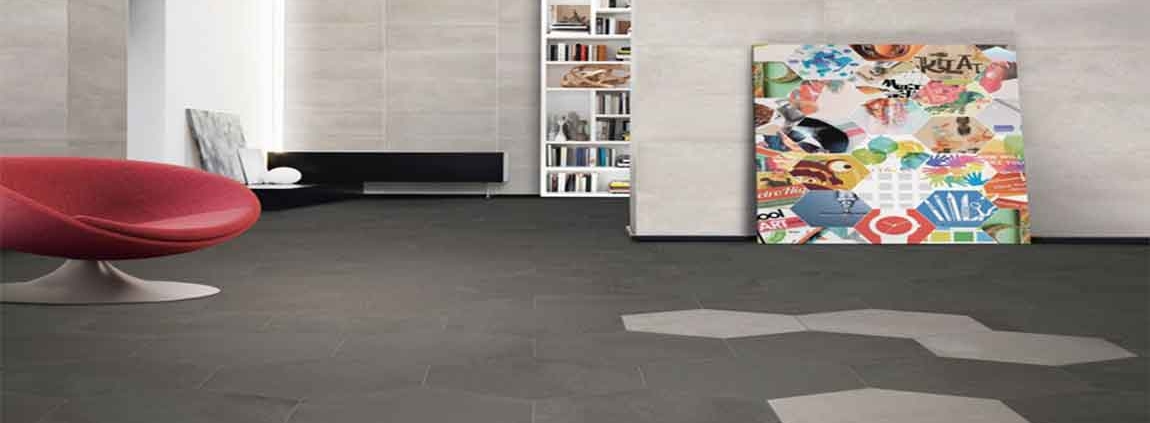
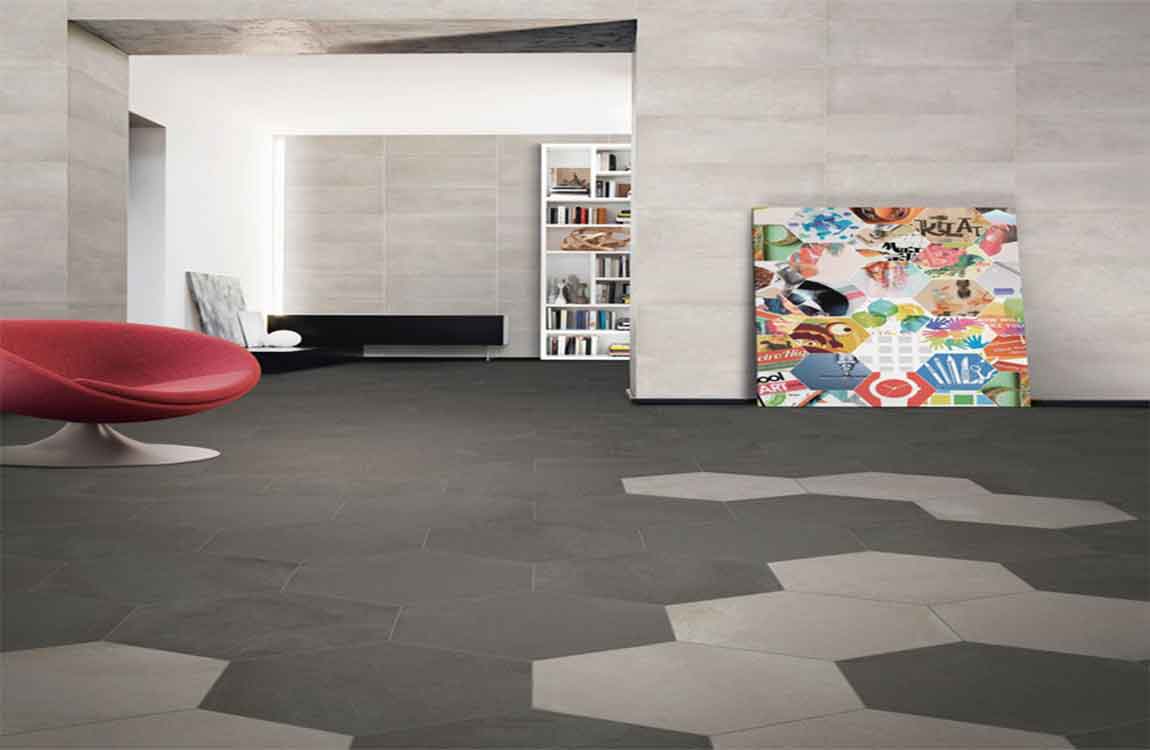
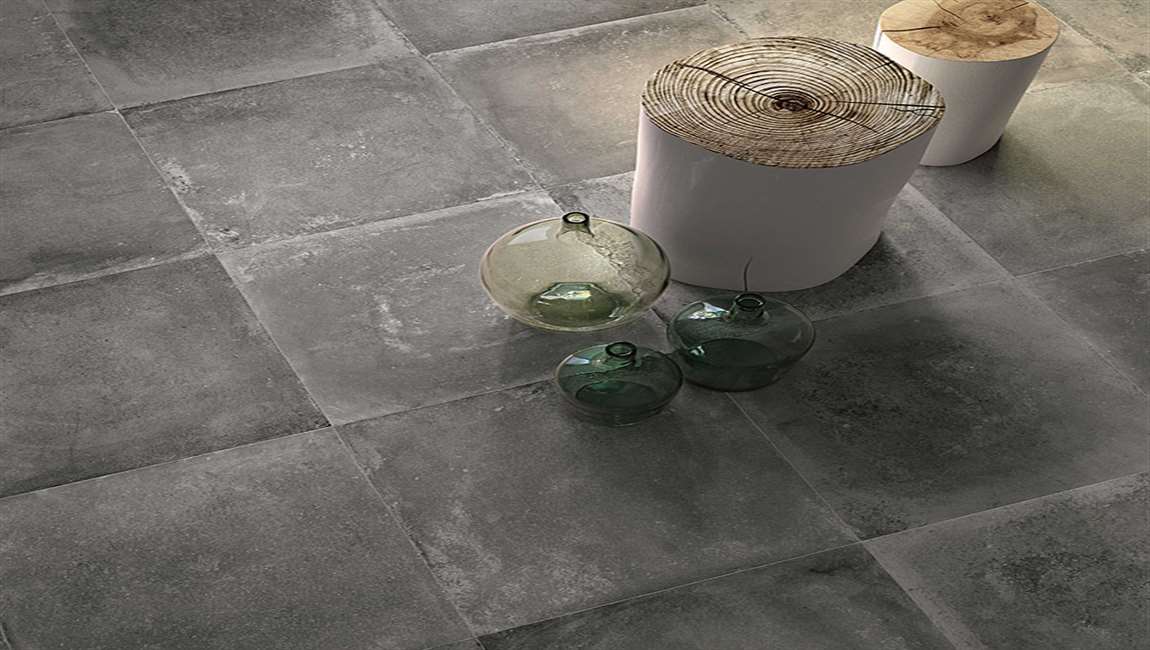
https://baranaceramic.com/wp-content/uploads/2019/12/How-to-Select-Wood-Flooring-2.jpg7501150administratorhttps://baranaceramic.com/wp-content/uploads/2025/09/logo.pngadministrator2019-12-18 08:00:092019-12-16 10:11:46How to Select Wood Flooring
Make a baking soda and bleach paste. If you want to remove stains that have developed over a season or so (for example, after leaves have been collecting on your concrete throughout the fall), mix up a standard concrete cleaner using three parts baking soda and two parts bleach. The consistency of the paste should be like pea soup – thin enough to pour on your concrete but thick enough that it won’t just run off.
Make a vinegar and baking soda paste. If you’re looking for a more environmentally-safe cleaner, try mixing up vinegar and baking soda. The exact amounts of vinegar to baking soda don’t matter as much as the consistency. It should have a paste-like consistency. Start by pouring some white distilled vinegar into a bucket or bowl and then slowly add baking soda.
The mixture will foam up, so add the baking soda slowly so you it doesn’t overflow. Give the bubbles some time to deflate so you can see what your consistency looks like before adding more baking soda. Make a vinegar and water solution. For smaller stained areas, you might want to try a vinegar, water, and salt solution that you can mix together in a spray bottle.
This allows you to be more targeted in the application of the cleaner and prevents it from seeping to places you don’t want it to go – like flower beds or the lawn. Use equal parts white distilled vinegar and warm water, then add a pinch or two of salt. Let this solution soak into your concrete for about twenty minutes.
There isn’t much extra work needed to fit the panels together. The manufacturer cuts them into shapes meant to fit together. The only exception is when you need to trim the stone to fit along the edges of your wall, which you can do with a diamond blade. Spread a 1⁄2 in (1.3 cm) mortar layer on the stone veneer.
Score the cut lines with a tile scribe. A tile scribe is a small, sharp hand tool that etches a cut line into the tile. This etching helps make sure the tile snaps where you want it to instead of breaking or cracking elsewhere. The scoring only needs to be 0.125 in (0.32 cm) or so deep.
You can get a tile scribe at any hardware store or online. Use tile nippers to clip away the excess tile. Think of tile nippers as industrial-strength fingernail clippers. Start at the corner of the tile that’s being cut away, and squeeze the handles together to make the top and bottom blades take small “bites” out of the tile. Start “nibbling” more carefully as you approach the scored line.
Standard tile nippers will work with practically every kind of tile, although some natural stone tiles (like slate) may be too fragile. Consult your tile supplier if needed. You can also use specialty tile nippers for glass tiles or other particular types. Be careful not to nip one of your fingers while you work. Wear work gloves to protect your hands from cut tile edges and safety glasses to protect your eyes from snipped shards of tile.
Make sure your cuts are correct by dry-fitting the tiles. Because the toilet base will cover the cut tile edge, your cuts don’t need to be perfect. However, take the time to dry-fit the tiles in place to make sure your cuts are generally accurate—ideally, no more than 0.5 in (1.3 cm) larger than the flange.
Use plastic spacers to account for your grout lines when dry-fitting the tiles. If you’re going to rest a removable toilet flange on top of the installed tiles, remember to remove it before dry-fitting (and later, when laying the tile!). If your dry-fit lines up properly, you’re ready to set these tiles in place in the same way you did the rest of the floor.
https://baranaceramic.com/wp-content/uploads/2019/08/Multiple-Tiles-before-Toilet-Installation-5.jpg7501150administratorhttps://baranaceramic.com/wp-content/uploads/2025/09/logo.pngadministrator2019-08-29 08:00:192019-09-03 05:40:49How Cutting Multiple Tiles before Toilet Installation?
A tiled shower adds beauty and durability and value to your home, and you can tile your shower all by yourself. There are several things you need to do to properly prepare a leak-proof shower. If you are tiling a shower for the first time, consult with a general contractor before starting the job.
Use a hole saw with a carbide bit to cut the holes where the shower head and handles would come through. Make the cement board flush with the tile lip of your shower pan by using shims behind the board to bring it out to the desired thickness. Make sure to use composite shims. Use 100% silicone caulk to seal the seams between the panels and then apply the silicone behind the board on the stud. Add some seam tape between the panels as well.
Lay the drywall. If using crown molding near the ceiling, lay down 12 to 18 inches (30.5 to 45.7 cm) of drywall instead of cement board. Nails used to fix the crown molding in place will not travel through the cement backer; you’ll need to use moisture-resistant drywall such as greenboard in order to take the nails and affix the molding.
Feather any edges with seam tape and thin set mortar where the backer board meets the wallboard. If there’s a gap between the backer board and the wallboard, you’ll want to use seam tape and then feather the gap with thin set mortar so that it appears as one continuous back. Remember that the seams must remain tight with gaps 3/16″ or smaller.
Paint a water resistant primer over any areas you intend to tile. After you’ve feathered the edges to remove the gap, apply a high quality water resistant exterior primer over the feathered wallboard and backer.
https://baranaceramic.com/wp-content/uploads/2019/07/How-to-Tile-a-Shower-4.jpg7501150administratorhttps://baranaceramic.com/wp-content/uploads/2025/09/logo.pngadministrator2019-07-15 10:43:172019-07-15 10:46:41How to Tile a Shower?
Wipe up oil splatters as soon as they happen, if possible. Tile splashbacks look fantastic but can get greasy quickly. Oil marks are easiest to remove when they are fresh. If you notice oil splashing on the tiles while you are cooking, use a paper towel to blot the oil. If you don’t have a paper towel on hand, use a clean dishcloth instead. This method will remove greasy marks from all types of cementtiles.
Fill a bucket with warm water and 2 drops of dishwashing liquid. If you notice greasy marks on the clunnytiles that have likely been there a while, use this method to get rid of them. The warm water and dishwashing liquid help to break down the oil and remove the stains. Add the water and dishwashing liquid into the bucket and then use your hand to gently stir them together. Any dishwashing liquid or detergent works for this method.
Dip a sponge into the soapy water and use it to wipe up the grease. Soak the sponge in the water and then squeeze it to remove any drips. Press the sponge onto the greasy marks for 5 seconds and then wipe in circular motions until all the marks are gone.
Soak the sponge in soapy water and wipe off the grease with it. Soak the sponge in water and squeeze to remove any water droplets. Press the sponge on the oil stain for 5 seconds, then wipe it circularly until all the oil stains disappear. If you want to clean a large area, soak the sponge regularly in soapy water to ensure that there is fresh dishwash soap on it. If there is a lot of excess accumulation on the tile, you may need to use store-bought degreaser or vinegar solution to clean it.
If you are cleaning a large area, dunk your sponge in the soapy water regularly to ensure that it has fresh dish soap on it. If there’s is a lot of excess build-up on your tiles, you may need to clean with a store-bought degreaser or use a vinegar solution.
https://baranaceramic.com/wp-content/uploads/2019/07/How-Removing-Greasy-Marks-from-Tiles-4.jpg6501150administratorhttps://baranaceramic.com/wp-content/uploads/2025/09/logo.pngadministrator2019-07-09 06:41:502019-07-30 08:26:04How Removing Greasy Marks from Tiles?
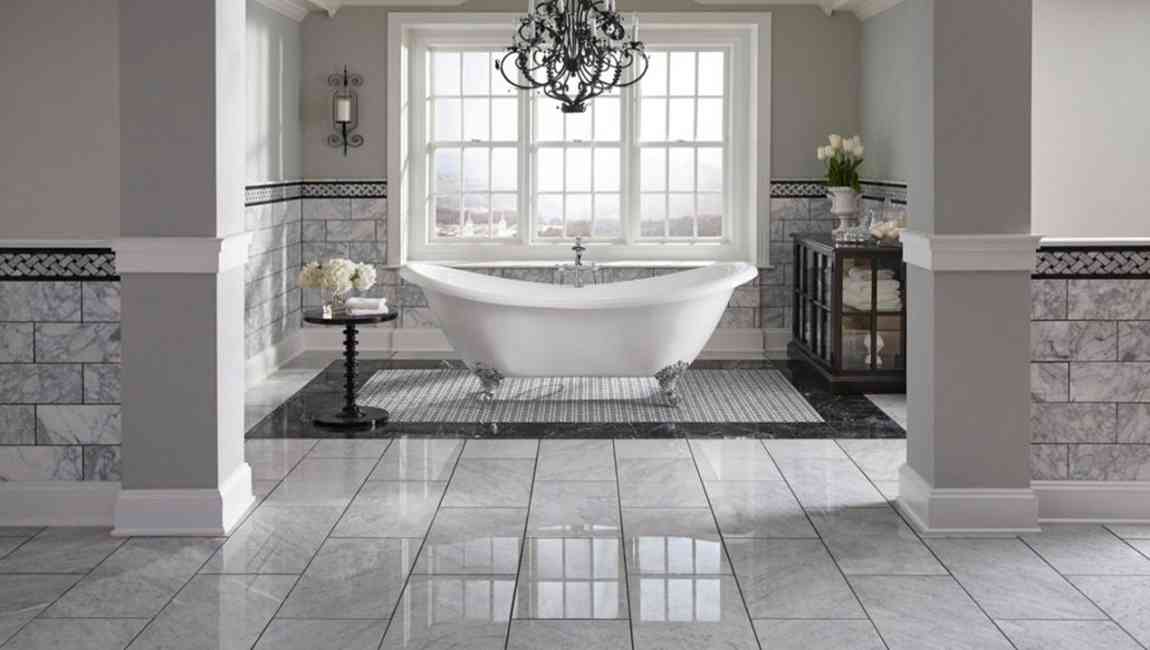
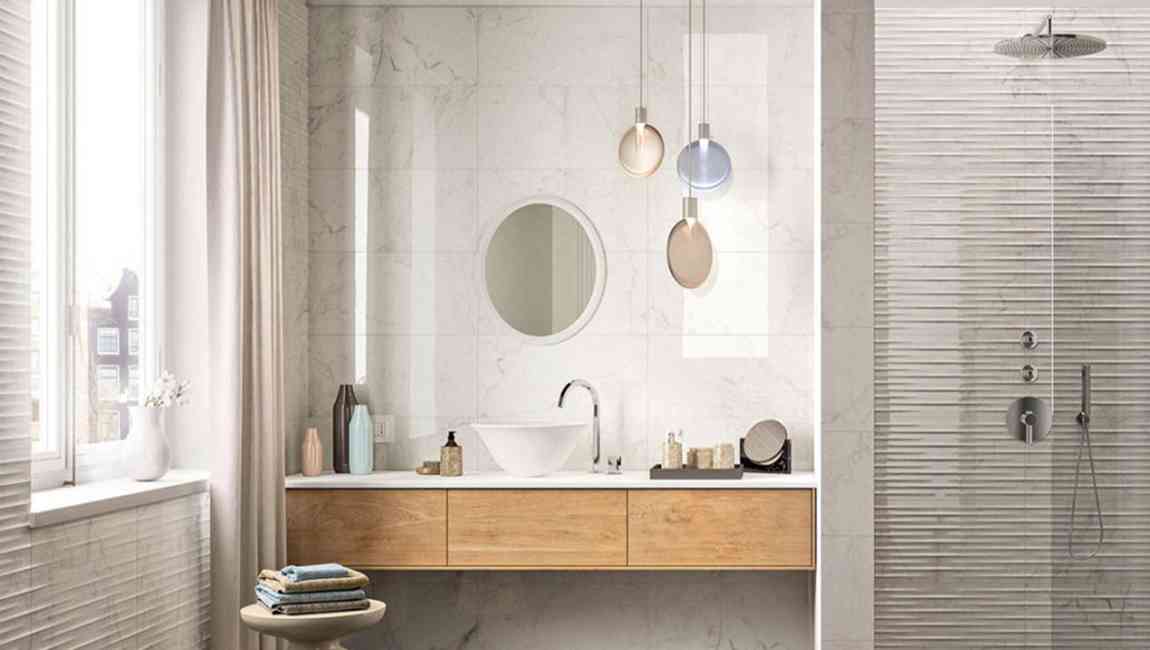
Marble tiles have the realistic texture of natural stone, both the superior performance and green environmental characteristics of the tiles, and the popular decoration owners’ favorite. Marble tiles floor have become the mainstream choice of the public house. But because of the continuous expansion of the market, the related Dali stone tile products and brands are becoming more and more. Therefore, how to choose the marble tiles that are desirable is particularly important. What are the important features of high quality marble floor tiles?
Marble floorings have abandoned the fragile and fragile properties of natural marble stone. In the hardness of products, the marble tiles are hard and wearable. The marble tiles not only resurrect the ceramic tiles, but also give the life of the tiles. At the same time, the marble tiles return to the original appearance of the natural marble, and the awe can be fearless, and the marble tiles are fearless. It is not only the infinite reverence for the life of nature, but also the artistic conception that ceramic people pursue the product perfectly.
The texture of marble stone on the surface is orderly and orderly, and every texture has the nature of nature. The rich texture presentation and color seem to be a grand decorating banquet. The rich texture effect of the layers is more satisfied with the needs of the perfect decoration.
With the support of exquisite ceramic technology and top ceramic equipment, marble tiles not only have the hard physical properties of the tiles, but also create the fine texture of the marble tile products. The fine texture of the marble tiles also gives more expressive force to the product itself.
Marble tile is one of many kinds of ceramic tiles, however, the ceramic tile flooring is the art of soil and fire. In the past, it is difficult to achieve the expectation in many kinds of ceramic tile products, but the marble tiles are exactly the appropriate parameters of the tiles, and it is the ultimate harmony. Marble tiles are the most exquisite symbol. Every marble tile product is so smooth, so gentle and pure, and it is also a kind of softness.
The decoration of marble floors is very strong, it can set up all kinds of home application space and scene perfectly. The effect of the shock is not only to the enjoyment of infinite vision, but also to a very good fusion of people and the environment. As far as ceramic tile design are concerned, marble tile is a kind of tile like natural stone. Fidelity is the first parameter to select marble tile. It emphasizes its fidelity, compares porcelain tiles with natural marble, and has a good similarity under the premise of removing impurities.
The pattern of the marble tiles design is its unique and indeterminate change. In order to avoid the hard sense of space, the stone grain on the tile should not repeat as far as possible, and a few cases of tile are laid on the ground to see whether the pattern is repeated, the lower the repetition, the better the decoration effect.
The imported inkjet printer is an important equipment for making marble tiles. High precision inkjet printing technology can perfectly restore the natural color of natural stone. It is true and solid: at least 360DPI precision spray printing is needed in the picture. It is clear whether the pattern is clear at the scene, and the mesh can not be seen from the naked eye at 10CM. The drawing line is of high quality.
The ceramica floor tiles with low water absorption is not easy to absorb dirt and better quality, good marble tiles should be very low water absorption, high vitrification and tile body, not easy to seep water: water absorption should be below 5/1000, can try to drop water on the back of ceramic tiles, water infiltration slow or non absorbent, the quality of ceramic tiles is better.
As a ceramic tile, all kinds of friction or impact can not be avoided in the daily use of the family. Hardness is also one of the most important elements of marble tiles. In order to avoid the tiles easily damaged, the durable marble tiles should have high hardness: the thematic moth hardness should be more than 6, and the hard iron with the blade and so on is in the outdoor ceramic tile table. Face scratching, without leaving scratch quality.
The mass density is closely related to the weight of marble tiles. In the case of equal size, the larger the weight of the ceramic tiles means the thicker the quality of the tiles, the more sufficient the materials, the higher the density.
https://baranaceramic.com/wp-content/uploads/2018/05/Why-do-family-decoration-choose-marble-tiles-9.jpg600900administratorhttps://baranaceramic.com/wp-content/uploads/2025/09/logo.pngadministrator2018-05-07 02:36:232019-09-03 06:48:50Why do family decoration choose marble tiles?