Posts

How to Install marble tiles?


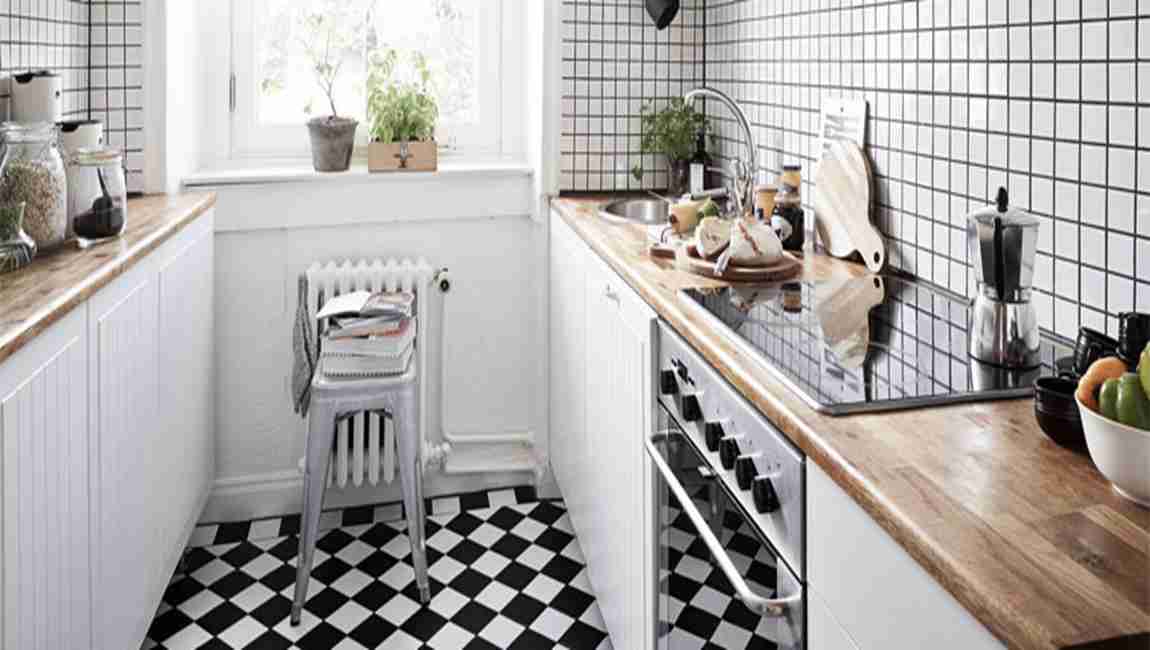
If you’re looking for some eye-catching accents and unique pigments to spice up your kitchen, marble tiles are a great choice. Although marble tiles installation is definitely a job best done with a friend given the heaviness of the material, the actual installation is a lot easier than you would think!


Attach a diamond masonry blade to your power saw. Start by attaching vice grips to your old blade to prevent it from moving. Now, use a wrench to loosen the bolt and remove it. Remove the flange—the small rim located under the bolt—and lift the blade out. Finally, swap in your new diamond blade, reattach the flange, and retighten the bolt.


Be sure that your blade is designated for marble tiles. Skip this step if you already have a diamond masonry blade on your power saw. Saw along the marked lines to cut the marble tiles to size. Set the blade depth to half the thickness of your marble tiles. Afterward, place your left hand on marble tiles to keep it steady and your right hand on the handle of the saw to move it forward and backward.


With your marble tiles on a flat surface, start sawing along the top penciled line. Apply gentle pressure downward onto the marble tiles with your left hand and down onto the saw using your right hand. Always check that the teeth of the diamond blade are pointing opposite to the marble tiles. Repeat this process with the other side of the marble tiles to cut it in half.


Remove the blade from the marble tiles every 30 seconds to keep the temperature low. Space each bead apart by 6 to 12 inches (15 to 30 cm) to make sure that the silicone holds the counter as securely as possible. Always start installing the marble tiles around the sink region.

How Covering the Wall with Vinyl Siding?


Measure the width of the wall and cut furring strips to match it. Use a measuring tape to figure out what length the strips need to be. Furring strips are little more than wood boards treated to be water-resistant. They are approximately 2 × 4 × 8 in (5.1 × 10.2 × 20.3 cm) in size. Cut 2 separate boards to the same width as the wall.


Look for furring strips at your local home improvement store. Some places sell pre-cut strips, but you can also ask to have treated pine boards cut to the size you need. Position the boards to the top and bottom edges of the wall. The first strip is easy to position since you situate it on the side of the wall at the very top.


For the lower board, measure up about 6 in (15 cm) from the bottom edge of the wall. Make sure the boards go from one end of the wall to the other, adding additional boards as needed if yours are too short. Consider marking the installation points with chalk first. Check the line with a level to ensure the furring boards will form a straight row when you install them.


If your wall has windows, doors, and other obstructions, keep the furring strips away from them. Install separate furring strips around each of these components, basically framing them. For soffits and fascia, you can get separate pieces of vinyl designed to fit these wood components. Slide the vinyl into a top strip or J-channel and nail them as needed to hold them in place.


Attach the boards with screws placed every 16 in (41 cm). Measure along each of the furring strips, marking the attachment points with a pencil as needed. Use a masonry drill bit 1⁄4 in (0.64 cm) in diameter to create holes all the way through the wood. Then, fit 1⁄4 in (0.64 cm) concrete screws into the holes to hold the boards in place.

How Staining Your Cement Floor?


Check if your cement floor has been sealed. You can do a water test to make sure the concrete surface will absorb the stain that you’ll be applying. Pour water onto the concrete. If it is absorbed into the surface, this means the surface will be able to absorb the stain.


Remove the sealer if a puddle of water forms on the surface. Use a commercial paint stripper to get rid of the sealer. Once the sealer is removed, repeat the water test before applying the stain. Clean your concrete surface thoroughly. It is important to make sure there is no debris or dirt on the concrete surface.


Use a commercial cleaner and scrub the surface with a broom. Rinse the surface with water until there is no more soapy residue. Remove any excess water with a mop. Wear eye protection and waterproof gloves. When working with stains it is important to stay safe. Read the safety instructions and always use eye protection and gloves.


Apply the stain 24 inches (60 cm) above the surface. Check the spray pressure in a bucket before applying to the surface, then apply evenly to your surface area. Don’t overapply the stain to your surface. Remove any pools of liquid with a sponge.


Apply a sealer to protect your stain. The surface that has been stained should be dry before applying a sealer. Wait for at least an hour before applying to the stained area. Use a paintbrush to cover the edges with a sealer. This will protect any surrounding walls and allow for a more precise seal of the surface. Start at the top edge of the cement area and work your way around all the edges with a paintbrush.

The Knowledge of Spray Buffing


Avoid stepping on or placing anything onto the final coat for 8 full hours to ensure a perfect finish. Wash all tools immediately. If you allow the wax to dry it will be extremely difficult to remove. Scrub it off of any tools you plan on using again using soap and hot water.


Flip or change the buffing pad if it gets clogged or dirty. Stop and check the buffing pad every few minutes to see if it looks dirty or clogged. Additionally, you’ll know the pad needs to be changed if the floor isn’t getting as shiny as it was previously. Most buffing pads can be flipped once during cleaning. If your pad looks soaked through, just switch to a new one.


Follow spray buffing with a pass of dry buffing, for best results. Switch out your red buffing pad for a gray or beige one. Then, start buffing your floor in the far corner. Slowly work your way toward the other side of the room. Your buffing pad likely won’t need changing on this pass. However, continue to check on it regularly to make sure it’s not clogged or dirty.


It’s best to wait until your floor is dry before you start your dry buffing. You may want to apply a finish to the floor to reduce slipperiness and increase the shine. Use a clean dust mop to remove any dust created by the buffing process. Once your floor is dry, return to the corner of the room and begin making short, even passes with your dust mop.

Continue working your way over the entire surface of the floor until you reach the other side of the room. This helps get your floor as clean and shiny as possible. Using a floor buffer can stir dust up into the air, which will then fall back down onto your freshly buffed floor. A clean dust mop can remove this debris.

Knowledge of Grouting the Tiles

The old rule of “measure twice, cut once” is your friend here. Be very sure about how much tile you need before you cut it. Remove the spacers before you continue. Once you’ve got all of your tiles in place, you can remove your tile spacers. If you mixed your mortar correctly, the tiles should now stay in place. Let the thinset cure. You will now want to let the mortar thoroughly cure before you do the grout. This usually takes around 24 hours. Make sure that the area is well ventilated and that moisture is kept to a minimum.

Remove the excess. Get a large bucket of sink-full of water and a large sponge. Get the sponge wet and then wring out the excess water, so that it is only damp. You want to have as little water on the sponge as possible. Now, wipe all along the tiled area to clean off the excess grout. Do not press very hard or you will remove the grout between the tile. Rinse and wring your sponge frequently, keeping it as clean as you can. Get new, cleaner water as needed.

Let the grout cure. Once you have grouted all of the tiled area, allow the grout to cure. You should follow the instructions for your specific product but generally three hours are needed to cure grout properly (as many as 24-48 hours may be needed, however). Make sure that the area is well ventilated and that moisture is kept to an absolute minimum.

Seal the grout. Once your grout has cured, you will want to seal your grout. This step is often skipped but you should not skip it if at all possible. Sealing your grout will be very important in keeping it from getting moldy or stained. Find an appropriate grout sealant at your local hardware store and apply it according to the included instructions.

Usually, the sealant will be wax-like and is applied using a rag. Rub it in circular motions along the grout lines to apply. Grout will need to be resealed roughly every 6 months and should at least be resealed once a year.

Caulk as needed. If you need to, you can apply caulk as needed around your new tiles. This may be useful at the corners and along the seams, such as if you have applied a short backsplash along a wall. Simply caulk the line, shape the caulk by running your finger down the line, and let it set.

How Removing Spots from Stone Tile?

Clean the mess up immediately. Stone will soak up spills quickly because it is porous. The stains will be harder to remove the longer they are left. To prevent this, use a towel or other absorbent object to blot up the spill. Then, clean the spot thoroughly.

Use ammonia and water. This works well to remove stains caused by organic items, like coffee, food, leaves, and lichen. Mix a small amount of ammonia with water. Scrub with a sponge or soft cloth until the stain lifts. Then, dry the area with a clean towel. Bleach can also be used, but it is not as good as ammonia because it is more corrosive.

Remove rust with lemon juice and salt. Rust occurs when metal oxidizes during contact with stone. The rust stains can be lifted with lemon juice and salt. Pour some lemon juice and salt onto a clean cloth. Scrub with the cloth until the rust is gone. Immediately rinse the surface with water. Lemon is acidic, so it should be removed as soon you’re done using it. Rinse with a lot of water and dry with a towel.


Get rid of paint and ink stains. Paints and inks are more difficult to use because the cleaners for them are typically harsh. You can use mineral alcohol and a cloth to scrub off the stain. Methylene chloride can also be used, but it is dangerous. Clean up fats with talcum powder. Fats from things like barbecues and candles can stain stone tile. Talcum powder can be used to remove the stains. Pour a fair amount of talcum powder on the stain and leave it for several days. Repeat the process again if the stain does not lift.

Clean the surface. Wipe all grout residue off of the tile using the damp tile sponge in a diagonal motion. Clean the excess grout from the expansion areas using the margin trowel to leave those areas completely clean for caulking. Rinse and repeat. Rinse tile sponge and repeat the previous step until all of the grout residue is removed and wood tile is completely clean of grout haze. Make sure to wring out as much water as possible each time you rinse the sponge.
How to Replace Tile Floor?

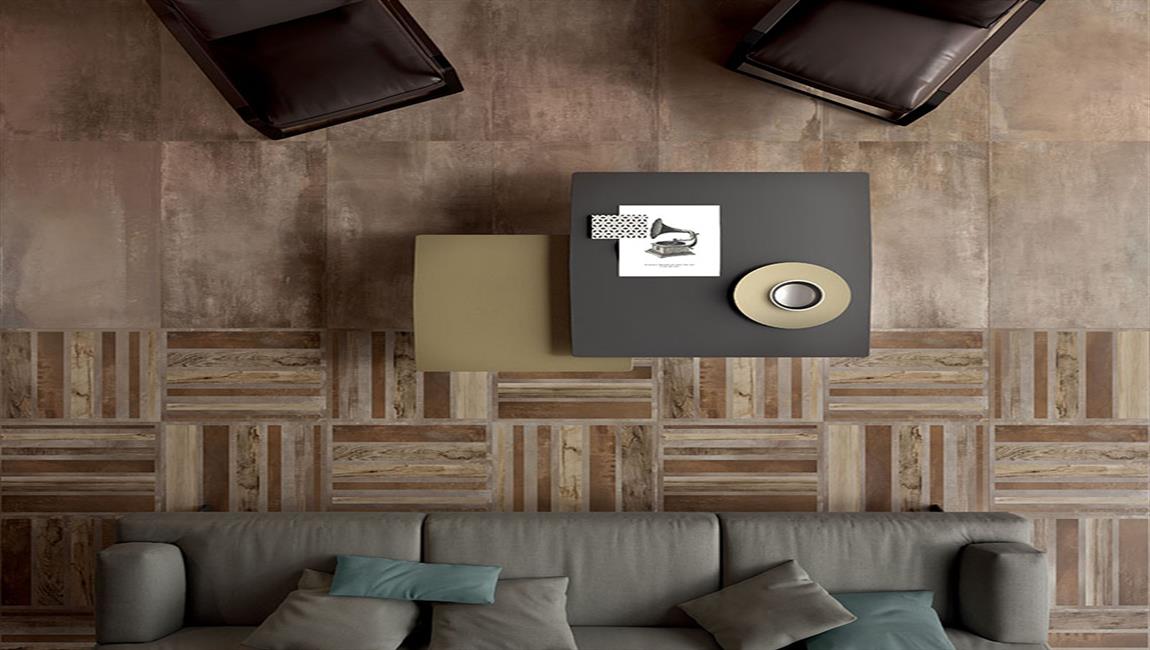
Installing a new white tile floor is a great way to update a space. If the old tiles and subfloor are in good shape, then you can tile directly over them. Or, you can pull up the flooring and start over entirely from scratch. To lay your stone tiles, start by deciding on a pattern. Then, apply thin-set to the floor and set each tile down individually. Keep going until your floor is finished, wipe it down with a wet sponge, and admire your work.

Decide whether or not to tile directly on top of the prior layer. If the old Cement tile is securely installed and in good condition, you can save yourself a lot of time by just laying new tile on top of it. However, the floor level will change a bit. If you rip up the old tile, it will take more time, but you can guarantee that the subfloor is secure.

Tap each old tile lightly to check for looseness. Get a small wood mallet and tap the center of each wood tile. Listen closely to the noise that follows. If it sounds hollow, then you need to pull up the tile, spread a layer of thin-set underneath it, and press it back down.

Check the floor for levelness. Place a level down on the floor. Look at it to see if the floor reads out as perfectly level. Move your level device around to check all parts of the room. If there are high points in the room, use a masonry grinder to grind them down. If there are low points, plan to build them up with some extra thin-set before laying your new tile.

Sand the old tiles down. Get an 80-grit or rougher sand paper. Go over the room, sanding each area until all of the Wood Marble tile is a bit rough on the surface. Use a broom or vacuum to pick up any dust left over from sanding. The rougher texture of the tile will help the new tile to attach more securely to the floor.Before you start working, put on a pair of construction goggles to protect your eyes. Don protective gloves that fit you well, if you are worried about skin irritation.
The Color Of The Kitchen Tile Relates To Your Cooking And Appetite

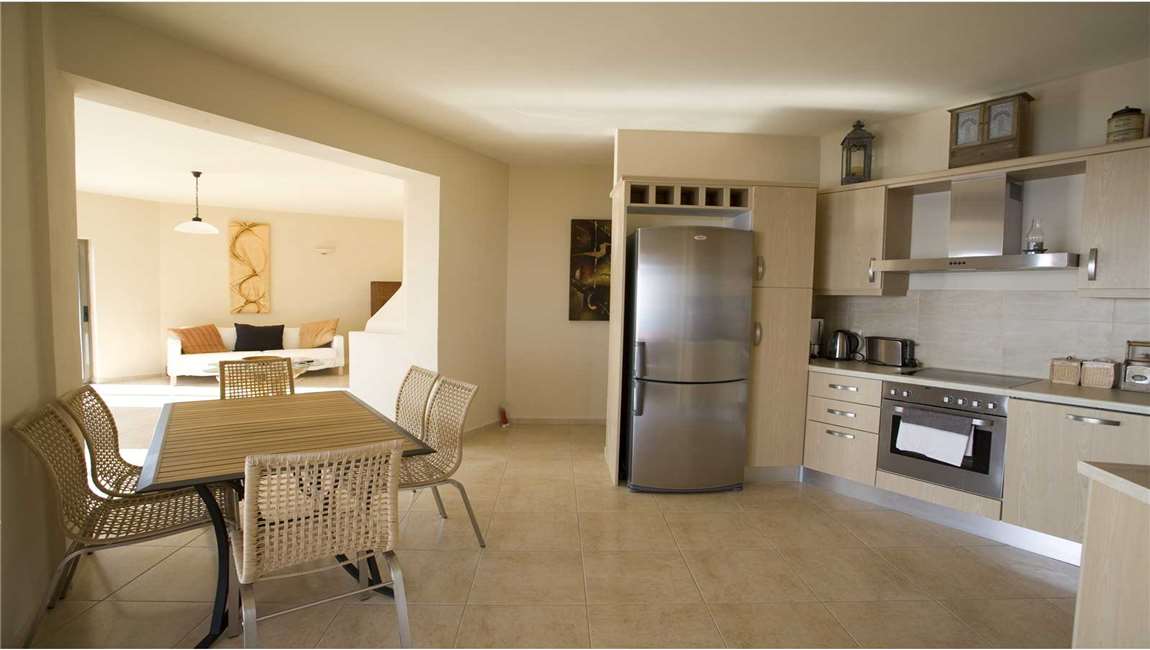
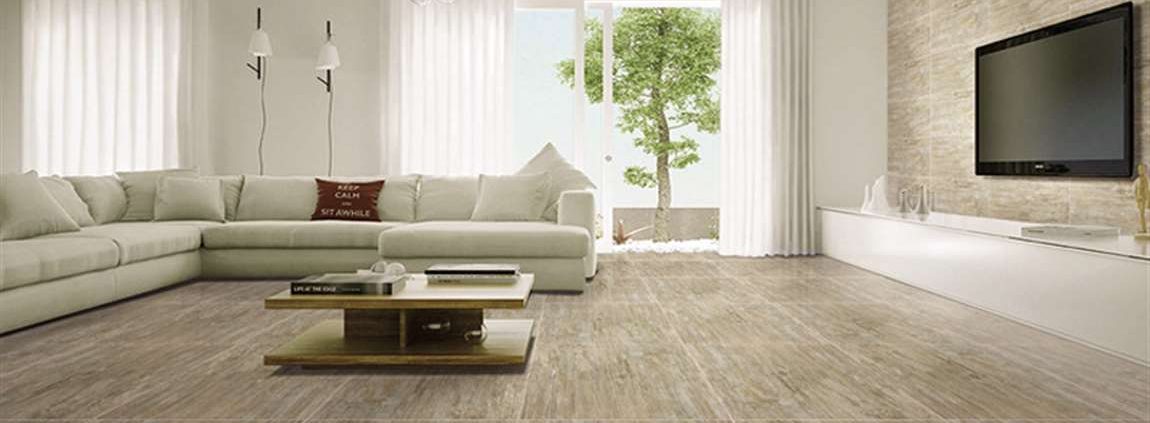
Believe a lot of people know color is can affect a person’s mood and appetite, so the color of kitchen tile can also affect our cooking and appetite. So what color are our kitchen tiles better?
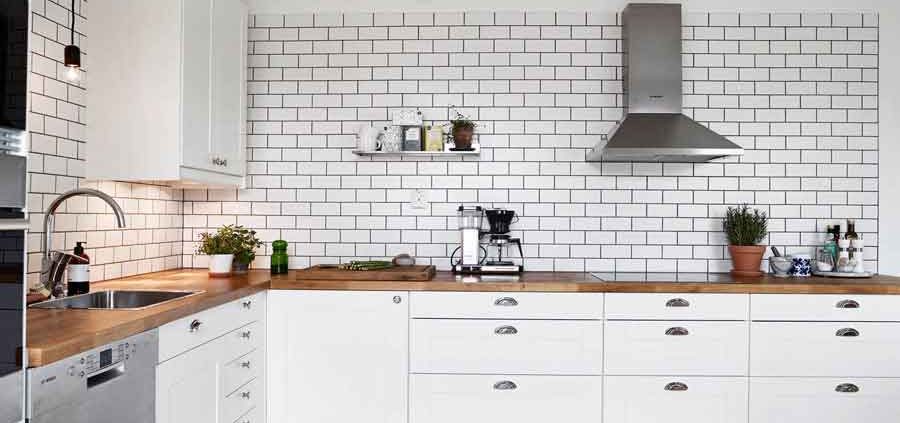
Now most interior design our house color is basically light color mainly, if the color is too deep or dark kitchen tile more than 60 words can cause depressing.So the color of the tile is the key to a kitchen, the kitchen is the place that cook, some families also have a meal, if the kitchen tile color too deep, can let a person produce visual fatigue.Easy to cause a person’s cooking slump, loss of appetite. Kitchen tile is best choose white, still have kitchen implement also. White kitchen tile can let a person more understand hygiene condition, can clean in time.


You also can use your favorite color, but you best to make it light color.Now I want to tell you a few colors of the kitchen tile:
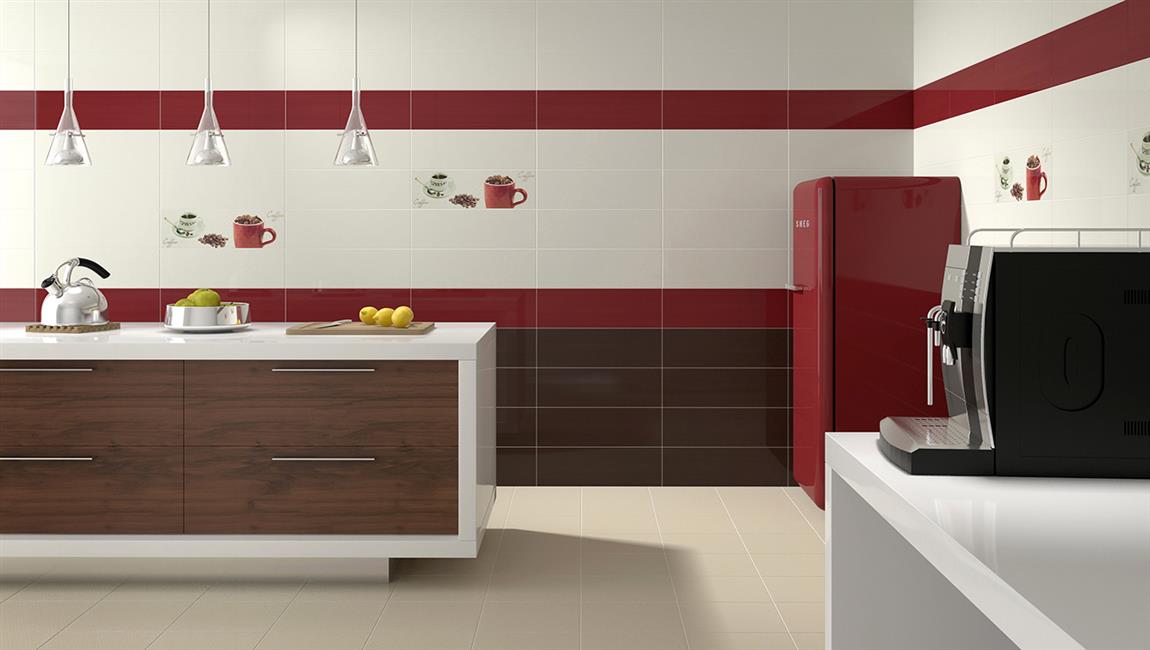
Red means passion, and decoration can be embellished with a small amount of red. It has the effect of reducing fatigue and releasing energy.
Black and white have a calming effect. For insomnia and grumpy people, have a very good calming effect.


Green can give a person to bring comfortable, relaxed feeling. Suitable for bedroom and toilet decoration.
Orange is the symbol of vitality, use orange table and ambry can stimulate a person’s appetite and promote blood circulation.
So that the collocation of color is very important, then everybody kitchen tile color must choose good, otherwise can affect appetite.