Posts

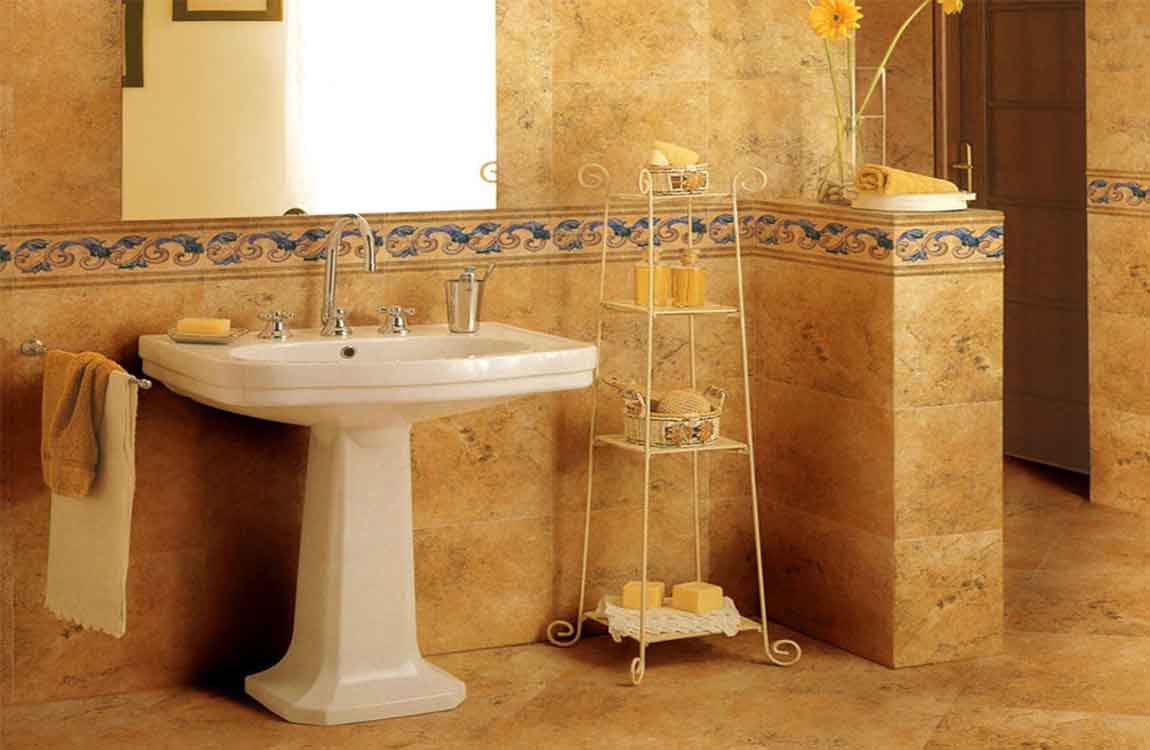
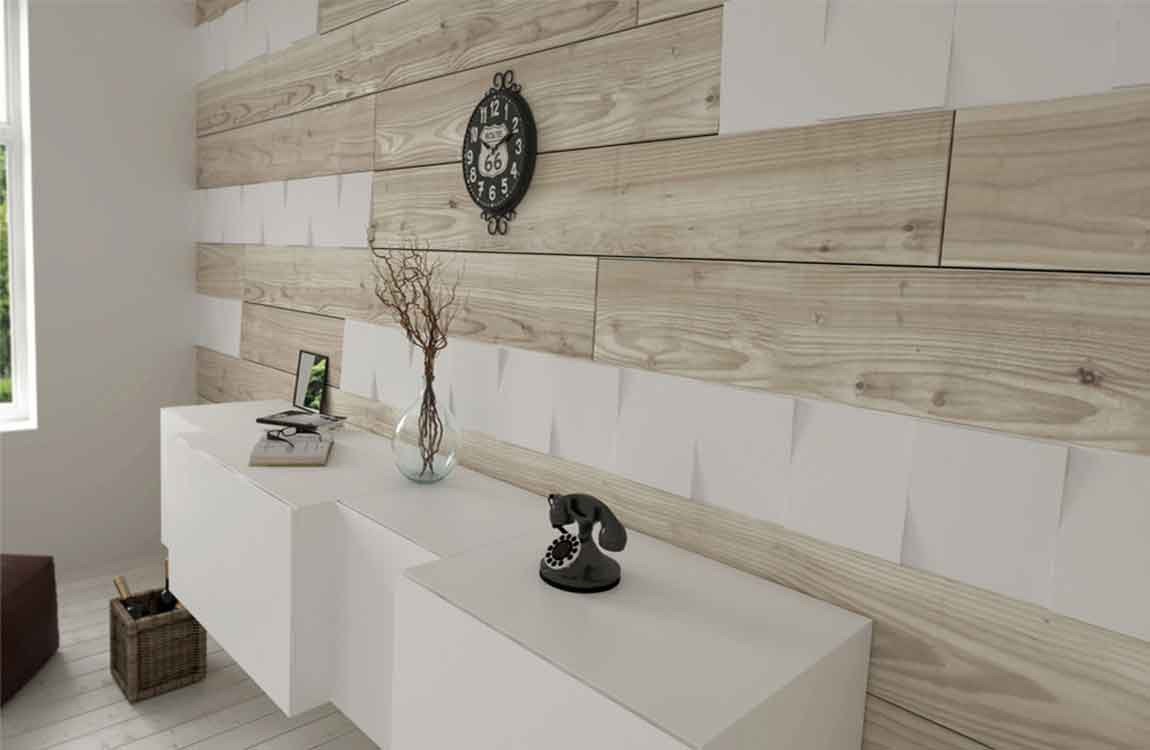
How Doing General Cleaning on Interior Surfaces?


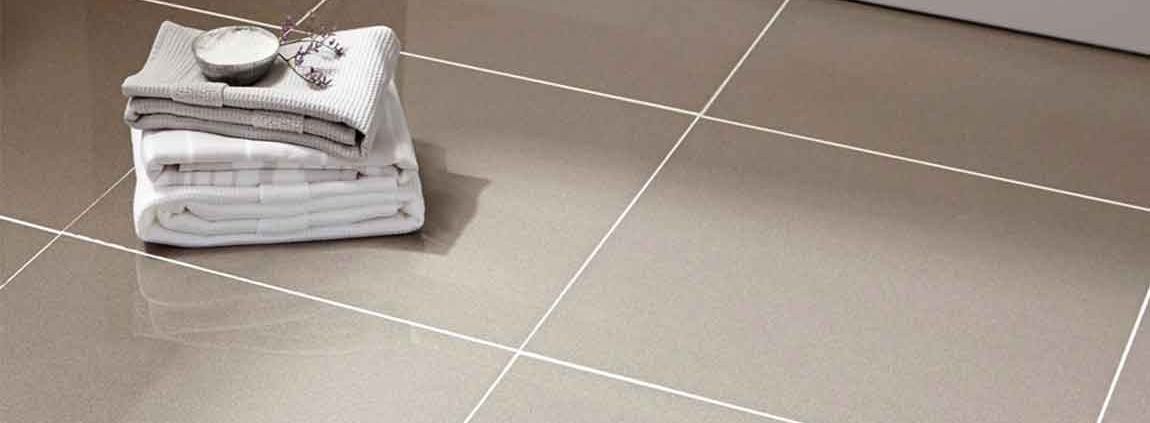
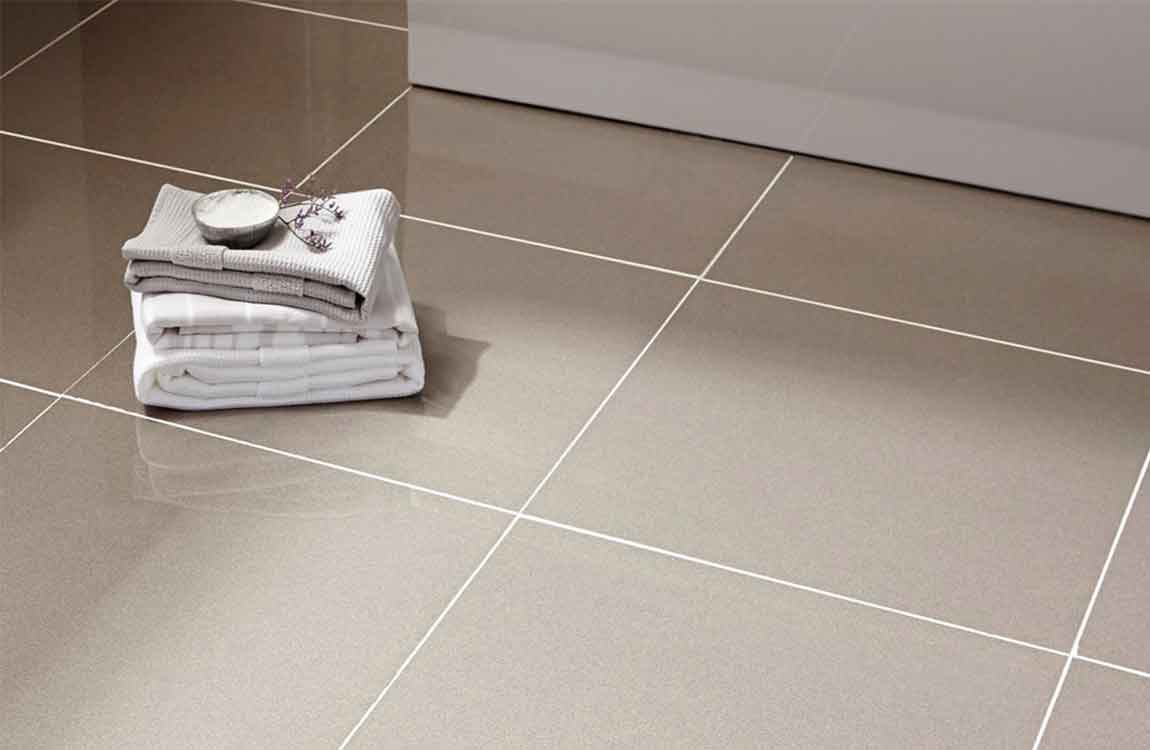
Sweep all loose dirt and debris off of the surface. If you have a sandstone tiles hearth or sandstone tiles on your floor, sweep them off before doing a deep clean. With will get rid of loose debris on the surface and will make cleaning easier. If your interior sandstone tiles surfaces are not on the floor, such as if you have a sandstone tiles counter top, use a dry towel or a small, hand-held brush to wipe all crumbs, dust, and other debris off of them.


You can also use a vacuum to get rid of all loose dirt and debris on the surface. Wipe down the surface with a damp cloth. Use a clean, soft rag to wipe down your sandstone tiles. Simply get the rag wet, ring it out in the sink, and then wipe the entire surface of the stone.


If you are dealing with a sandstone tiles floor surface and you don’t want to get on your hands and knees, you can use a microfiber mop head or other soft floor cleaning mop. Rinse out the rag if it gets very dirty and then continue on until the entire surface has been cleaned.


Tip: When you are wiping down the surface, notice whether the water appears to absorb into the sandstone tiles or if it beads up on top. If it absorbs into the stone, that means the stone has no sealant. If it beads up, the stone has been sealed. sandstone tiles that is not sealed is more prone to staining, so it needs to be used more carefully.


Don’t use your general household cleaning products on your sandstone tiles. Unless a general cleaning product, such as a “kitchen surface cleaner,” is labeled for cleaning natural stones, you shouldn’t put it on your sandstone tiles. In particular, acid-based cleaning products, such as those that contain citrus or vinegar can damage the surface.

The Knowledge of Tile Wood Glues


Wipe away the excess glue. Use a damp rag to blot at the glue squeezing up through the cracks in the newly-repaired gap, then go over the seam until no residue remains. Any adhesive left behind by mistake could dry to a rough texture underfoot or produce mild discoloration in the laminate.


If you used caulk or wood putty to fill the gap, you may need to sand down the excess material once it has had time to dry. For the smoothest finish, use 180-grit sandpaper or higher. Most wood glues dry clear, which means they won’t be visible in the seam between the two planks.


If there are a large number of patches on your floor, or there’s a noticeable difference in level of sheen, you might need to re-varnish the entire floor. Wipe down tiles. After the grout has completely dried, clean it off again with a dry cloth. Seal your tiles. If you want, you can apply a grout sealant to help protect your tiles.


Add a small line of silicone caulk to the bottom edge of your tile to seal out water and prevent mildew growth. Sprinkle over a little turpentine and white spirit. This will create patchy streaks on the dark paint of the squares. Leave the dark squares to dry. Remove the paper from the border. Paint entirely in black paint. While it is still wet, use a paint cloth to wipe turpentine in it here and there, to create a mottled effect.


Don’t do all of the border, just parts to give the effect of old marbling. Use a fine brush to add very thin faux white lines to the border. Only do this part once the paint has dried. Remove the paper from the entire floor. Seal the floor with five thin coats of a low-gloss polyurethane varnish. Allow each layer to dry before adding the next.

How Removing Wall Tile?

Put on your safety gear before you start. Safety glasses and leather gloves are essential to avoid sharp edges as they fly off your walls. Lay drop cloths around the room to avoid mess and damage to the area.

Take a grout scraper and drag it through all the grout on the wall. If your element tiles are small, this will take a long time. Dig the point of the scraper into the grout to loosen it. Look for areas that have the most wear and tear. It should be easier to start with weak spots and attempt to dislodge several wood tiles at once.Stick a putty knife into the bottom or top of the tile and pry out the dinosaur stone tile. If they don’t pop out, wedge the putty knife into the top of the tile and hit the end with a mallet to drive it under the adhesive.

Repeat throughout the wall until it is free of vatican tile. Then, scrape your putty knife horizontally across the remaining chunks of tile and adhesive to loosen them. Patch holes in the sheetrock with patching compound and drywall mesh tape.

Plan to replace the drywall if you can’t remove the tile by force. You can cut through the drywall with a reciprocating saw and remove the tile along with the wall. Install a new piece of drywall when the area is free of tile.