Posts

How to Install marble tiles?


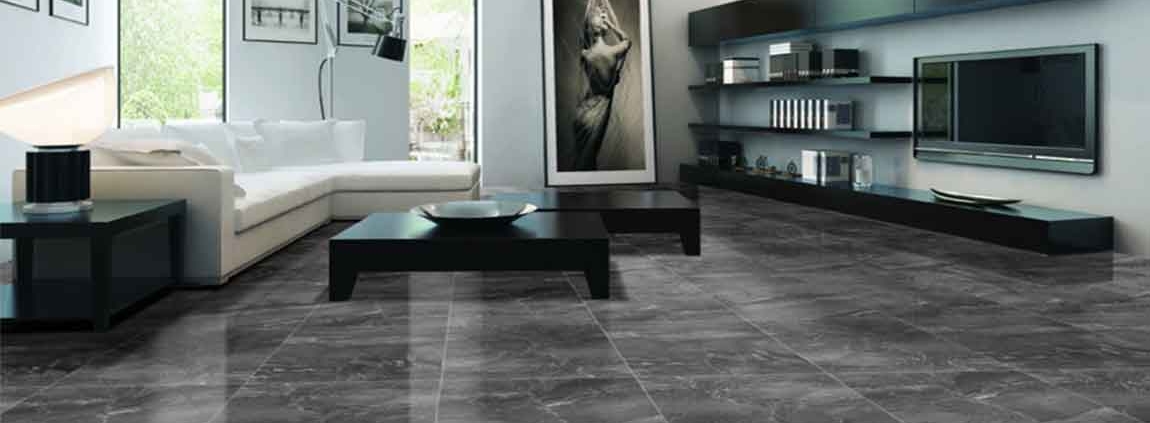
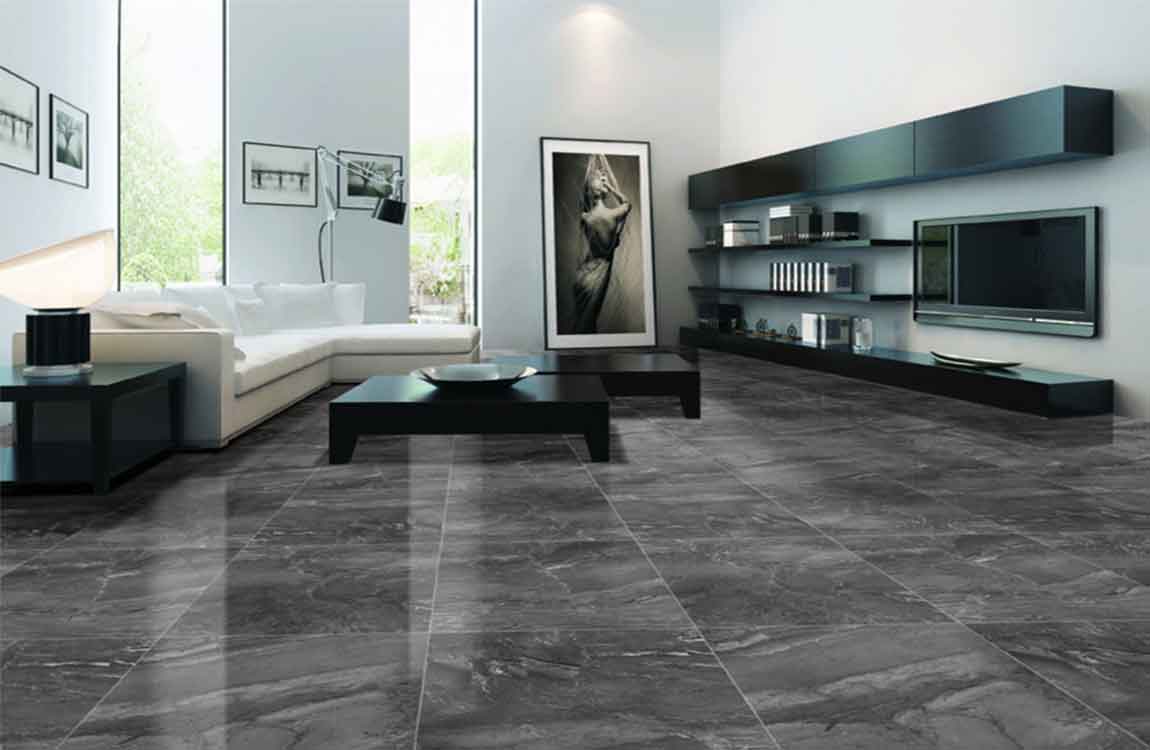
If you’re looking for some eye-catching accents and unique pigments to spice up your kitchen, marble tiles are a great choice. Although marble tiles installation is definitely a job best done with a friend given the heaviness of the material, the actual installation is a lot easier than you would think!


Attach a diamond masonry blade to your power saw. Start by attaching vice grips to your old blade to prevent it from moving. Now, use a wrench to loosen the bolt and remove it. Remove the flange—the small rim located under the bolt—and lift the blade out. Finally, swap in your new diamond blade, reattach the flange, and retighten the bolt.


Be sure that your blade is designated for marble tiles. Skip this step if you already have a diamond masonry blade on your power saw. Saw along the marked lines to cut the marble tiles to size. Set the blade depth to half the thickness of your marble tiles. Afterward, place your left hand on marble tiles to keep it steady and your right hand on the handle of the saw to move it forward and backward.


With your marble tiles on a flat surface, start sawing along the top penciled line. Apply gentle pressure downward onto the marble tiles with your left hand and down onto the saw using your right hand. Always check that the teeth of the diamond blade are pointing opposite to the marble tiles. Repeat this process with the other side of the marble tiles to cut it in half.


Remove the blade from the marble tiles every 30 seconds to keep the temperature low. Space each bead apart by 6 to 12 inches (15 to 30 cm) to make sure that the silicone holds the counter as securely as possible. Always start installing the marble tiles around the sink region.

How Using the Cleaning Solution?


Clear the area to be cleaned. Sweep up any debris – leaves, twigs, etc – and move any outdoor furniture out of the way. Make sure that pets and kids can’t get into the area, particularly if you’re going to use bleach. Protect nearby greenery. Make sure to protect nearby plants.


Hose them down to give them a protective covering of water (it will help any bleach or vinegar slide right off) or cover them with light plastic. You can also create barriers between the area you’re cleaning and any grass by laying down rolled up towels or sheets at the edge of the grass.


Hose it down. Using your garden hose or buckets of water, rinse down the area to be cleaned. You can also use a bucket of water and a mop if you’re worried about the water draining properly. Apply the cleaner. Depending on the type of cleaner you’re using, you’ll want to spray, pour, or spread your cleaners over the area to be cleaned.


Use gloves and a protective face mask for this step, especially if you’re using bleach. You can let any of the mixtures soak for a few minutes or up to half an hour if you have particularly dark stains. If the stain persists after scrubbing, you may need to apply a second coating of cleaner. Wait 15 minutes before scrubbing again, and then hose it off.


Scrub with a short scrub brush. Once your cleaner has had time to soak, scrub at the stains with a short scrub brush. This will loosen up any stubborn dirt or grime that isn’t already lifted by the cleaner. Rinse off the cleaner. Once you’re done scrubbing, use a hose, spray bottle, or bucket of water to rinse the area you cleaned.

How Covering the Wall with Vinyl Siding?


Measure the width of the wall and cut furring strips to match it. Use a measuring tape to figure out what length the strips need to be. Furring strips are little more than wood boards treated to be water-resistant. They are approximately 2 × 4 × 8 in (5.1 × 10.2 × 20.3 cm) in size. Cut 2 separate boards to the same width as the wall.


Look for furring strips at your local home improvement store. Some places sell pre-cut strips, but you can also ask to have treated pine boards cut to the size you need. Position the boards to the top and bottom edges of the wall. The first strip is easy to position since you situate it on the side of the wall at the very top.


For the lower board, measure up about 6 in (15 cm) from the bottom edge of the wall. Make sure the boards go from one end of the wall to the other, adding additional boards as needed if yours are too short. Consider marking the installation points with chalk first. Check the line with a level to ensure the furring boards will form a straight row when you install them.


If your wall has windows, doors, and other obstructions, keep the furring strips away from them. Install separate furring strips around each of these components, basically framing them. For soffits and fascia, you can get separate pieces of vinyl designed to fit these wood components. Slide the vinyl into a top strip or J-channel and nail them as needed to hold them in place.


Attach the boards with screws placed every 16 in (41 cm). Measure along each of the furring strips, marking the attachment points with a pencil as needed. Use a masonry drill bit 1⁄4 in (0.64 cm) in diameter to create holes all the way through the wood. Then, fit 1⁄4 in (0.64 cm) concrete screws into the holes to hold the boards in place.

How Removing Spots from Stone Tile?

Clean the mess up immediately. Stone will soak up spills quickly because it is porous. The stains will be harder to remove the longer they are left. To prevent this, use a towel or other absorbent object to blot up the spill. Then, clean the spot thoroughly.

Use ammonia and water. This works well to remove stains caused by organic items, like coffee, food, leaves, and lichen. Mix a small amount of ammonia with water. Scrub with a sponge or soft cloth until the stain lifts. Then, dry the area with a clean towel. Bleach can also be used, but it is not as good as ammonia because it is more corrosive.

Remove rust with lemon juice and salt. Rust occurs when metal oxidizes during contact with stone. The rust stains can be lifted with lemon juice and salt. Pour some lemon juice and salt onto a clean cloth. Scrub with the cloth until the rust is gone. Immediately rinse the surface with water. Lemon is acidic, so it should be removed as soon you’re done using it. Rinse with a lot of water and dry with a towel.


Get rid of paint and ink stains. Paints and inks are more difficult to use because the cleaners for them are typically harsh. You can use mineral alcohol and a cloth to scrub off the stain. Methylene chloride can also be used, but it is dangerous. Clean up fats with talcum powder. Fats from things like barbecues and candles can stain stone tile. Talcum powder can be used to remove the stains. Pour a fair amount of talcum powder on the stain and leave it for several days. Repeat the process again if the stain does not lift.

Clean the surface. Wipe all grout residue off of the tile using the damp tile sponge in a diagonal motion. Clean the excess grout from the expansion areas using the margin trowel to leave those areas completely clean for caulking. Rinse and repeat. Rinse tile sponge and repeat the previous step until all of the grout residue is removed and wood tile is completely clean of grout haze. Make sure to wring out as much water as possible each time you rinse the sponge.

How Removing Backsplash Tile?

Purchase a multi-tool with saw attachments. Buy a grout cutting attachment. Secure it with a hex key. If you can’t find a grout cutting attachment, try using a sharp and strong utility knife to cut through old grout. Put on safety goggles, a long-sleeved shirt and leather gloves.

Use the electric saw attachment to cut through the lines of grout in your backsplash. You can also do this by hand with a grout scraper, but a cutting tool will be more exact. You have to be more carefully with a backsplash since you may not be able to replace damaged drywall near your kitchen appliances.

Wedge a chisel beneath the stone tile using the cuts in the grout. Hit the chisel with a hammer to drive it further under. The tile should chip away slowly. Scrape along the backsplash with a putty knife to remove surface debris. Patch the backsplash sheetrock with patching compound and drywall mesh tape.

Once you have prepared your mortar solution, use a trowel to spread it onto the floor. Once the mortar has been spread evenly, gently lay the white tiles and tap them into place with the trowel. Use spacers into ensure that the tiles are properly spaced as you lay them into your envisaged patterns. Once the element tiles have been set, let them dry out for at least a day.

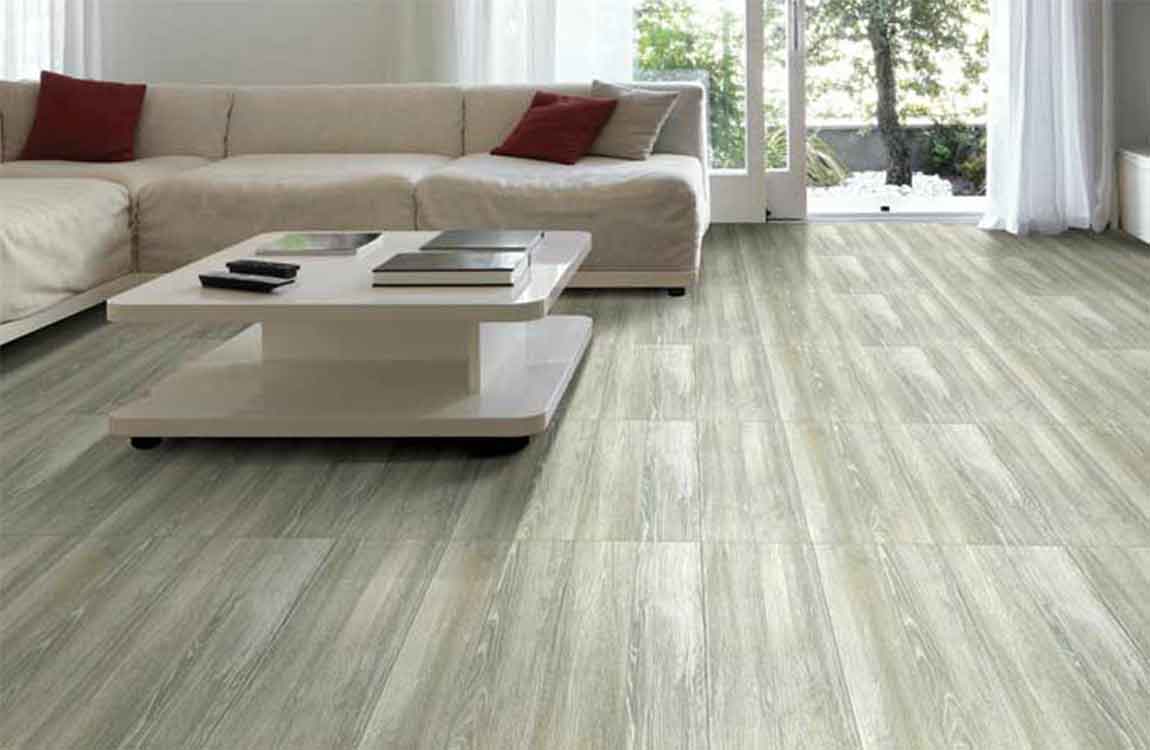
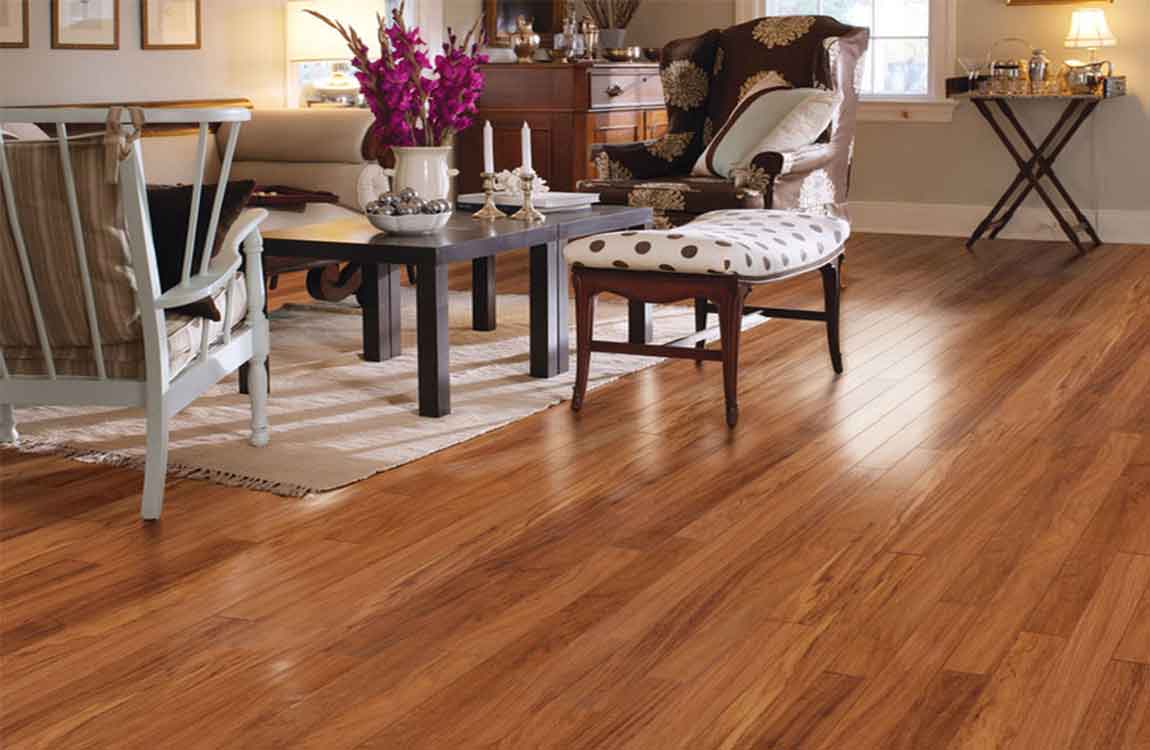
Complete the finishing touches. Once the wood tiles have set properly, finish them off using grout. Grout is commercially available in a variety of colours, choose the one that suits your needs best. Mix as directed and apply to the gaps in the tiles. Be sure to clean off the excess grout from between the tiles and any that spills onto their surface. After this is done, let the floor set for a couple of days. Clean off the floor one last time with a wet mop, and then it is ready for use.