Posts

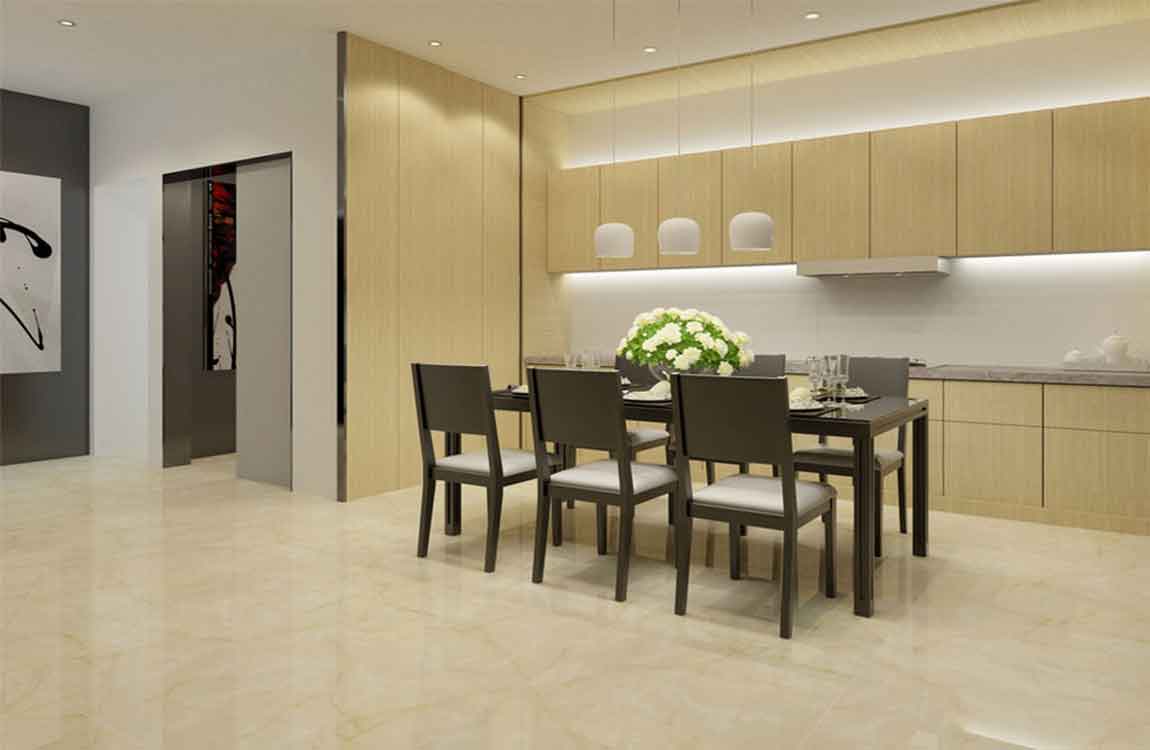
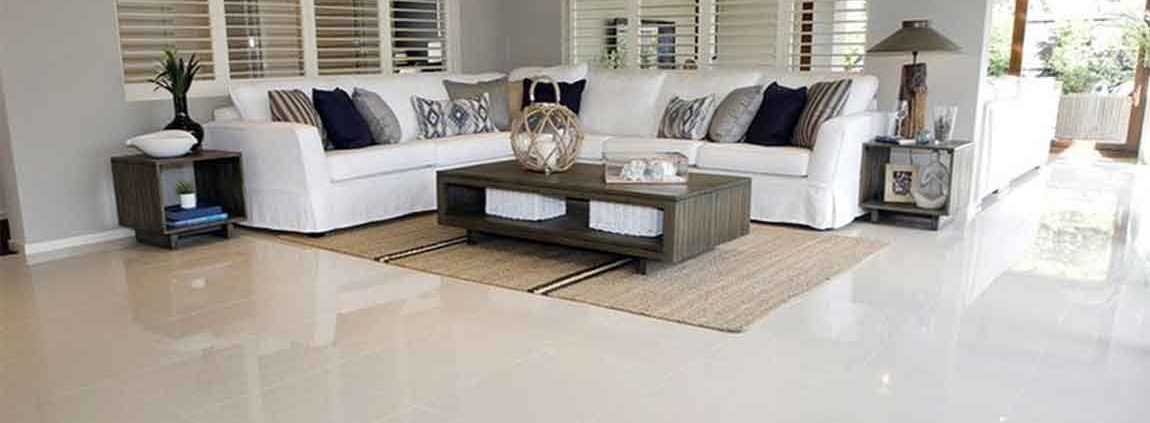
How Selecting the Right Wood?


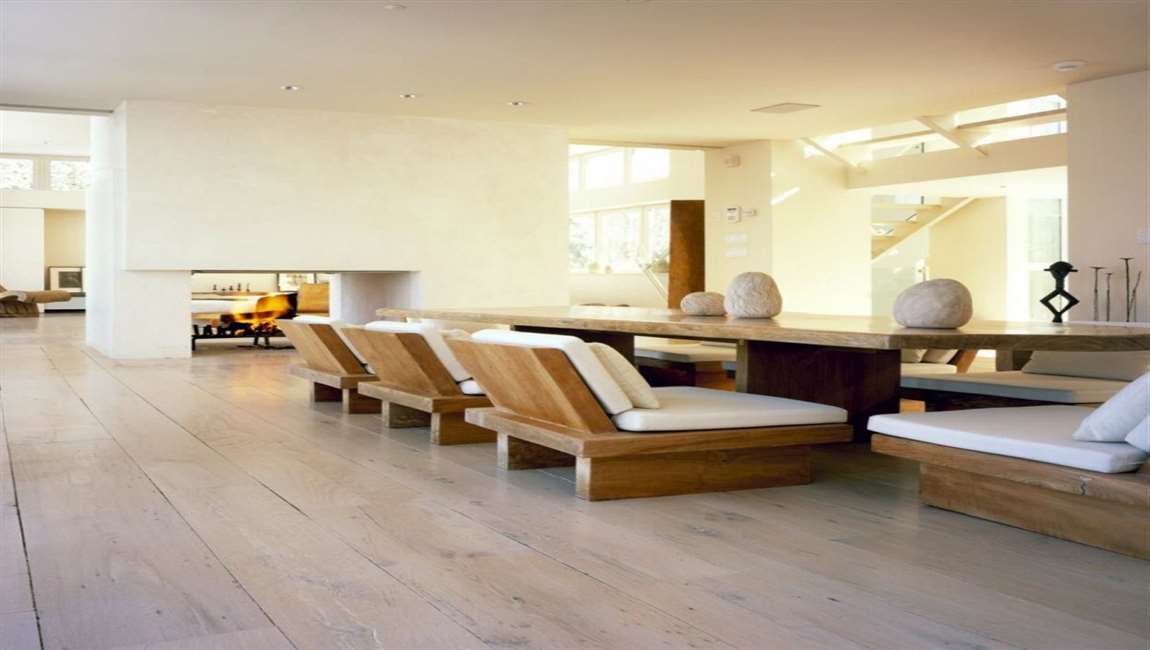
Select a type of wood. Different species are of different levels of durability. In general, the harder the wood, the more durable the flooring is. That’s why you should look for harder species if you want your floors to last for years to come. It’s not uncommon for wood to change color over time. Although the changes are normally subtle, it’s worth keeping this in mind when deciding on a color for your flooring.


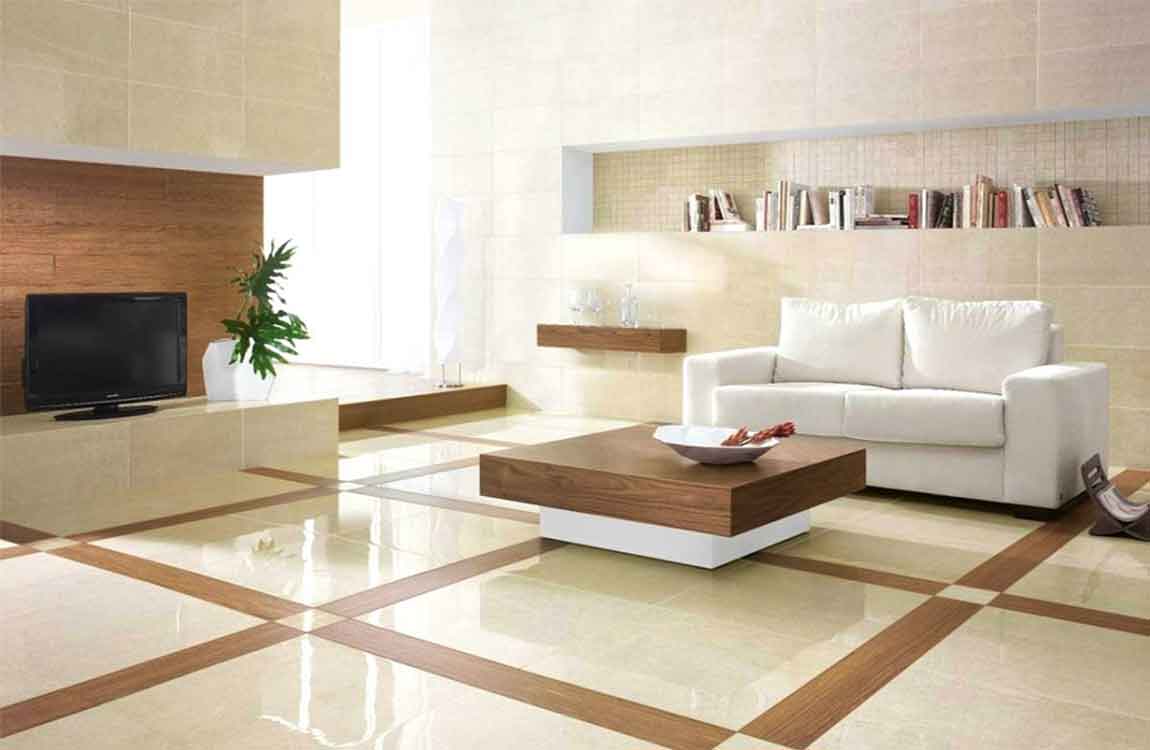
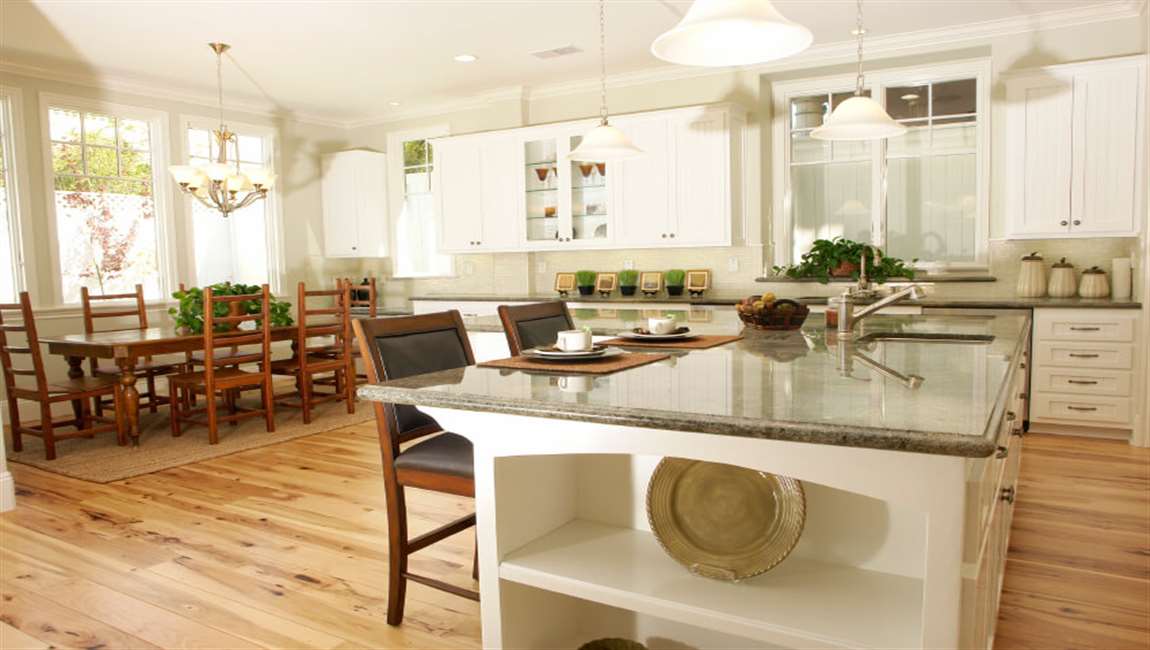
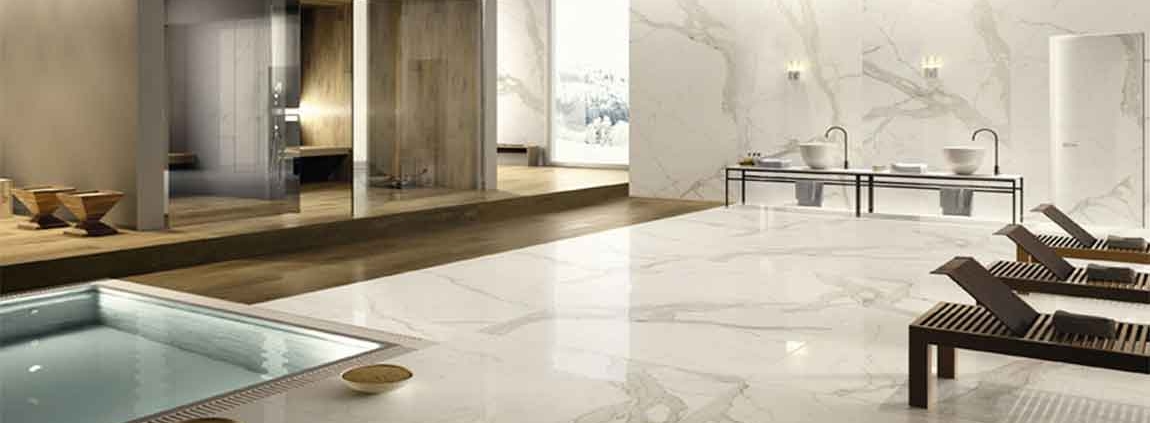
Choose plank size. There are plenty of available sizes, but it’s important to keep in mind both cost and design. Generally, the wider the planks are, the more expensive the flooring is. However, wider planks tend to make a room appear more luxurious. Take into account that seams get more pronounced with time.


If you think this could hurt the appearance of your home, consider investing in wider planks. Since they’re bigger, they automatically have fewer seams. Select a grain pattern. Plain-sawn wood is ideal for traditional interiors, with lines joining to form peaks known as cathedrals.


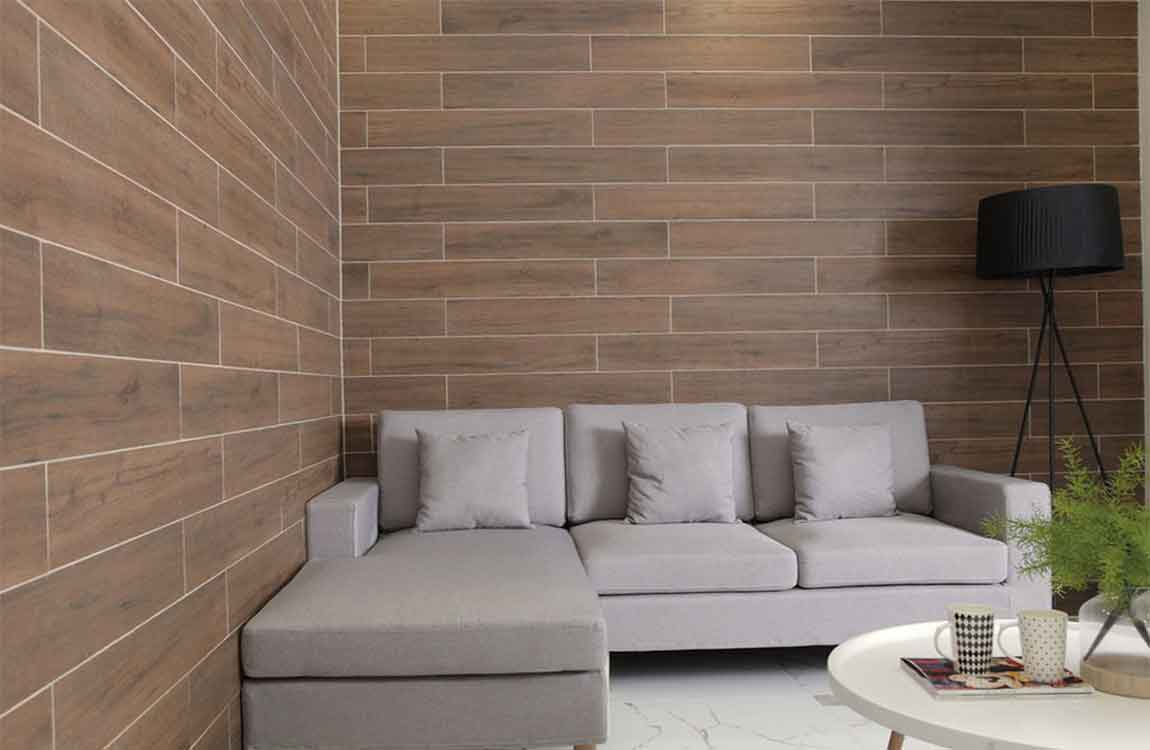
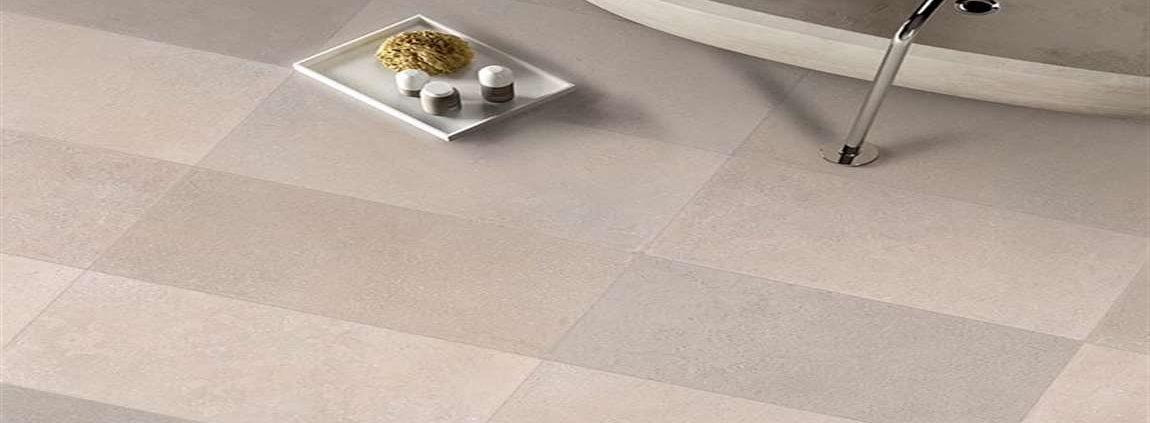
Rift-swan wood has straight lines that are fairly subtle, which makes it capable of fitting into any decor. Quarter-swan wood also has straight lines, but they’re much more eye-catching, which makes for excellent flooring choice for modern and rustic styles. Distressing is a finishing technique you can use to make the pattern on your flooring more prominent.


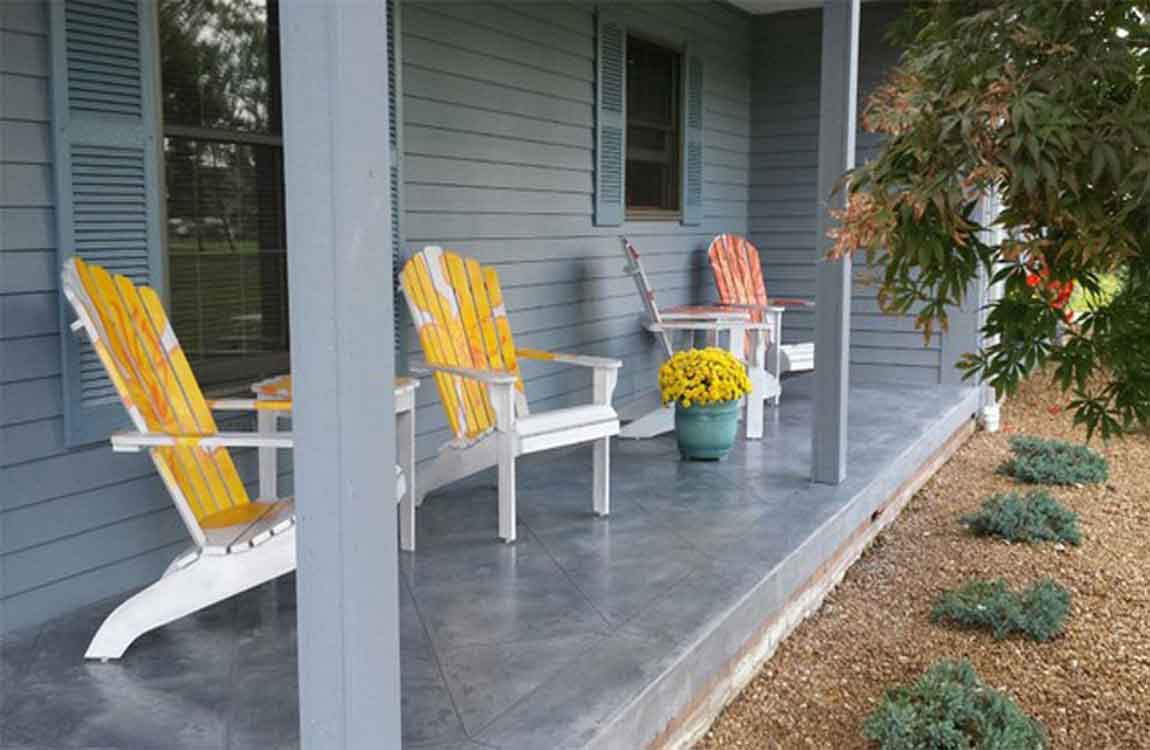
Work from one side of the other, pinning the panels with 1⁄4 in (0.64 cm) galvanized siding nails placed in their pre-cut nailing slots. When you get to the end of the wall, start with the next row, allowing the new panels to overlap the first ones by 1 in (2.5 cm). Since distressing gives the wood a worn look, it’s normally used in vintage and rustic interiors.

The Knowledge of Spray Buffing


Avoid stepping on or placing anything onto the final coat for 8 full hours to ensure a perfect finish. Wash all tools immediately. If you allow the wax to dry it will be extremely difficult to remove. Scrub it off of any tools you plan on using again using soap and hot water.


Flip or change the buffing pad if it gets clogged or dirty. Stop and check the buffing pad every few minutes to see if it looks dirty or clogged. Additionally, you’ll know the pad needs to be changed if the floor isn’t getting as shiny as it was previously. Most buffing pads can be flipped once during cleaning. If your pad looks soaked through, just switch to a new one.


Follow spray buffing with a pass of dry buffing, for best results. Switch out your red buffing pad for a gray or beige one. Then, start buffing your floor in the far corner. Slowly work your way toward the other side of the room. Your buffing pad likely won’t need changing on this pass. However, continue to check on it regularly to make sure it’s not clogged or dirty.


It’s best to wait until your floor is dry before you start your dry buffing. You may want to apply a finish to the floor to reduce slipperiness and increase the shine. Use a clean dust mop to remove any dust created by the buffing process. Once your floor is dry, return to the corner of the room and begin making short, even passes with your dust mop.

Continue working your way over the entire surface of the floor until you reach the other side of the room. This helps get your floor as clean and shiny as possible. Using a floor buffer can stir dust up into the air, which will then fall back down onto your freshly buffed floor. A clean dust mop can remove this debris.

How Nipping the Glass Tiles?

Use mosaic nippers to cut small pieces from thin glass tiles. Mosaic nippers are a great tool to use if you want your mosaic to consist of small, irregularly shaped pieces of glass tile. They look like pliers with a sharp clamp tip. For glass tiles, use nippers that have carbide wheels attached to the ends– these allow you to apply enough pressure to cut the glass without cracking or damaging it.


Use nippers on glass tiles 1⁄8 inch (3.2 mm) thick. Anything thicker may be too difficult to cut through. Nippers can be purchased from home improvement stores or online for around $15. Draw guidelines using a straightedge and a washable marker.


Even though nippers aren’t as precise as other glass cutting methods, you still want to give yourself some guidelines that you can follow as you nip pieces off of the larger tile. Use a straightedge to guide your washable marker to form an even and straight line on the glass tile. Use washable marker so you can wipe the markings away easily when you’re done cutting.


Put on safety goggles and clear your workspace of pets and people. Nipping glass tile can send sharp pieces of glass flying through the air, so before you work, you’ll need to put on well-fitting safety goggles. It’s also important to clear the area of other people so they aren’t at risk for getting hit with a glass shard. That includes pets, too! You don’t want a furry friend to get hit with a piece of glass either.


Hold the nippers like you would hold a pair of pliers. You will need to apply a fair amount of force to get the nippers to cut through the glass tile, so you’ll want to have a strong grip on the handles of the nippers. Use your dominant hand to grip the handles just like you would grip the handles of a pair of pliers, with the top handle in the middle of your palm and the bottom handle cradled by your fingers. Tip: You can wear a pair of thick gloves to make your grip more comfortable.

How to Clean Granite Tiles?

Granite is a durable and timeless design choice. To keep your granite tiles looking their best, though, proper cleaning is paramount. By removing surface dirt before cleaning, sticking with granite-friendly cleaning solutions, and establishing a regular maintenance routine, you can keep your granite tiles in beautiful condition for years to come.

Establish a regular cleaning routine. Wiping your tile with a dry cloth every other day will help minimize surface dirt. The more often you do routine cleanings, the less frequently you will need to do serious deep cleans with soap and water or cleaning solution. Creating a calendar reminder can help you remember to wipe your tile.

Clean tiles as soon as something spills. Whether it’s a glass of wine or some salsa, food and drink are full of acids and natural juices, which can deteriorate granite tile. When something spills, clean it up right away with soap and water, drying your tile completely. This will keep any potential stains from setting.

Inspect grout and tiles for damage. Bits of grout breaking off can scratch your granite and trap dirt and grime. Cleaning is a great time to get up close and personal with your tile, examining the integrity of each stone and grout line. Be sure to replace chipped or broken tiles and have your grout touched up wherever necessary.

Seal your granite once a year. While sealant is no substitute for cleaning, it can make your granite more resistant to water damage and other spills. Seal your granite once a year with a high-quality granite sealant, such as Rock Doctor Granite Sealer or Stone Pro Granite Sealer, to keep your tiles in good condition.

How to Regrout Tile?

Regrouting your tile is a simple task that can be done in a small amount of time. The only aspect that takes some time in this process is the curing of the grout. All you need is some grout mix and a couple easy to use tools.

Decide what type of grout you will be using. This is dependent on the size of your grout’s joint (the space between the tiles where the grout lies). There are two types of grout for regrouting only tile: sanded and unsanded. If your grout joints are larger than 1/8 inch (.3175 cm) use sanded grout to fill in the space; if your joints are going to be less than 1/8 inch (.3175 cm) use non sanded grout to fill in your joints as it is more compact.

Remove existing grout. If necessary, remove the existing grout before preparing to lay down new grout. This will keep the appearance clean and even, as well as prevent mold contamination. Tools for removing grout include a utility knife, a ceramic chisel, a hammer and a small scraper with a retractable blade.

Apply wood marble tile sealant. Apply a wood tile sealant over the surface of your tiles if they have become porous so the grout does not sink underneath the surface when regrouting your tile. Do this by using a phyllite tile sponge, a roller, or simply wipe the tiles with a coat of sealant and allow to dry for 24 hours.

Pump the neutralized acid out of the pool. Do this using a water pump. Once the acid is pumped out, rinse the pool with the hose. Then proceed to pump this water out of the pool as well. When the pool is completely rinsed and cleaned, refill it with water. When rinsing the pool, make sure to rinse your boots, gloves, goggles, and protective clothing with water as well. Rinse until all the acid is completely gone. Discard any unused acid at your local hazardous waste disposal.