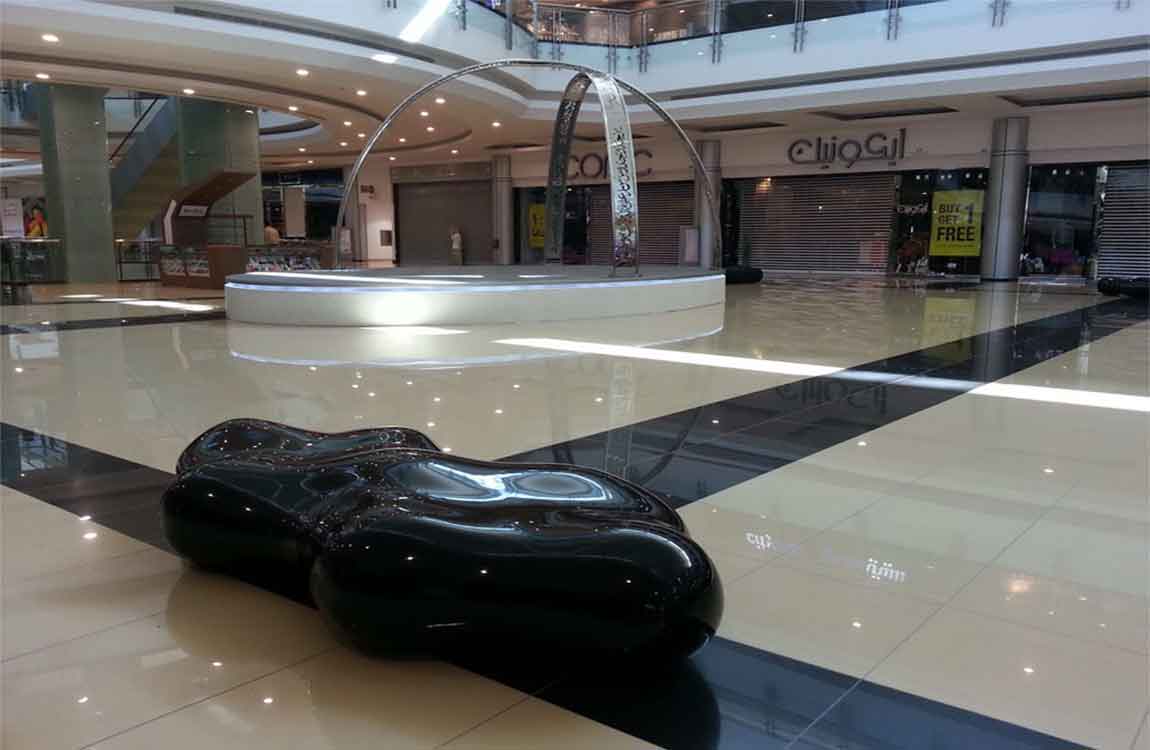
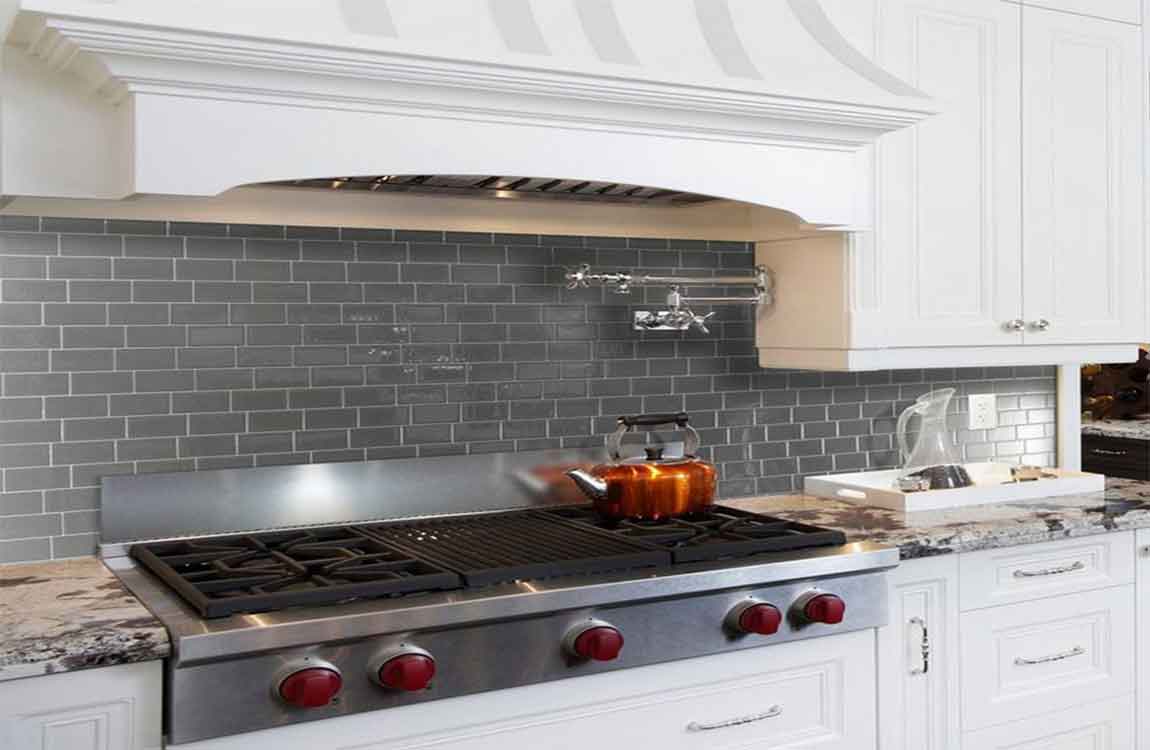
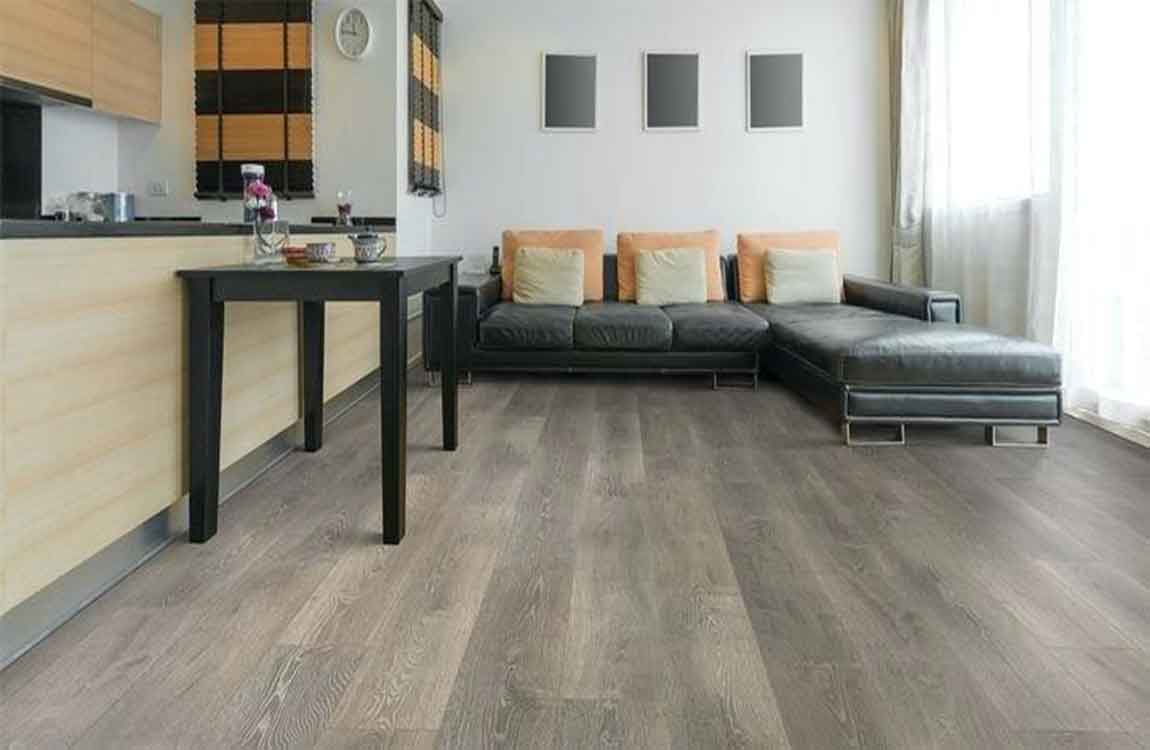
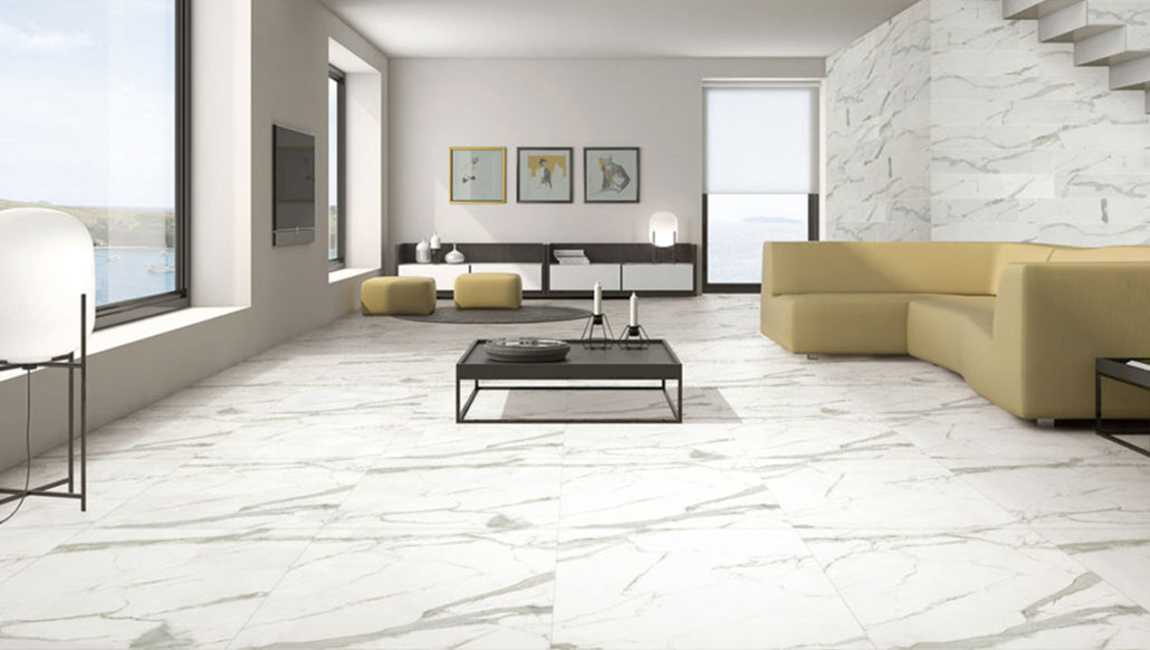
Use a broom or dust mop to remove any debris. Start in the corner of the room and slowly sweep the entire room. Make sure you get the floor as clean as possible. Otherwise, you risk buffing dirt into the finish. Over time, buffing a dirty floor can permanently alter the color of your floor finish, turning it a dingy yellow color.
You can also use a vacuum to suck up the dirt you swept. Use a vacuum attachment meant for your type of flooring. Wash the floor with a wet mop to ensure it’s completely clean. For best results, dip the mop into a bucket of soapy warm water. Then, start in the corner of the room and slowly work your way back toward the entrance. As you mop, make short, even strokes to clean the floor.
Rinse your mop when it starts to look dirty. Use a floor cleaner that’s formulated for the type of flooring in your home. Allow the floor to dry for 2 hours or use a fan to dry it faster. Touch the floor to make sure it’s dry before you move on to buffing. Don’t try to buff a wet floor because you will be applying a buffing solution, which is also a liquid.
If the floor is already wet, there will be too much liquid, which will make you need to change your buffing pad more often. Turning on a fan will help you dry the floor more quickly. A ceiling fan or box fan will work best.
The microfiber cloth shouldn’t damage your floor, no matter what material it is. Keep in mind that buffing a floor typically requires a lot of pressure, so you may not see much difference if you don’t press down very hard.
https://baranaceramic.com/wp-content/uploads/2019/11/Cleaning-the-Buff-Floor-1.jpg7501150administratorhttps://baranaceramic.com/wp-content/uploads/2025/09/logo.pngadministrator2019-11-05 08:00:312019-11-08 03:37:13How Cleaning the Buff Floor?
Choose a scrubbing solution. Grout, especially between floor tiles, gets especially dingy and dirty over time. Depending on the severity of your grout discoloration, you will need to use a different cleaning solution. For mild discoloration, use a combination of baking soda and hydrogen peroxide to form a paste. For more severe discoloration, use an oxygen bleach to whiten your grout.
Do a preliminary clean. In order to avoid extra work when you really start scrubbing, do a mild clean down of your grout prior to deep-cleaning it. Use a mixture of bleach and water to kill mold and mildew, and wipe off any grime or dirt that might be present on the surface.
Apply your cleaner. Working in small sections of tile/grout (try 1sq. ft. at a time), apply your cleaner to the grout. Leave it to set for 3-5 minutes, as this will make the scrubbing much easier.
Start scrubbing the grout. Use a brand new toothbrush (electric is preferable) to scrub away the dirt and discoloration on the grout. This can be relatively time consuming, so don’t give up if at first you don’t succeed. Use fresh water and a rag to wipe off the cleaning residue, and apply another coat of your cleaner if necessary.
Continue cleaning your grout. Work your way outwards from your starting point, using the aforementioned process. Add cleaner to small sections, let it set, and scrub away until bright, clean, and shiny grout can be seen underneath.
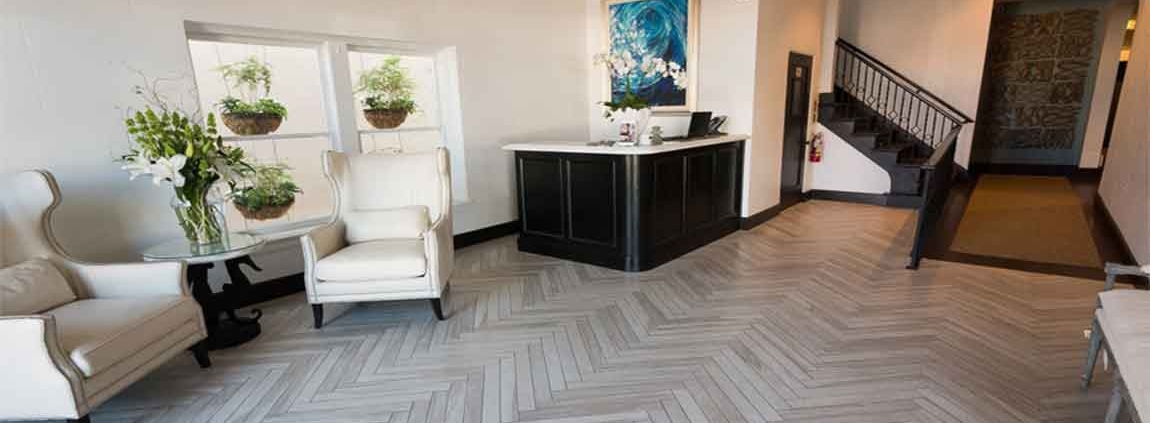
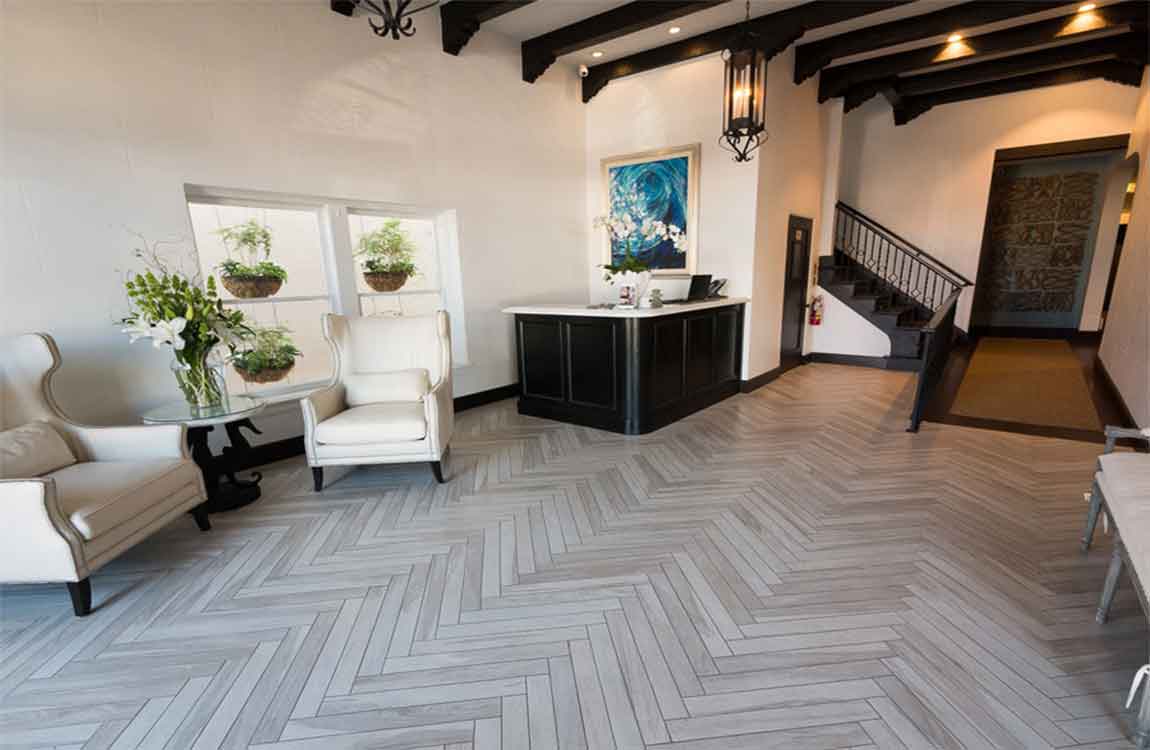
https://baranaceramic.com/wp-content/uploads/2019/10/Cleaning-Your-Grout-4.jpg7501150administratorhttps://baranaceramic.com/wp-content/uploads/2025/09/logo.pngadministrator2019-09-27 08:00:012019-10-10 09:26:17How Cleaning Your Grout?
Paint the tiles to match the color scheme of the room. For a more permanent solution to unsightly tiling, choose a color or a set of colors that matches your design aesthetic. Then, sand, wash, and prime the tiles to prepare for the paint. Apply the paint in 2 even coats, and add a layer of sealant over the painted tiles, especially if they might be exposed to foot traffic or water.
There are a variety of different paint options for tile, including chalkboard, latex, and oil-based. Opt for chalkboard paint if you want to save money, since you don’t need to apply a primer. You can even add a pattern to the surface by hand painting the tiles or using a stencil.
Cover a tile backsplash with wood and liquid nails for a rustic effect. Visit lumber yards and home improvement stores to find inexpensive wood, and cut it to fit the tiled area. Apply the adhesive and stick the boards to the tile in your desired pattern. Follow the adhesive instructions to let the area dry before applying a sealant or touching the backsplash.
Affix a layer of beadboard over a backsplash for a fresh, clean look. Purchase a few large sheets of beadboard, and paint them to your desired color. Measure and cut them to fit the area that you’re covering. Then, apply a layer of liquid nails adhesive to the existing tile and press the beadboard against the tile. Be sure to leave some overhang if possible, and use a nail gun to secure the corners of the beadboard.
It’s important to use traditional nails to keep the corners in place, since the material can sometimes warp due to high humidity or exposure to sunlight. Tip: Since you won’t see the adhesive, you can choose whichever color is the cheapest for this project.
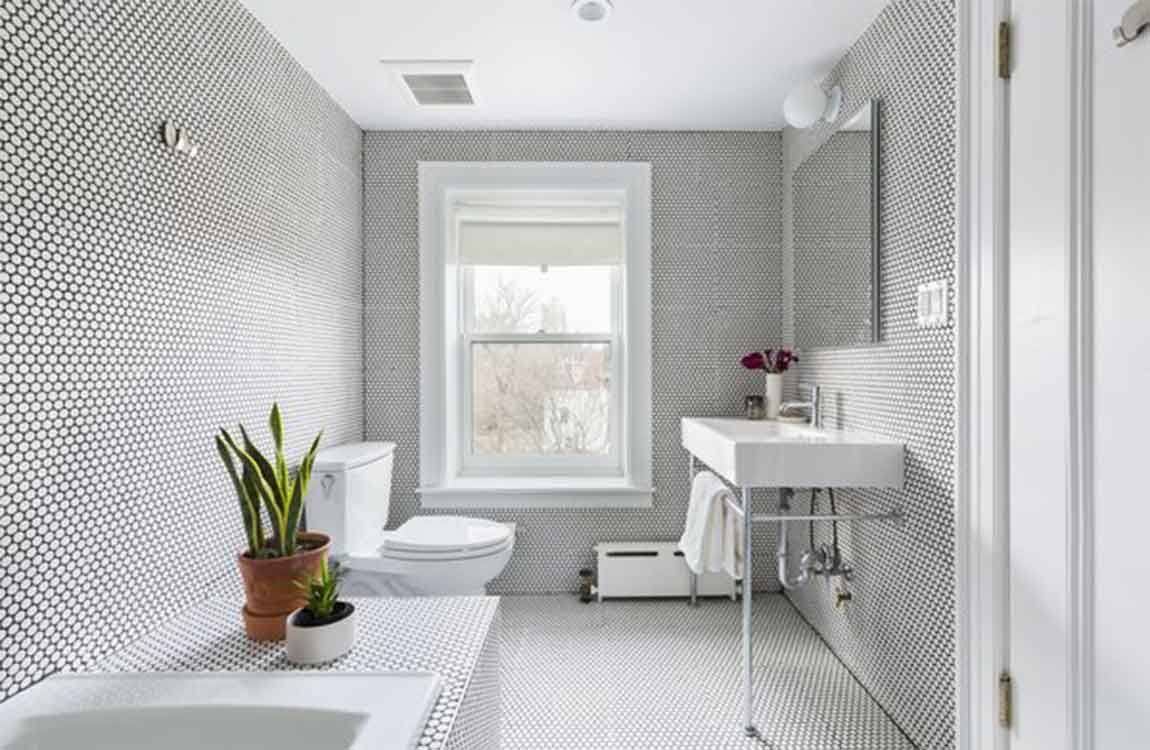
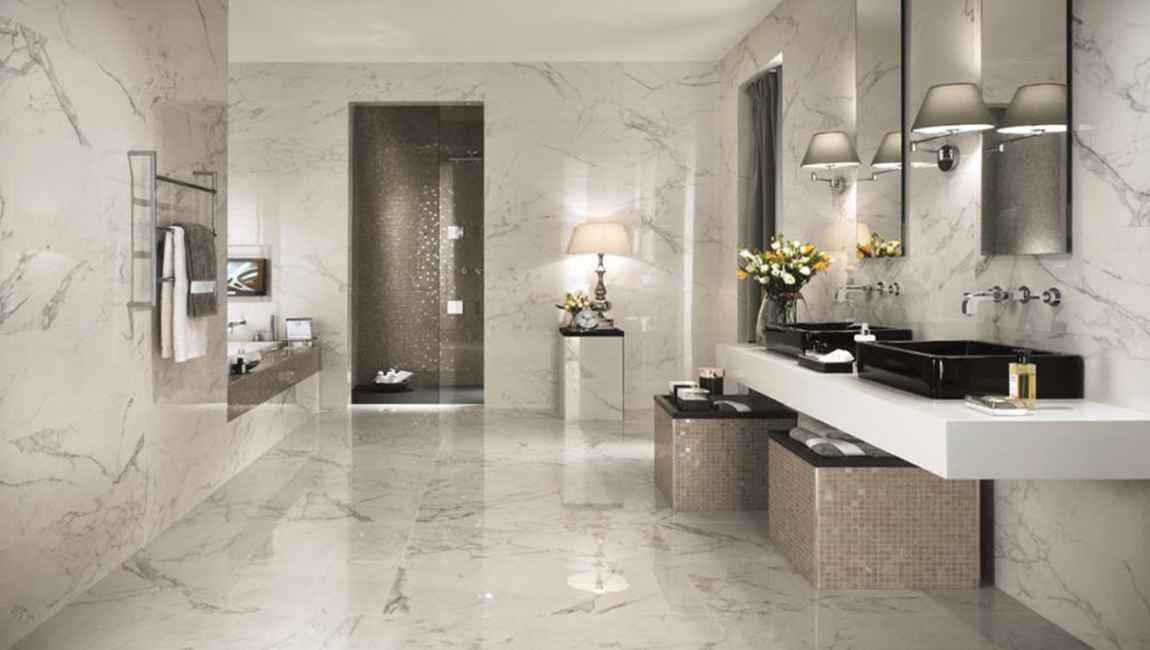
Mix water and bleach to clean marble tile. Combining bleach and water in a 1:3 ratio will yield an effective tile-cleaning solution. For instance, you might mix five tablespoons of bleach with 15 tablespoons of water. Fill a spray bottle with this solution and spray it on the bathroom tile you wish to clean. Rinse the tiles design clean with a cloth dampened with warm water. Bleach exudes noxious fumes. Open doors and windows before you get started to prevent the fumes from building up. Bleach can also irritate the skin, so wear thick rubber cleaning gloves when cleaning your bathroom tile with it.
Utilize ammonia. Combine ammonia and water in a 1:2 ratio. For instance, you could mix 10 tablespoons of water with five tablespoons of ammonia. Fill a spray bottle with the mixture and apply it to the bathroom tile you want to clean. Let it sit on the bathroom tile for about 60 minutes, then wipe it away with a clean, damp cloth. Ammonia, like bleach, exudes noxious fumes. Ventilate the bathroom you’re cleaning by opening doors and windows. Additionally, ammonia can irritate the skin, so wear thick rubber cleaning gloves when cleaning your bathroom tile with it.
Use a steam cleaner. A steam cleaner is a cleaning machine that uses steam to clean tiles floors and other flat surfaces. Generally, steam cleaners work the same way that vacuum cleaners do – simply turn the machine on and push it along the surface of your bathroom tiles. You’ll probably have to fill the steam cleaner with water before using it. Consult manufacturer directions before using your steam cleaner. You may be able to rent a steam cleaner at your local hardware or home goods store.
Make a baking soda paste. Combine baking soda and water in equal amounts. For instance, you might mix three tablespoons of water and three tablespoons of baking soda. Use a stiff-bristled brush to wipe the paste onto the grout. Work the paste into the grout, then wipe it away using a damp cloth or sponge. Create a salt and vinegar cleaning agent. Combine one cup (237 milliliters) of plain white vinegar, one cup (273 grams) of salt, two tablespoons of liquid dish soap, and one cup (237 milliliters) of hot water. Dab a sponge in this mixture and wipe your bathroom grout with it. Wait ten minutes, then wipe the grout with a clean, damp sponge.
Scrub the grout with bleach. Dip a stiff-bristled grout brush in bleach. Scrub the along the grout using the brush. After scrubbing, rinse the grout with a clean, damp cloth. Throw open the windows and door before you get started in order to ventilate the noxious bleach fumes. Use a cotton ball to clean corner cement tiles. Cleaning corner tiles with a regular sponge or brush can be difficult. Instead, soak a cotton ball in the tile cleaner of your choice and press it into the corner you wish to clean. Wait several minutes then remove the cotton ball. Wipe the corner with a damp rag to remove any excess grime. Alternately, you could use an old toothbrush to scrub the corner area clean.
Apply a coat of wax to ceramic tile. Once annually, apply a coat of car wax after cleaning bathroom tile. This will cause water to roll off and prevent the growth of mildew. Plus, it gives your bathroom tile a nice shine. While the exact technique for applying the car wax varies with the specific wax you’ve chosen to utilize, you can generally dab a clean cloth in the tub of wax, then rub it in a thin layer across the bathroom tiles after cleaning. After applying the wax to bathroom floor tile, buff it down to prevent the bathroom tilefrom being too slippery.
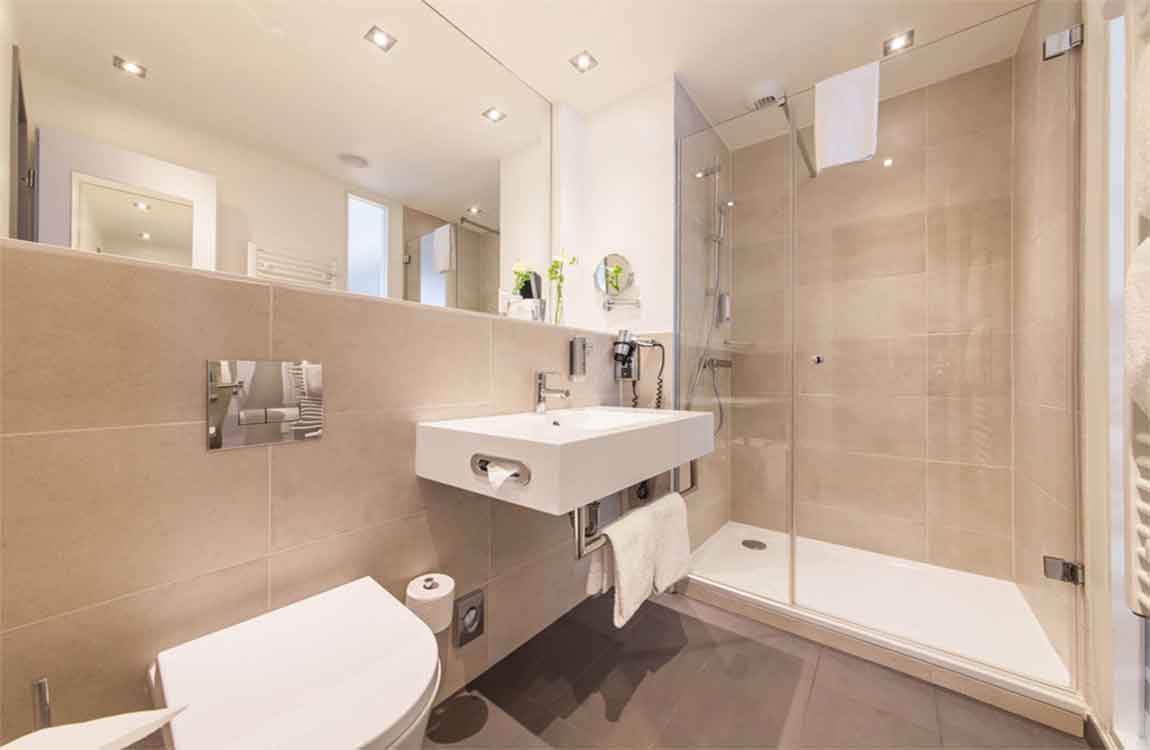
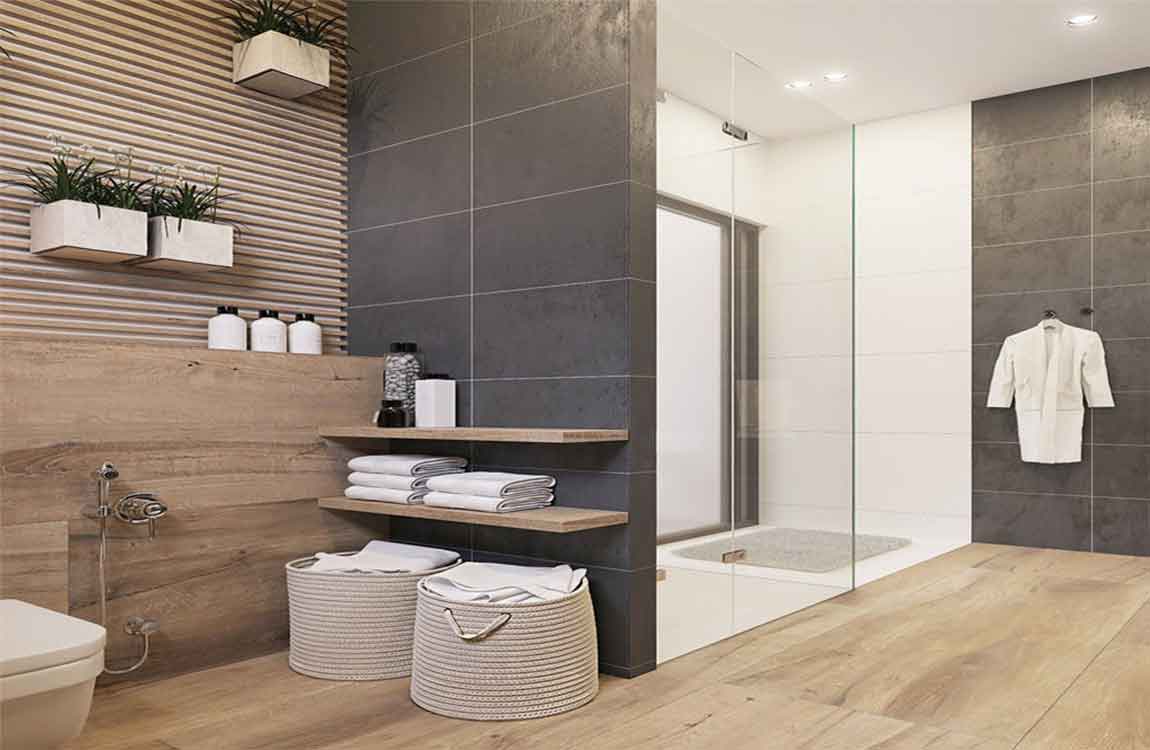
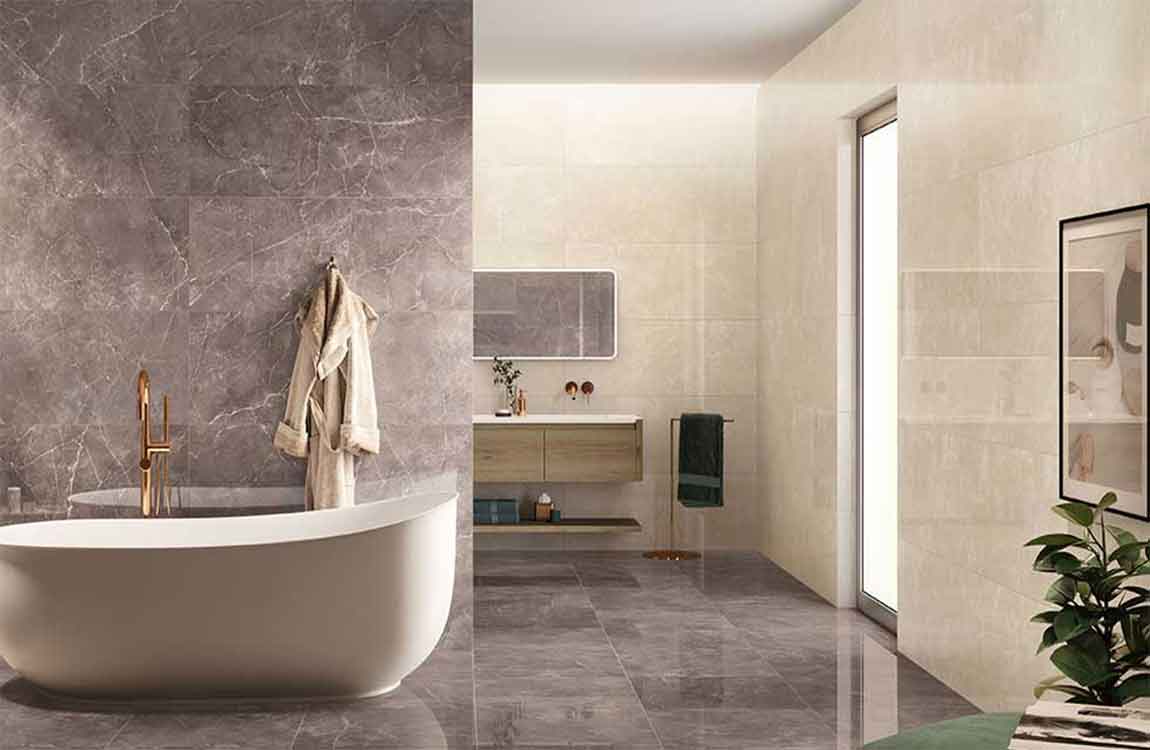
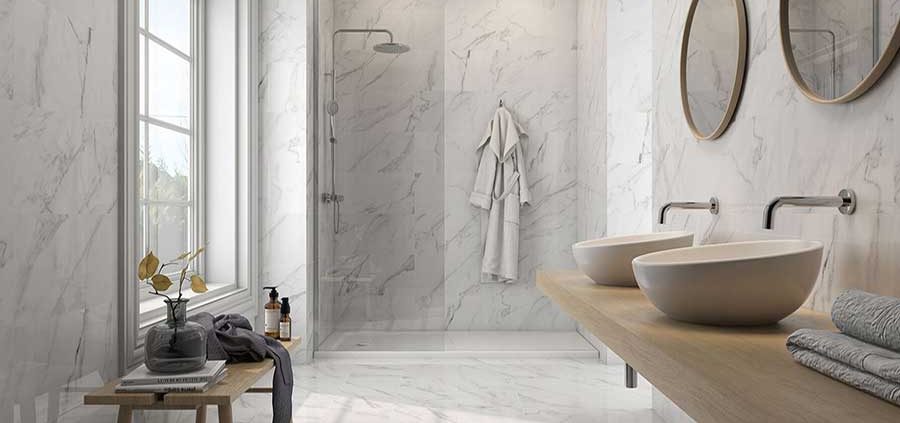
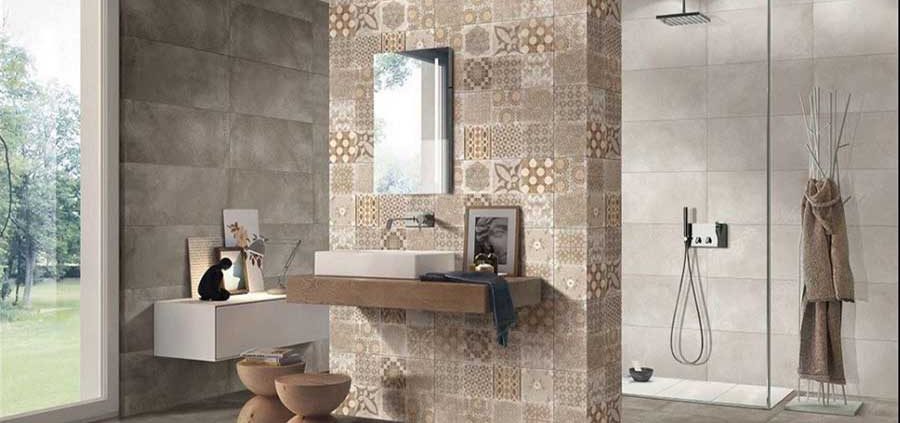
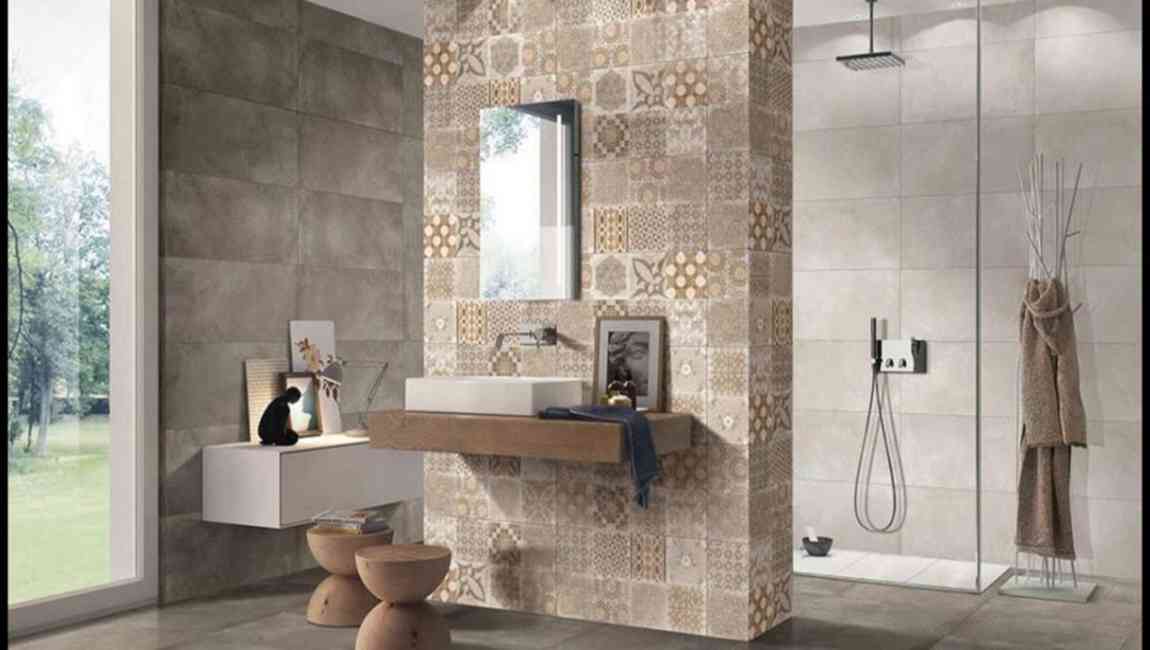
The bathroom is also wet because it needs water, so the decoration bathrooms are mainly paved with tiles. Anti skid is very important, especially in the shower room area. Skid resistance is an important consideration for bathroom floor tiles, and safety is the most important. If there are elderly people in the family, you can consider installing a handrail in the shower room area. Because the bathtub itself is relatively slippery, the handrail can also be installed at the edge of the bathtub.
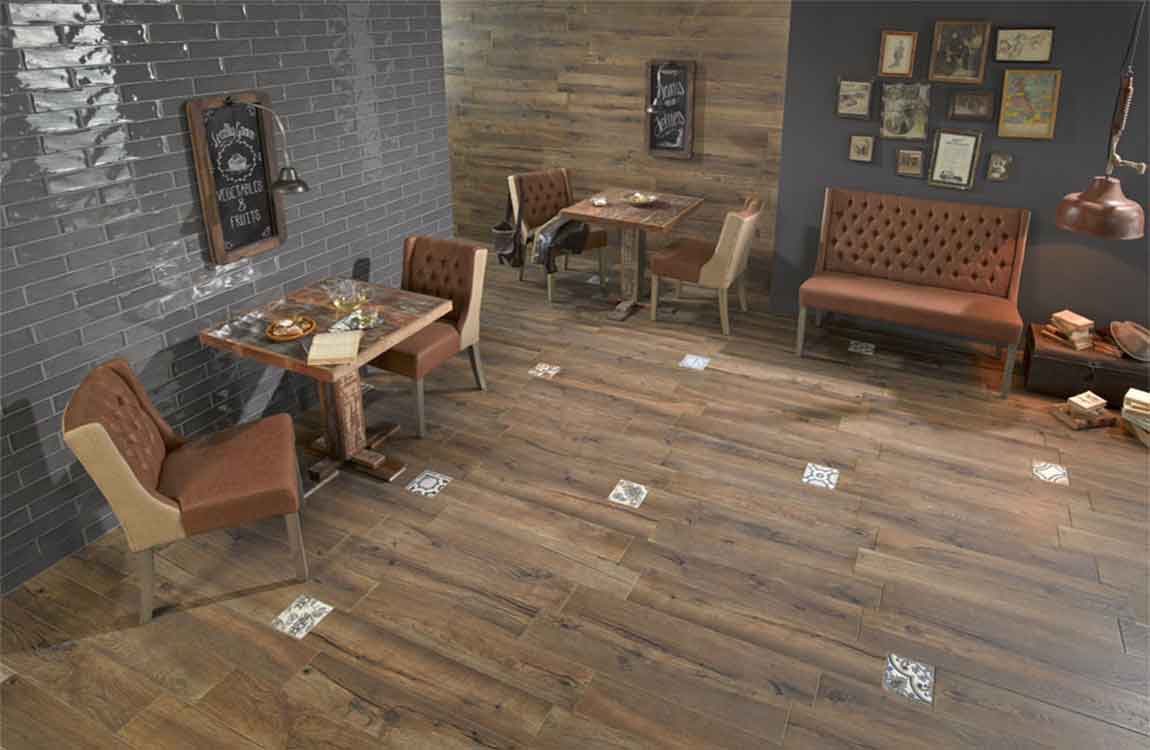
In the shower room area, the whole block of marble is used for trenching, in addition to skid prevention, it can also guide the removal of water. Consider cleaning. Do not use rustic tiles with heavy surface pits. Rustic tiles are suitable for many style collocations, but there is a kind of glazed tiles that are not recommended to be selected as flooring tiles, that is, the surface texture of the concave and convex is deep, because these pits are easy to deposit filth because of the long time. Floor tiles with heavy surface texture are difficult to clean.
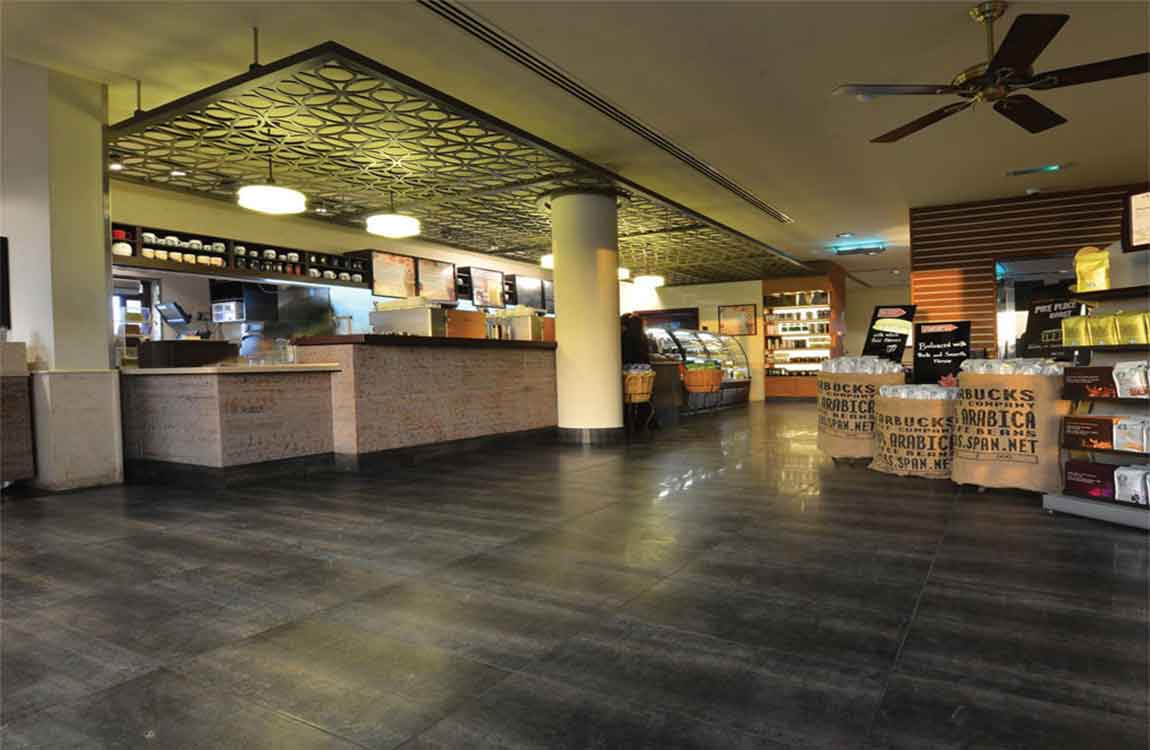
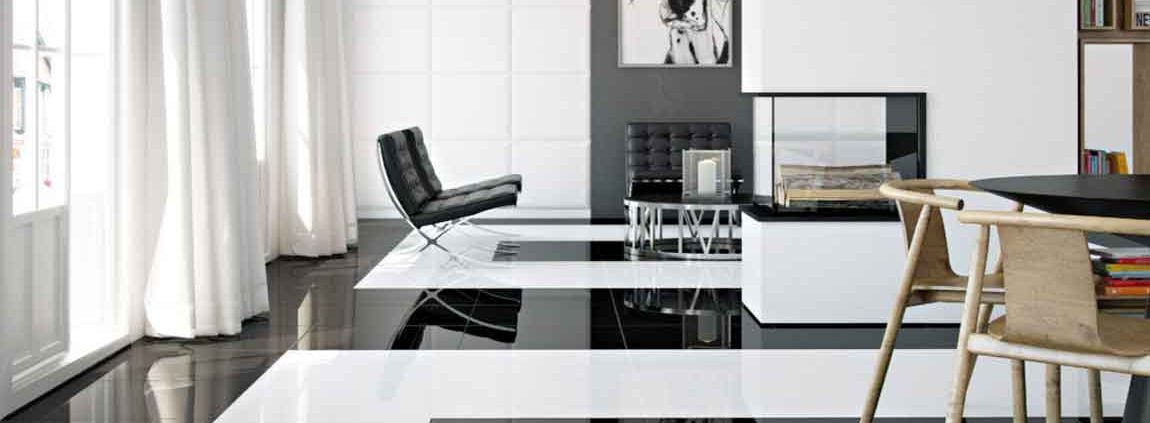
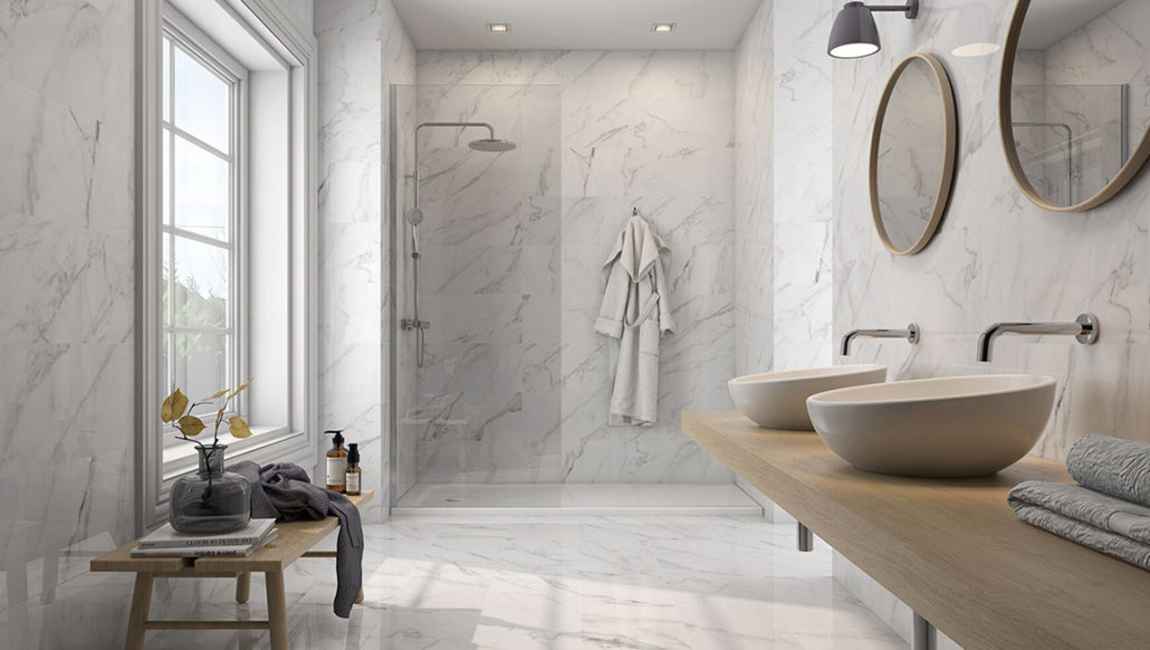
Several suggestions for collocation of bathroom tiles: The color and type of mosaic tiles should not exceed 3 style, otherwise it will be chaotic. Gray and black appear mysterious and advanced, but the space will be dim and the lights should be well matched. The color of the walls and ceramic should be the same or shallow or deep, otherwise it will be “heavy headed”. The flower tiles are more suitable for small areas, and tiles are not suitable for the whole floor or wall.
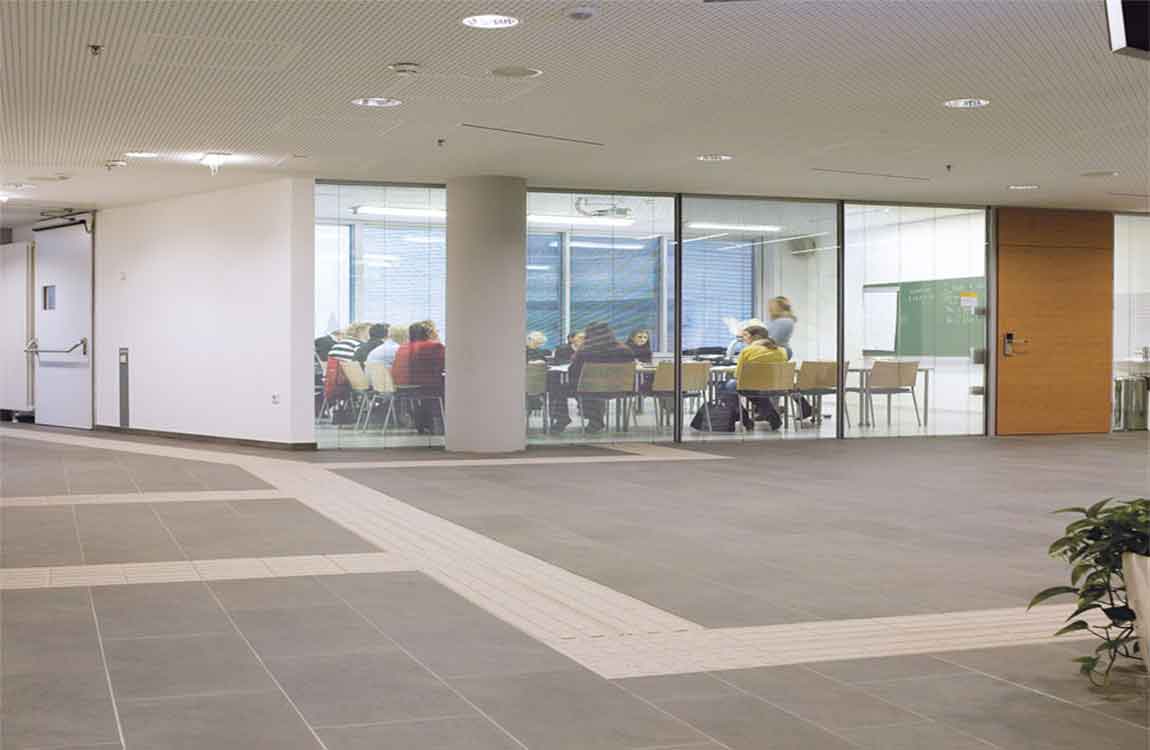
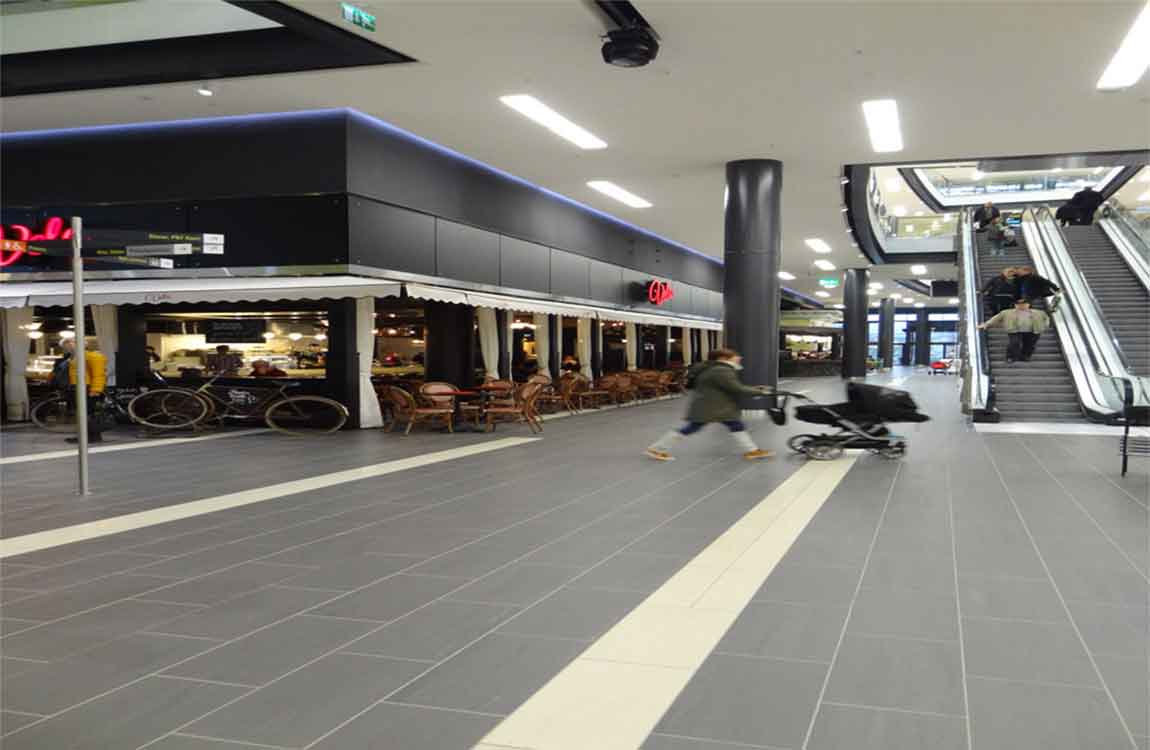
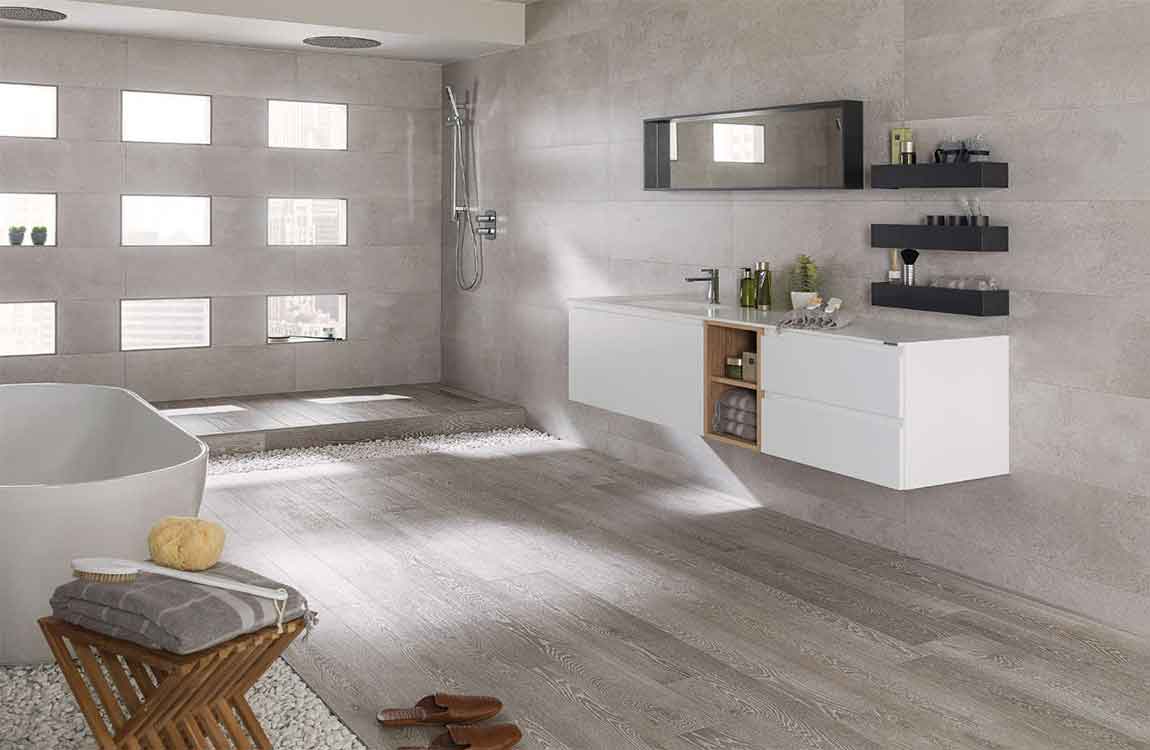
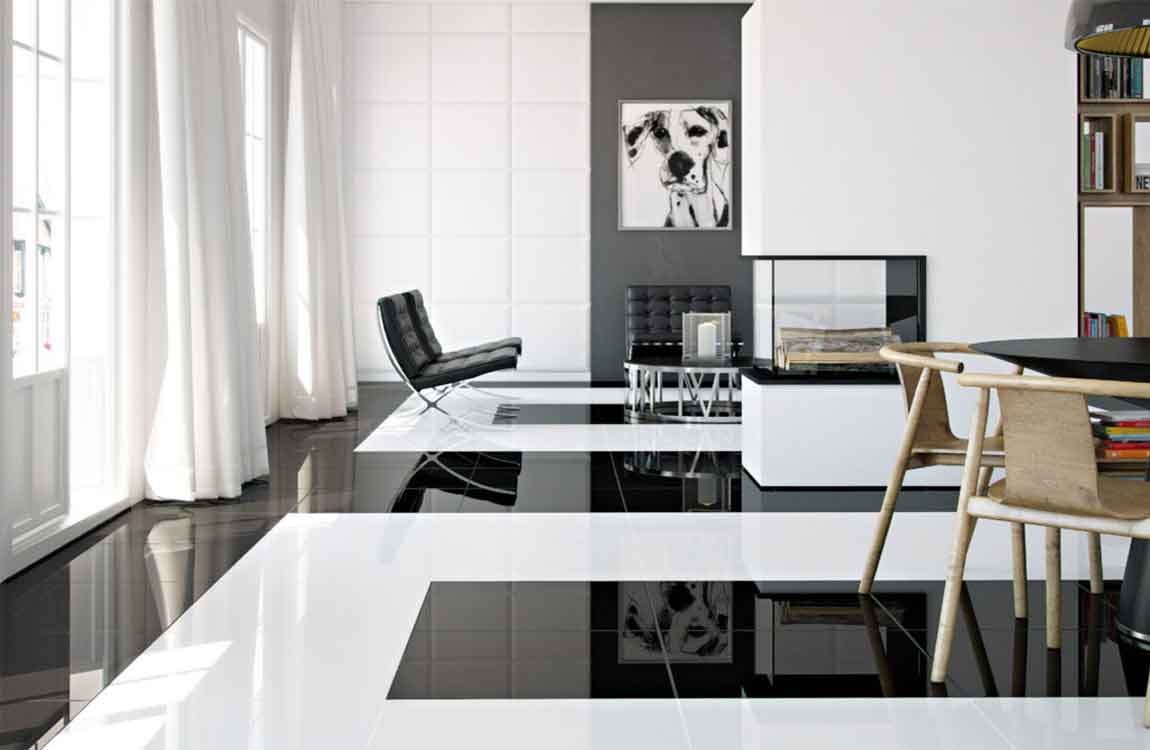
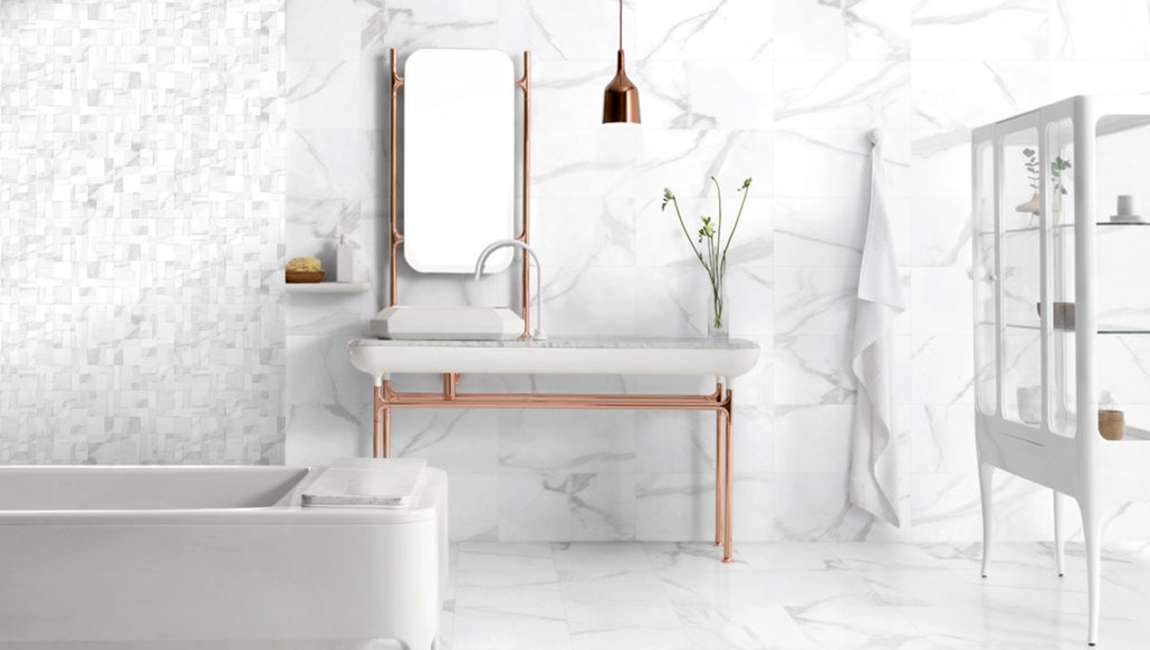
The floor flower tiles or flower pieces should be partially decorated and not suitable for large area use. Pure white tiles are suitable for making wall tiles for b, white wall tiles and grey floor tiles are better. Pure white tiles are recommended to do dark seams, and the level is clearer and obvious. Black, white and grey are more classic collocation, white wall tiles + gray floor tiles + Black hardware parts, plus other ornament, integrity is stronger. White marble tiles or marble design tiles can be used. Because of the natural texture of the stone, there will be a natural sense of superiority. Gray tiles are the good color, with white bathroom and silver hardware, faucet, integrity is very good. Appropriate wood color can neutralize gray coloring, for example, bathroom cabinet can choose wood color.
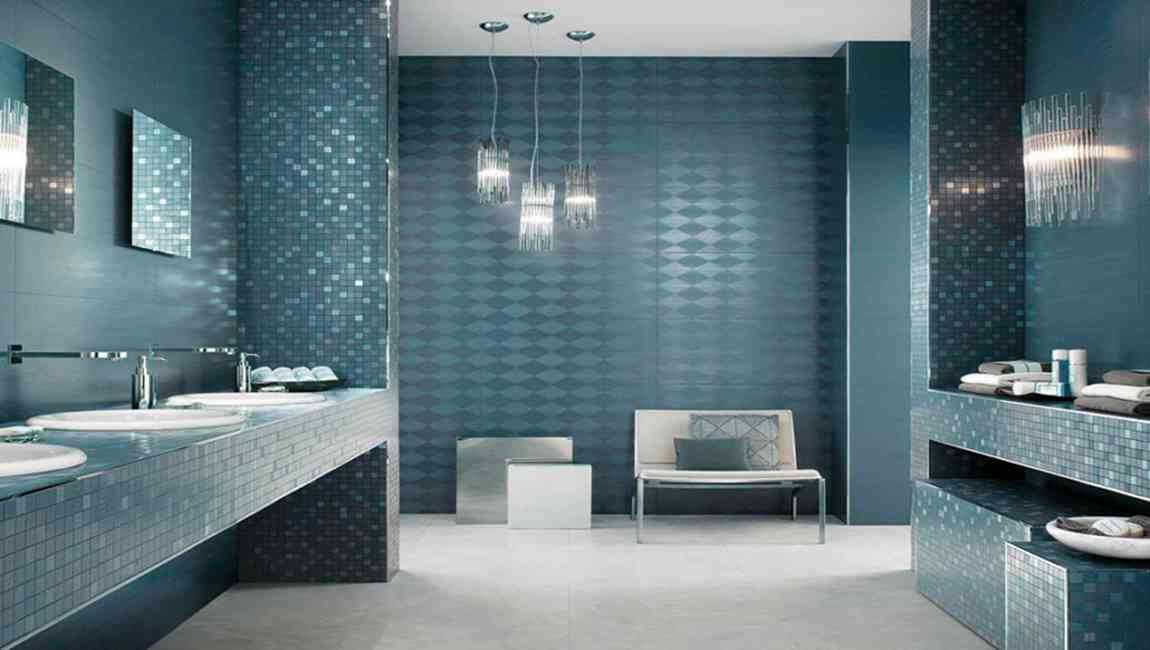
Gray is the dark. color, and usually is a dumb tiles design (better than light color), so it needs a little bit of effort in the combination of light, such as the combination of light, light belt, light belt and so on. Apart from pure grey color tiles, there are also some changes in gray tiles. If the color is not easy to grasp the change, we can also consider the variation of the specifications of the tiles, such as gray tiles, and match the hexagon tiles with the subway tiles. Black high and cold, but it will really make the whole space dark, which has to be considered. Rustic tiles are suitable for the style of pastoral, Mediterranean, American country and so on. Basically there are two kinds of tunes, one is the warm brown color. In addition to all ceramic tiles, it is possible to consider the waterproof latex paint for the upper half wall, the shower area or the recommendedceramic tiles, comparing the waterproof and moisture resistance of the tiles.
https://baranaceramic.com/wp-content/uploads/2018/07/Do-you-know-how-to-decorate-the-tile-in-the-bathroom-1.jpg600900administratorhttps://baranaceramic.com/wp-content/uploads/2025/09/logo.pngadministrator2018-07-09 08:31:512019-11-26 09:13:13Do you know how to decorate the tile in the bathroom?