MONACO Series Porcelain Tiles: Solve Your Renovation Pain Points, Elevate Space Instantly!
Tired of renovation material headaches? Can’t find tiles that fit your style, space, and needs? BARANA CERAMIGS’ MONACO Series Porcelain Tiles is your answer—solving core pain points while delivering unmatched quality.
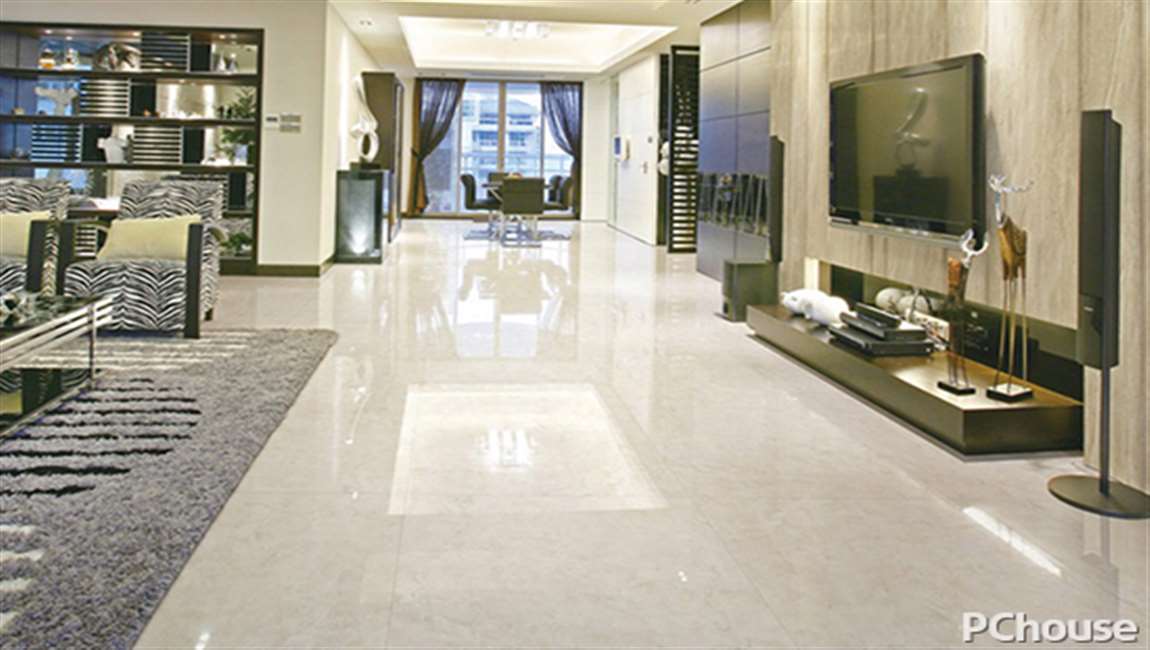
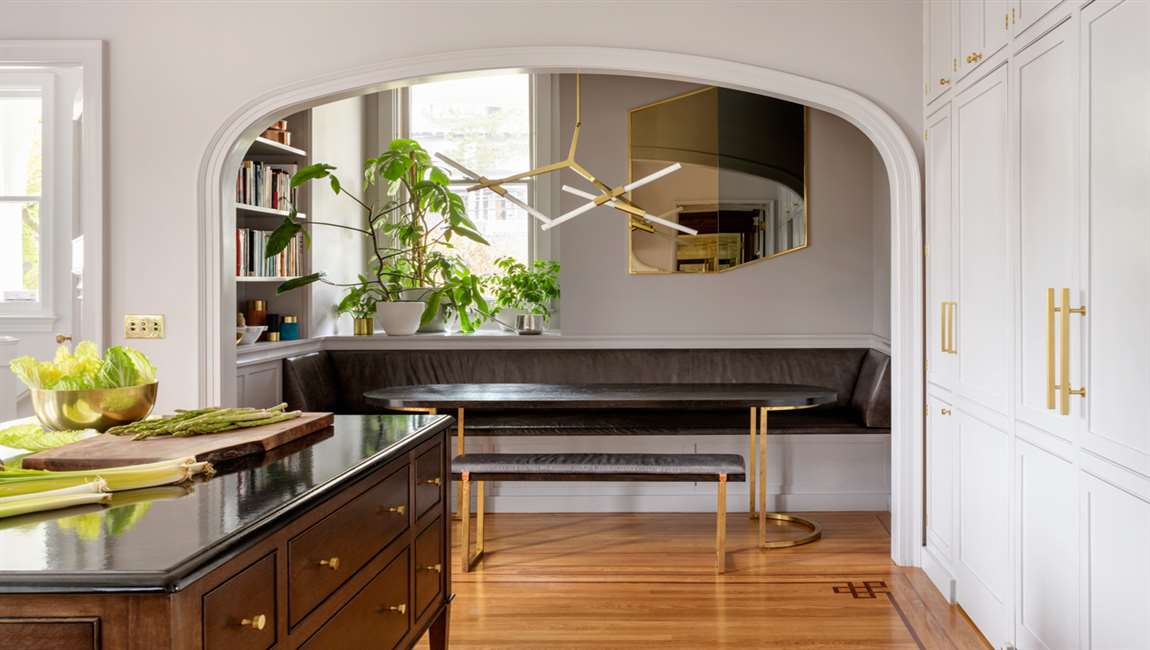
1. Style & Space Fit: No More Limitations
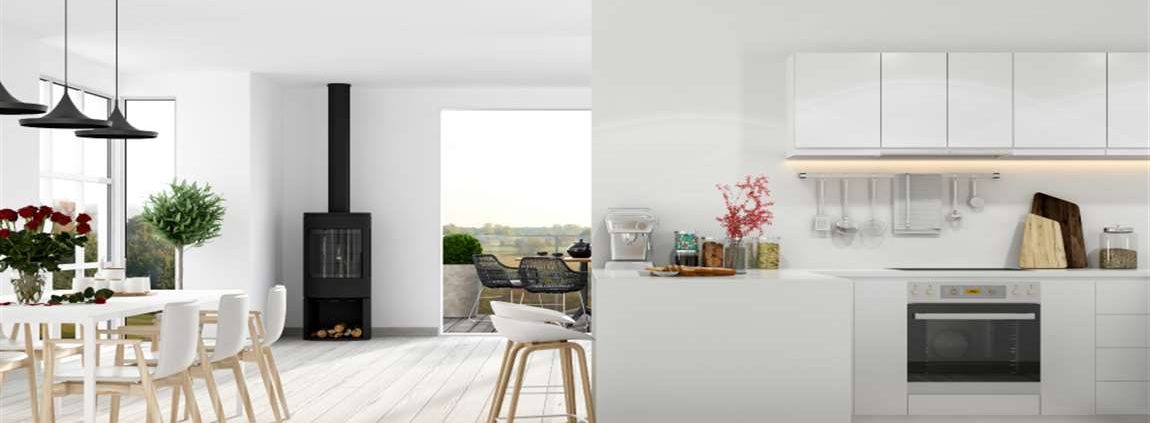
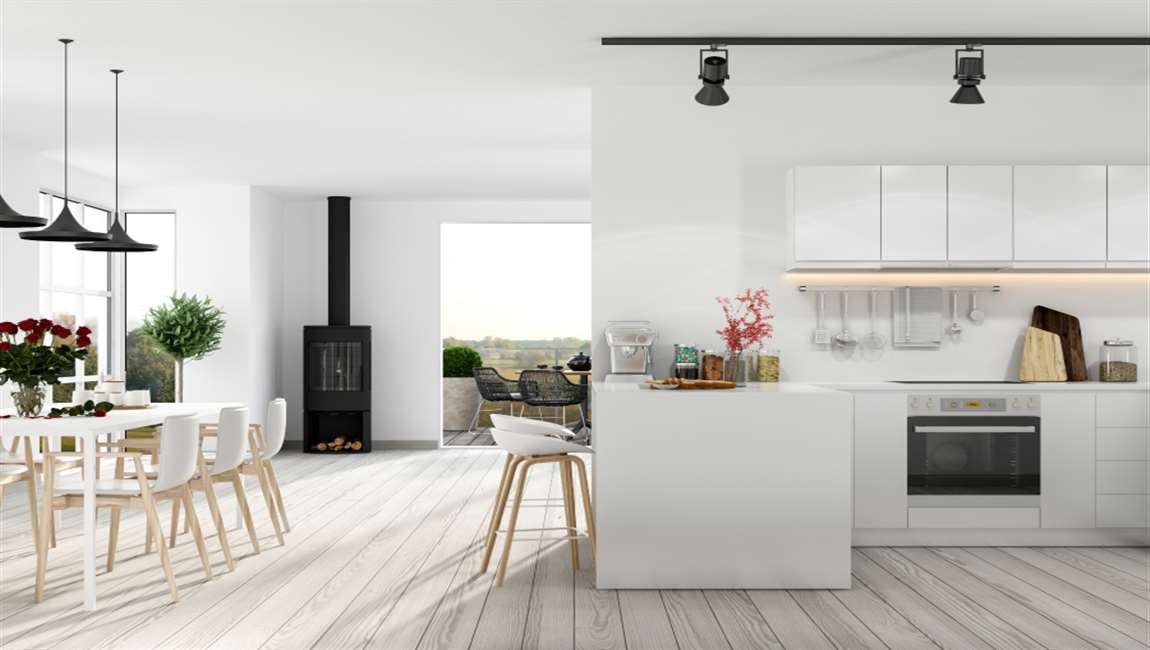
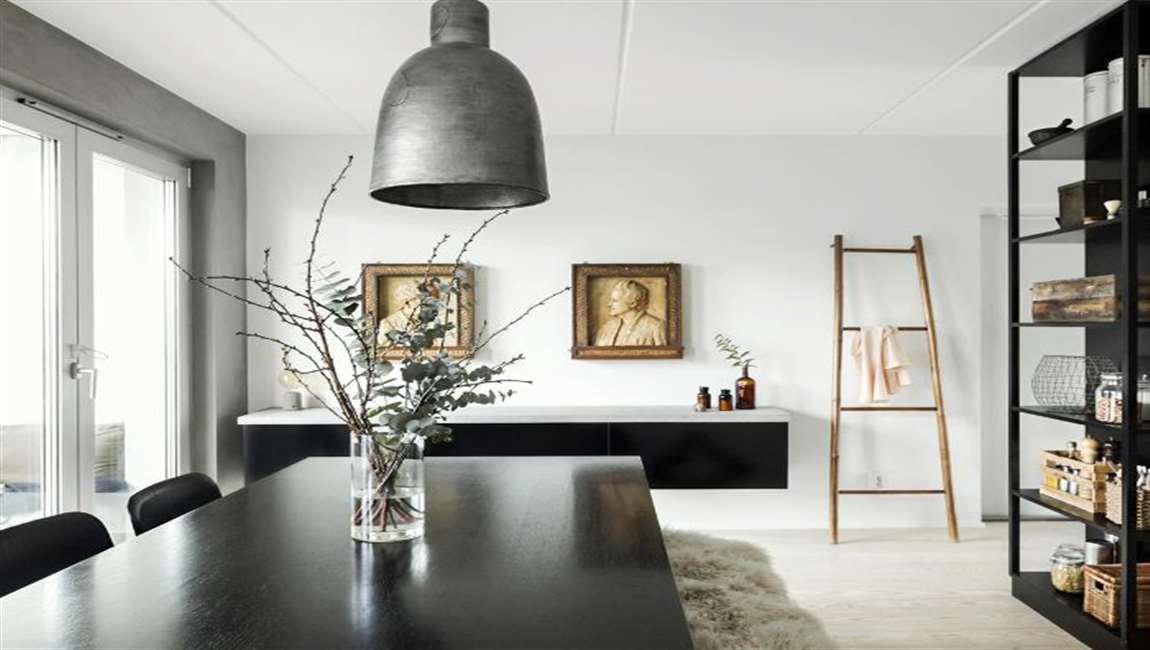
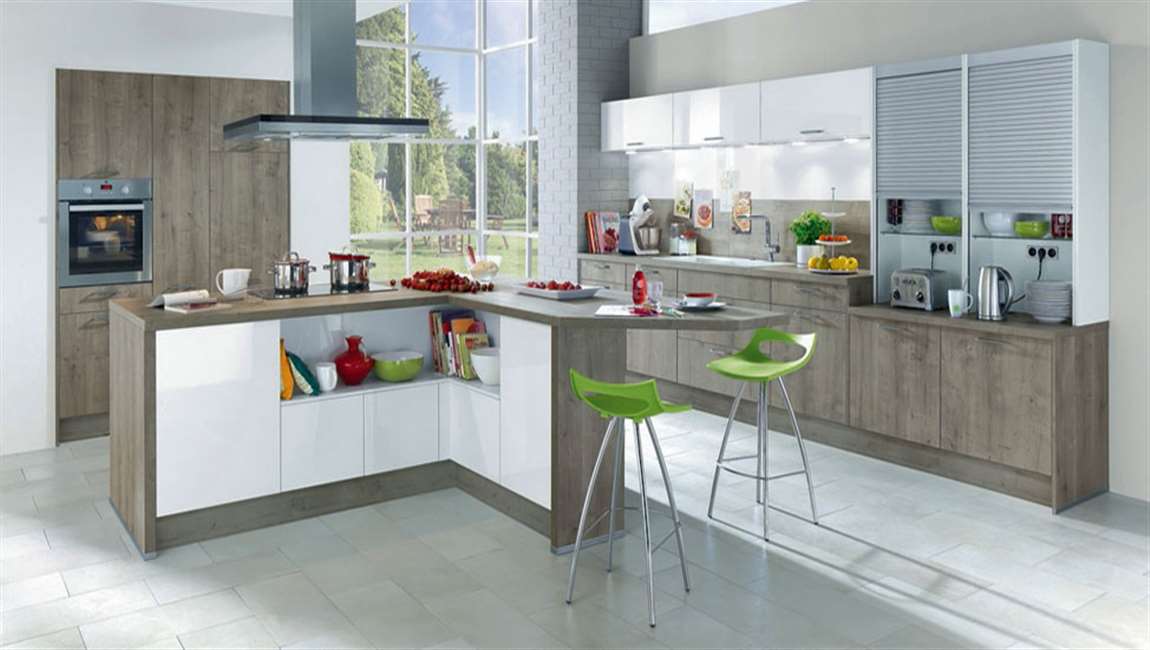
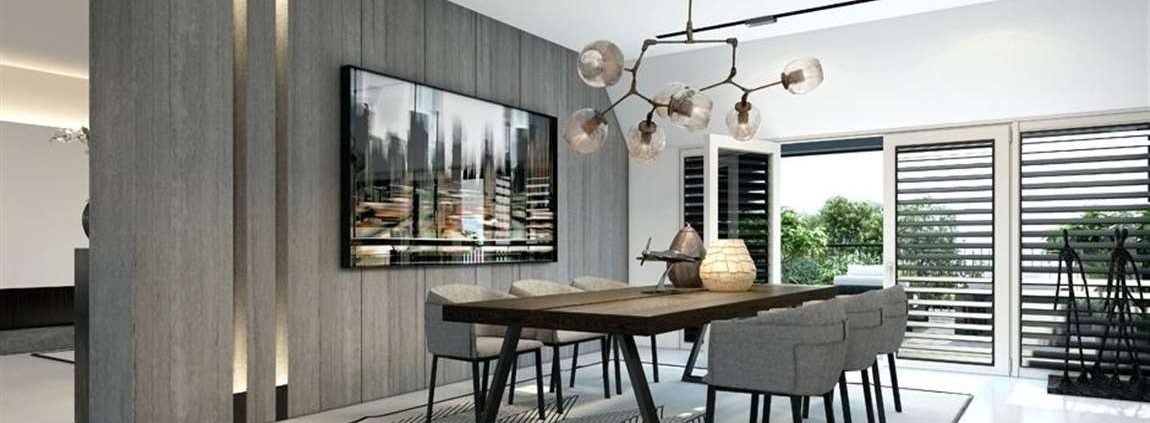
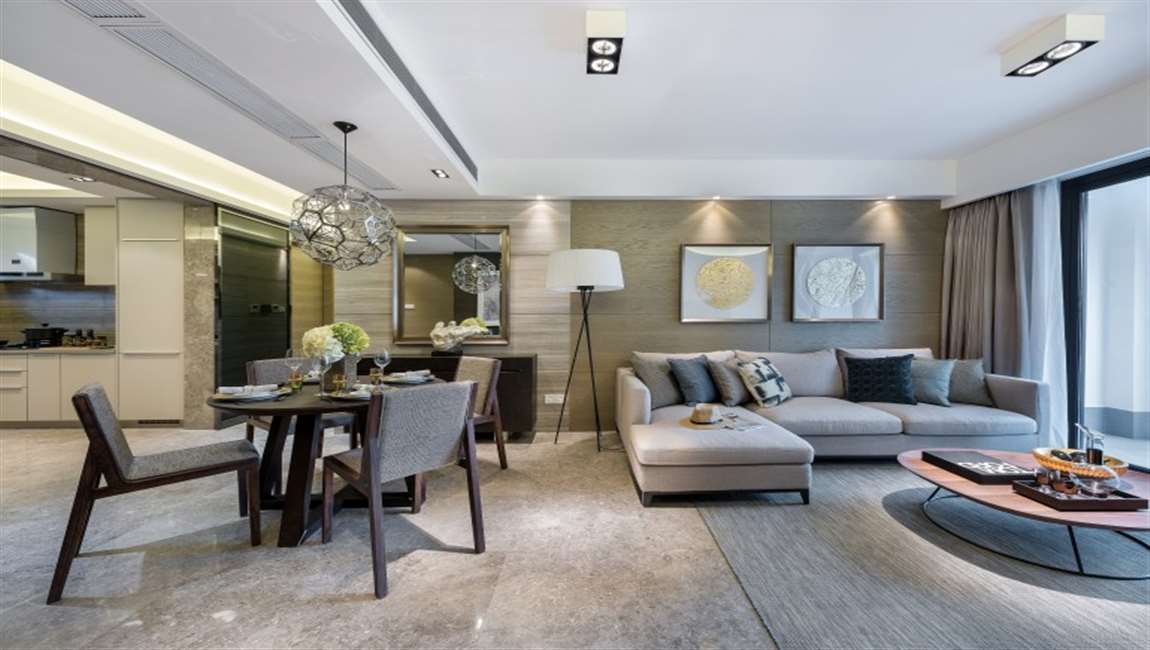
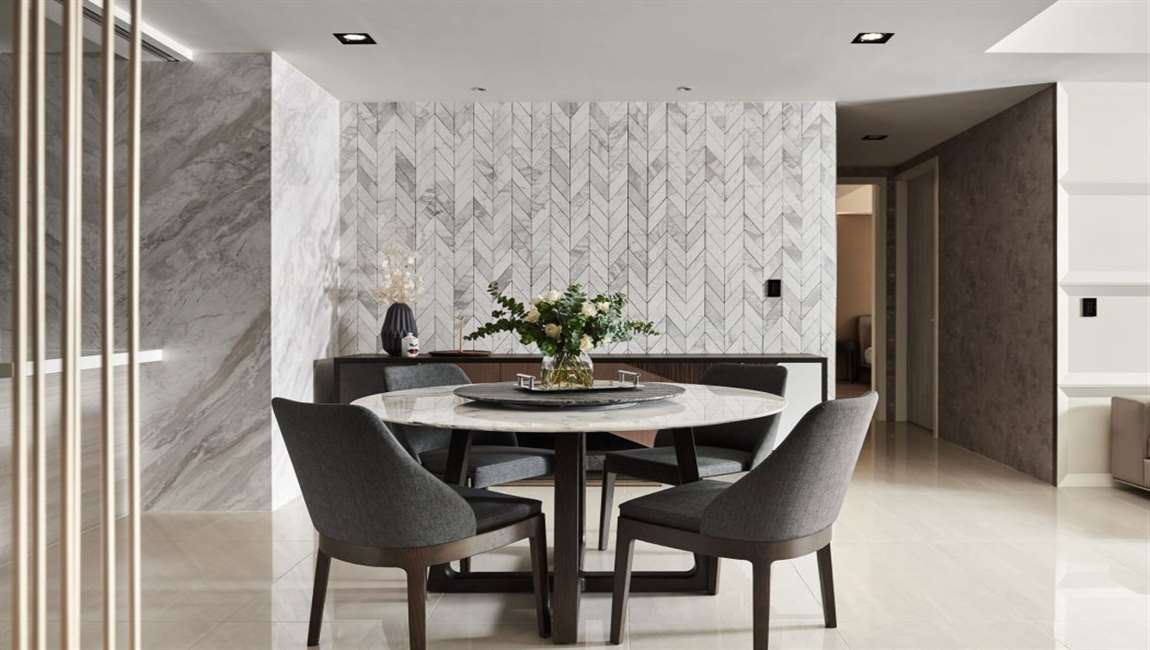
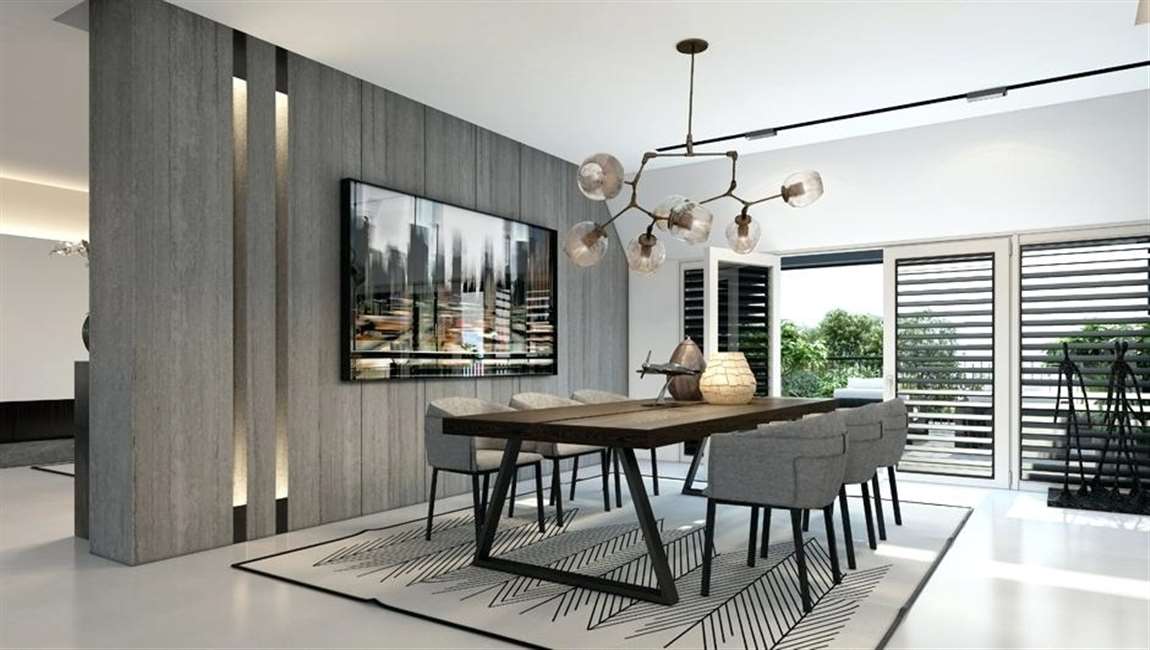
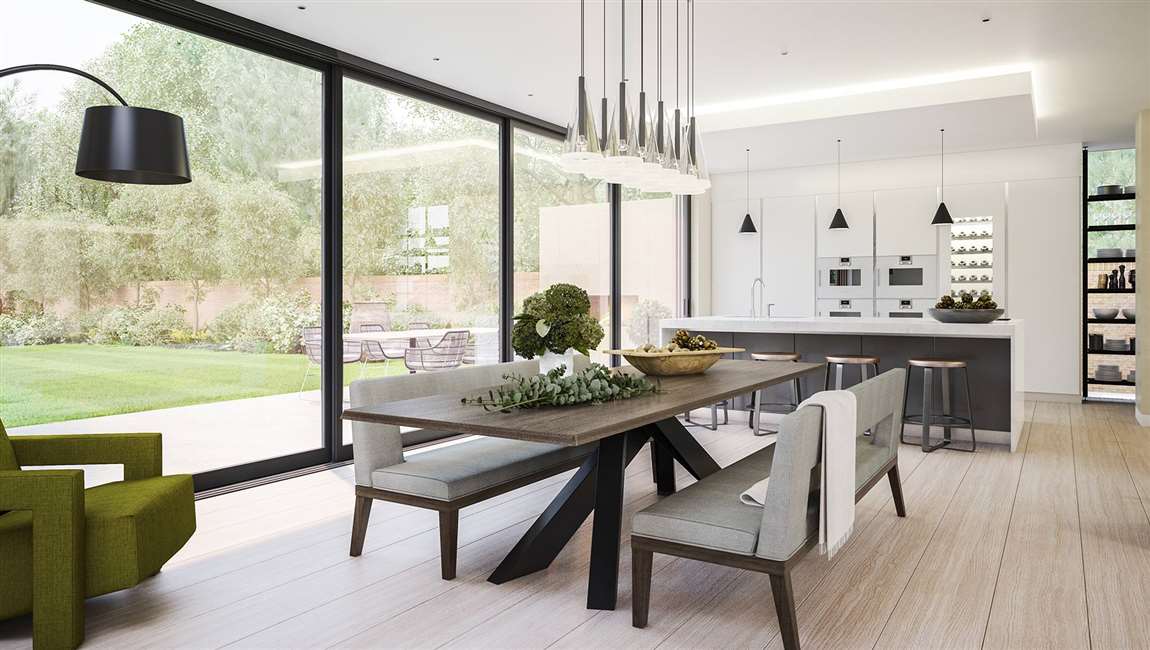
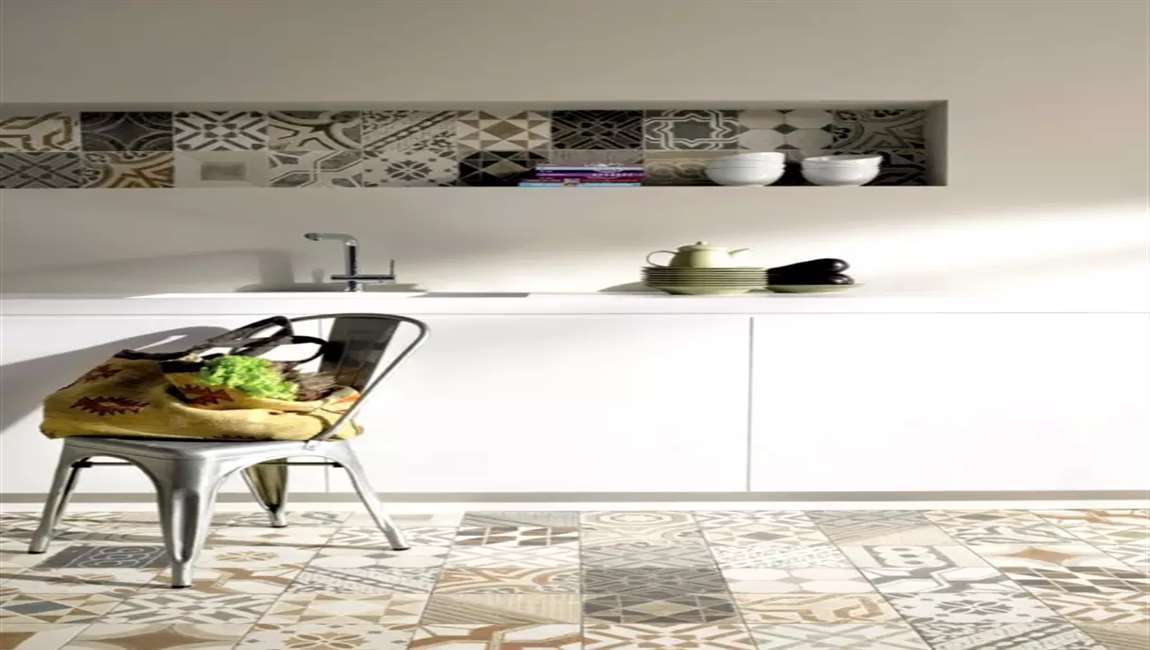
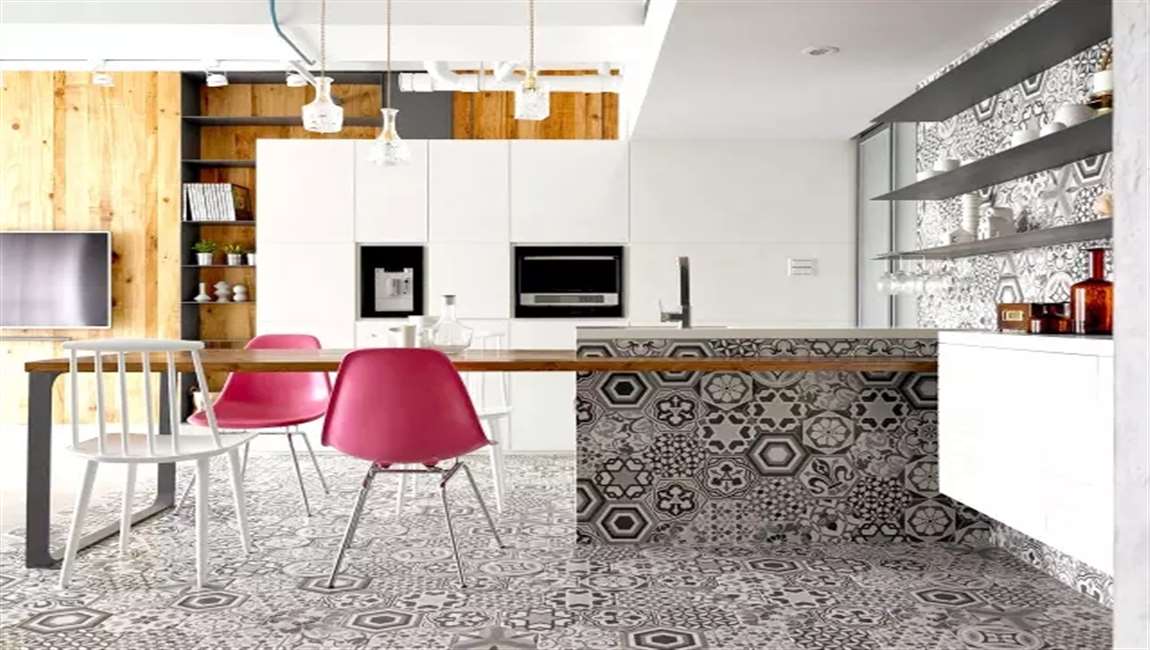
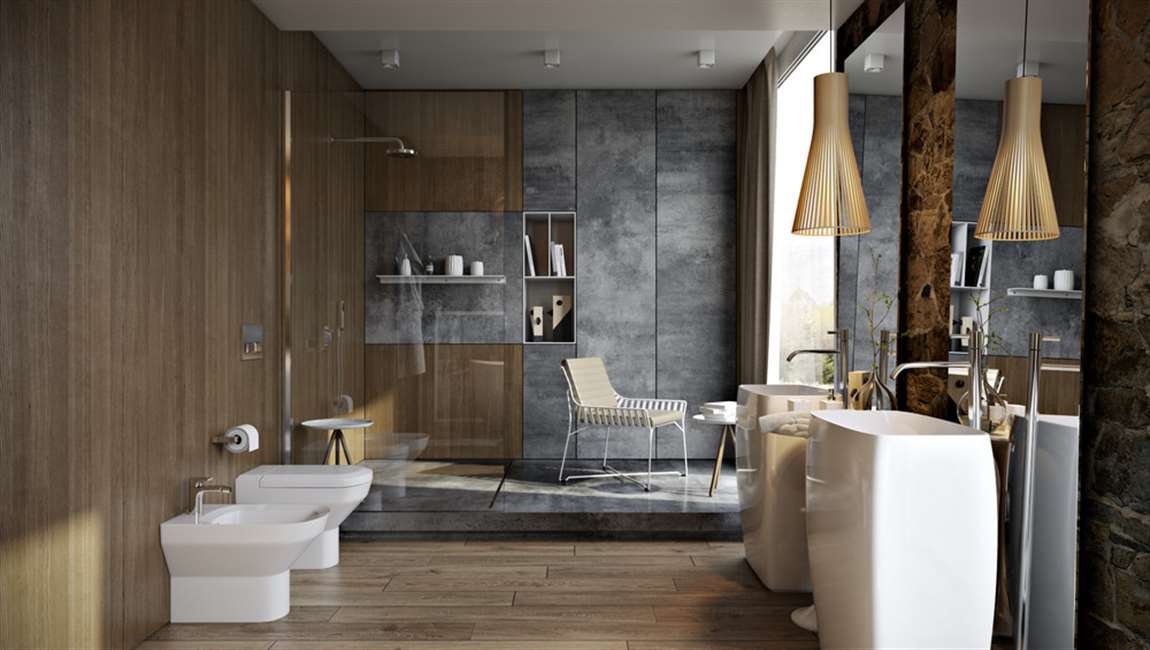
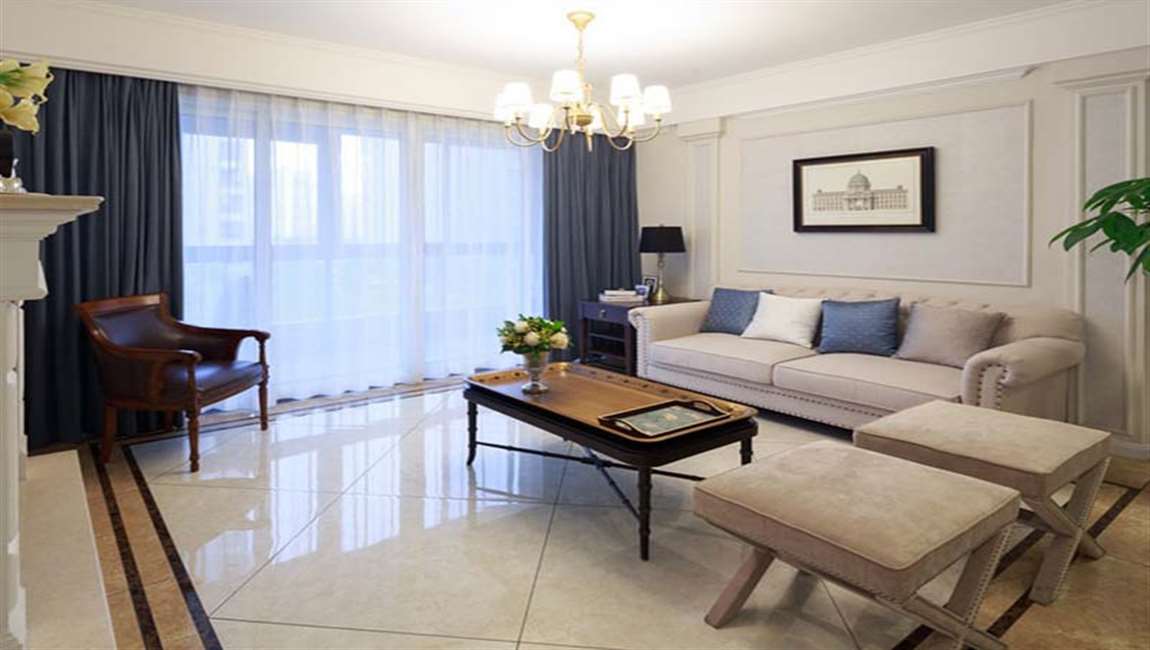
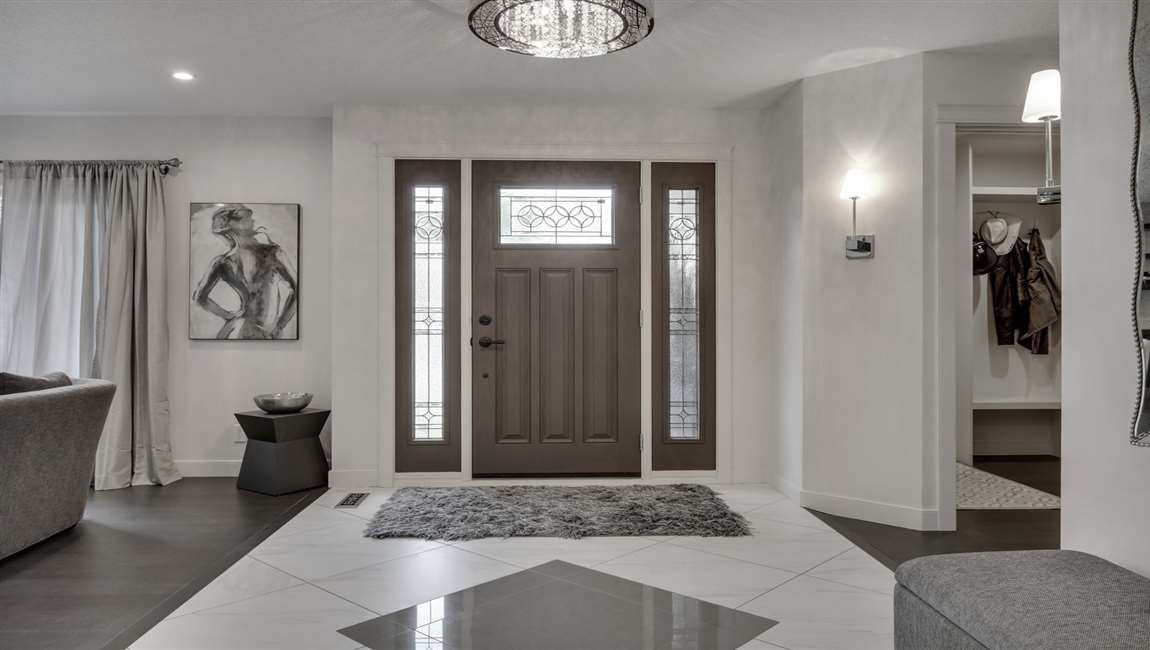
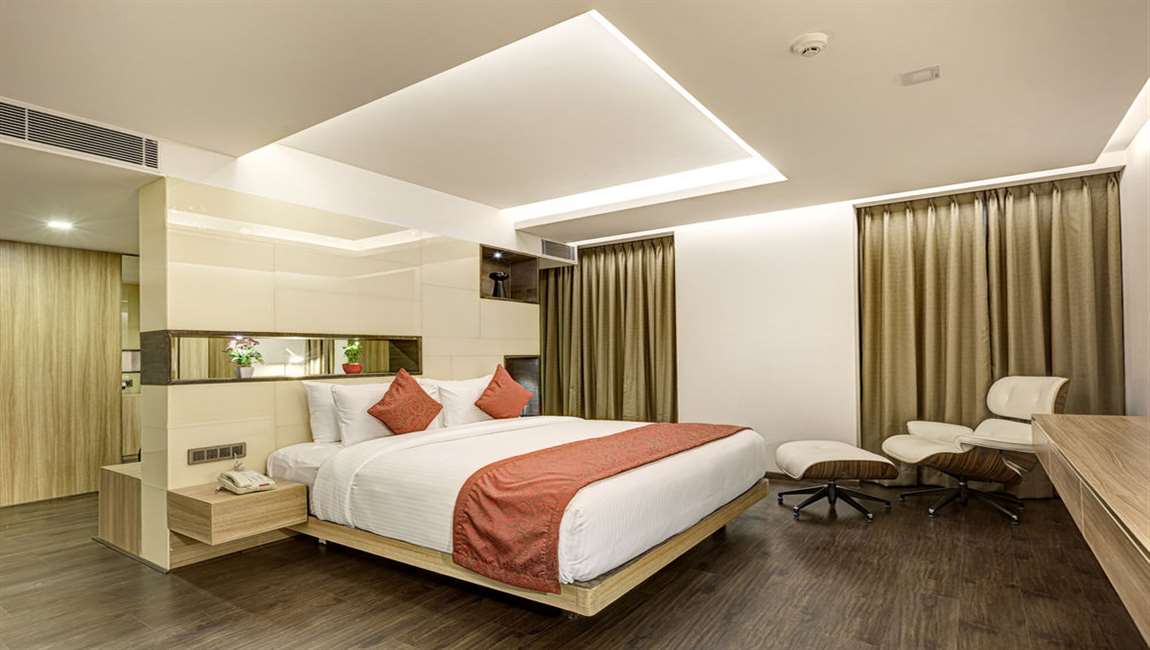
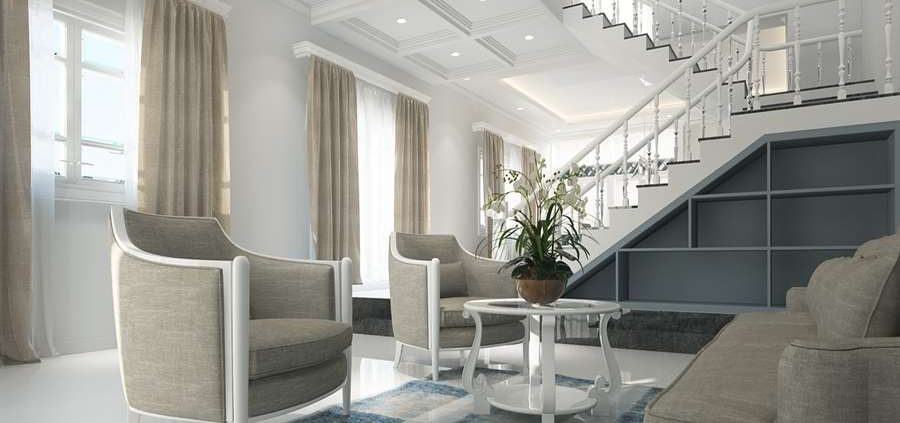
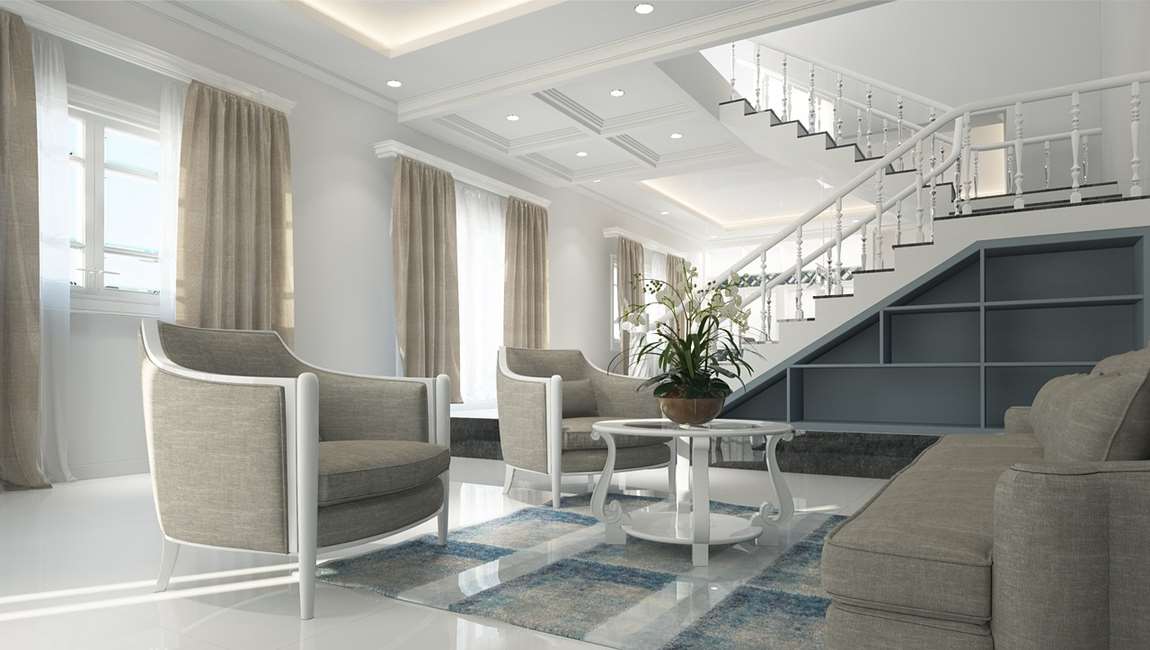
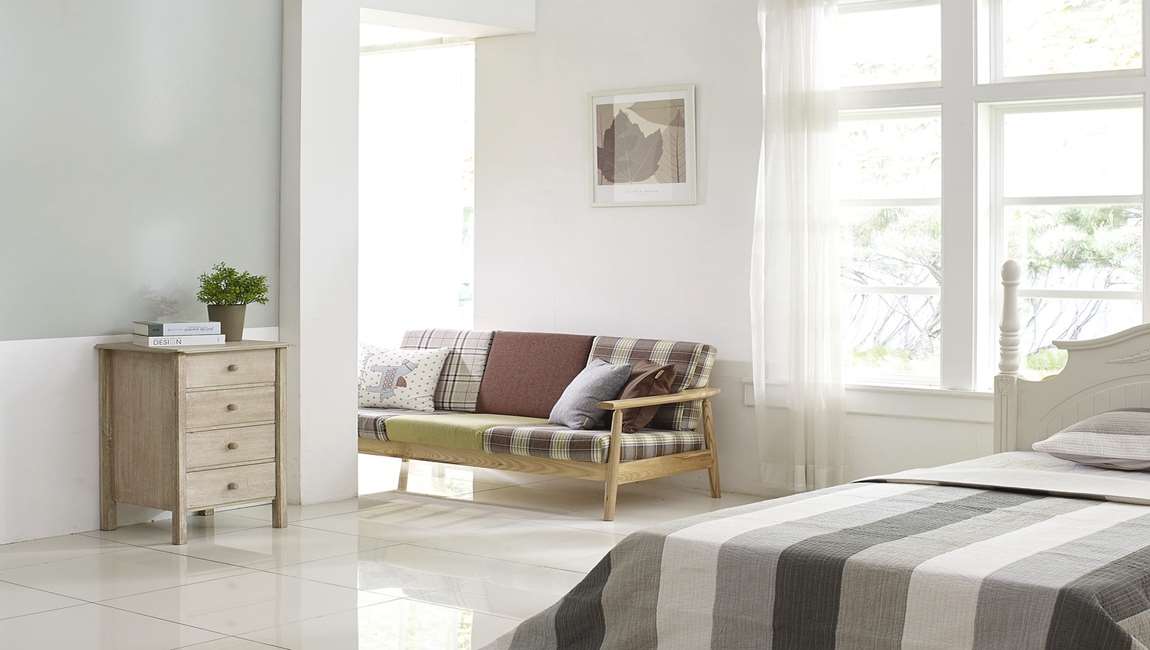
Struggle with matching tiles to your decor? MONACO offers 4 versatile tones (light grey, cream, middle grey, dark grey) for modern, Nordic, or minimalist styles. Plus 4 sizes (600x1200mm to 300x300mm): large sizes for spacious living rooms/bedrooms (fewer gaps, grander look), small/medium for kitchens/bathrooms (flexible, practical). Mix sizes for layered design—no more “one-size-fits-none” frustration.
2. Durability & Safety: Worry-Free Daily Use
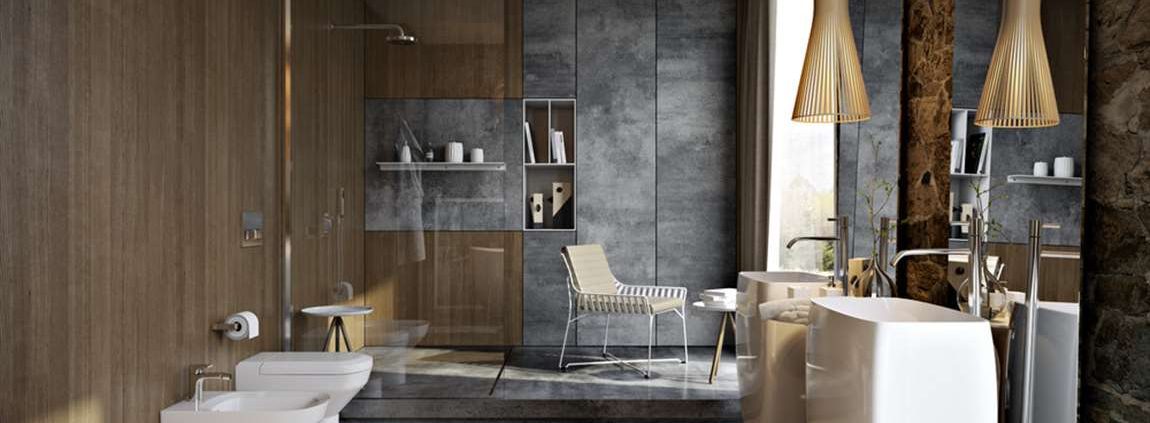
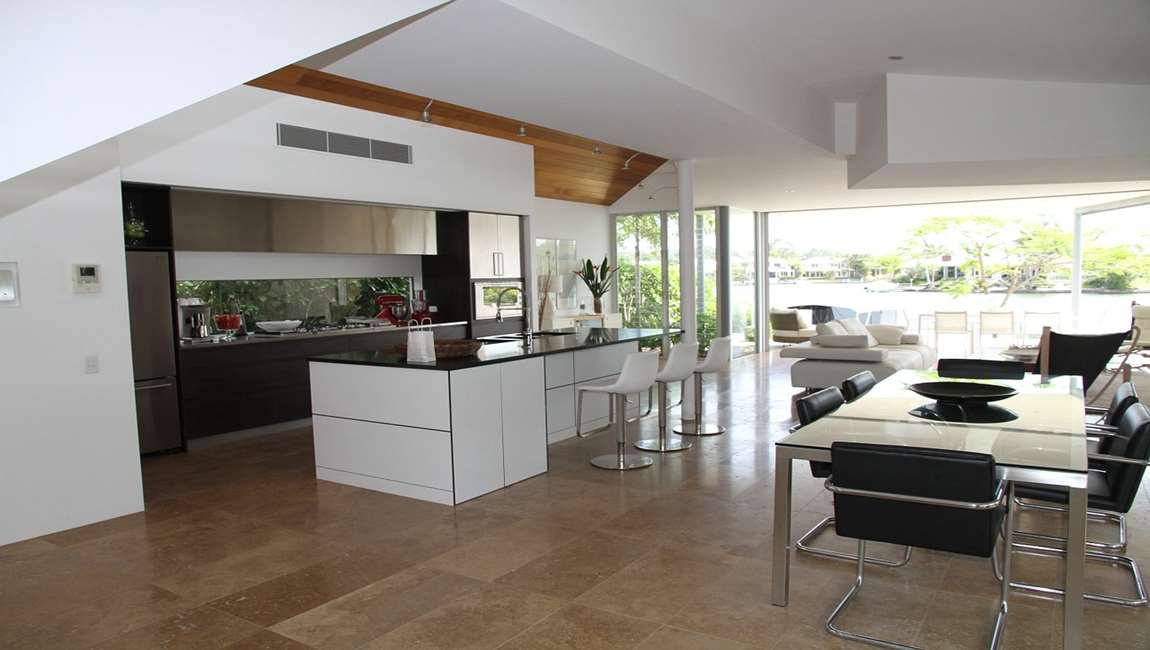
Fear scratches or slips? MONACO’s PEI 4 wear resistance (matte) handles daily wear, keeping tiles new for years. Matte options have R9-R11 anti-slip grades—safe for wet bathrooms/kitchens. Precision-edged tiles mean flat splicing, no unevenness. Thick, stable structure (e.g., 9.5mm for 600x600mm) resists pressure—ideal for high-traffic areas.
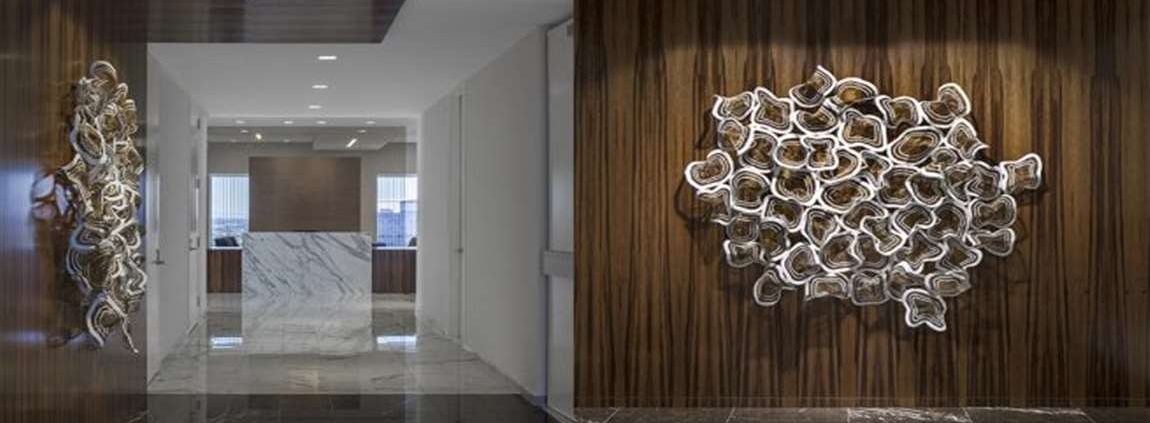
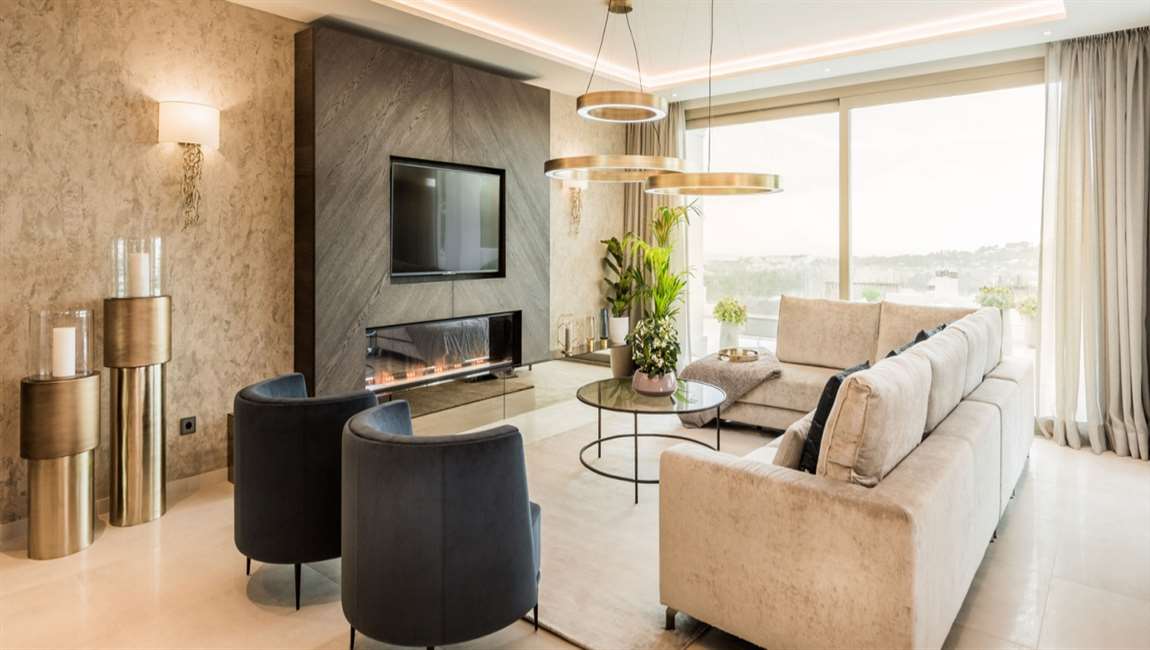
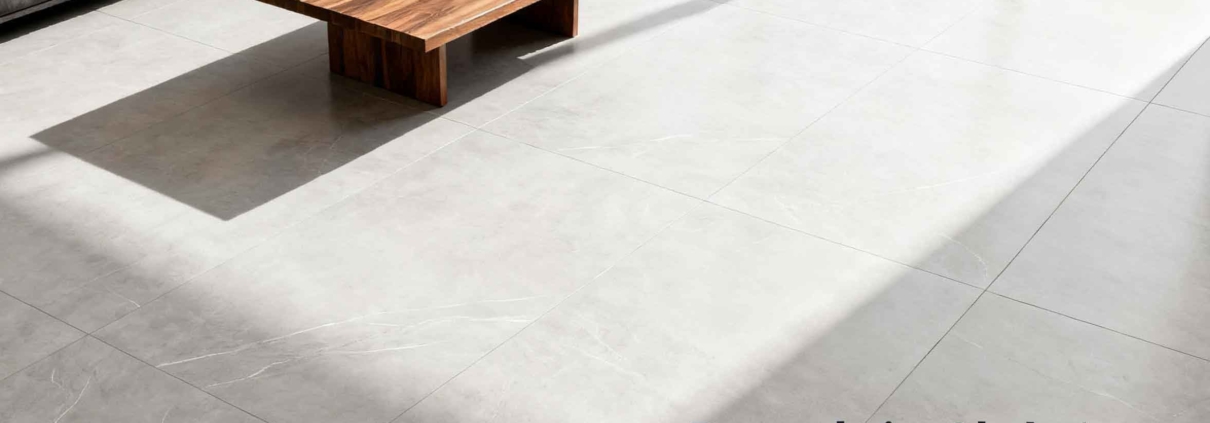
3. Aesthetics & Ease: Beauty That’s Easy to Maintain
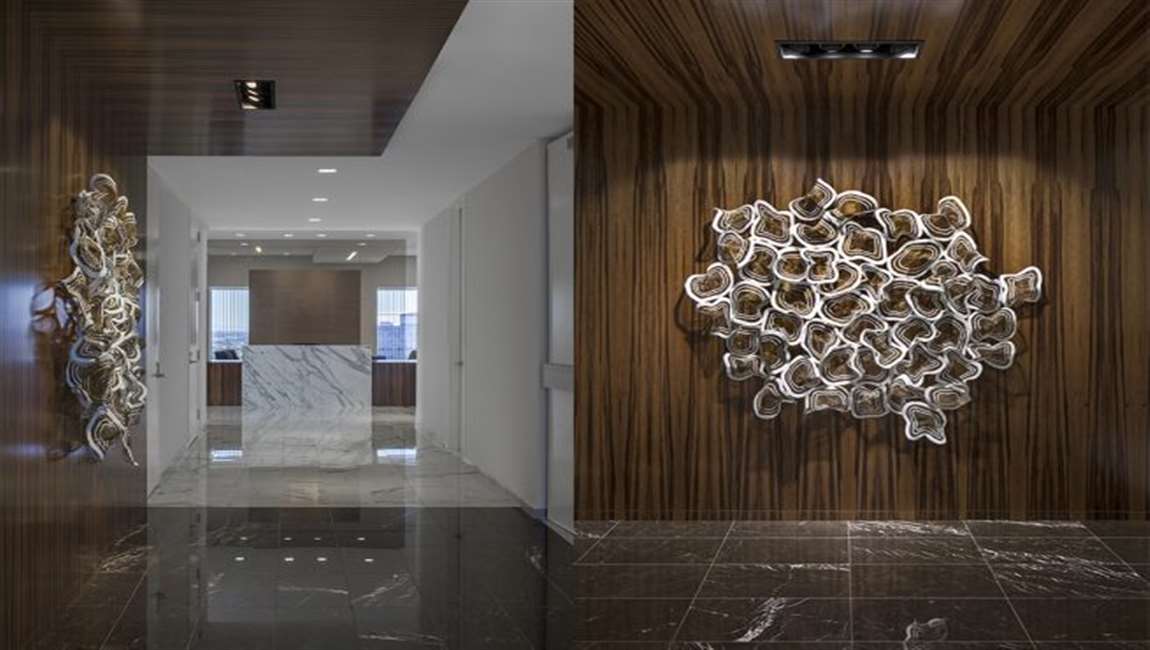
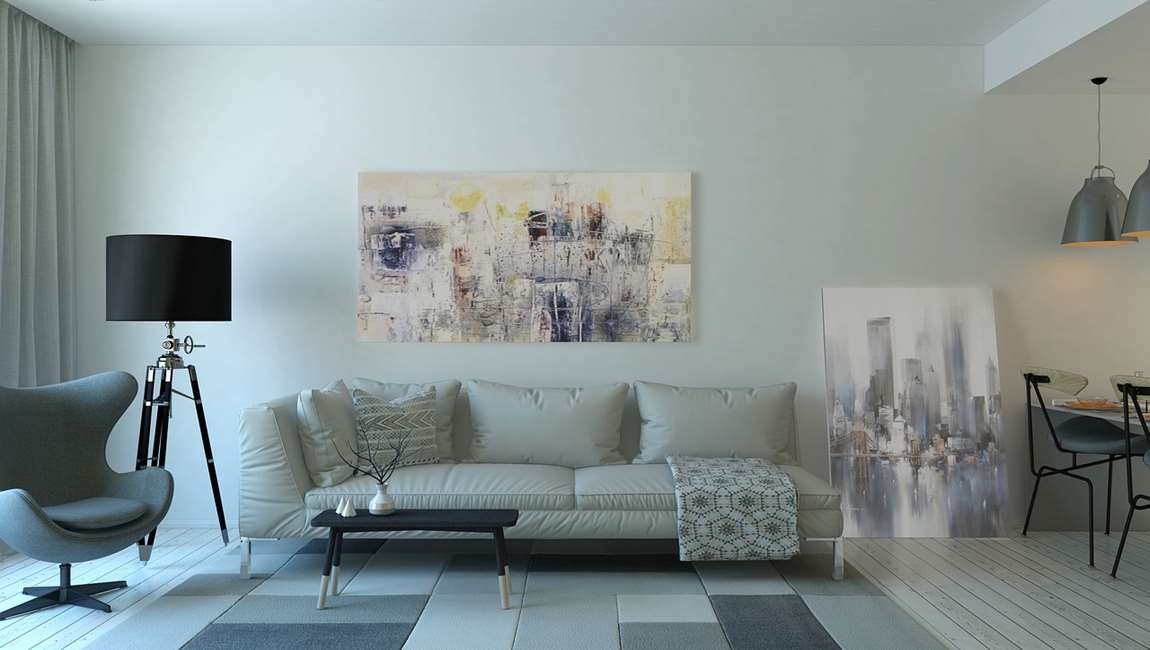
Hate repetitive, fake-looking tiles? MONACO has up to 24 unique textures (300x600mm size)—natural stone-like randomness, no monotony. Polished tiles shine bright (reflect light for brighter spaces) and wipe clean in seconds; matte stays low-key but easy to care for.
No more compromising on style, safety, or practicality. Choose MONACO Series—transform your space today, without the hassle!