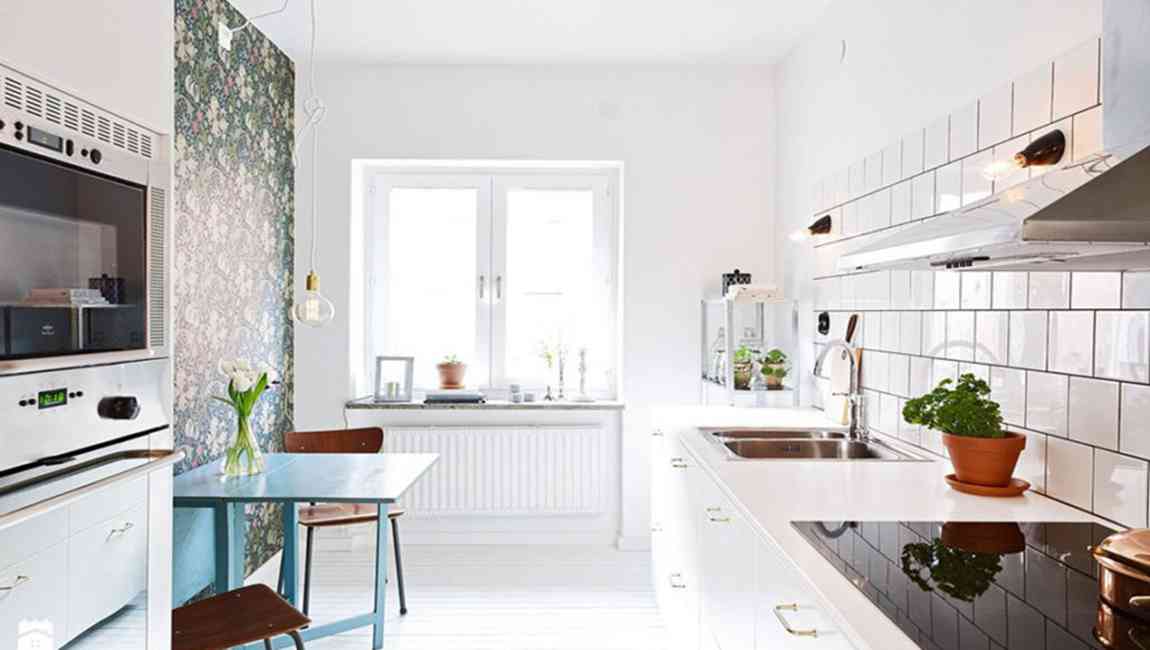
Start with less toxic cleaners. In general, the least toxic cleaner is best for cement. Start with a mild cleanser, like detergent, and work your way up to chemical cleaners if necessary. Chemicals can wear cement down, so they should be avoided unless absolutely necessary. Do not pour water into acid.
When using an acid-based cleaner, never pour add the acid to a bucket first and then the water. You should add the water followed by the acid. Doing so the other way around can cause a dangerous reaction. Use a deck brush over a push broom. Many people use push brooms to target cement floors.
However, push brushes are actually less effective than deck brushes. The bristles are too long to effectively remove dirt and debris from cement. If you don’t have a deck brush, buy one at a hardware store. Apply 1 / 2 in (1.3 cm) of mortar to stone finishes. When you’re ready to begin the installation, use a trowel and other tools to coat each panel.
Start with the panel you intend on positioning on the lower left corner of the wall. Spread mortar around from top to bottom and left to right into a flat, smooth layer. Do this for each panel as you install it. Dampening the stones with a spray of water from a hose can help the mortar stick to them. If you need to cut the stone panels to fit on the wall, use a circular saw with a diamond-tipped masonry blade.
Install the stones from the bottom of the wall to the top. Work from the base of the wall, starting in one of the corners. Push the stone panel firmly onto the wall until mortar begins squeezing out from underneath it. Move onto the panels that fit next to and above it, leaving a 1⁄2 in (1.3 cm) gap between each one. Keep this gap uniform throughout the entire wall.
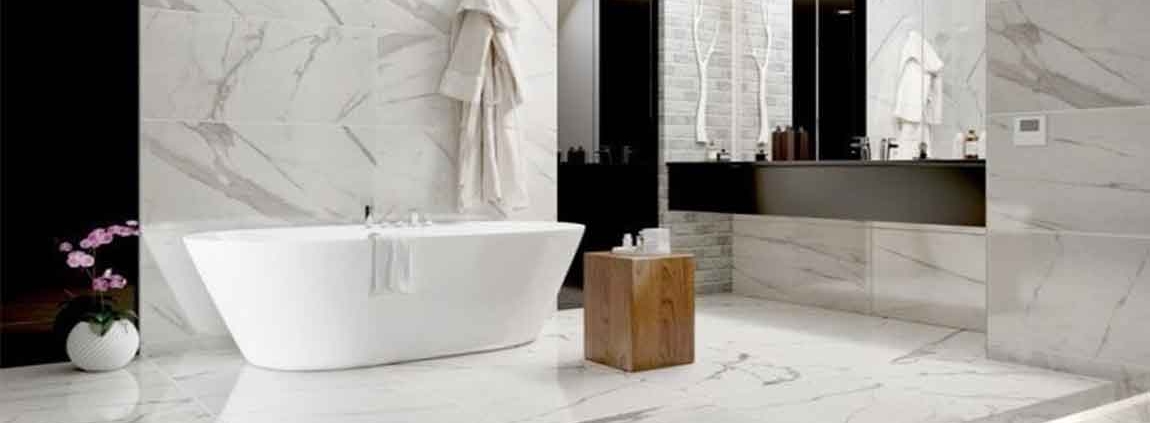
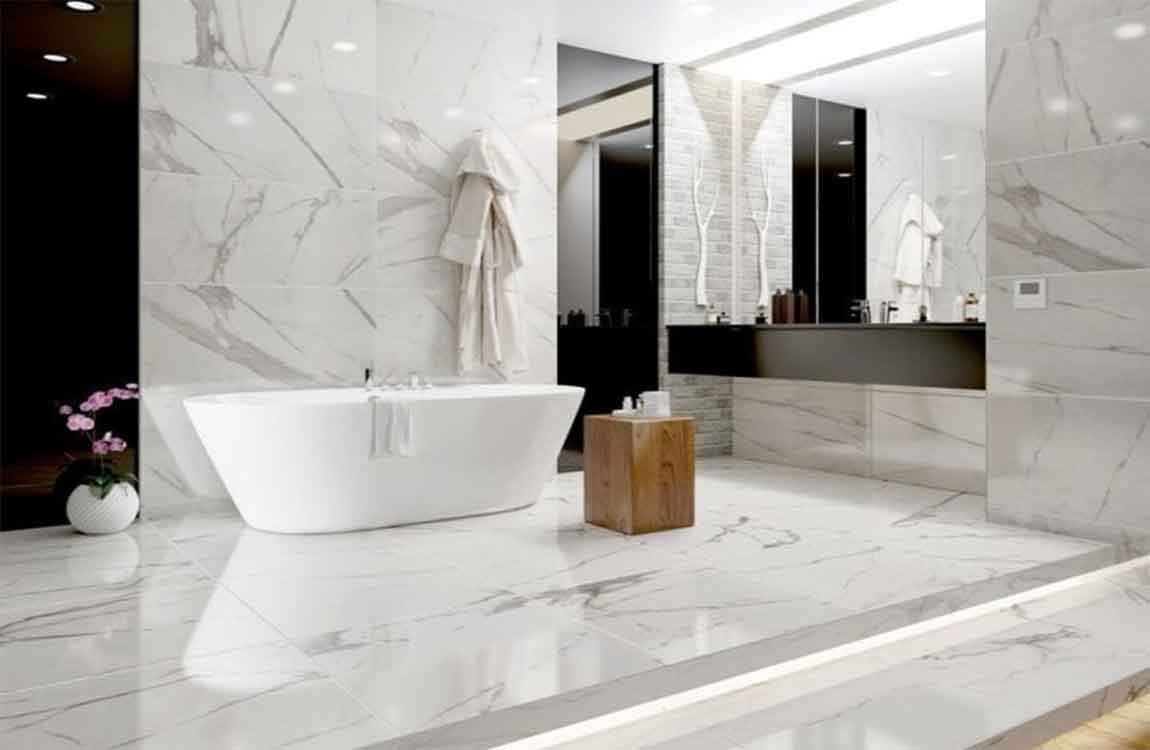
https://baranaceramic.com/wp-content/uploads/2019/12/Avoiding-Common-Mistakes-1.jpg7501150administratorhttps://baranaceramic.com/wp-content/uploads/2025/09/logo.pngadministrator2019-12-26 08:00:552019-12-26 09:00:45How Avoiding Common Mistakes?
Gather your supplies. You will need to have your peel-and-stick tiles prepared, a tile cutter or utility knife, and level. Pretty basic, huh? If you tiles are not stuck together on sheets, you may also need spacers to make sure they are all evenly spread. Clean your walls. The sticky backings of your tiles can’t adhere to walls if they are dusty or greasy.
Use a damp rag to completely wipe down walls, and then let them dry completely. Measure your space. It is important to make sure you get a good measurement so you know exactly what size you should cut your tiles. Choose a stopping point, either directly below your cabinets or at an arbitrary point on the wall.
Make sure that you have enough tiles to fill the measured space, as well as a few extras for precaution. Use a level and straight edge to mark your stopping point along the wall. Stick your tiles to the wall. Peel the backing off the tiles, and stick them to your desired location. Always start from the bottom center of the wall and work your way out.
Firmly press the tiles each time you stick them to the wall, to make sure they are firmly adhered. Hold a straight edge or level to the sides of your tile as your press, to make sure that they don’t shift out of alignment. Finish attaching tiles. Work your way across the wall, until the entirety of your desired space is filled up. Cut any pieces to fit outlet holes or edges and corners before you attach them to the wall.
Enjoy your new tile backsplash. To keep it looking its best, wipe the backsplash clean with water or a generic kitchen cleaner occasionally. Enjoy your new tile backsplash! Once you have completed all the installation steps, managing your new backsplash is easy. Wipe it down occasionally with a generic kitchen or glass cleaner to keep your backsplash looking its best.
https://baranaceramic.com/wp-content/uploads/2019/11/Peel-and-Stick-Tile-Backsplash-4.jpg7501150administratorhttps://baranaceramic.com/wp-content/uploads/2025/09/logo.pngadministrator2019-11-19 08:00:522019-11-20 07:54:13Applying a Peel-and-Stick Tile Backsplash
Grout is wonderful for keeping tiles and appliances in place and preventing water from getting where it shouldn’t be, but it can also be a pain to clean, and it requires time and effort to keep grout free of mold and mildew. Grout is porous, so not only does it stain easily, it can also trap dirt, grime, and soap scum. The important thing to remember when it comes to cleaning grout is that you should always start with the mildest cleaning product and only work your way up to harsher cleaners if necessary.
This may mean some extra time, but it could help preserve the life of your grout for another couple years, as some harsh cleaners can damage grout. There are quite a few products and methods you can try, but as always, the best way to keep grout clean is to prevent it from getting dirty or moldy in the first place.
You should never mix vinegar and hydrogen peroxide, so clean the area well and wait a couple days before trying this method. If the hydrogen peroxide doesn’t remove all the dirt and grime, it will at least improve the appearance of the grout by removing stains, and will kill any mold that’s present.
Give borax and lemon juice a try. In a small bowl, mix together ¼ cup (63 g) borax, ½ teaspoon (3 ml) lemon oil, and enough liquid soap (such as Castile soap) to make a paste. Use your toothbrush to scrub the paste into the grout, and then rinse with warm water.
Pour a small amount of grout colorant into a container. Dip a clean toothbrush or grout brush into the color and apply it to the grout using even, back and forth strokes. Remove the excess with a paper towel, and allow to dry as per the manufacturer’s instructions.
https://baranaceramic.com/wp-content/uploads/2019/09/Clean-Bathroom-Grout-1.jpg7501150administratorhttps://baranaceramic.com/wp-content/uploads/2025/09/logo.pngadministrator2019-09-19 08:00:292019-09-19 03:31:32How to Clean Bathroom Grout?
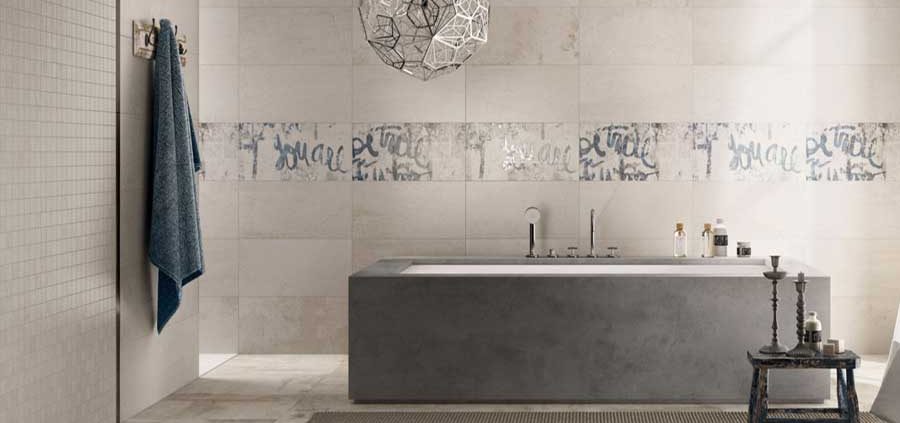
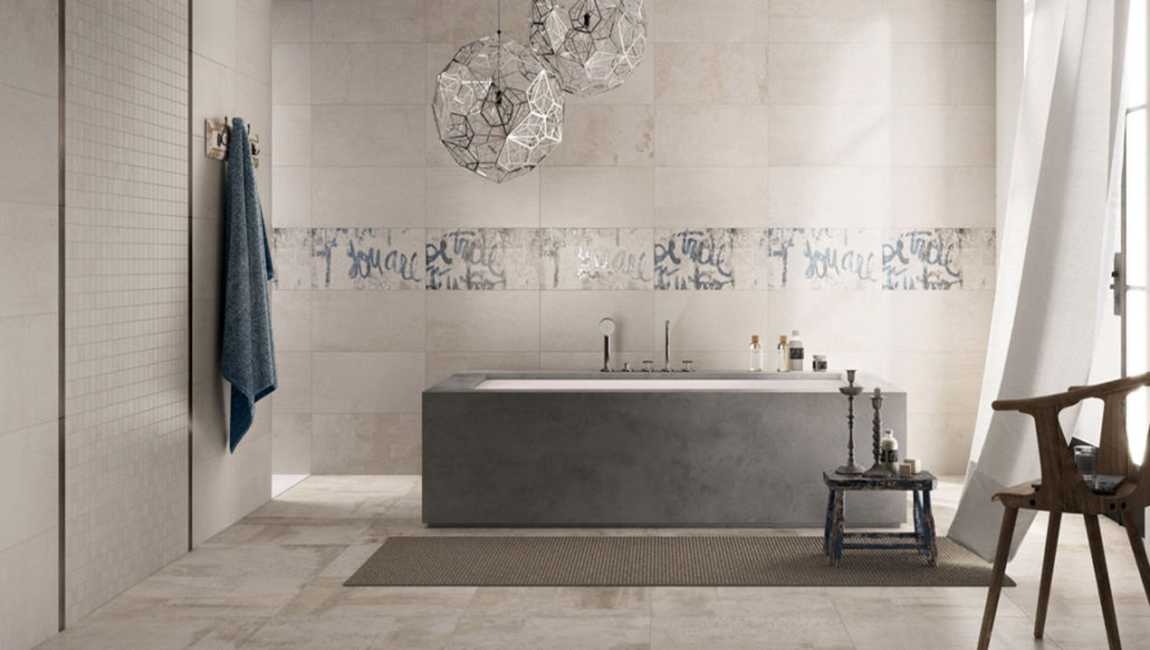
Covering a wall is a great way to transform the look of a room. Wallpaper, fabric are excellent media for redecorating. Although ceramic tile is often used for flooring and countertops, it can serve as a patterned surface for a wall. Italy, China and the United States are known for creating porcelain tile designs used in home decoration. You will want to take extra time when applying the tile, to ensure it is straight and well spaced. Porcelain tile is also known for being fragile, so you will need to work carefully. Find out how to tile a wall with porcelain tile.
Apply final sealer. Apply a penetrating sealer using either a sponge or spray bottle to the grout joints once the grout has completely cured. Wipe off excess sealer from the tile immediately as it will stain the tile. Clean the tile’s surface. Wipe the tile with a rag soaked in mild soap and water. Examine the cleaned surface for damage.
If thetile is cracked, you’ll need to replace it before you continue. Choose a drill bit. An ordinary steel drill bit may fail to penetrate the tile, or cause it to shatter. Search for an appropriate bit using the following guidelines: Glass or tile bits are shaped to reduce the risk of shattering brittle materials. These should be carbide-tipped.
Diamond bits are especially vulnerable to damage from fast drilling. Drill no faster than 600 rpm for diamond bits below ½ inch (1.25 cm), or 450 rpm for bits from ½ to 1 inch (1.25—2.5 cm). Lubricate with water as you drill. Friction from drilling hard materials creates a great deal of heat, which can scorch the drill bit or even break the tile. Protect your project and extend the lifespan of the drill with a constant trickle of water. You may use a small hose, or an assistant with a squirt bottle or glass of water.
“Pump” the drill every 15 to 20 seconds with a tiny up-and-down motion. This draws water to the tip of the bit, where friction is greatest. The drill bit should never feel more than slightly warm. If it gets hot, stop and wet it until it cools down. As an alternative, lubricate the drill with drilling oil.
Penetrate the backing board. You can switch back to a regular drill bit for this process if you prefer. Continue to drill slowly and patiently, as it is just as important to maintain the wood or drywall behind the tile. Damaging the backing board can make it difficult to anchor your screw or whatever you plan to insert.
https://baranaceramic.com/wp-content/uploads/2019/06/How-to-Tile-a-Wall-With-Porcelain-Tile-5.jpg6501150administratorhttps://baranaceramic.com/wp-content/uploads/2025/09/logo.pngadministrator2019-06-04 07:59:372019-11-26 08:25:07How to Tile a Wall With Porcelain Tile?
Sweep up the broken pieces of tile on the ground. Once you’ve detached the tiles from the floor, you’ll likely be left with smaller broken pieces scattered around. Use a broom and dustpan to collect these broken pieces and throw them away. Keep your safety attire on for this step so that you don’t cut your hands or injure yourself. If necessary, you can vacuum up the dust and smaller pieces.
Hit the chisel with the mallet to scrape off the adhesive. You’ll likely have leftover grout or glue that needs to be removed. This should come off the same way the tiles were removed by positioning a chisel or hand maul against the grout and scraping it off with the help of the mallet. Depending on the size of your floor, you may want to use a bigger chisel to reach a wider surface area at once.
Leave a super thin layer of the adhesive, if necessary. If you can’t remove all of the grout or glue, that’s okay. Use the chisel or hand maul to remove as much of it as possible, leaving just a thin layer (no more than 0.125 in (0.32 cm)) on the floor that can be filled in and covered up easily.
Remove any remaining dust using a vacuum. Use a Shop Vac or similar vacuum to pick up any extra pieces of tile, grout, or dust from the floor and surrounding surfaces. Go slowly when vacuuming to ensure you get everything.
Apply thin-set mortar to the floor to make it level. Thin-set mortar will help fill in the holes and uneven surfaces of the floor so that the removal of the tile and grout no longer looks bad. Apply a 0.125 in (0.32 cm) layer of thin-set mortar with a flat or square-notched trowel depending on whether you’ll be re-tiling the floor. Follow the directions to mix the mortar properly before applying it. A square-notched trowel is helpful in making grooves in the mortar so that you can easily place new porcelain tile.
https://baranaceramic.com/wp-content/uploads/2019/04/How-Scraping-off-the-Adhesive-4.jpg6501150administratorhttps://baranaceramic.com/wp-content/uploads/2025/09/logo.pngadministrator2019-04-08 03:30:572019-04-08 03:33:01How Scraping off the Adhesive?
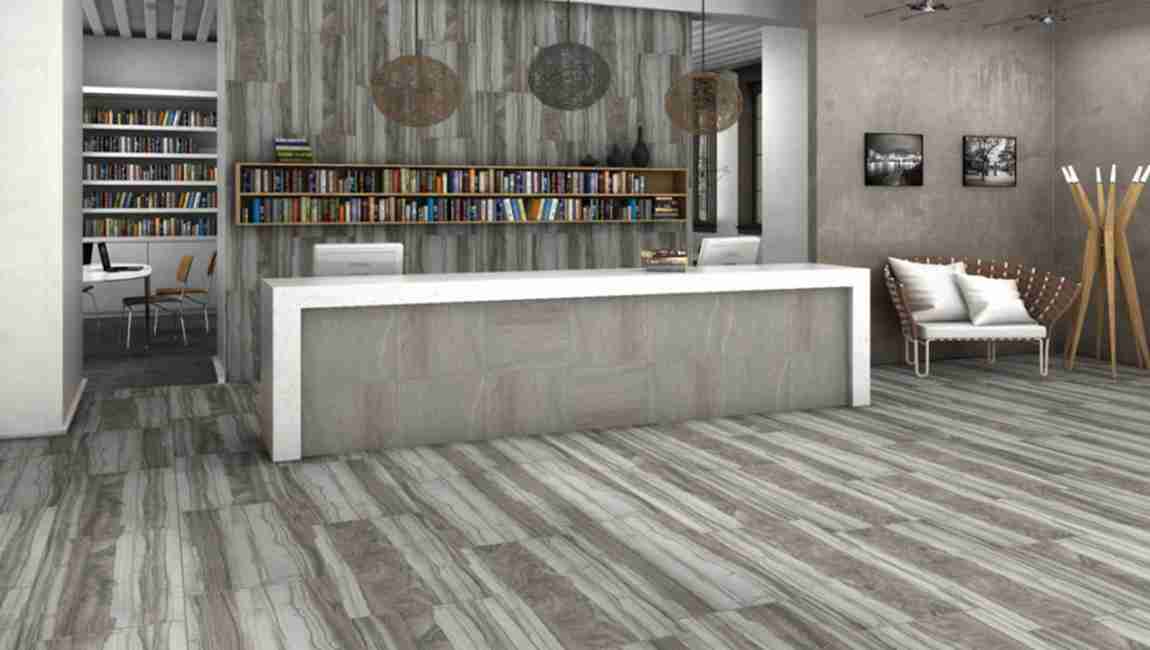
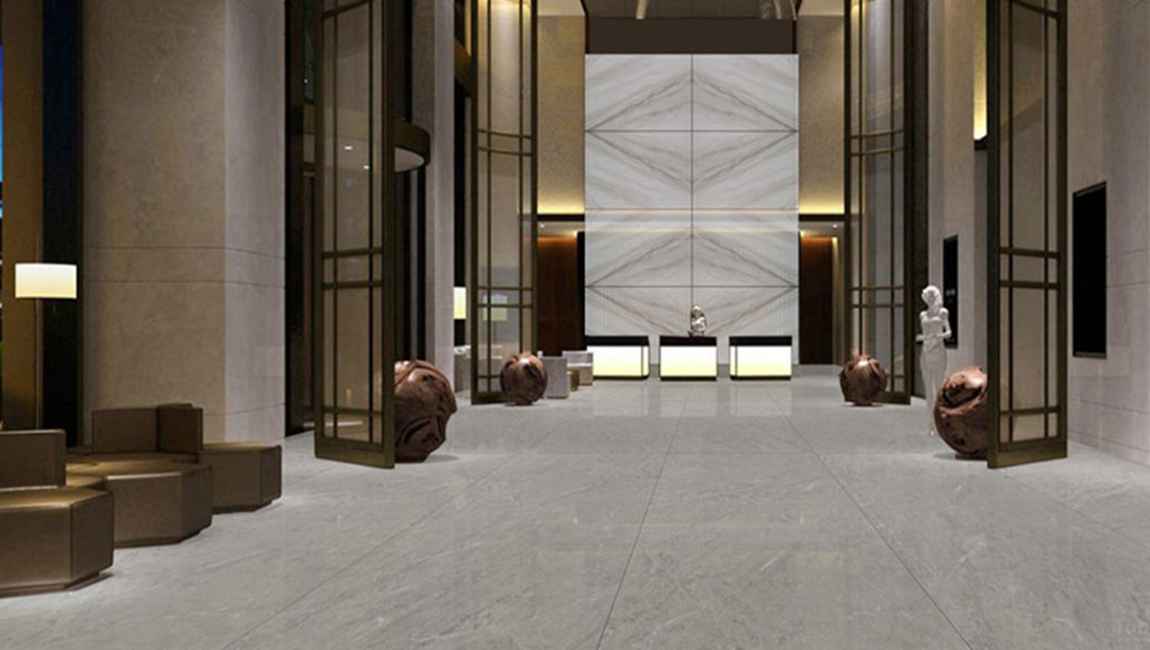
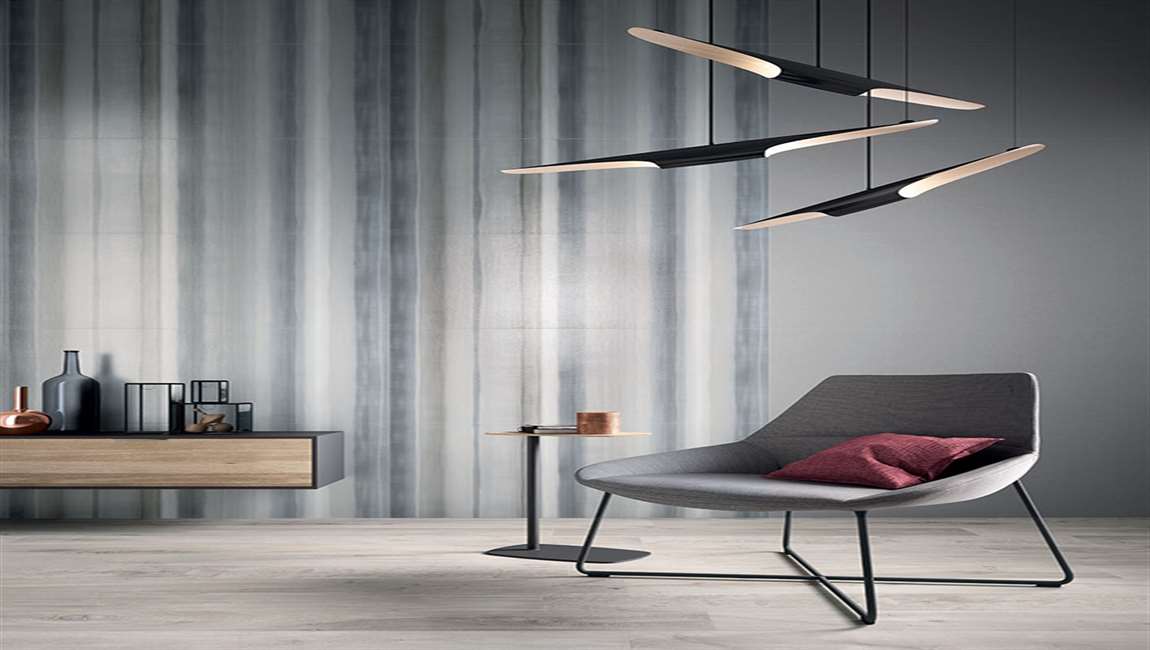
Medium plate, that is, medium size; internal wall tiles, refers to the application, paving on the wall of a class of ceramic tile products; The inner wall tiles of the medium plate, as the name suggests, refer specifically to the medium size tile products specially applied to the walls. In recent years, with the popularization of large ceramic tiles in the whole ceramic industry, tiles have been expanded to a great extent on the ground placement and application. All kinds of large scale ceramic tile ground application solutions are also very sufficient, but the product is relatively small for the inner wall tiles which are focused on the large size tiles.
In the ceramic industry, which is popular in the ceramic tile market, there is a great market prospect for ceramic tile products in the middle plate, and it will show the possibility of explosive growth. which advantages of the wall tile in the middle plate?
1)the tile’s body is vitrified, low water absorption, and the product is pressed by relatively high tonnage press in the process of production, and the product is burned for a long time.
2)the ceramic floor tile surface texture is rich and the texture effect is excellent. The technology expression of the interior wall tile products on the enamel line and the surface printing process can be superimposed in a more complex way.
3)The inner wall tile has good seismic strength, which is that the body is more sturdy. In the process of production, a more fine ball milling machine is used to make the ball into the slurry.
4)The product size is more standard, the standard of the production process of the inner wall tile is close to the standard of the common full body marble tiles or rustic tiles production process, so the error of its later forming size is smaller.
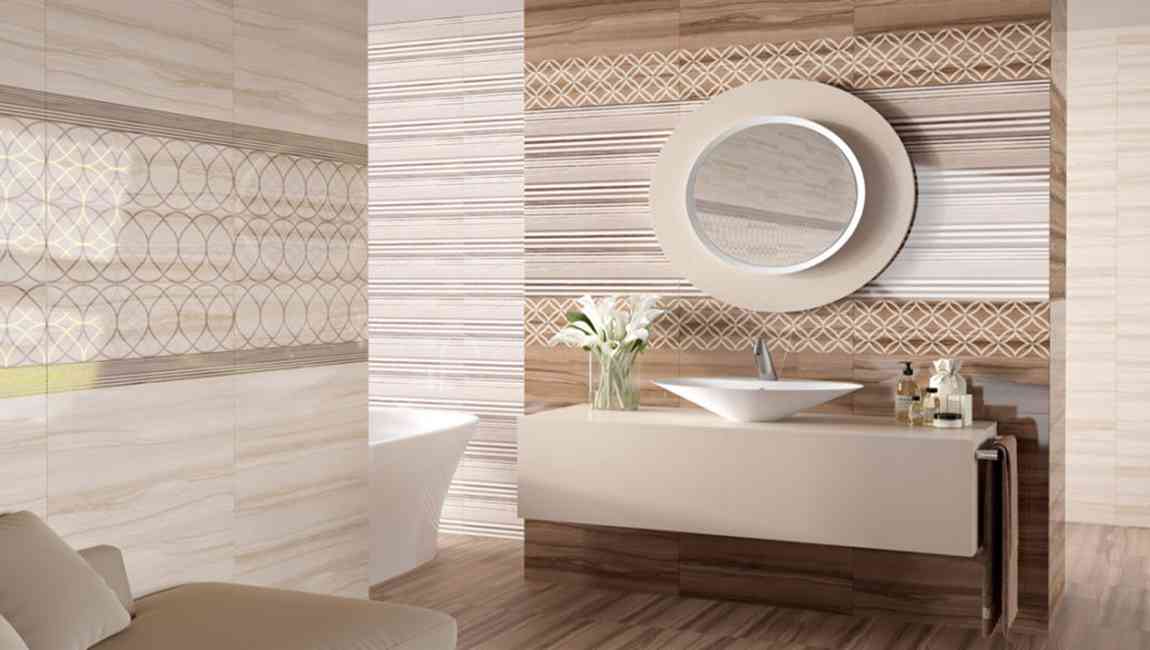
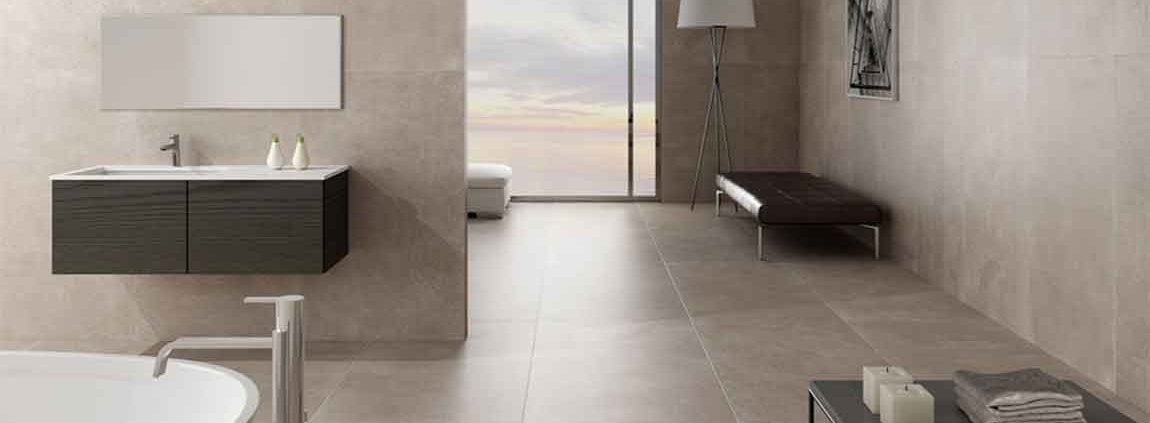
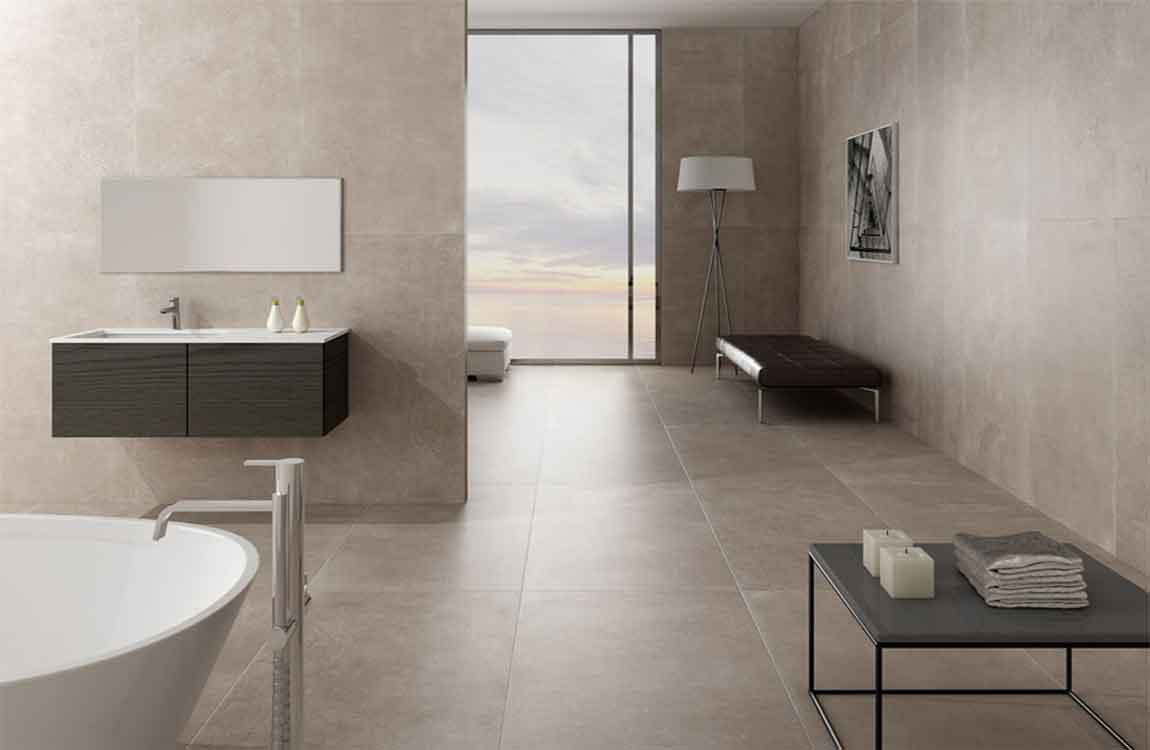
The inner wall tile of the middle plate is a kind of ceramic bath tile product with low water absorption. In the construction of the wall, it is suggested to use the strengthened ceramic tile glue for laying on the wall. At the same time, we need to pay attention to the paving of it, please ensure that the base of the wall is neat and smooth. We must keep the seam paving during the paving process. The gap between tiles should be reserved between 1.5mm-3mm. Finally, after the paving is finished, it is recommended that the seams can be treated with beautiful seams, so that the overall effect will be better. Which difference between the inner wall tile and the traditional porcelain tiles?
the water absorption rate is different. The inner wall tiles belong to ceramic tiles. The water absorption rate is relatively low. Most of them are under the control of 1% or double zero. The traditional porcelain tiles belong to the ceramic tiles. The water absorption rate is generally high, and the water absorption rate is generally in 8%-12%.
The density of tiles body is different, the vitrification degree of the tiles body is higher, the density is higher, the anti damage strength is high, the traditional porcelain tile is the pottery body, the high water absorption and the low density of the tiles are the remarkable characteristics of the traditional porcelain tiles. Meanwhile, the anti destructive strength of the traditional Chinese tiles is also relatively low.
With different wear resistance, the wear resistance of inner wall tiles is higher than that of traditional porcelain tiles. Because of the high density and low water absorption, the traditional ceramic tile has low density and high water absorption, which causes the wear resistance of the traditional porcelain tiles to be less than the inner wall tiles on floor.
The performance of the wall tiles in the medium plate is different, and the surface of the wall tiles can be expressed by various kinds of deep and shallow grinding tools. At the same time, the surface can also apply a variety of dry grain effect. And the latter surface can also do various polishing techniques to perform the process, while the traditional porcelain tiles have no way to do it.
https://baranaceramic.com/wp-content/uploads/2018/05/What-is-the-wall-tile-in-the-middle-plate-1.jpg600900administratorhttps://baranaceramic.com/wp-content/uploads/2025/09/logo.pngadministrator2018-05-17 06:45:002019-11-27 09:48:07What is the wall tile in the middle plate?
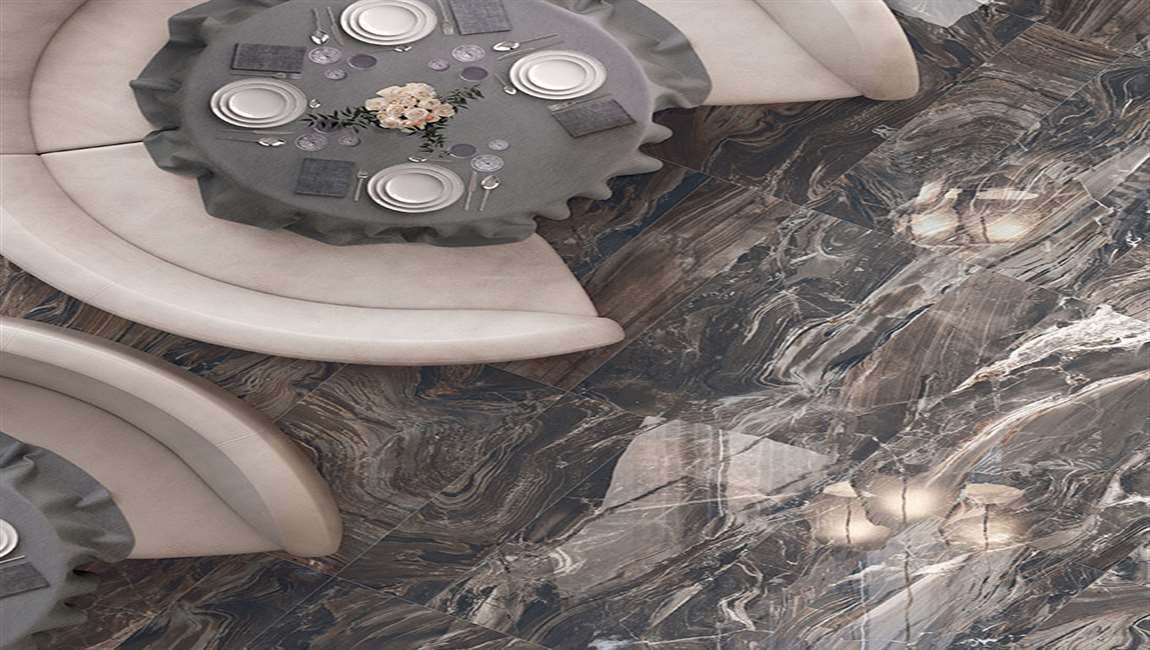
As we all know, tile is the best building decoration material, its stable physical and chemical properties are also very worthy of praise, but for many owners who want to use ceramic tiles, they are often faced with a great variety of tile products. So, for the owners who want to use tile, what do they care about most, the size of tile should be their most concerned, because the size of the ceramic tile will eventually affect the construction cost of the later tiles, the size of ceramic tiles is too big or too small, it will increase the cost of tile paving and the size of ceramic tiles is too big for the professional. The standardized paving requirements are higher and more strict, and the size of ceramic tiles is too small, which will greatly increase the construction time of the builders on the tiles, which leads to the higher cost of the construction.
800 * 800mm specifications of ceramic floor tiles have always been the highest frequency of use, which is beyond doubt, and is obvious to all. At the same time, we are most common in this size of ceramic bath tile. This size of ceramic tiles is the most mature and stable in all aspects of technical parameters control because of the use of all manufacturers. The size of the specification size, 800 * 800mm sizes of ceramic tiles are currently the most widely used, its position is not subversive, as for the construction paving, at the present stage of the tile workers, the 800 * 800mm specifications of the tile construction paving is the most skilled.
600 * 600mm sizes of tiles have an irreplaceable importance in the application of the whole space. The use of this size ceramic tile in small space can greatly reduce the loss rate of the tile in the process of paving, so the size of the tile has its unique complementarity and the performance of the more ceramic tiles in the construction. More flexible.
When it comes to the 300 * 600mm price ceramic tile, I believe that many people first impression will think of marble porcelain tiles, that is, inner wall tiles. It is true that the application of the 300 * 600mm tiles and wall surface is very widespread and common. At the same time, many building walls are basically used in the daily life of the tiles, compared to the larger specifications. For ceramic tiles, the construction of 300 * 600mm on the wall is much simpler.
400 * 800mm of this size, the application of the wall tiles is the extension and supplement to the 300 * 600mm specifications. The application on the ground is the filling of square size tiles, and because of its 1:2 ratio, the application ground can greatly enhance the three-dimensional sense of the whole space. It is also convenient in the construction and paving, and there is not too much requirement.
For 300 * 300mm specifications of small ceramic tiles, in small space application is very extensive, such as: toilet, balcony, kitchen is usually use this size of ceramic tiles, but also because of the flexibility of its specifications, in small space paving construction is more convenient, can change more.
600 * 1200mm size of ceramic tiles discount, in large space and large scope application of its effect is very shocking, while the length of the size is also more solid, the proposed pursuit of fashion, front style decoration owners can refer to the construction, because its long bar in the placement of attention to the tiles and tiles must pay attention to the level title At the same time, adequate tiles should be reserved, and 2-4mm tiles should be reserved.
150 x 900mm specifications, the size of this type of tile is mostly wood grain tiles, and more is applied to the bedroom, study, restaurant, or other applications. If you want to use this type of ceramic tile, then the whole space will take some thoughts to conceive the collocation, but it is the best choice for the owners who like the wood grain.
600 x 900mm size tiles are between rectangular and square, well compatible with the rectangular size and square size of their advantages, convenient for construction and paving, and also a strong sense of stereoscopic.
https://baranaceramic.com/wp-content/uploads/2018/05/Home-decorate-recognize-these-sizes-of-the-tiles-1.jpg600900administratorhttps://baranaceramic.com/wp-content/uploads/2025/09/logo.pngadministrator2018-05-15 08:30:532019-09-03 07:24:02Home decorate, recognize these sizes of the tiles
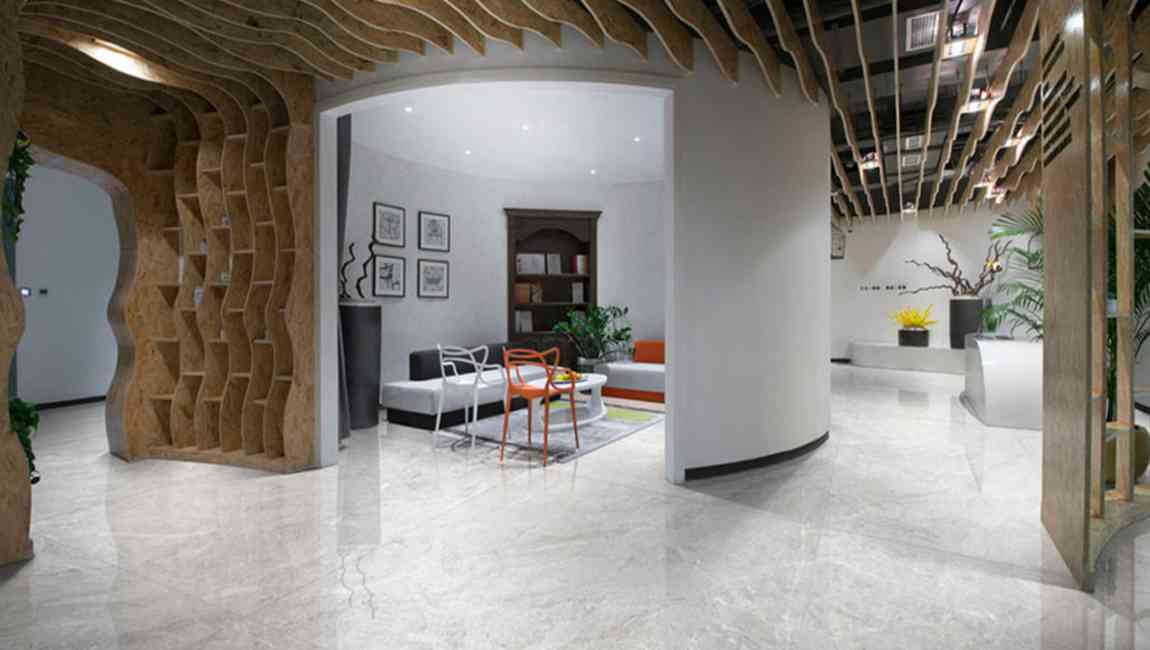
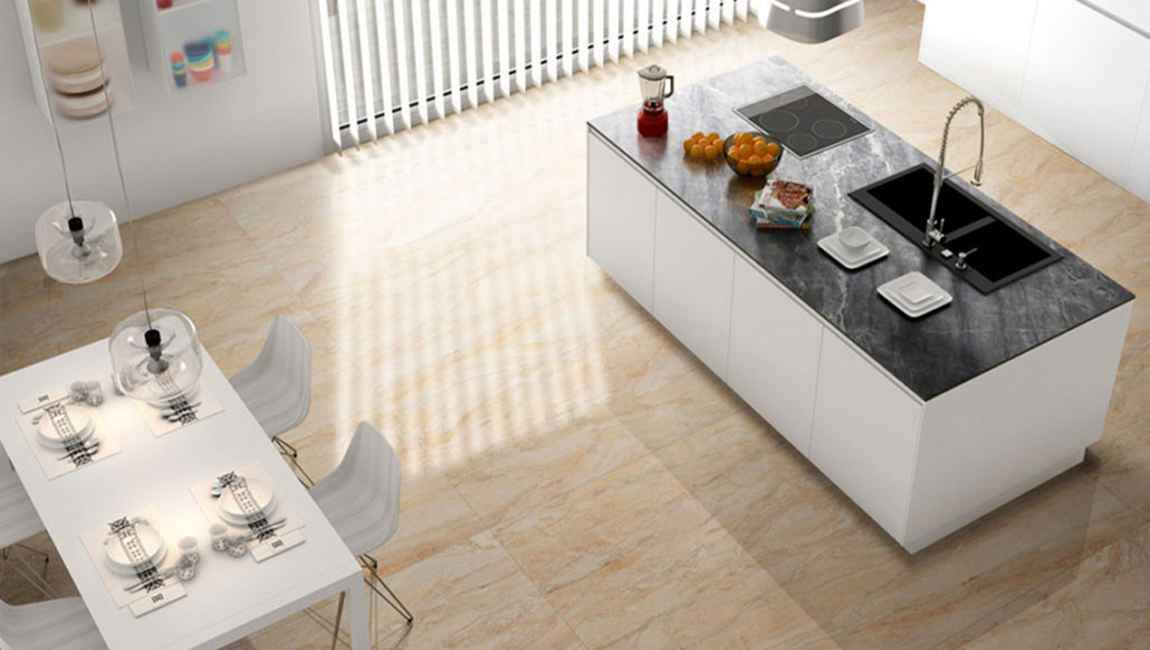
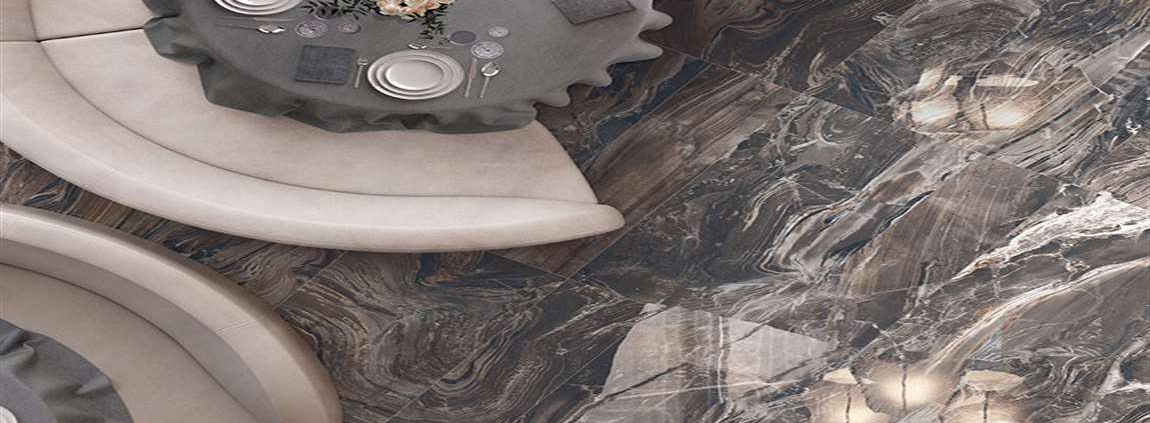
With the higher and higher pursuit of quality of life, the aesthetic pursuit of space is becoming higher and higher. But the ceramic tile cannot be underestimated in building adornment space position.The space collocation of porcelain tile is not simple ground piece together. Even the same space, the adornment effect that the tiles porcelain of different design color, different texture creates is also very different. Since last year ,BARANA porcelain throw brick is on the market. Its’ adornment sex and function perfect set in a body of great advantage. It is affection in adornment space extensively by the designer and the consumer.. A year after the introduction of that shocking, Barana ceraceramic tile largemic tile series.It will bound to once again subvert the decorative industry and favored by consumers.
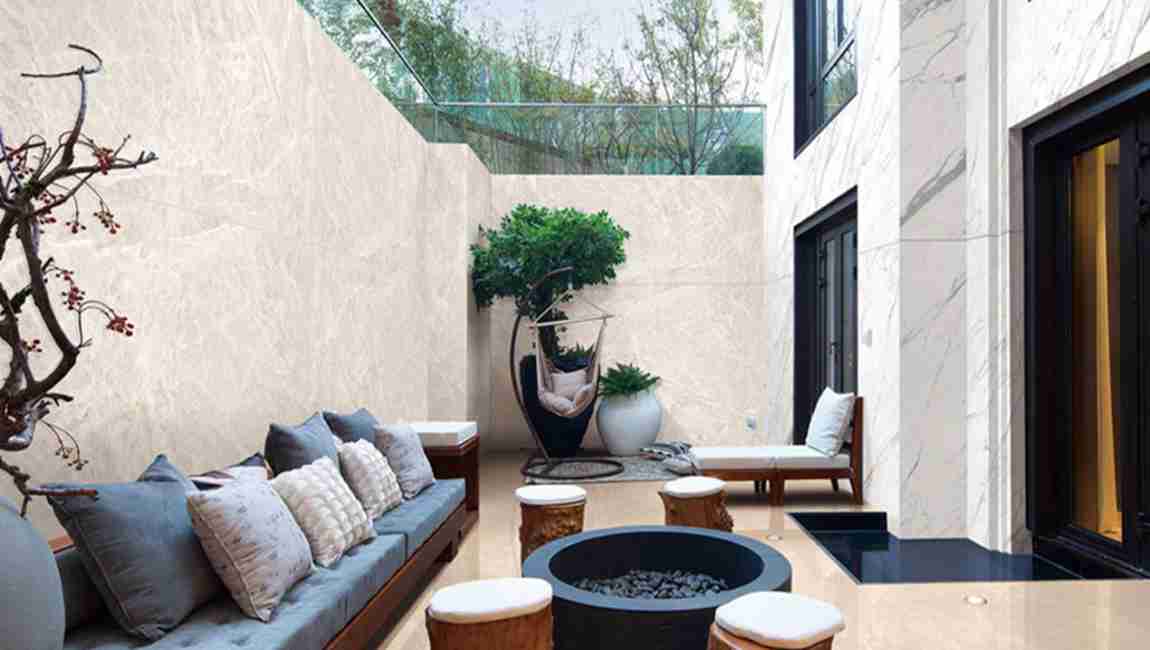
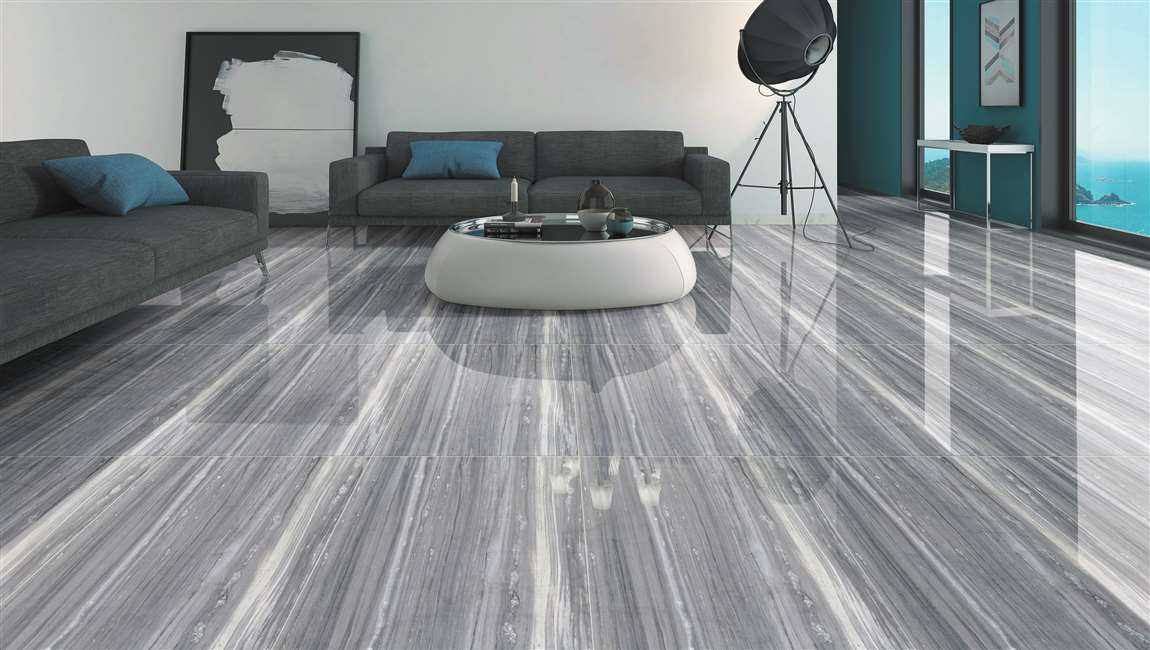
BARANA marble porcelain tiles: Venice gold and silver mink decorate the home space.Venice gold paved the ground and silver mink cut freely the table is full of luxury, elegant and luxurious. Colorful romantic Venetian gold has a wealth of natural textures Beige level of the gradual change of tenderness without loss of tolerance. White stars dotted among them and it likes exposure to the Milky way. Giving the space gorgeous aristocratic atmosphere and expressing, the low-key luxurious feeling.
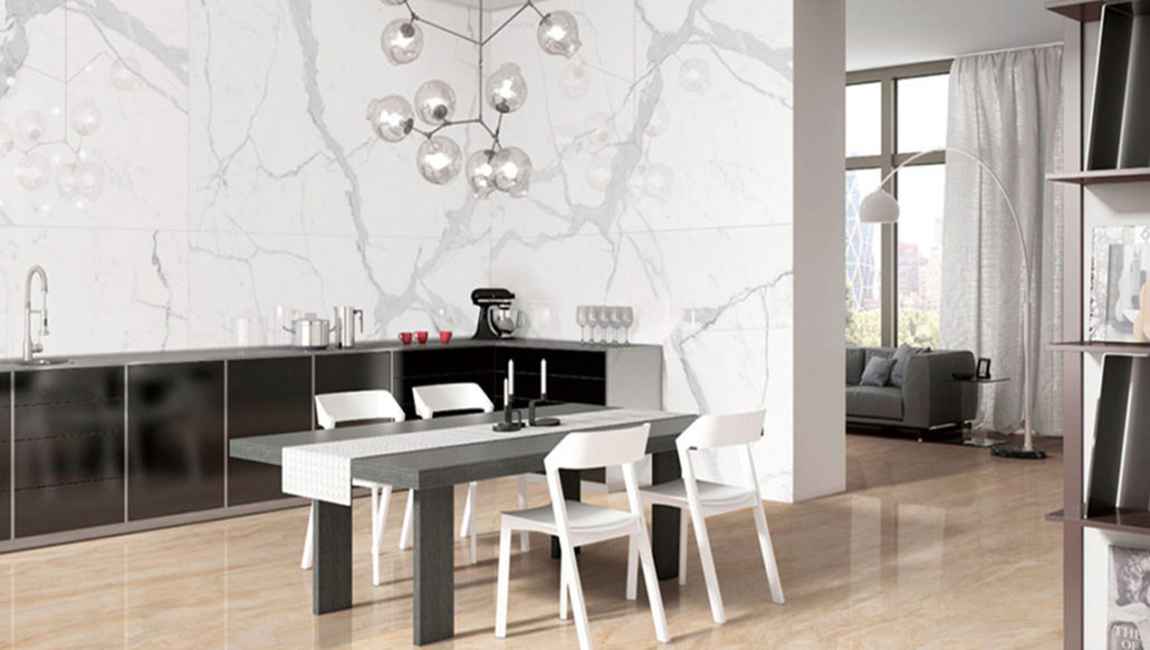
BARANA large porcelain tile: Venice gold and fish tripe white matching in home space. Venice gold ground and fish belly white background wall .It’s noble and elegant. The atmosphere without loss of harmony. Fish belly white background wall, pure white, full and slightly transparent.The texture is thick while the tactile feeling is warm and meticulous.
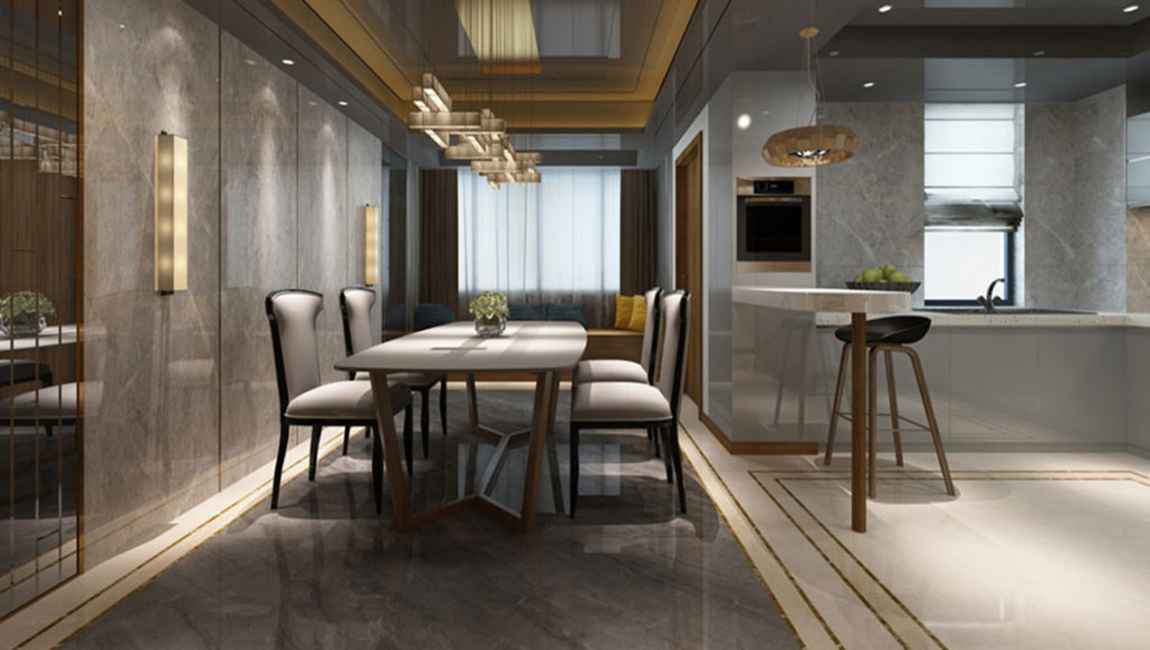
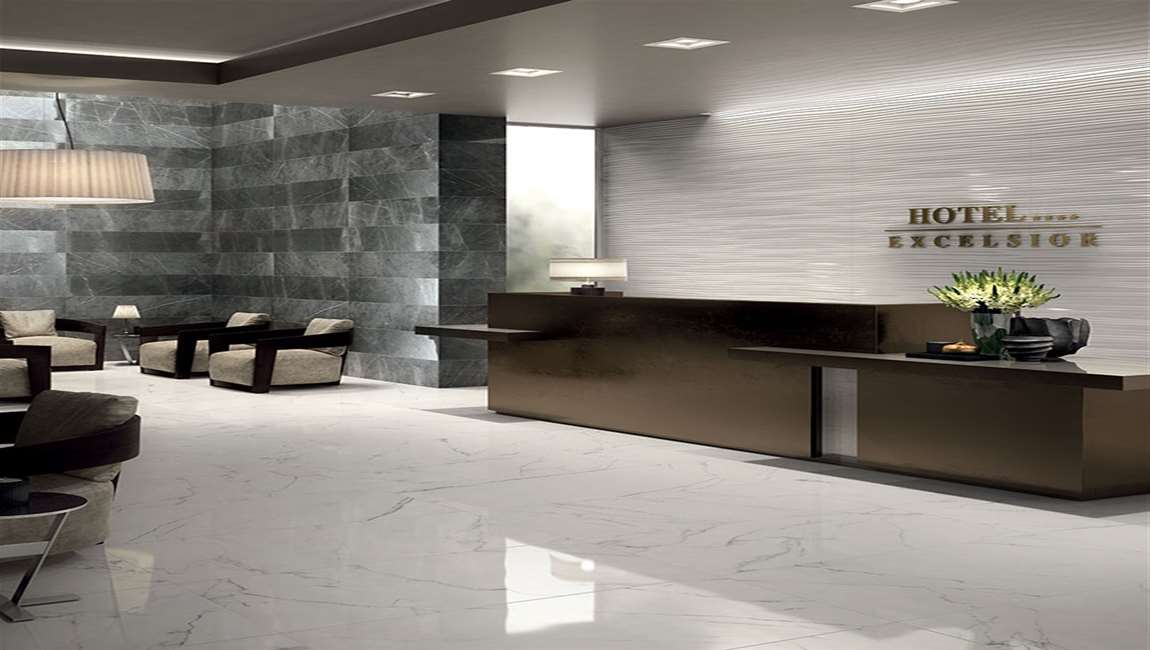
BARANA porcelain floor tile: Kelo gray collocation office space. Kelo gray get from natural marble texture.It feels soft and elegant tone, elegant, elegant, very classical beauty and royal style. Silvery white texture like starlight across, leaving a charming luster, reflecting its restrained luxury in the United States.
BARANA marble tile: snow white and platinum rice with the club space. Snowflake white magnificent and platinum rice yellow feel pure clean. Mutual reflecting leisurely and do not lose the luxury of air.It looks luxury and without losing the nature. White golden rice yellow texture materials from imported marble in Turkey. Strong and powerful white texture on the background of light beige color.Shows fusion, temperament pure and refined, showing a pure clean feeling.
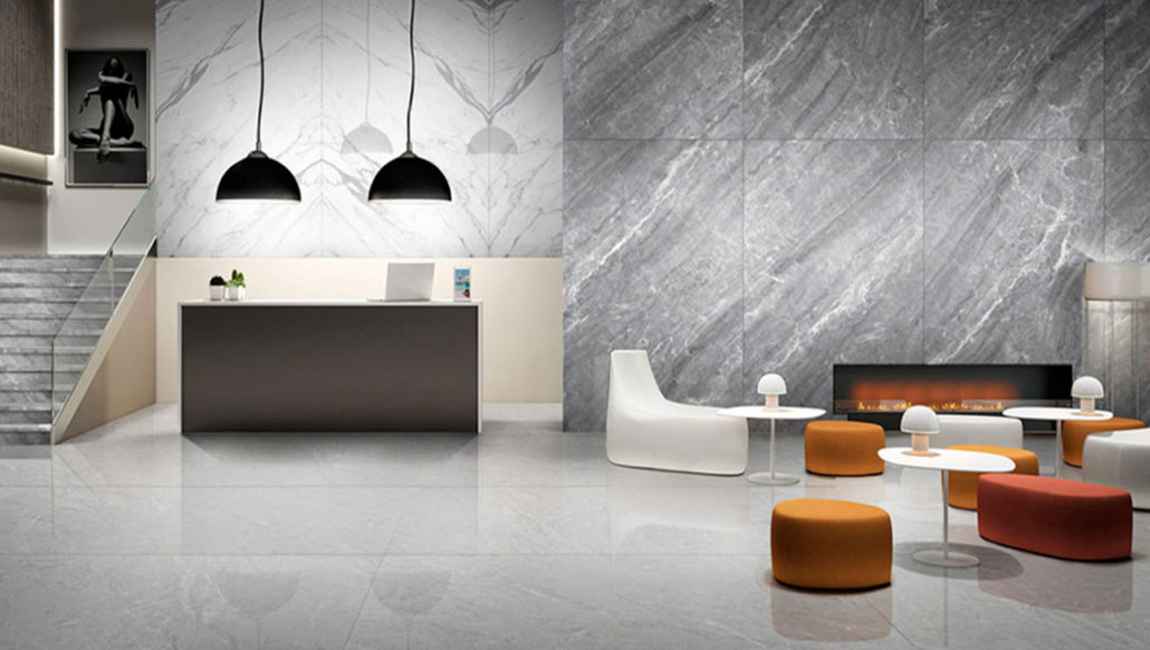
BARANA marble tiles design: silver mink and Kelo gray and snowflake white with the commercial space. The silver mink gray under the steady convergence contains a grand atmosphere. The classical beauty of Kelo gray and royal style show snowflake white white body white and pure texture. Outline elegant, retro and luxurious atmosphere show the lobby space.
BARANA ceramic tiles manufacturers: Kelo gray and jazz white decorate with the commercial space. The ground of the Kelo gray, natural marble texture, soft and elegant tone, luxurious and generous, show classical beauty and royal style.The background wall of the jazz white makes milky white as the main tone. It shows a unique clear landscape lines, a combination of fresh and bright freehand brushwork and pure and elegant texture. The Greek Marble Jazz White full of its deep prehistoric civilization imprint.It appears present elegant ,clear product characteristics, and contains the elegant temperament after the blending of modern fashion and historical flavor.
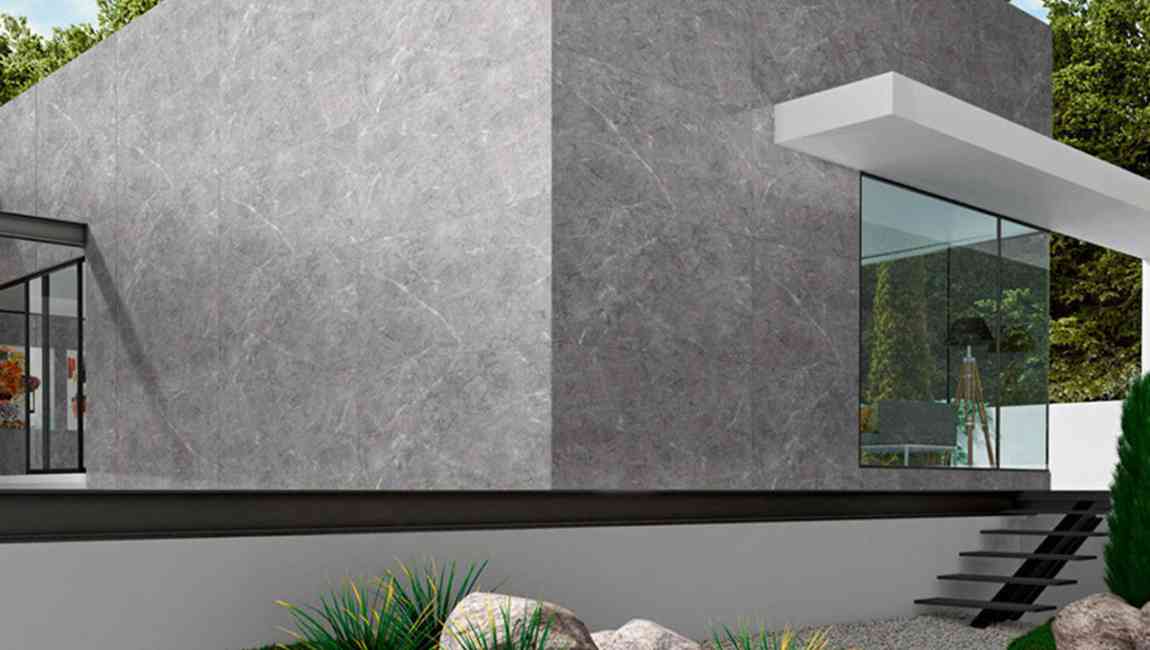
The BARANA tile: The exterior facade of the stadiums with Angolan ash. Angolan ash it self has a very pure gray. But the pale white of Angolan ash further strengthens its pure texture. And the Angolan ash combines aristocratic taste with artistic qualities. It makes noble ,elegant texture and artistic quality incisively and vividly. Make the venue appear noble and extremely artistic characteristics as well.
BARANA ceramic floor tile: the exterior facade of the stadiums. Although the appearance of the stadiums is ordinary, the exterior facades of the stadiums are fitted with the plush and elegant stadiums, soft and elegant, elegant and elegant. This decoration full of the classical beauty and royal style.
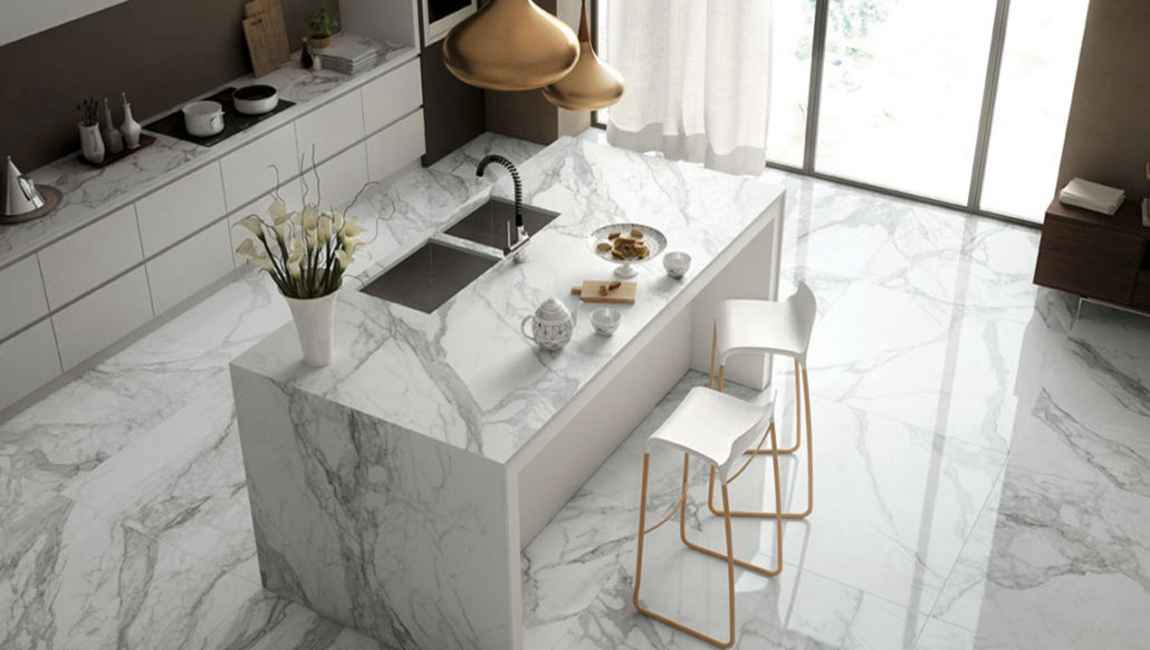
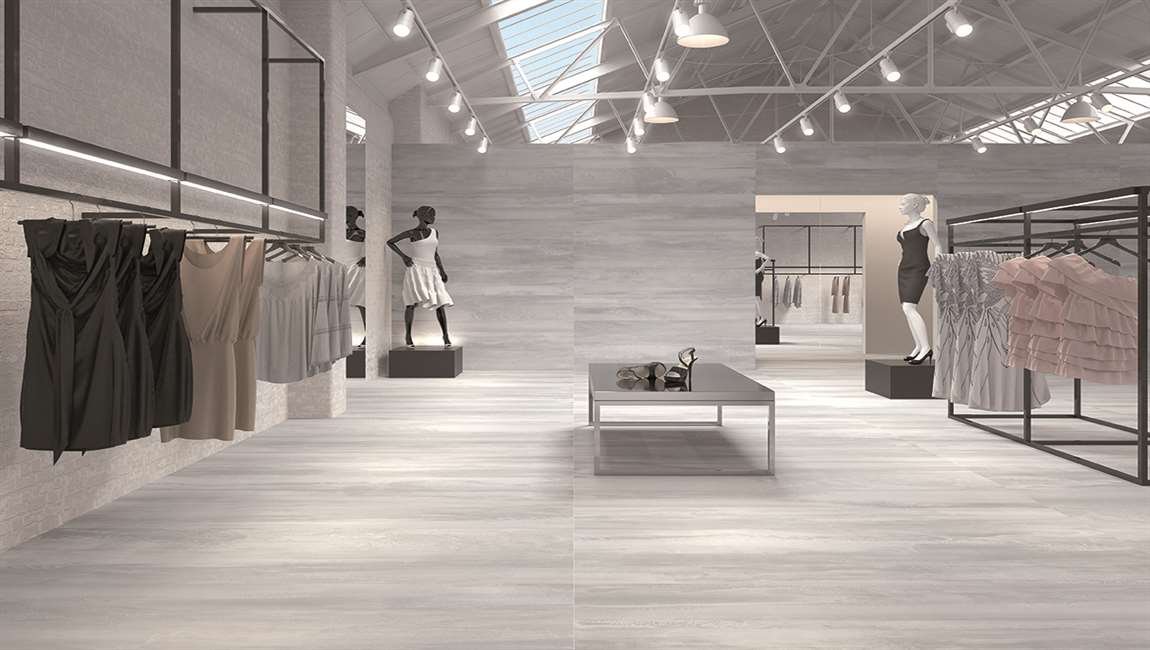
A large ceramic tile likes a piece of cloth. It can cut freely out rich specifications and shapes. It also can make up for the limitations of traditional ceramic tiles. No matter it is dry hanging of the outer facade, or cutting freely, grooving, chamfering, etc. For the designer to bring more inspiration and play space. At the same time, it also makes up for the wear resistance of polished brick. The simple design and color, the rich color of cast glaze brick, but not the lack of wear resistance, which integrates functionality and decoration. And it overcomes all kinds of natural defects of stone. And it has many advantages such as,atmospheric specifications, overall continuity, stronger sense of extension; less seams, anti-fouling and durable, more practical; free cutting, more combinations, stronger applicability.
https://baranaceramic.com/wp-content/uploads/2018/04/BARANA-tile-large-porcelain-tile-find-the-beauty-of-space-1.jpg600900administratorhttps://baranaceramic.com/wp-content/uploads/2025/09/logo.pngadministrator2018-04-17 06:33:342018-11-28 06:49:50BARANA tile large porcelain tile, find the beauty of space!


 Hit the chisel with the mallet to scrape off the adhesive. You’ll likely have leftover grout or glue that needs to be removed. This should come off the same way the
 Leave a super thin layer of the adhesive, if necessary. If you can’t remove all of the grout or glue, that’s okay. Use the chisel or hand maul to remove as much of it as possible, leaving just a thin layer (no more than 0.125 in (0.32 cm)) on the floor that can be filled in and covered up easily.
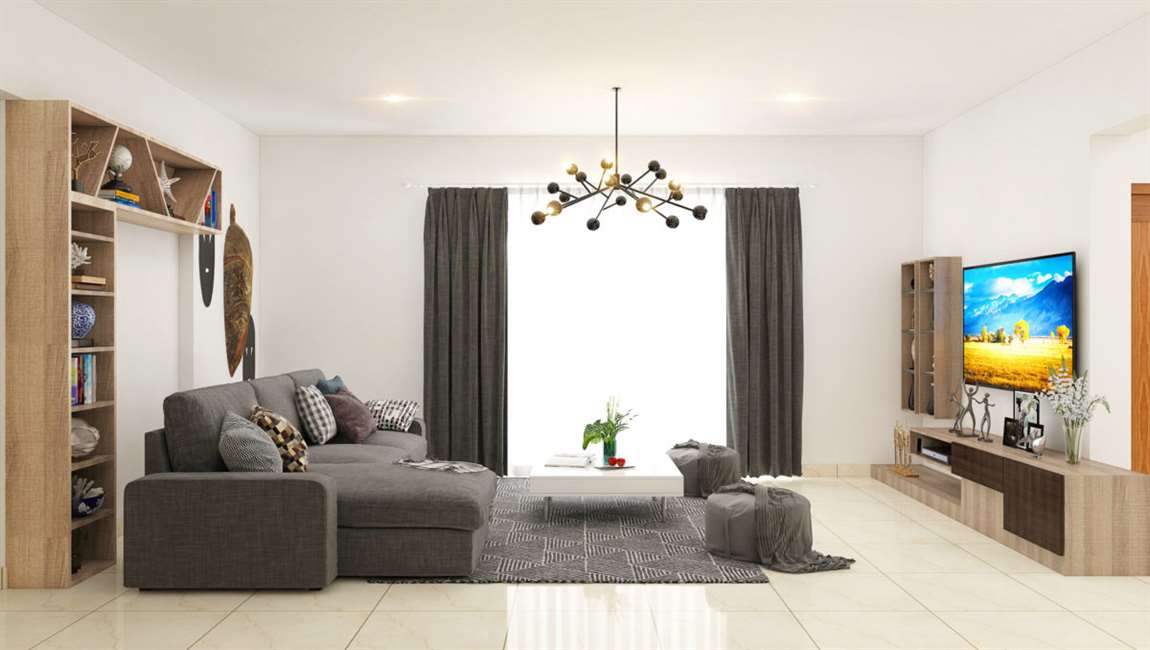 Remove any remaining dust using a vacuum. Use a Shop Vac or similar vacuum to pick up any extra pieces of
  Apply thin-set mortar to the floor to make it level. Thin-set mortar will help fill in the holes and uneven surfaces of the floor so that the removal of the