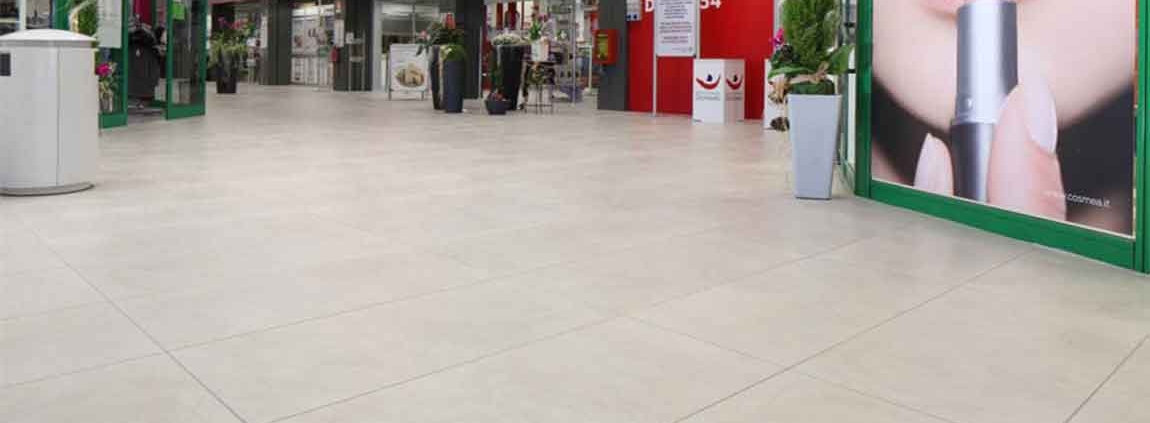
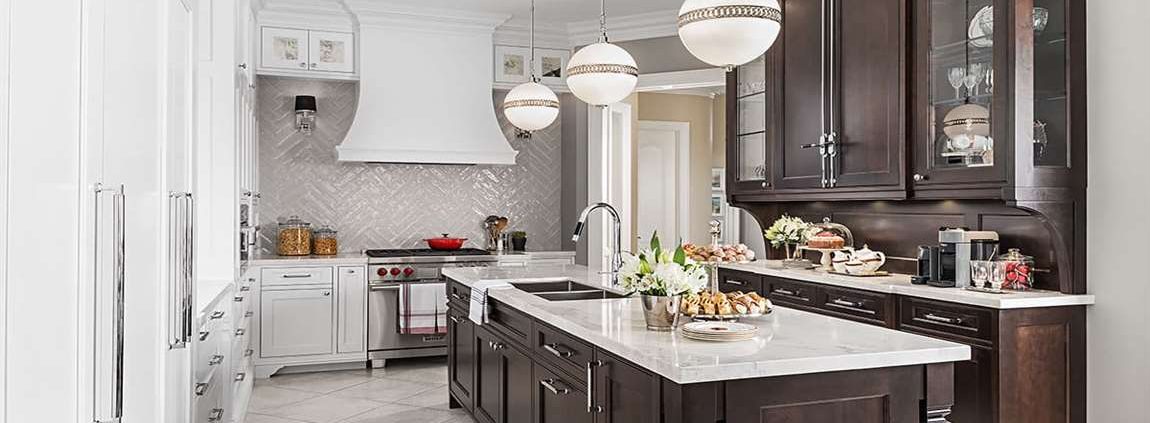
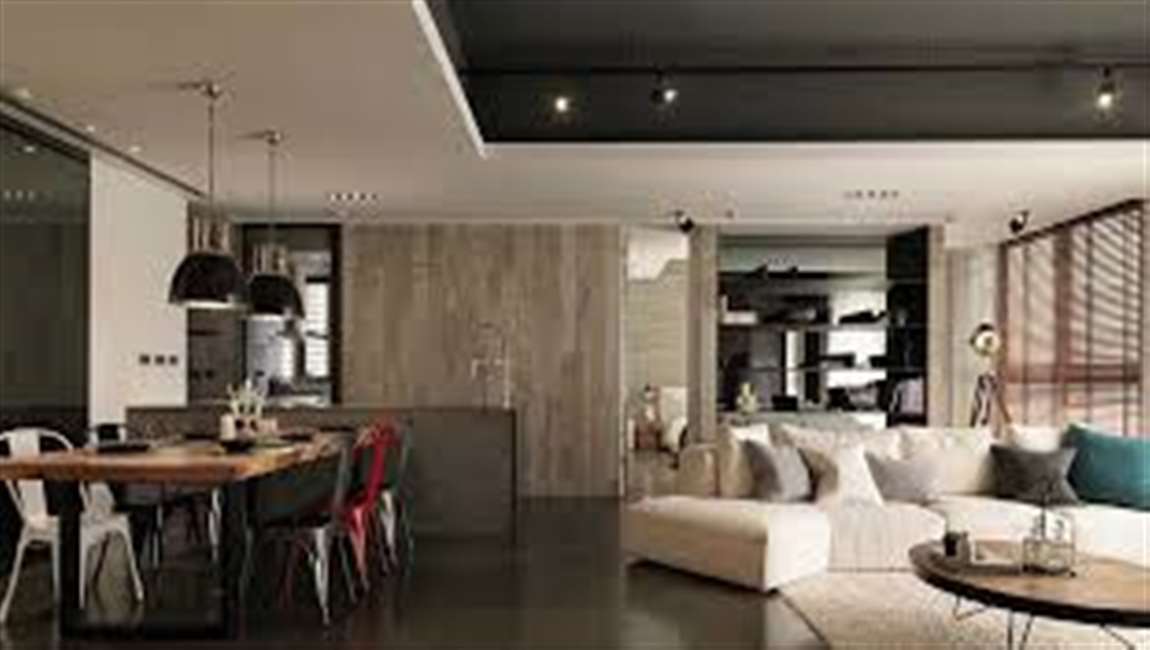
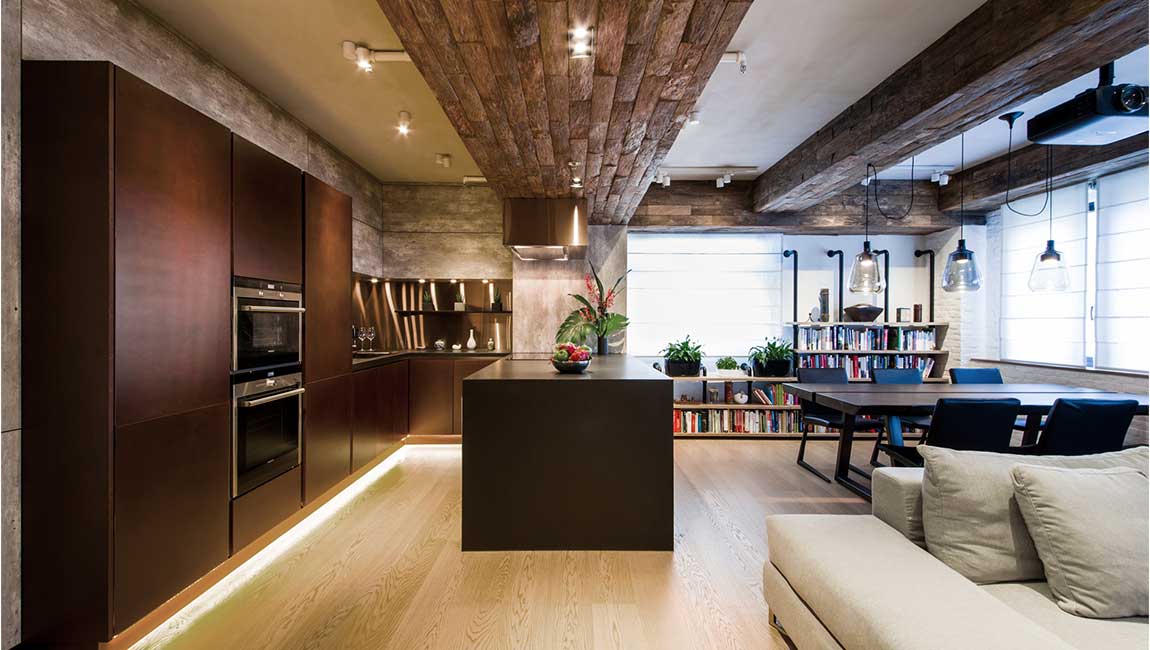
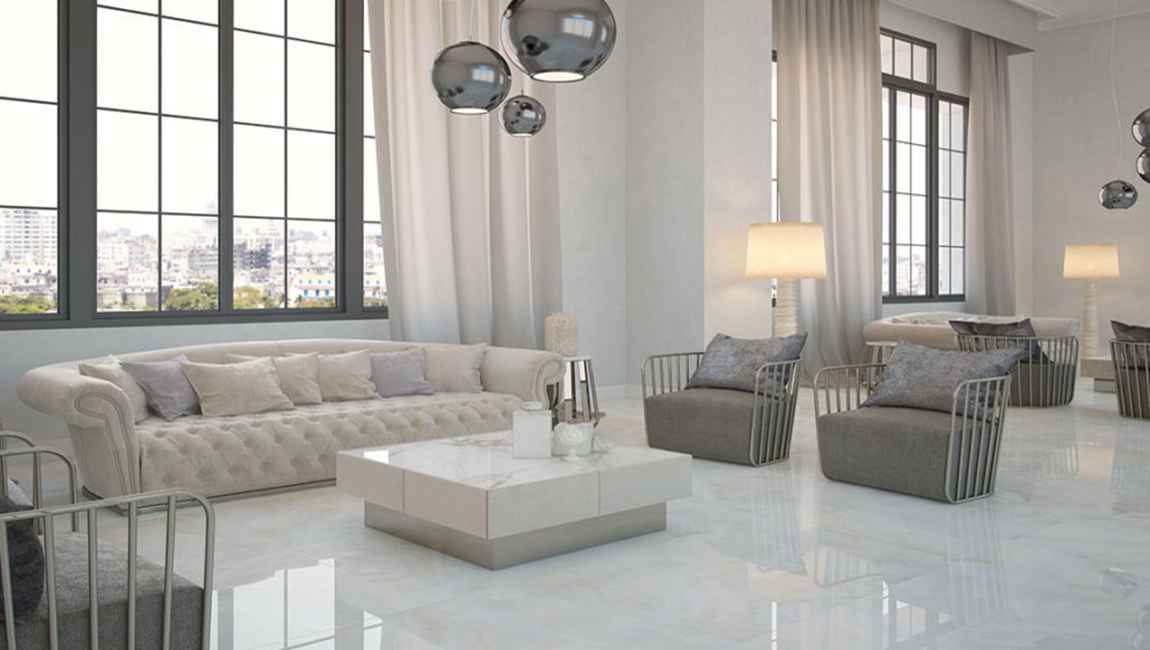
Use vinegar for most floor types. The majority of floors can be cleaned with a mixture of vinegar and warm water. Place a quarter cup of white vinegar in a 26 ounce (780 mL) water bottle to clean the following floor types:Cork, Vinyl, Porcelain.
Opt for a neutral pH cleaner for stone, hardwood, or bamboo floors. Hardwood, stone, and bamboo floors need a gentle cleanser. Purchase a mild to neutral pH cleaner at a department store. Apply it to your floor as directed on the bottle. Most pH cleaners are diluted with water. About a quarter cup of a pH cleaner (60 mL) mixed with water should adequately clean a bamboo or hardwood floor.
Do not mop waxed wood or laminate floors. If you have a wax wood or laminate floor, mopping is unnecessary. Such floors only need vacuuming and dry mopping to stay clean.
Use a steam cleaner for a very dirty floor. For the most part, you can wash your floor with detergent, warm water, and a rag, mop, or sponge. However, you can use a steam cleaning mop on some occasions. A steam cleaner is a special type of mop that automatically fills with water and your chosen detergent.
While steam cleaners are pricier, they tend to remove unseen bacteria better than a conventional mop and bucket. They may also remove set-in stains easier. If your floor is very messy, steam clean your floor with your chosen cleaner.
https://baranaceramic.com/wp-content/uploads/2019/10/Cleaner-Based-on-Floor-Type-4.jpg7501150administratorhttps://baranaceramic.com/wp-content/uploads/2025/09/logo.pngadministrator2019-10-02 08:00:052019-10-10 09:20:57How Selecting a Cleaner Based on Floor Type?
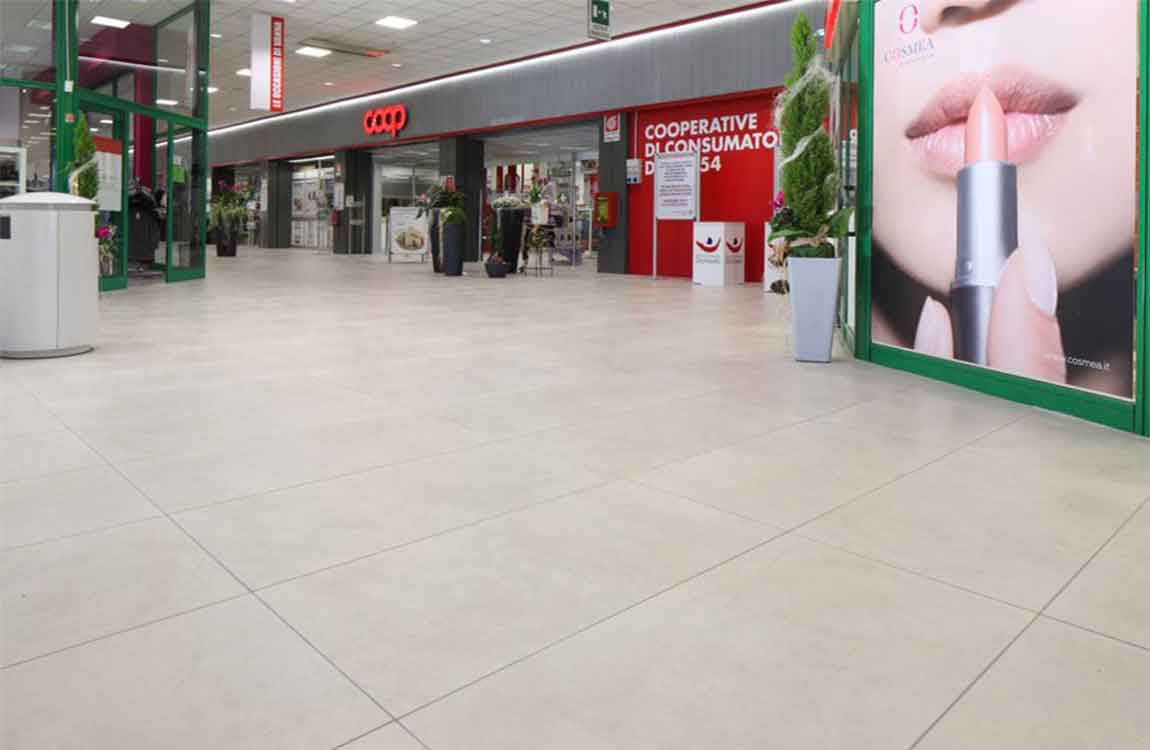
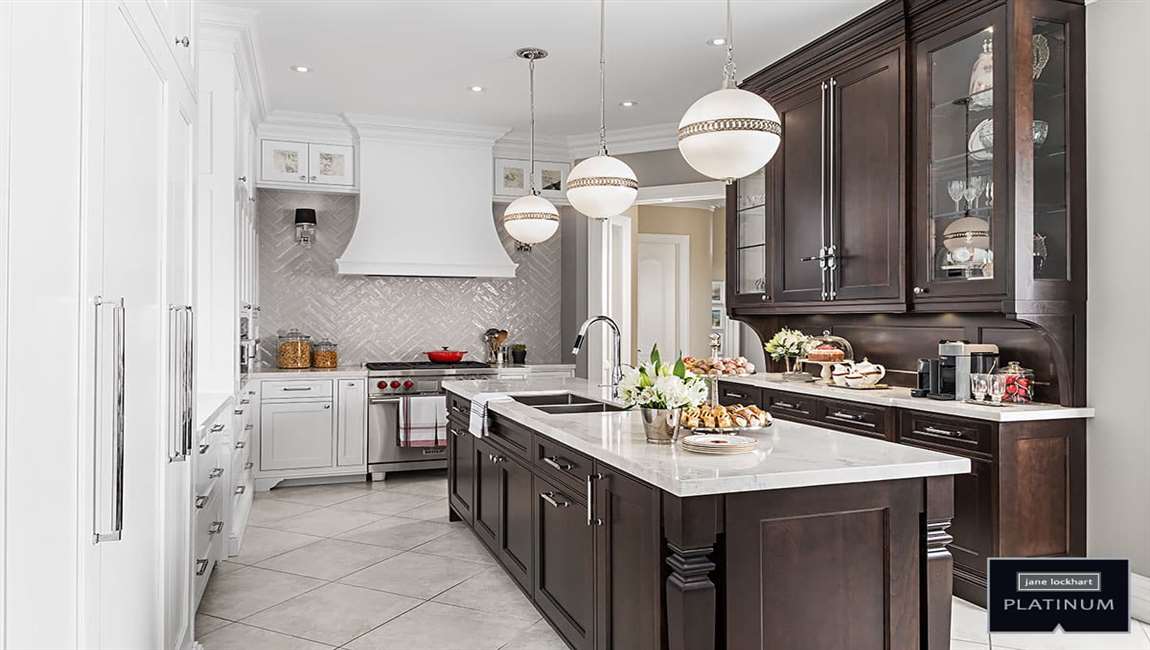
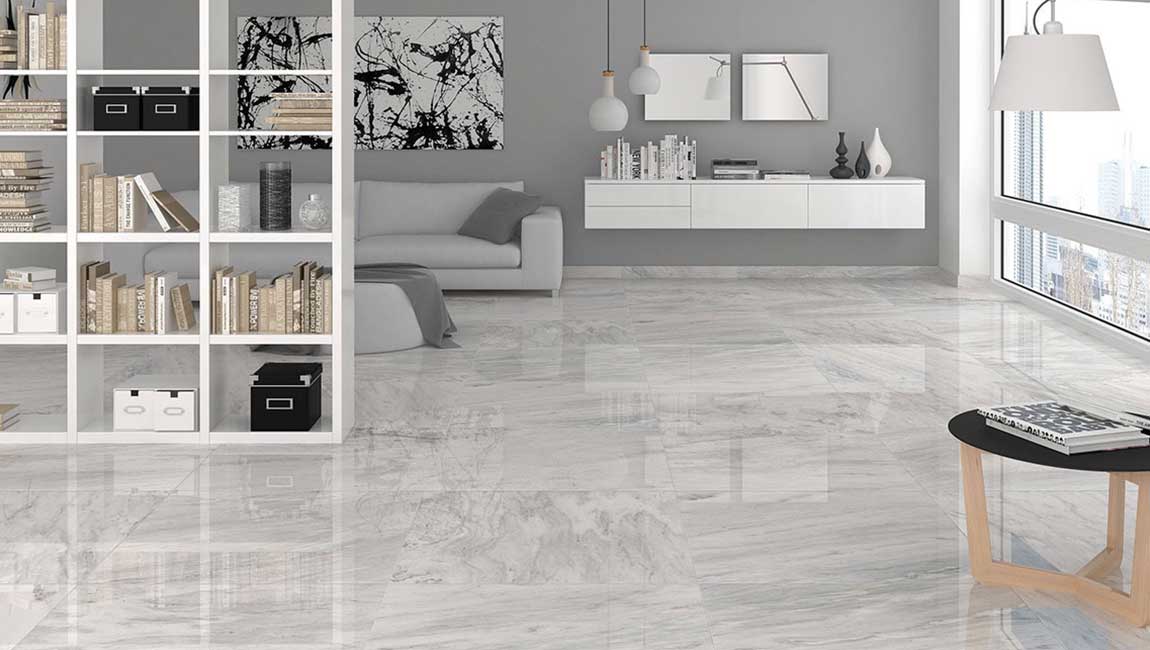
Sand down any bumps or unevenness in the plywood. Once the plywood is laid and nailed down, use a level to check the plywood for small bumps and ridges. Use a belt sander to lightly sand down any uneven areas. Move the sander in a circular motion on the plywood to ensure an even sanding. Secure the plywood in place. Once all of the sheets are set down correctly, go through and pound the nails the rest of the way in. Follow the line of the joist underneath and space screws or nails every six inches.
Sweep the mosaictile of sand and debris to get ready for the thinset mortar. Once everything has been nailed down and sanded, you’re ready to add another layer to the polishedtile. The first thing you need to do is sweep the tile of all debris. Vacuuming with a shopvac would be a good idea as well in order to get dirt trapped in crevices and other hard to sweep areas.
Measure the tile and cut it to size. If you are using a thinner woodtile, you can score it with a knife and snap off what you don’t need. If the glazed rustictile is thicker, a circular saw can make precise cuts to fit the tile to the contours of the room. Mix a batch of thinset mortar in a bucket according to the manufacturer’s instructions. Add the water first and then the powder to ensure that all the powder gets properly mixed in. Mix the thinset until the consistency is a little thicker than pancake batter.
Dollop out only enough mortar to for the piece of tile you are about to set down. Use a ¼ inch notched trowel to spread the mortar. Go from left to right and make uniform lines with the trowel. The ridges created in the mortar should not droop. Lay down the ceramic tile rough-side up. The cement tile can be laid directly on top of the adhesive leaving an eighth-inch gap between tiles. Make sure the tile is 1/2 inch away from the wall all the way around the room.
Fasten the cement tile to the plywood with 1 1/4-inch wall tile screws. The screws are designed so that they sit flush with the cement tile when screwed in so the head sits flush with the panel. Drive the screws every 8 inches along the perimeter of the ceramic tile and in its center. You will see circles on the tile where the screws are supposed to go.
Be careful not to screw too deeply because it can easily crack the tile. Screws should be 1/2 inch away from the edges of the black tile and 2 inches away from tilecorners. Finish laying out the rest of the tile, staggering the joints as you go. Stagger the sheets of woodmarble tile as you lay them. Make sure that the edges of the cement tile do not line up with those of the plywood. This adds structural strength and limits pathways for water.
https://baranaceramic.com/wp-content/uploads/2018/12/How-to-Stop-Floor-Tiles-from-Cracking-3.jpg6501150administratorhttps://baranaceramic.com/wp-content/uploads/2025/09/logo.pngadministrator2018-12-31 11:00:472018-12-21 07:22:02How to Stop Floor Tiles from Cracking?
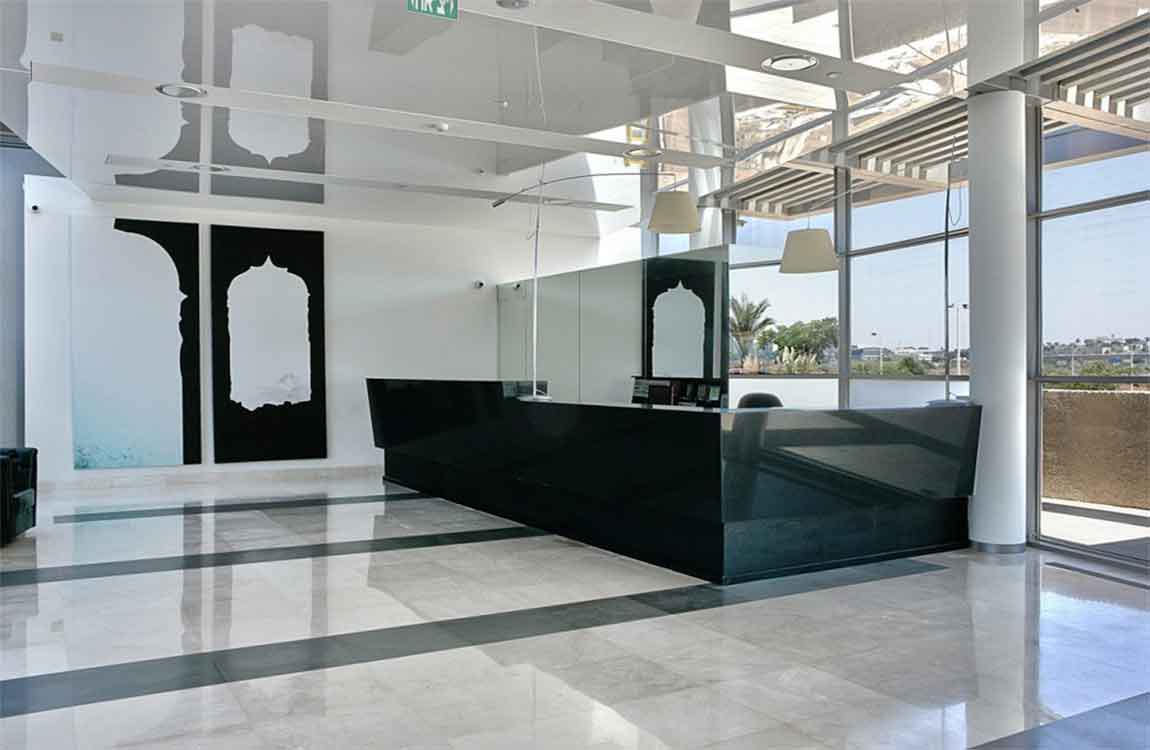
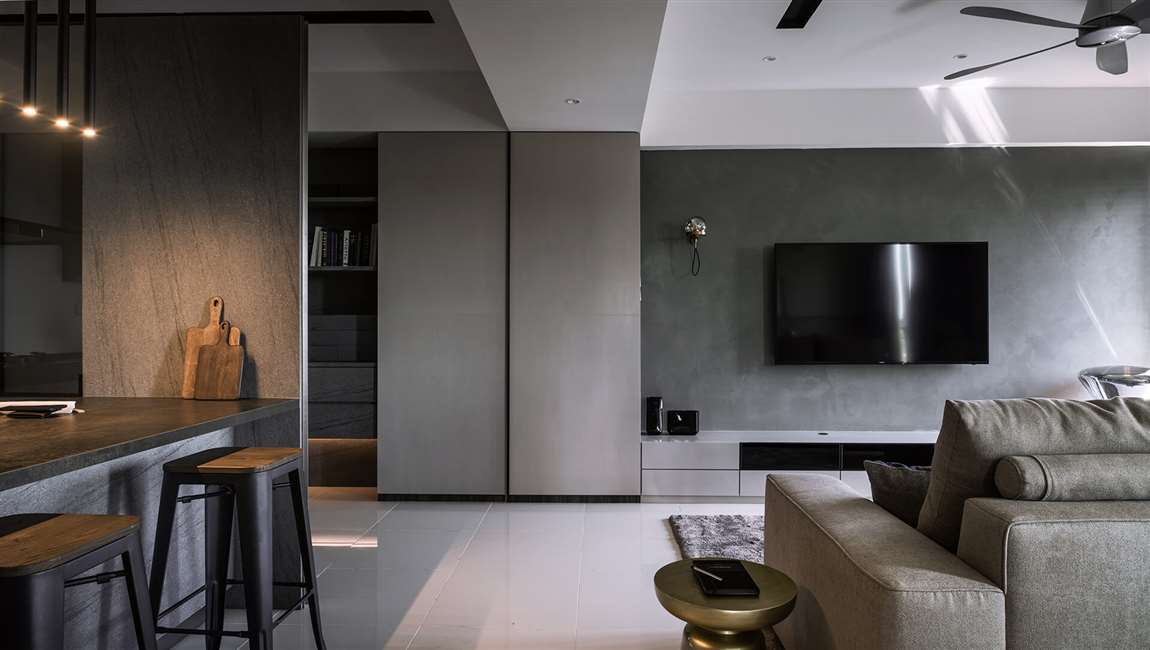
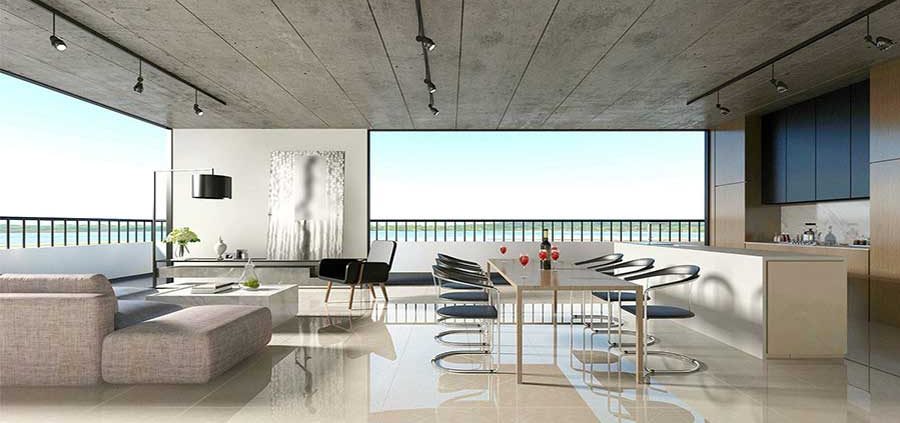
Use a trowel to apply pre-mixed mastic to the wall. Mastic is the adhesive, much like mortar, you’ll use to secure the floortile to your wall. Spread enough pre-mixed mastic on the wall so you can place 1 row of marbletile for about 4 linear feet (1.2 m). This way, you’ll be able to place your tiles before the mastic starts to dry.
Switch to a v-notched trowel to remove excess mastic from the wall. Hold the trowel at a 45 degree angle. Gently sweep vertically over the mastic. This will remove excess mastic and will also create grooves that will help the cementtile adhere to the wall.
Separate your tiles with 1/8 inch (.32 cm) porcelaintile spacers. Place one woodtile (or one sheet of polishedtiles) on the wall at a time. Once you’re done with the 4 foot (1.2 m) row segment, apply more mastic and place more rustictile on the wall. Continue this process until you’ve covered the majority of your drywall with complete tiles.
Use a toothpick or another tool to remove excess mastic from between the common marbletiles. Slide your tool of choice into the space between tiles and push out any mastic that was forced up when you placed the elementtile. By removing excess mastic, you’ll make sure there is plenty of room for grout when you apply it.
Cut partial tiles. In spaces where a whole mosaictile won’t fit, you’ll have to cut smaller pieces of whole tile. Use a wet saw to cut your tiles. If you don’t have a wet saw, you can purchase a ceramic tile cutter. Before cutting a tile, use a pencil to outline where you need to cut it.
https://baranaceramic.com/wp-content/uploads/2018/12/How-to-Laying-Your-Tile-1.jpg6501150administratorhttps://baranaceramic.com/wp-content/uploads/2025/09/logo.pngadministrator2018-12-06 09:07:072018-12-06 09:07:07How to Laying Your Tile?
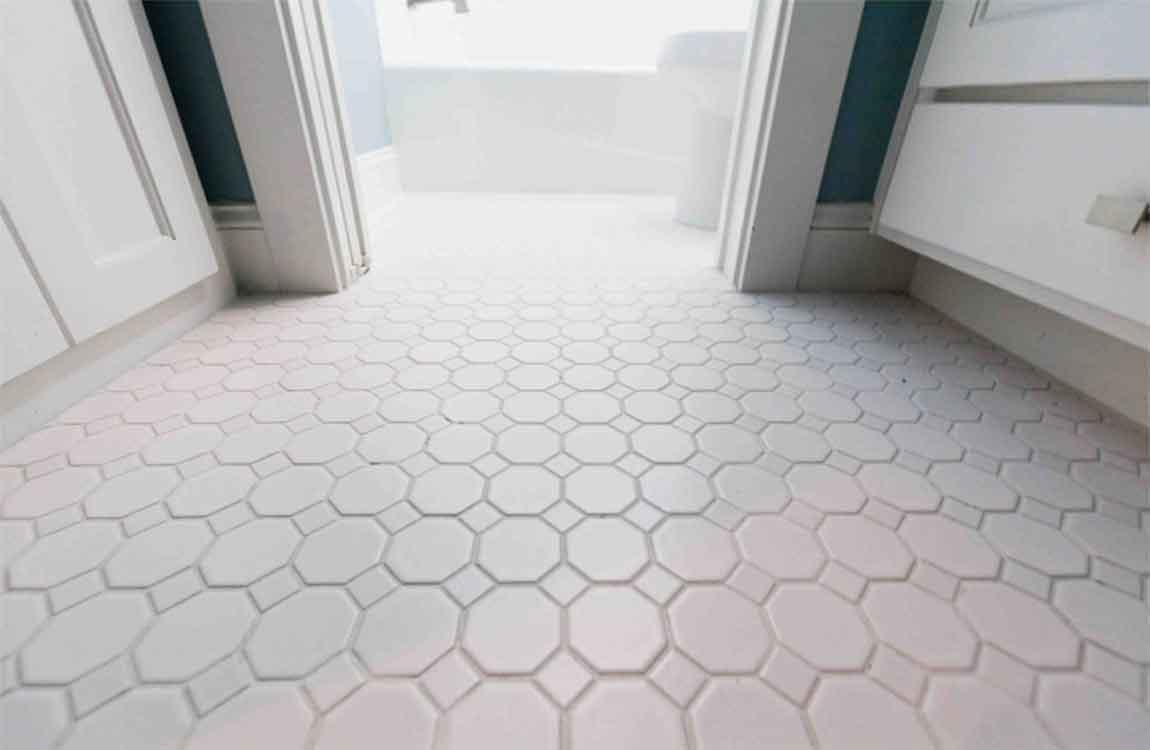
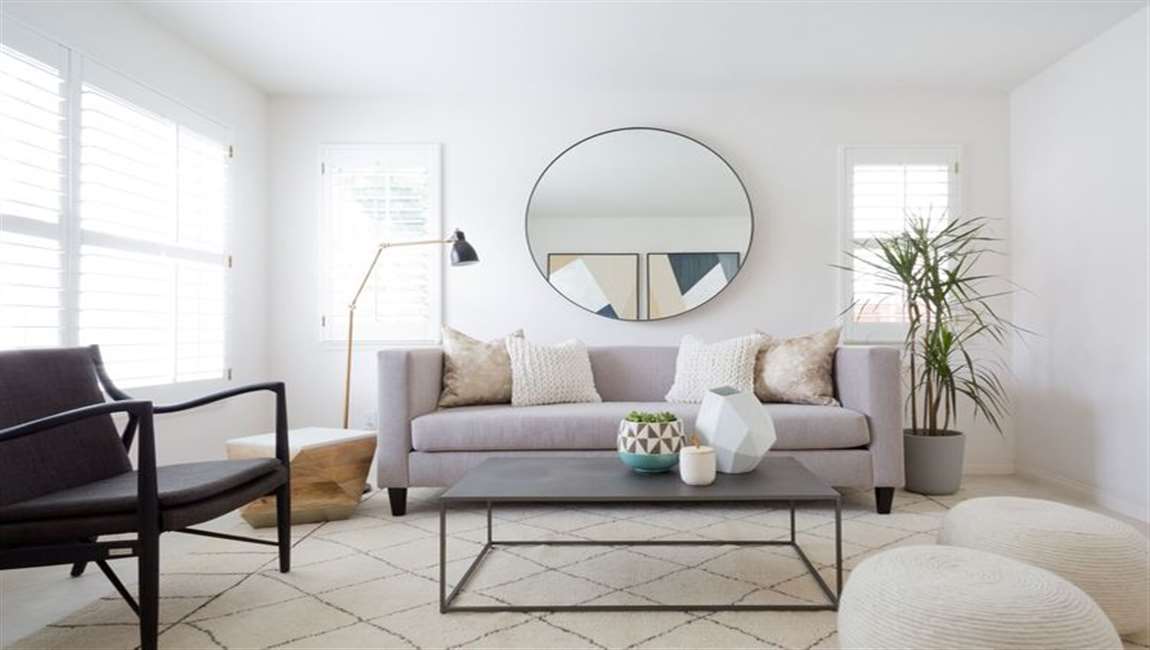
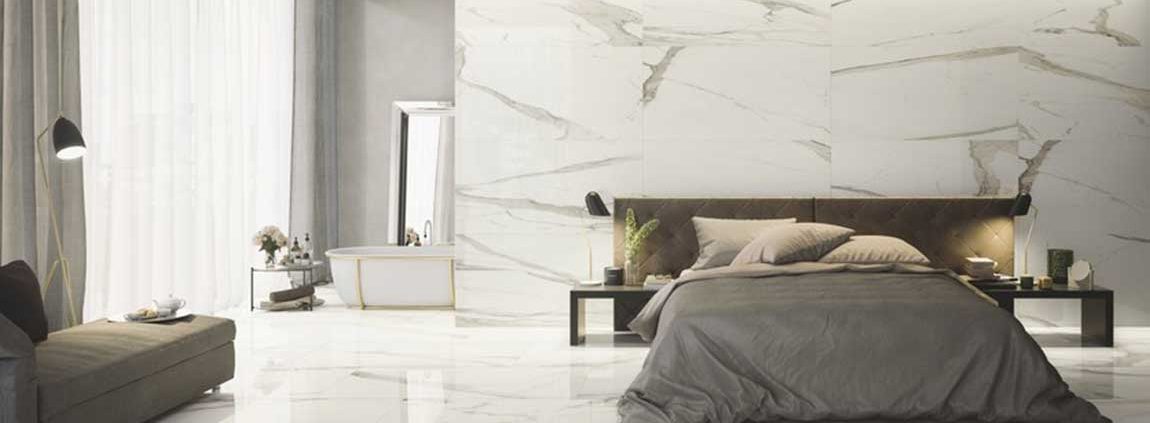
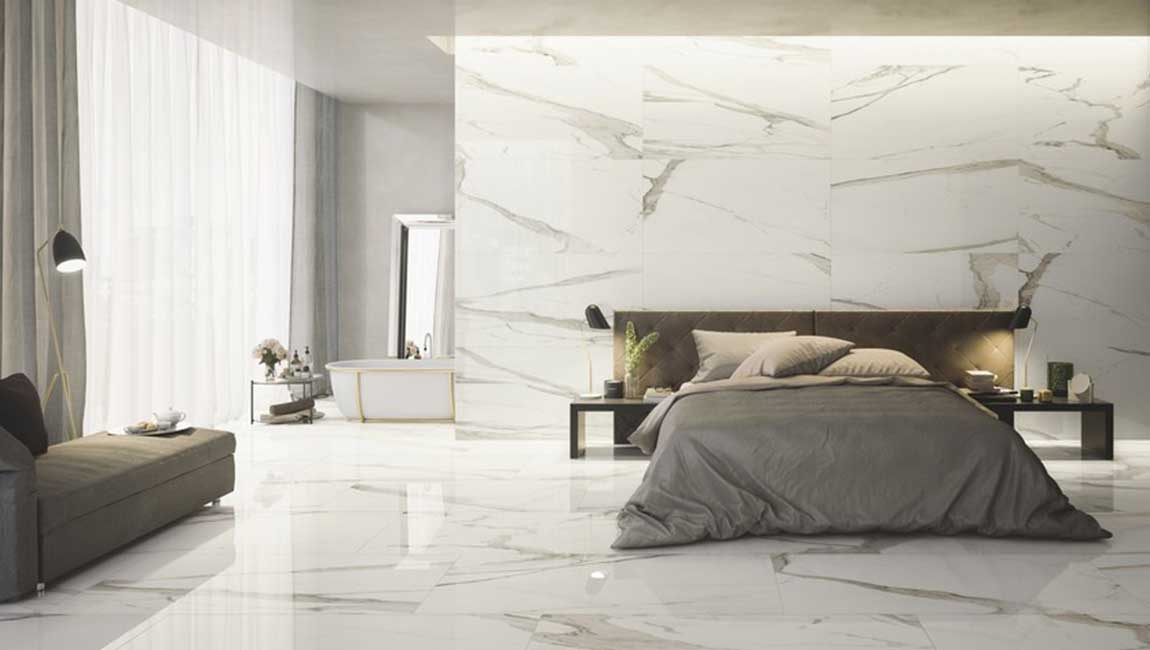
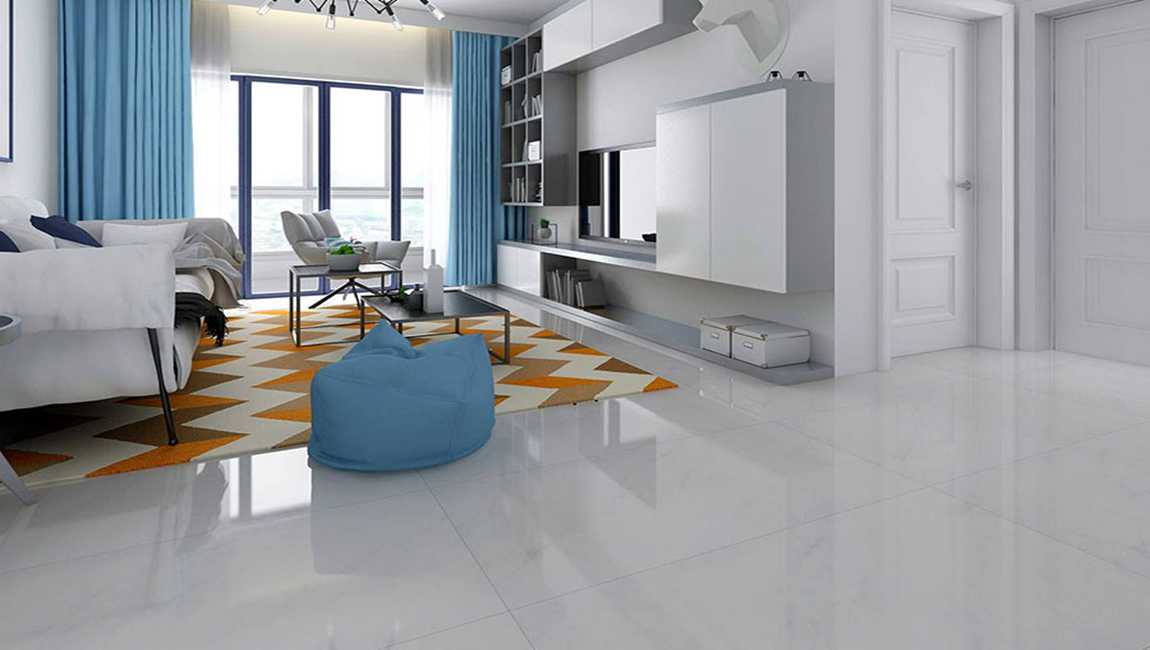
Soft polished tiles are kind of tile between Polished and Matt. With the continuous improvement of people’s living standard and the higher demand for material life, many ceramic enterprises will continue to bring forth new products of building tiles. The concept of soft nano polished floor tiles design are also a product that has been touched by many ceramic enterprises in recent two years. Soft nano polished floor tiles are mainly realized by controlling the light fold on the surface of floor tiles. At present, it is a common practice: one is realized by flexible polishing, and the second is through ultra bright.
The principle of soft nano polished tiles is easy to understand. It is achieved by changing the number of grinding heads on the polishing line and changing the number of grinding heads. But the number of modules of the entire polishing line has not changed, and the replacement module has a smaller head number, which is more rough than the surface of the generally full cast grinding head.
Super nano polished tiles believes you will not be unfamiliar to it. Traditional understanding is that it is mainly to solve the problem of flooring tiles surface pollution and enhance the brightness of tile surface. However, with the continuous improvement of super nano polish technology, the super nano polished tiles can not only be well compatible, but also solve the problem of bathroom floor tile antifouling. It can also adjust the surface folding of floor tiles price, and the molecular size of different nano scale super polished tiles is different.
When the surface of the tiles design are covered with different nanoscale, the surface of the tiles will form a different reflective surface. The smaller the nano scale, the higher the reflective rate, the greater the light fold, the higher the brightness of the ceramic tiles surface. The larger the nanometer level, the smaller the reflection rate will be, the smaller the light folding degree, the lower the brightness of tiles price surface, which will form the soft light effect we usually call.
How to identify soft polished tiles effects through soft throwing or super nano polish? It can be identified by touching the surface of the floor tiles. super nano polishing tiles with soft polishing have better texture effect on the surface, and there will be a delicate muscle feeling on the surface of soft polish tiles with hand touching the effect of soft throwing. Relatively, the texture effect is not soft and delicate, but its antifouling performance is the best. Soft light polished floor tile, the expression sense is stronger, its surface gloss is relatively low, after the application, the whole effect is closer to the stone effect, because the surface gloss of the stone is also low. Soft lightpolished tiles have relatively low surface bending and relatively low refractive index, which can prevent light pollution from happening.
https://baranaceramic.com/wp-content/uploads/2018/07/What-is-the-soft-light-tiles-1.jpg600900administratorhttps://baranaceramic.com/wp-content/uploads/2025/09/logo.pngadministrator2018-07-17 09:01:132018-11-28 06:02:41What is the soft light tiles?