Posts

How Removing Deep Stains?


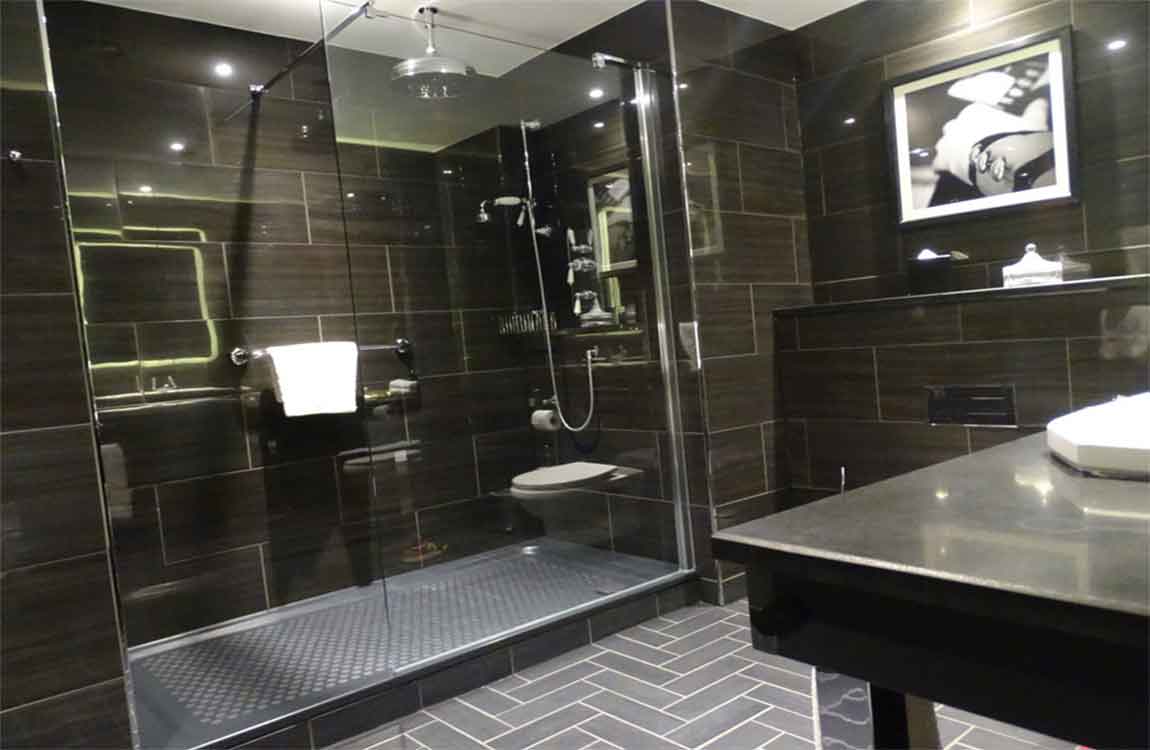
Mix 1 part baking soda with three parts water. Combine the baking soda with the water in a small bowl or cup. Continue to mix it together until the baking soda absorbs the water and forms a paste. If your paste is too thick, add more water to it. If the paste is too runny, add more baking soda.


Apply the paste to the stains. Wear gloves and use your hands to smear a good portion of the paste over the stains on your shower. Target any discoloration or built up mildew that you weren’t able to remove from a basic cleaning. Cover the paste with plastic wrap. Tape the ends of the plastic wrap so it stays in place. Don’t cover all the edges in tape so that the marble tiles can breathe.


Let the paste sit on your shower for 24 hours. The paste will dry and absorb the stain under it. When the paste is ready, it should be dry and hard. Remind people in the house that you are doing a deep cleaning and that they won’t be able to use the shower. Rinse and wipe down the baking soda.


Remove the baking soda paste from your shower by rinsing down your shower and wiping the stained areas with a rag. If you notice that the stain is still visible, repeat the steps until it is fully removed. Dry the shower. Use an absorbent rag or squeegee to dry off your shower completely.


You should dry down your shower after every use, but doing a more extensive cleaning with a mild dish soap and water two to three times a week should keep the marble tiles looking clean and fresh. Rinse the shower. Use a showerhead or a bucket of water to rinse the entirety of the shower down, including the walls. It’s important that you remove any leftover soap or it may sink into the marble tiles and create stains later.

How Using the Cleaning Solution?


Clear the area to be cleaned. Sweep up any debris – leaves, twigs, etc – and move any outdoor furniture out of the way. Make sure that pets and kids can’t get into the area, particularly if you’re going to use bleach. Protect nearby greenery. Make sure to protect nearby plants.


Hose them down to give them a protective covering of water (it will help any bleach or vinegar slide right off) or cover them with light plastic. You can also create barriers between the area you’re cleaning and any grass by laying down rolled up towels or sheets at the edge of the grass.


Hose it down. Using your garden hose or buckets of water, rinse down the area to be cleaned. You can also use a bucket of water and a mop if you’re worried about the water draining properly. Apply the cleaner. Depending on the type of cleaner you’re using, you’ll want to spray, pour, or spread your cleaners over the area to be cleaned.


Use gloves and a protective face mask for this step, especially if you’re using bleach. You can let any of the mixtures soak for a few minutes or up to half an hour if you have particularly dark stains. If the stain persists after scrubbing, you may need to apply a second coating of cleaner. Wait 15 minutes before scrubbing again, and then hose it off.


Scrub with a short scrub brush. Once your cleaner has had time to soak, scrub at the stains with a short scrub brush. This will loosen up any stubborn dirt or grime that isn’t already lifted by the cleaner. Rinse off the cleaner. Once you’re done scrubbing, use a hose, spray bottle, or bucket of water to rinse the area you cleaned.

How to Buff Floors?

If you have scratched or scuffed floors, buffing them can refresh their shine. You can improve the look of your floors by buffing them by hand, but it’s best to buy or rent a floor buffer, which uses slow speeds and high pressure to remove and replace the top layer of finish on your flooring. You can buff any type of floor, whether it’s wood, vinyl, concrete, or tile.


Before you buff your floor, make sure you secure the area and clean the floor to remove any grime. Then, use a microfiber cloth or a spray buffing machine to restore your floor’s shine. Rotate your machine back and forth as you move across each section


Although the buffer is doing most of the work for you, rotating it will help you achieve a better result. Not only does it ensure the buffer covers all of the surface area, but it will also help you really work areas where there are scratches or scuffs. Your motion should swing back and forth like a pendulum.


Move backward as you work so you don’t step on the buffed sections. This helps you avoid stepping on the parts of the floor you’ve already buffed. You don’t want to step on the buffed areas because they will be very slippery. Also, you don’t want to mess up the finish. Walk slowly so you don’t accidentally trip over your own feet.


Hold the buffer over scratches and scuffs for a few extra seconds. As you work, look for visible scratches and buffs. It’s okay to give these areas special attention by holding the buffer over them for a few extra seconds. Additionally, you can make several passes over them. If you still notice a scratch or scuff after you finish, you can try hand rubbing it with a soft cloth soaked in buffing solution.

How Grouting the Tiles?

Choose a grout. There are two main types of grout: sanded and unsanded grout. Sanded grout is used when the gaps between light color tiles are larger than 3mm. Unsanded grout is used when the gaps between wood tiles are smaller than that. Measure the gaps between your tiles to find out which grout is best for your project.

Glass tiles almost always come in sheets these days and these sheets tend to have very small gaps between the marble tiles, meaning you will probably want unsanded grout. It is important to choose the right grout for your project because not doing so will cause cracks (and all the problems that come with them) in your tiles. There is also technically epoxy grout, which you can use, but it is more expensive and difficult to apply if you do not have experience applying grout.

Mix your grout. Mix your grout according to the instructions on the packaging, making sure to also mix in any additives you want. It should have a consistency like smooth peanut butter. Make sure that you mix no more than what you can spread in 20 minutes. This will keep the grout from drying out. You should only work on small areas at a time, finishing one section before continuing on to the next, so plan on mixing many small batches of grout.

You can get grout additives that make it more mold resistant or water resistant, as well as additives that do things like giving the grout a color. Spread your grout. Grab a grout float and get ready to spread! Working in only a small area at a time (again, what you can cover in 20 minutes), spread the grout onto the wall tiles. Hold the float at a 45 degree angle and criss-cross the gaps between the tiles. You do not want to move the float parallel or perpendicular to any tiles, since this will push the grout out of the gaps.

Let the grout cure for 20 minutes. Use the float to remove the major excess grout and then let the grout begin to cure. Wait roughly 20 minutes, or whatever time is recommended in the instructions for your specific product, so that the majority of the grout can set enough for you to remove the excess that is on the tiles.

How Painting Your Tile?

Decide on your colors or design. If you are painting existing marble wall tile in your home, make sure that the colors you choose complement the rest of your design scheme. It is usually best to choose light colors when painting your tile, as dark or bright colors can overwhelm a room. If you’re painting a design, choose one that will be easy for you to do and will look good in your home.

Create a painted design (optional). If you want to paint a design, try searching for inspiration in Spanish, Portuguese, or Chinese tile paintings. You could also try a geometric design, like a chevron pattern or checks. Transfer your design to the tile with a pencil. If you have an intricate design, draw it on the elegant tile with pencil first. Be sure to press the pencil very lightly so that it is easy to hide with paint and/or erase if necessary. You can also practice on paper beforehand.

Paint your tile. If you are painting a design, start with the lightest color first to avoid smudges, and let each color dry before starting a new one. If you’re painting a home surface in a solid color, apply the paint in multiple thin layers. It’s usually necessary to do at least 3 layers, especially if your paint color is lighter than the original color.Painting over the grout is much easier than trying to avoid it, and it isn’t noticeable if you choose a light color.

Let the paint dry for at least 24 hours. For small art projects, 24 hours will be enough, but for larger home surfaces, wait for at least 48 hours. This is especially important for high-traffic areas like the bathroom or kitchen counter. If you’ve painted a ceramic bathtub, wait for several days before filling it with warm water.

Coat with clear urethane to seal in the paint. You can buy urethane from any home supply store. It’s important to use a sealant like urethane that is made for ceramics, especially if you’re painting kitchen or bathroom tiles that get a lot of use and come into contact with moisture. Apply according to the package directions and let it dry thoroughly before touching your tile.

Tips: How To Clean The Tiles?

Method one : Brush by brush and brush

Toothbrushes and brushes are more common, and they are also the most practical tools for cleaning tiles, cracks and dirt. In the first place of ceramic tile aperture, using a toothbrush dipped in a small amount of detergent paste brush slot in the dirt, and then use the brush brush waterproofing agent in the crevice with a can, this method can not only prevent seepage, and can prevent the growth of mold.

Applies to: kitchen floors and walls, bathrooms, walls and floors, living room floor tiles.

Method two : Waxing clean

Wholesale tile floor waxing can effectively maintain the ground to tile waxing, also has a bright and clean effect to keep tile. First of all tile stains completely clean, such as plastic or stains, available neutral detergent or 100 clean cloth wipe. The first floor cleaning agent onto the tile, then water poured into a clean dry mop wax, wax evenly coated on the ceramic tile can be. After waxing let tile surface dry, dry to stampede.
Here to remind, many times after waxing tile surface will turn yellow, need to re waxing, wax removing agent treatment. The specific method is: wax removing agent used directly, without water, even then, about 15 minutes or so, wax removing agent into the tile, tile water will be wet, completely remove wax, wax or re not shiny. After removing the wax, please clean it according to the above procedures.

Applies to: kitchen and living room floor.

Method three : Steam fumigation

The oil is not cleaned for a long time, even if the product in the plane is difficult to clean, especially the gap in the kitchen grease, steel ball, cleaning agent…… Is not the most effective method, not only laborious and ineffective against oil pollution, kitchen tile gap, the best way is to use steam. As long as the kitchen tiles are heated in large pots in the kitchen, the walls are steamed by steam, and the oil can easily fall off naturally after being fumigated.

Suitable for: kitchen wall.