Posts

How Preventing Gaps in Laminate Flooring?


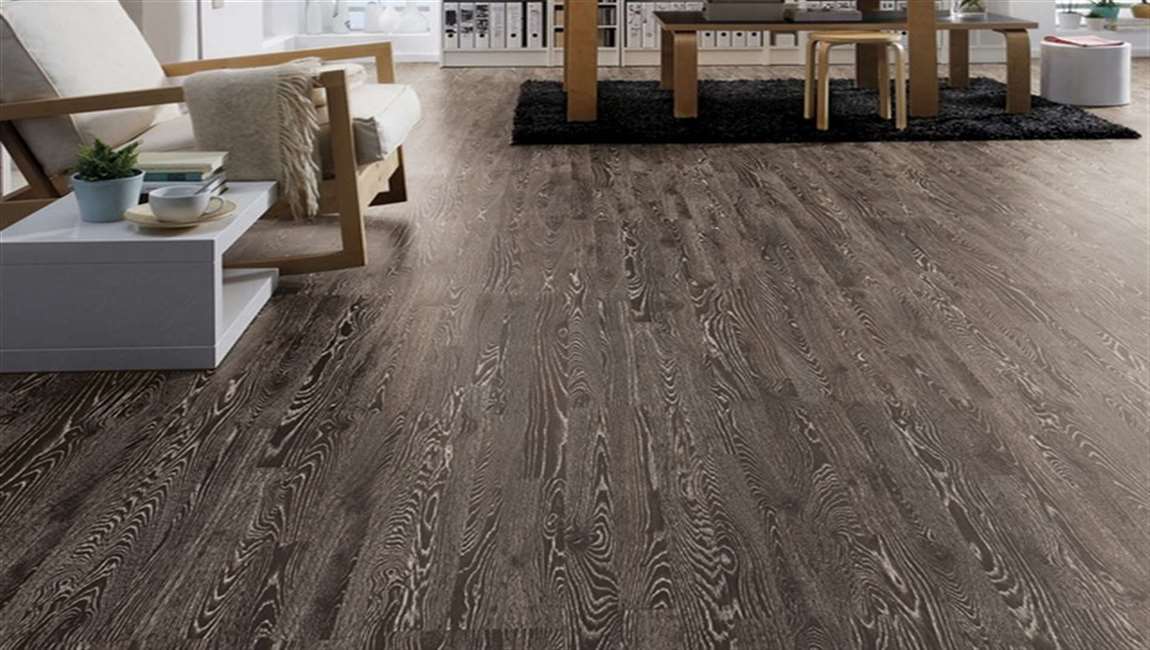
Allow your laminate flooring to acclimate for 48-72 hours. Bring the planks inside and leave them to sit undisturbed prior to installation. This will give the material a chance to get used to the unique conditions in your home, which can help you avoid many environment-related complications later on.


Fluctuations in temperature and humidity can cause certain types of laminate flooring to swell and shrink slightly. Over time, this can result in noticeable gaps and other inconsistencies. Storing your laminate flooring materials in your garage, basement, or foyer also keeps them from being exposed to the elements.

Make sure the subflooring is perfectly level. Use a level to check the angle of your subfloor every 2–3 feet (0.61–0.91 m). If there are rises or depressions present, your laminate planks won’t sit correctly, no matter how many times you reposition them. Subfloors that are off alignment will need to be smoothed out using leveling compound.


If you plan on adding a separate underlayment for insulation, it will be important to make sure it’s cut properly to eliminate wrinkling, folding, or bunching, all of which could contribute to an off-level subfloor.


Have your laminate flooring installed professionally. Attempting to measure, cut, and install laminate flooring yourself leaves a lot of room for error, even if you have experience with this type of project. In most cases, it will be better to leave it to the pros. They’ll have the equipment, expertise, and manpower needed to get the job done faster and with more lasting results.

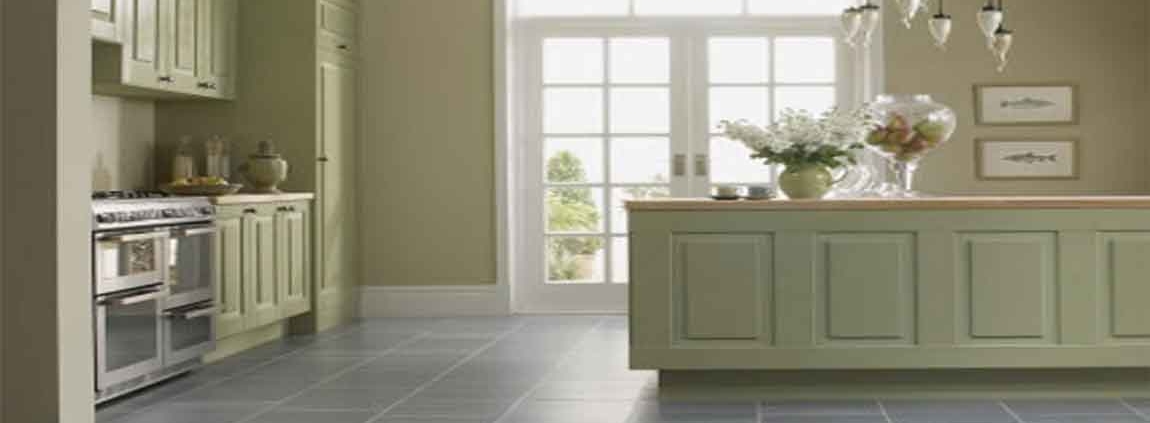
How to Mop Ceramic Tile?

Ceramic tile floors are sturdy and relatively low-maintenance. With just a little attention to detail, you can keep your tile floor looking new. Find out how to easily and effectively mop your ceramic tile floor after the jump. Sweep or vacuum your tile floor to remove any loose dirt, pet hair or other debris. Dilute your household cleaner according to the directions using a bucket and warm water. Submerge your mop into the bucket of soapy water until it is saturated.

Wring the mop well to remove excess water. If the bucket you’re using has a wringer on it, this is the preferred method of extracting the excess water. Some mops, especially those with cloth strips, have a wringer attached and these work just as well. If you don’t have either of these, you can simply use your hands to wring the mop.

Mop the tile in small sections, being careful not to walk over the wet areas. The grout is very porous and tends to hold more dirt than the tiles. Pay close attention to the grout when mopping your tile floor to be sure you’re covering the grouted parts well.

Immerse the mop into the soapy water after mopping each section of tile. Remove the excess water again by wringing the mop. Repeat these steps until the entire floor is clean. Allow the floor to dry completely. Speed up the drying process by opening windows and/or turning on fans in the room, if possible.

Rinse both the mop and bucket thoroughly. Add clean water to the bucket. Dip the mop into the clean water. Squeeze any excess water from the mop. Mop the floor again, following the same steps, but using only the clean water this time. Mopping the floor with clean water removes any build-up that may be left behind by the cleaning solution. The floor stays cleaner longer and helps reduce slipping. Allow the floor to dry completely.

How Removing Wall Tile?

Put on your safety gear before you start. Safety glasses and leather gloves are essential to avoid sharp edges as they fly off your walls. Lay drop cloths around the room to avoid mess and damage to the area.

Take a grout scraper and drag it through all the grout on the wall. If your element tiles are small, this will take a long time. Dig the point of the scraper into the grout to loosen it. Look for areas that have the most wear and tear. It should be easier to start with weak spots and attempt to dislodge several wood tiles at once.Stick a putty knife into the bottom or top of the tile and pry out the dinosaur stone tile. If they don’t pop out, wedge the putty knife into the top of the tile and hit the end with a mallet to drive it under the adhesive.

Repeat throughout the wall until it is free of vatican tile. Then, scrape your putty knife horizontally across the remaining chunks of tile and adhesive to loosen them. Patch holes in the sheetrock with patching compound and drywall mesh tape.

Plan to replace the drywall if you can’t remove the tile by force. You can cut through the drywall with a reciprocating saw and remove the tile along with the wall. Install a new piece of drywall when the area is free of tile.