Use an auto scrubber or floor machine to work in the stripping solution (optional). For large jobs, an auto scrubber or rotary machine is recommended, as it will do a thorough job pulling up all the finish. If using an auto scrubber, scrub the area leaving the squeegee tool up (not in use).
If using a floor machine or burnishing machine, use the stripping pad attachment. Large jobs may require multiple stripping pads. Scrape wax from the edges and corners of the floor. You can use a doodle pad for this or a long handled razor blade tool such as a poll scraper. If you don’t want to buy a specialized tool, any sharp flat blade such as a putty knife will do the job.
Without stepping on the slippery floor stripping solution, use the blade to work the wax away from edges, where the stripping solution and mop have difficulty pulling off the finish. You may need to scrub the baseboard as well, if it has picked up wax residue. You can purchase a special baseboard stripping pad if you are using a floor machine.
Remove the stripping solution and finish with a wet vacuum or auto scrubber. Do this after the finish has been worked off but before the solution has dried. If you worked in the stripping solution with an auto scrubber, simply lower the squeegee attachment and pick it up again. Otherwise, you’ll need a wet vacuum to remove the solution. If a section begins to dry out, pour a little water from your clean water bucket to keep it wet.
Wash your floor using the clean mop and water bucket. Rinse several times to ensure all stripping solution is removed. You can add a stripping neutralizer to your water to ensure the next wax will adhere properly. If you don’t want to buy one, simply wash it thoroughly several times.
https://baranaceramic.com/wp-content/uploads/2019/10/Knowledge-of-Wax-a-Floor-3.jpg7501150administratorhttps://baranaceramic.com/wp-content/uploads/2025/09/logo.pngadministrator2019-10-25 08:00:122019-10-24 07:47:18The Knowledge of Wax a Floor
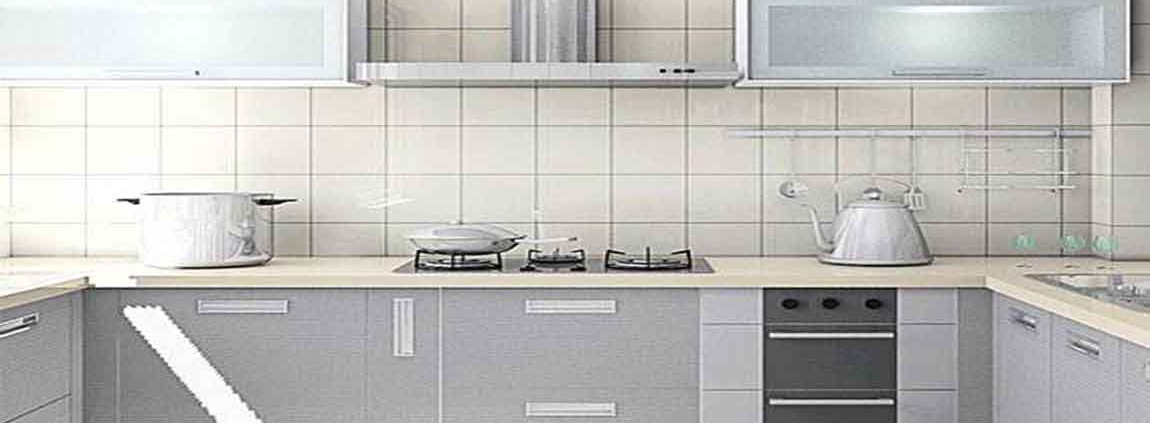
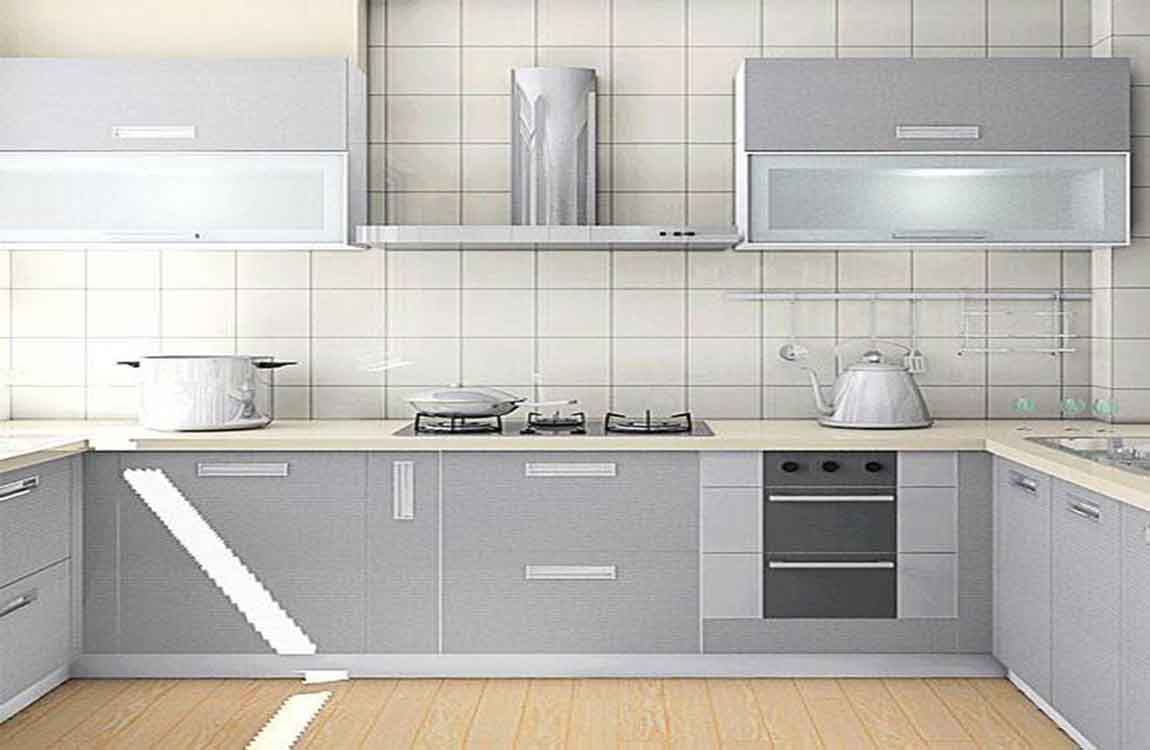
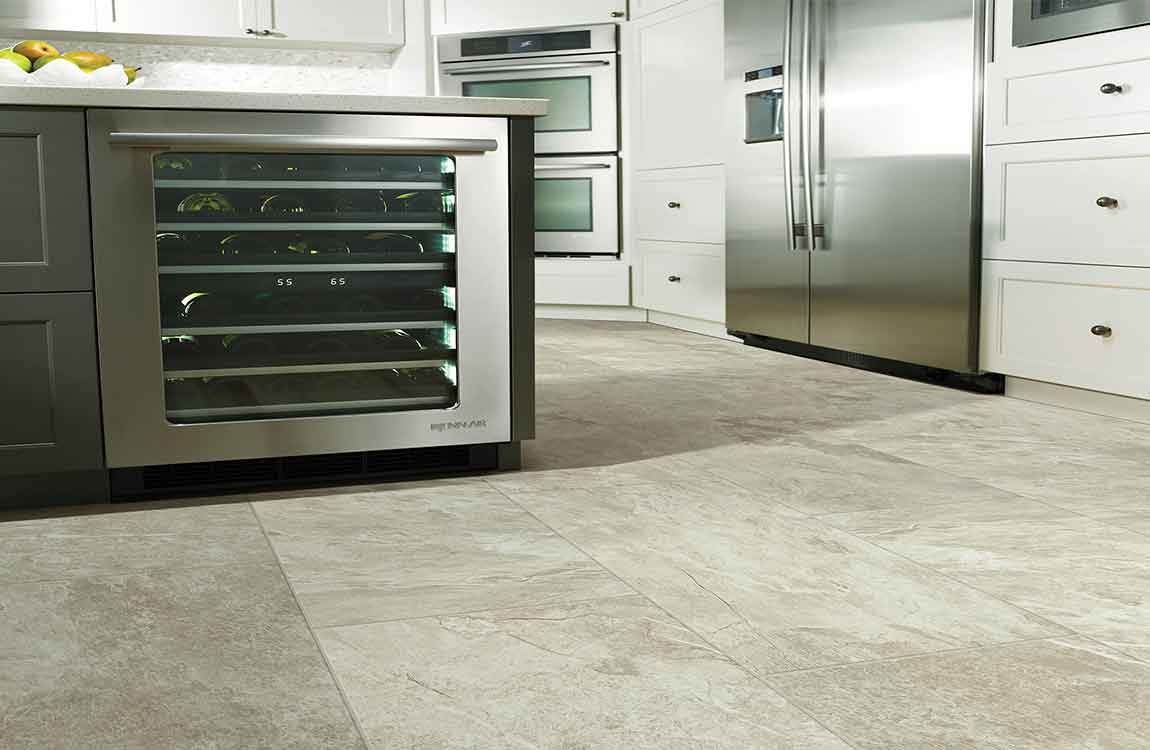
Cleaning a kitchen floor is simple with the right supplies. Pick the right cleaner for your floor type. Then, vacuum the floor and apply the cleaner. Let your floor dry and make sure to clean it regularly in the future. Vacuum your floor first. Regardless of your floor type, the first step to cleaning your floor is giving it a good vacuuming.
On a weekly basis, vacuum and then mop your floor. This will remove any dirt, debris, or hair that may get plastered to the floor during the mopping process. Run your vacuum over the floor, using the upholstery attachment to get into nooks and crannies. While vacuuming provides the most thorough cleaning, it’s okay to use a broom and dustpan if you don’t have a vacuum cleaner.
Use a dry mop on laminate or wood floors. You can purchase a dry mop at most department stores. If you have a laminate or waxed wood floor, you should not expose it to liquids. Instead, run your dry mop over the floor once a week to remove dirt and stains.
Apply the cleaning product one section at a time. Dilute your cleaner in a spray bottle or bucket. Use a rag, sponge, or mop to clean your floor one section at a time. Get your cleaning tool wet, wring it out slightly, and run the rag, mop, or sponge across the floor to remove any stains or dirty spots.
The cleaning utensil is mostly a matter of personal preference. However, microfiber cloths tend to work well on most floor types. Never use an abrasive cleaning tool on any type of kitchen floor. Things like steel wool can damage a kitchen floor.
https://baranaceramic.com/wp-content/uploads/2019/10/Clean-Your-Kitchen-Floor-5.jpg7501150administratorhttps://baranaceramic.com/wp-content/uploads/2025/09/logo.pngadministrator2019-10-01 08:00:032019-10-10 09:23:44How to Clean Your Kitchen Floor?
While tiling is easy to maintain, it can sometimes look outdated or unsightly. Luckily, you can cover tile inexpensively with rugs, decals, or paint to update the room and achieve the look that you want. Whether you’re covering the tile temporarily or permanently, there are a few solutions you can try.
Apply contact paper to countertops for an easily removable update. Measure the countertops to see how much contact paper you’ll need, and purchase large rolls to fit the space and save money. As you’re covering the tile, cut the sheets to be as long as possible, peel off the backing, and overlap the contact paper along the seams to prevent peeling. Smooth the paper with a credit card to remove air bubbles to finish off the project.
Contact paper comes in a variety of different patterns and finishes that are perfect for countertops, including wood grain, glossy marble, and granite. To remove the paper, begin pulling it from the corner of the sheet and work slowly across the countertop. Tip: Make sure the pattern on the contact paper lines up and is oriented in the same direction for a more professional, high-end look.
Resurface countertops with quick-setting cement for an updated look. Sand the existing tile countertops and build a temporary form that attaches to the cabinetry, which will hold the cement as it sets. Then, simply mix and pour self-leveling concrete over the countertops and follow the package instructions to cure it. Paint a sealant over the concrete to protect it from water and debris.
While this is a more labor-intensive option, it can be very inexpensive, depending on the type of concrete you choose. Keep in mind that the concrete will likely crack slightly during the curing process, but you can fill in the cracks with the sealant. If you want to remove the carpet tiles or reposition them, simply pull them up by the corners to reveal the tile underneath.
https://baranaceramic.com/wp-content/uploads/2019/08/cover-tiles-cheaply-5.jpg7501150administratorhttps://baranaceramic.com/wp-content/uploads/2025/09/logo.pngadministrator2019-08-14 08:00:532019-08-07 03:27:39How to Cover Tiles Cheaply?
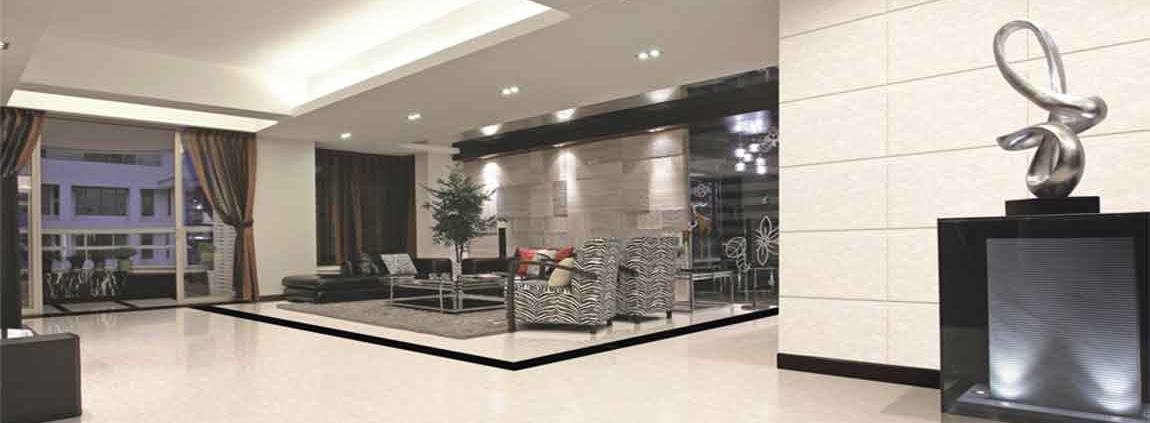
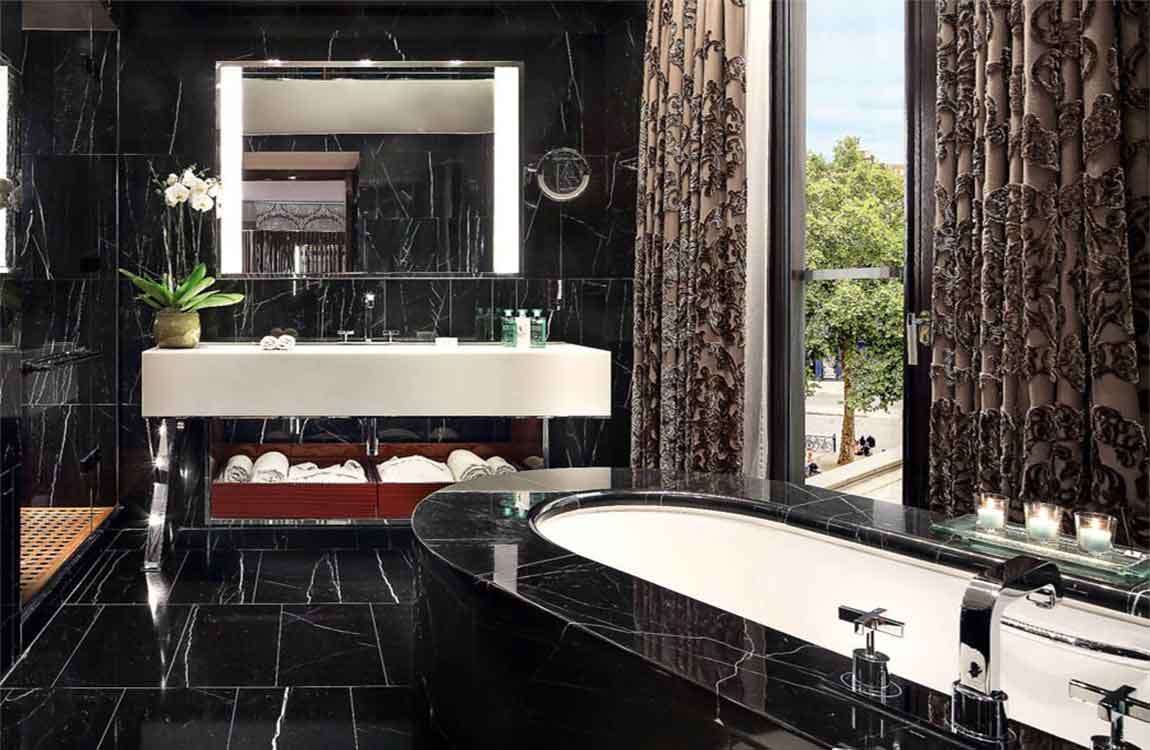
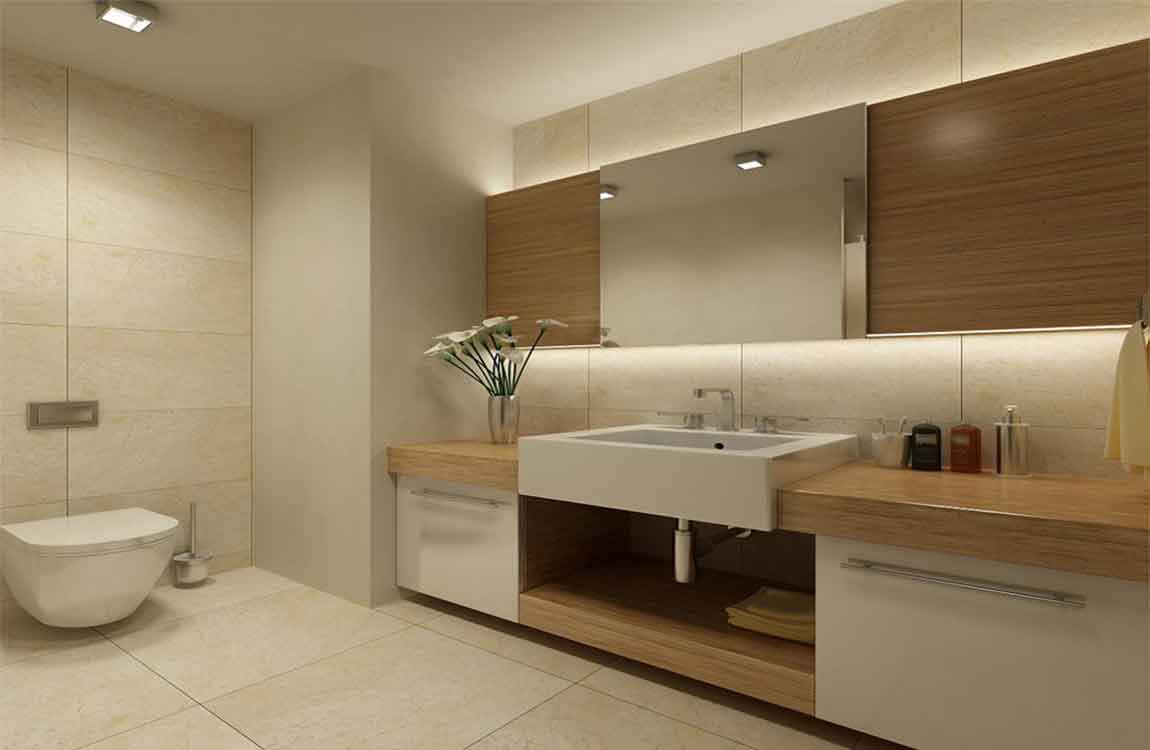
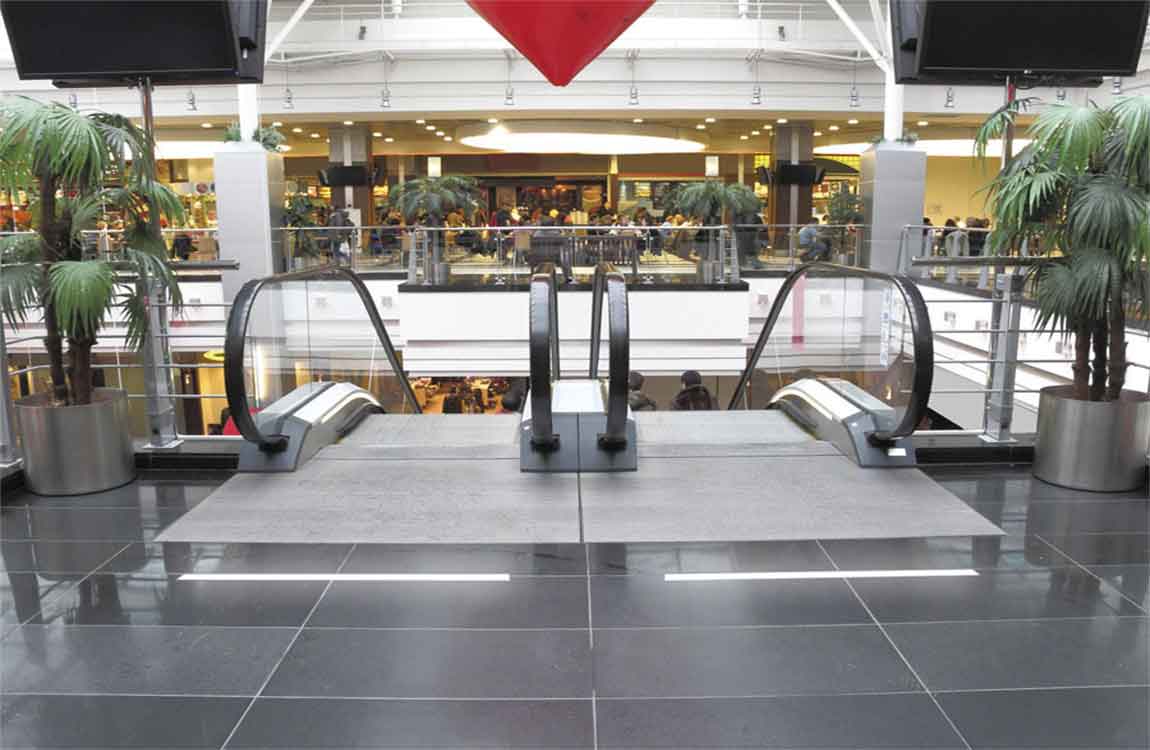
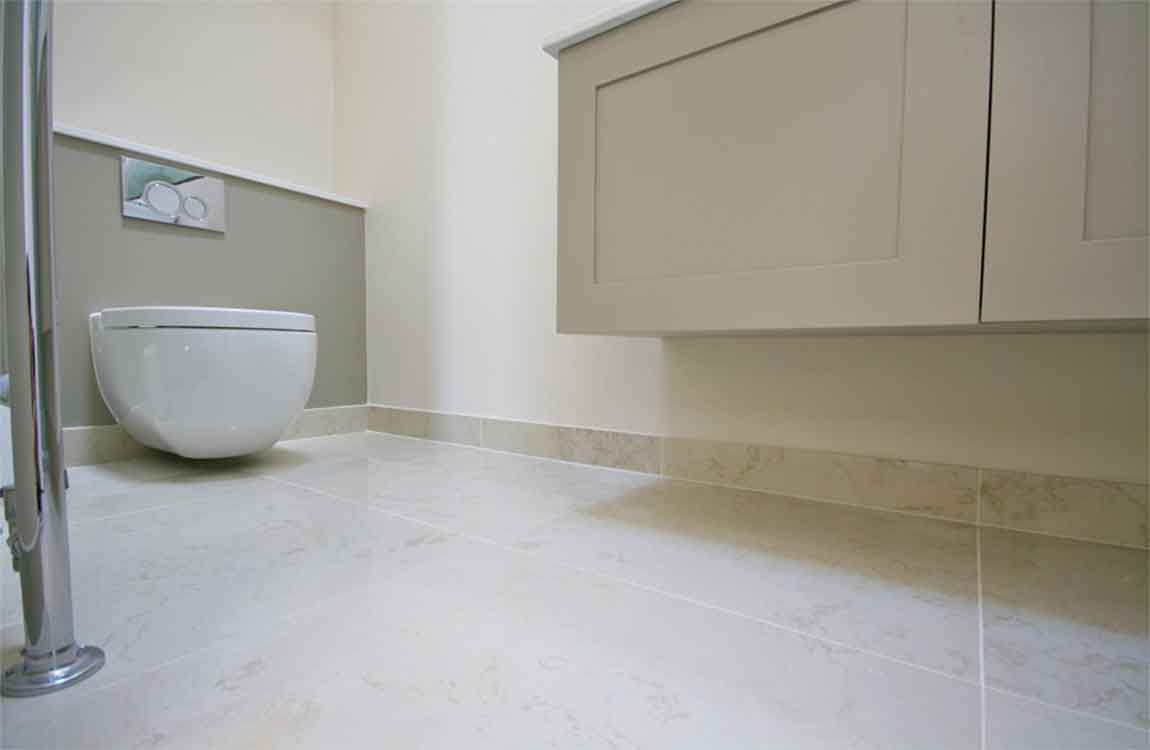
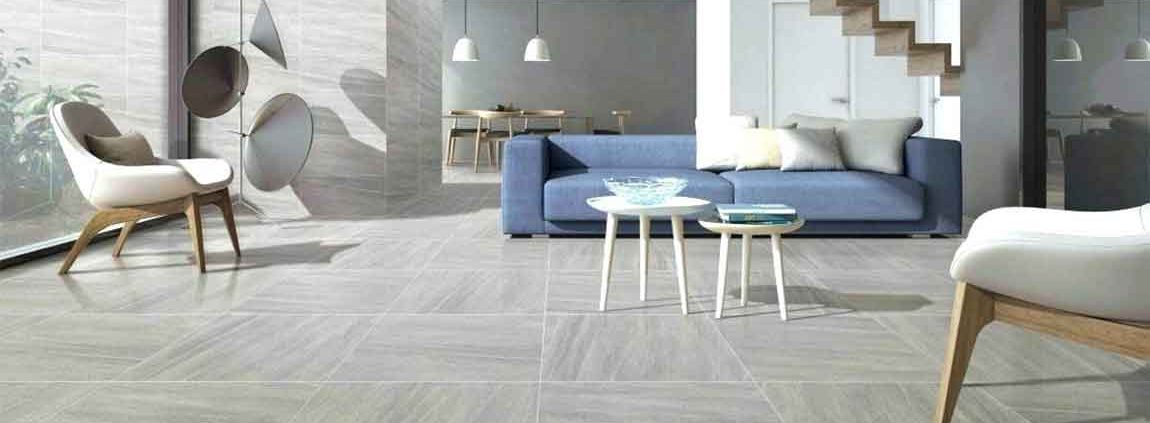
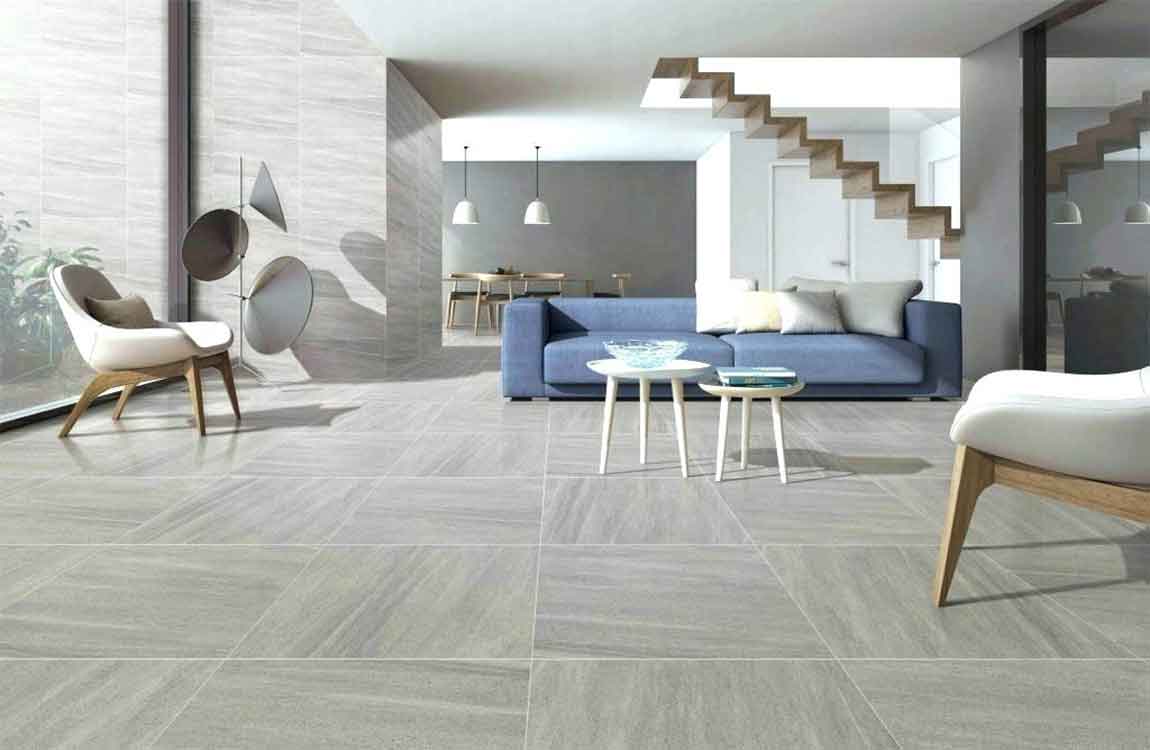
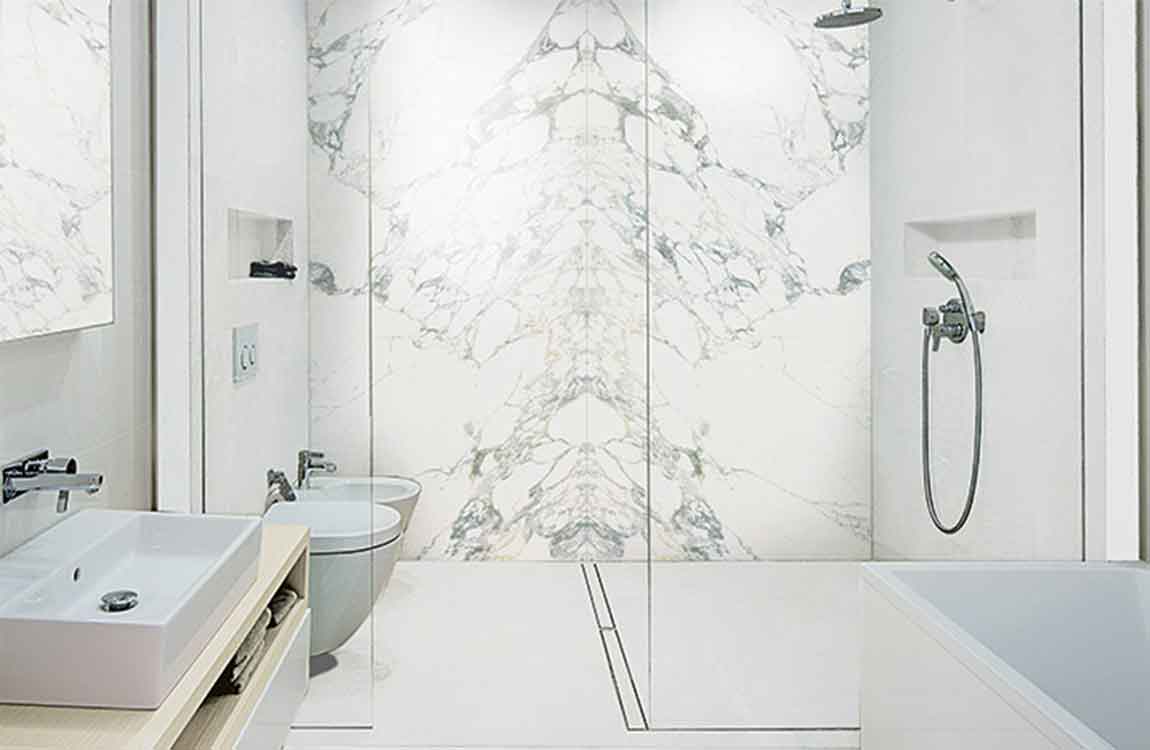
What is the polished tile? Polished floor tilesis a bright tile made from the surface of the whole tile’s body. Hard and wear-resistant. It is suitable for use in most indoor spaces, toilets and kitchens. Due to the factors of aesthetics, the ceramic tilemarket has always been dominated by large and large size polished tiles. It is not only a luxurious atmosphere, magnificent, large space visual effect, to a certain extent, is also a representative of identity and image.
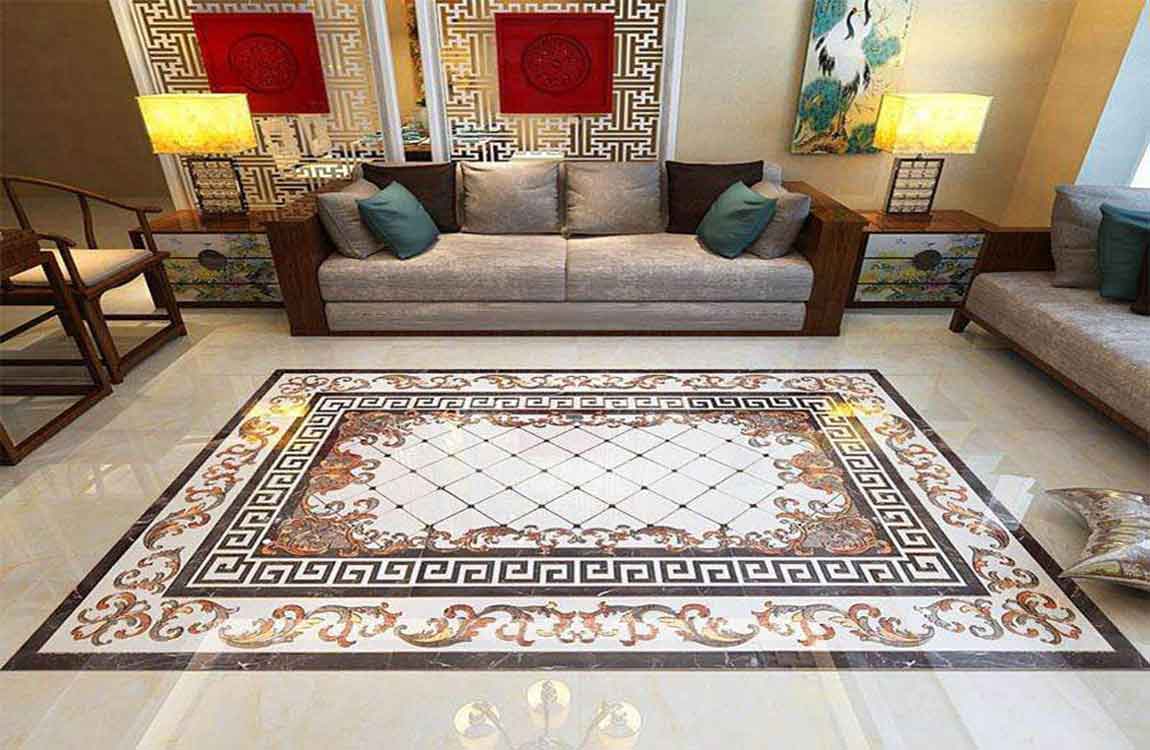
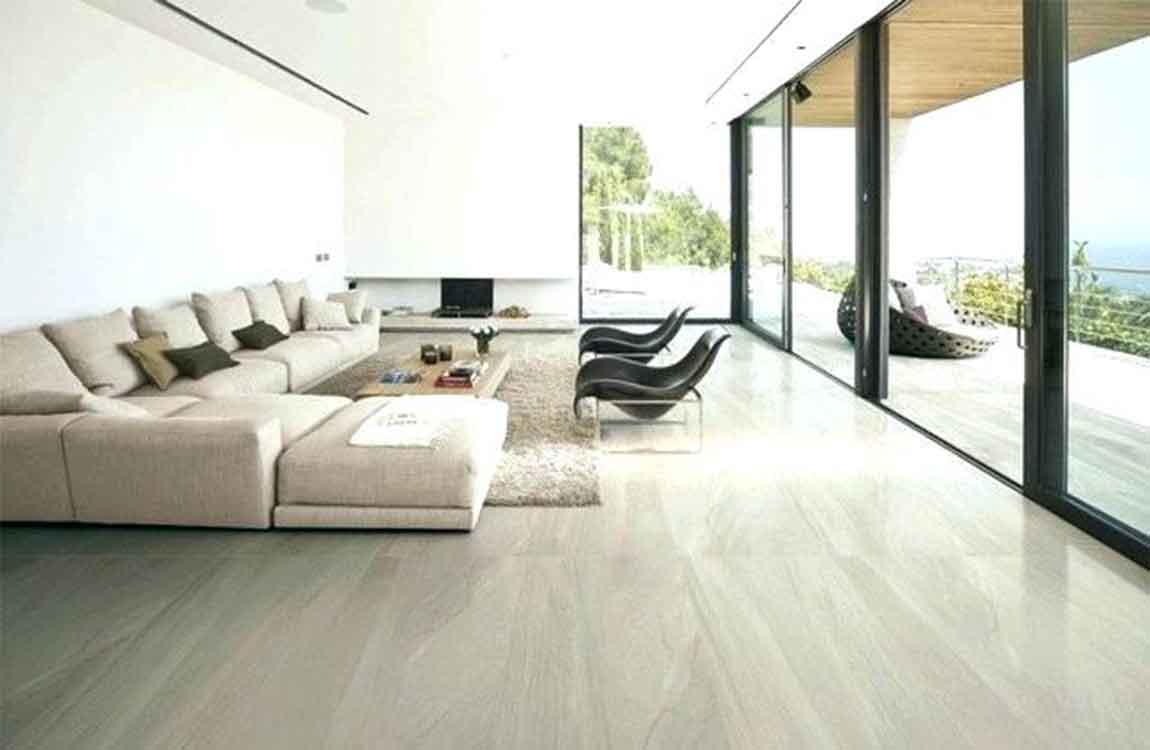
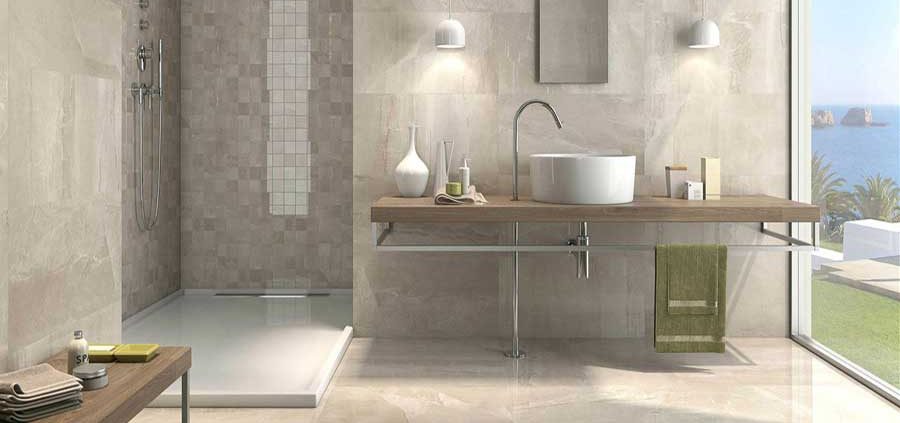
What is the rustic tile? The rustic wood tileis not the product developed by our country, it is imported from abroad. Stone flooring evolved from colored glazed tiles, essentially glazed porcelain tiles. The only difference is that in the process of firing, the technical requirements of rustic tiles are relatively high. After the press of thousands of tons of hydraulic press, it has been sintered at high temperature by 1000 degrees. It has high strength and very strong wear resistance. The carefully developed antique brick has the characteristics of waterproof, anti slip and corrosion resistance.
The difference between the ceramic polish and the rustic tile:
1.The hardness and water absorption of the polished stone tiles are high, and the surface hardness is as high as 7. Because the rustic tile has a glaze (vitreous body) on its surface, its hardness is only less than 6. The polished tiles are porcelain tile flooring with high vitrification, less than 0.5% water absorption and 38Mpa (1Mpa=1.02kg/cm2) flexural strength, and most of the rustic tiles are stoneware, the water absorption rate is high, and the strength of the brick is only about 28Mpa.
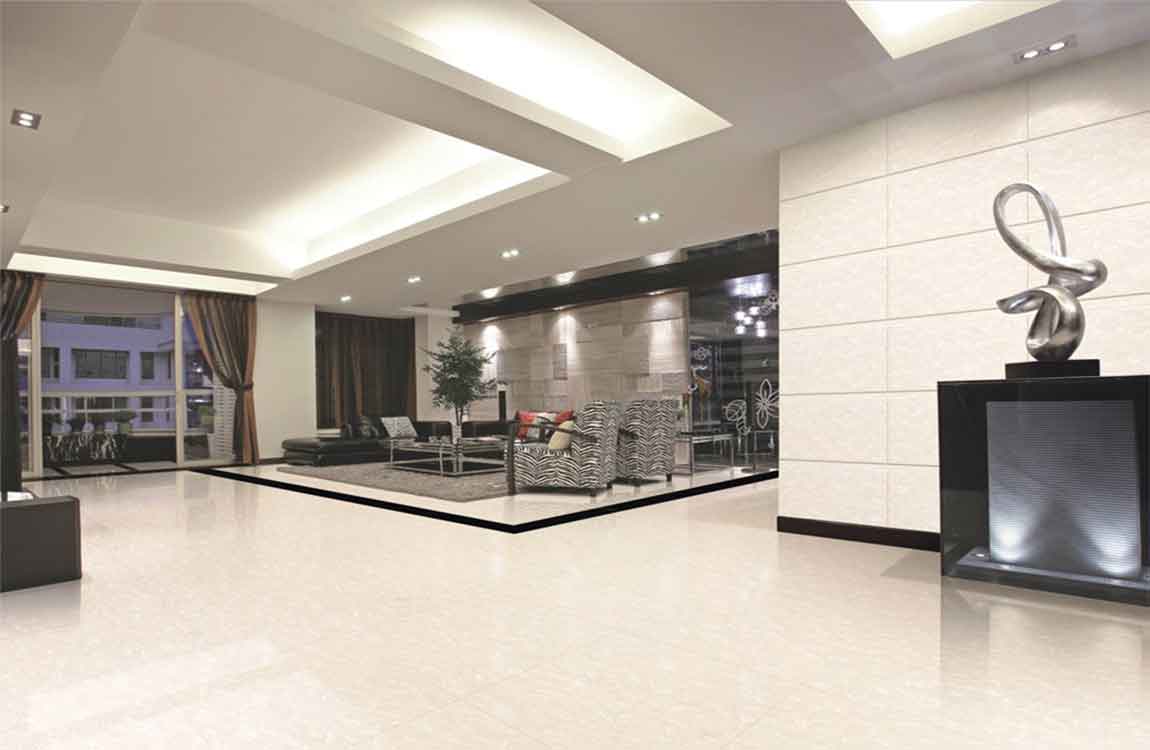
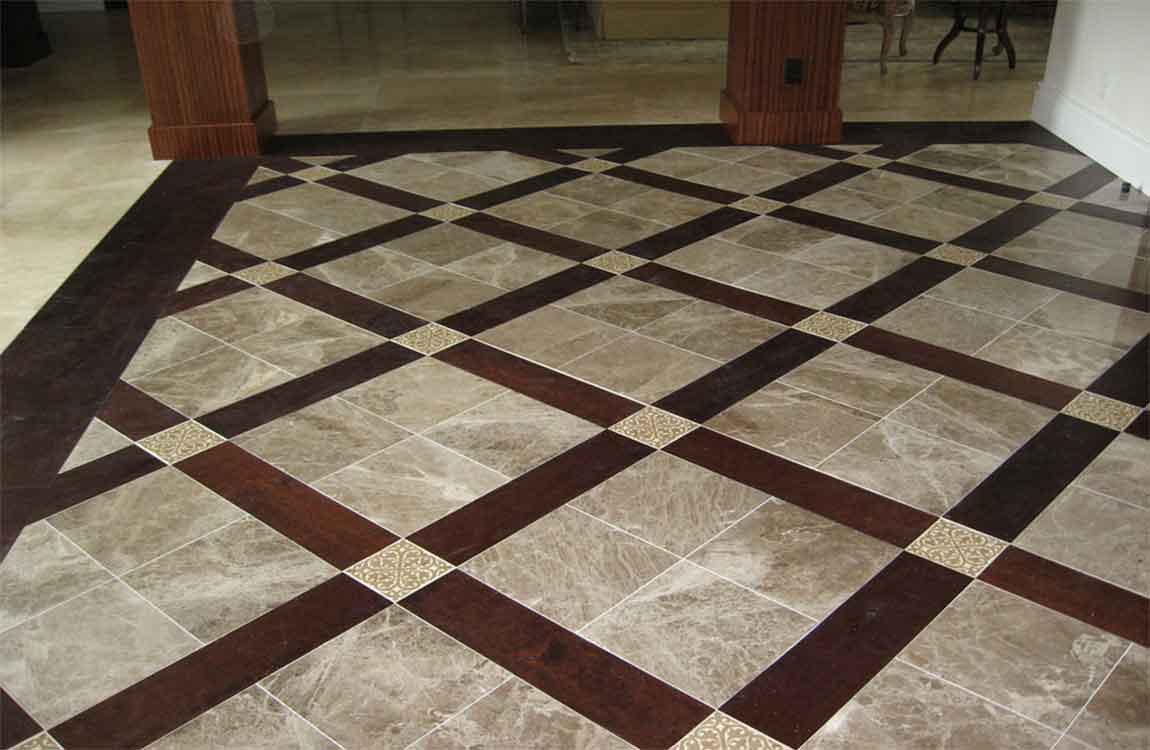
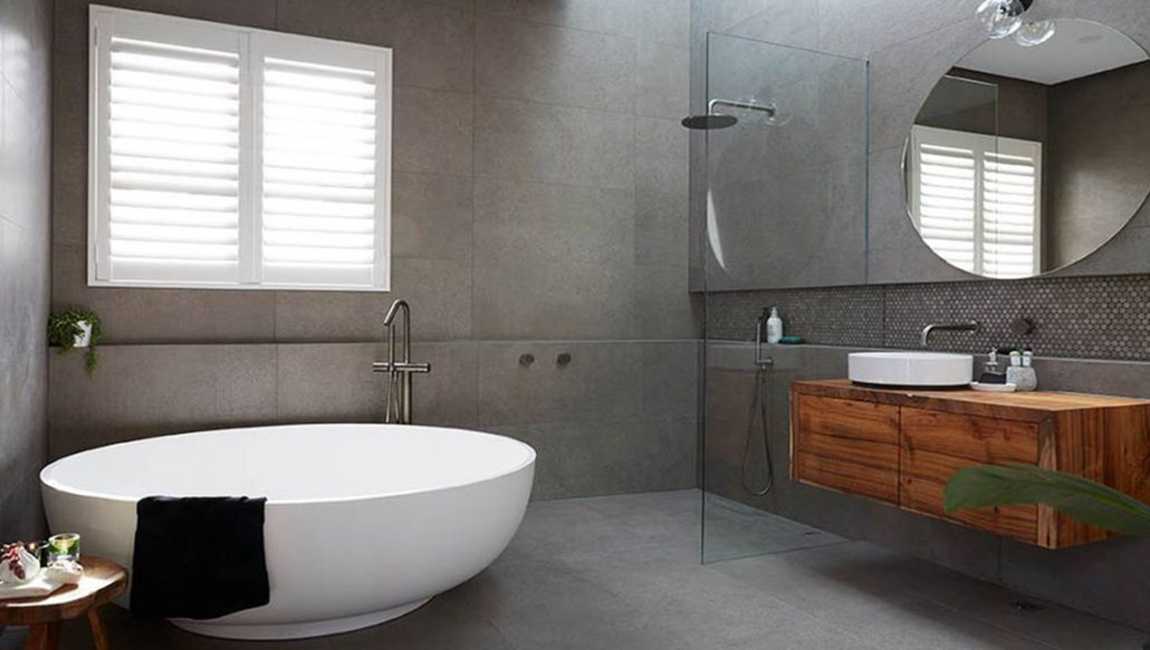
2.The color pattern of the paving tile is relatively simple. It looks more plain, neat, bright and other visual effects. The features of the rustic tiles appear to be visually diverse, which can form a variety of color patterns with an antique flavor. In addition, rustic tiles are used for paving with many kinds of accessories, so there are main tiles and accessories.
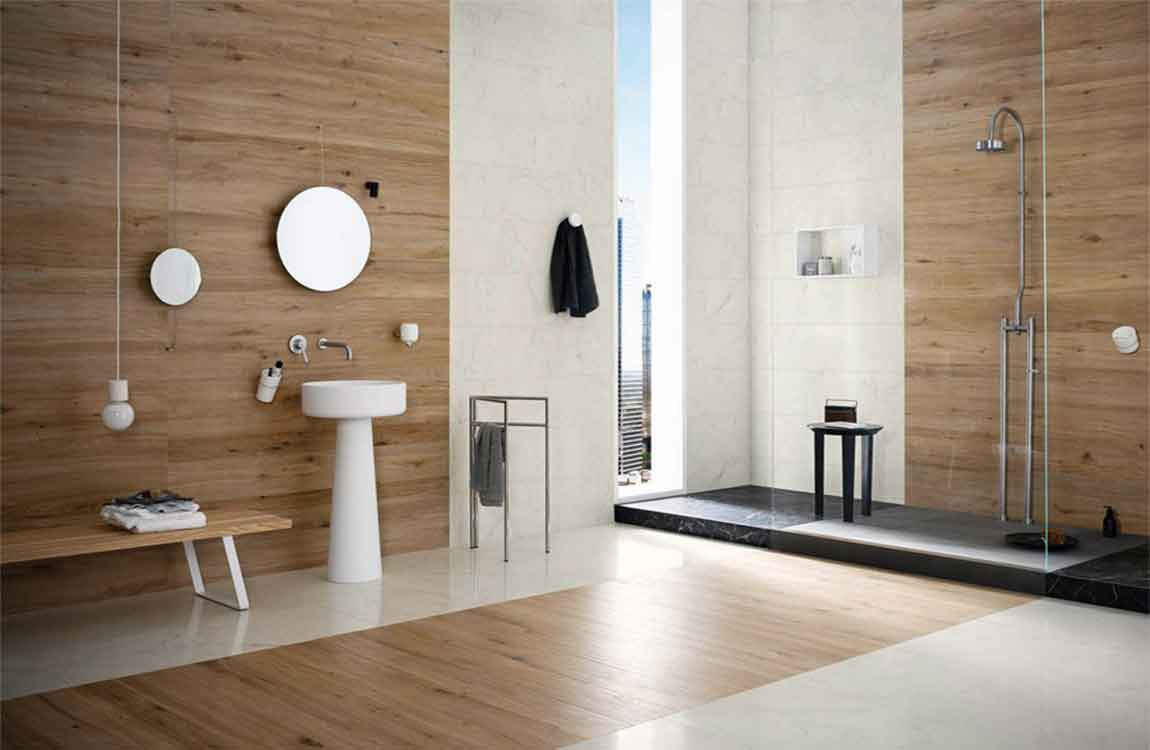
3.Antiskiding, antifouling polished tiles in the production of the concave and convex holes, these pores will hide dirt, resulting in the surface easily infiltrated into the pollutants, and even some tea poured on the polished porcelain are weak. The rustic tile is fired after the surface is glazed, so that the polished tiles are more imitated. From the skidding, the polished tiles can only be laid on most indoor spaces outside the bathroom and the kitchen, and the rustic tiles paving scope is more comprehensive, thus the anti skid ability is better. the surface of rustic tiles is matte, which is less polluting than light polished tiles, and is more environmentally friendly.
4. The price is different due to the manufacturing process and requirements of the two tiles. The price of polished tile is much cheaper than that of rustic tile.
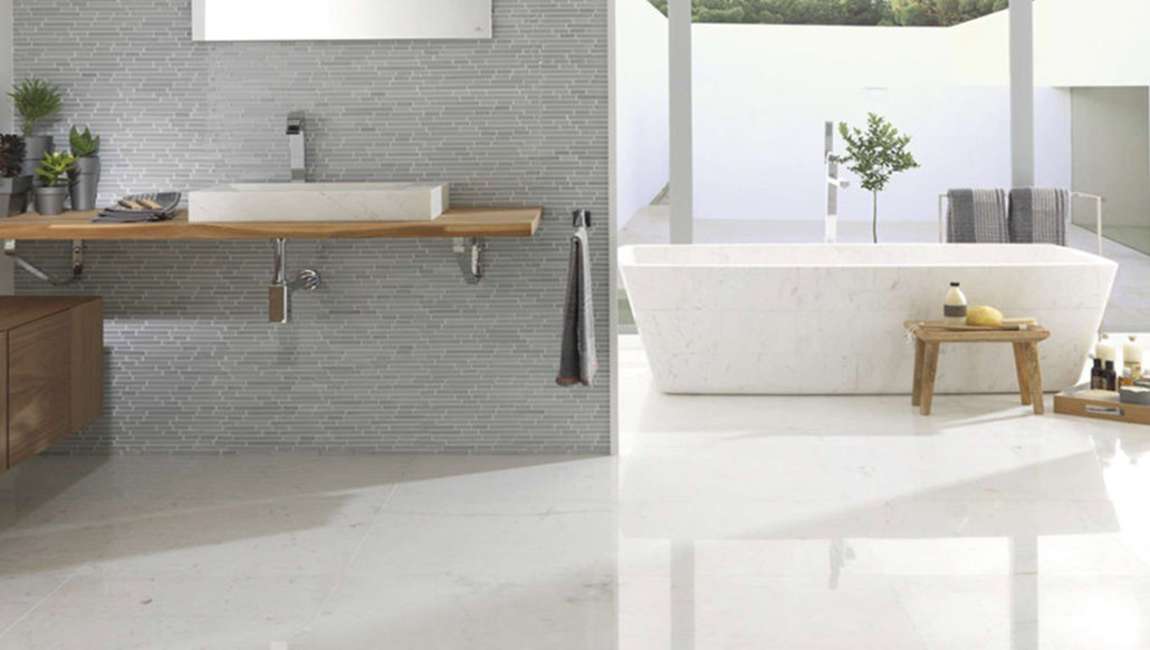
5. The size of polished tiles is larger, the largest is 2400X1200, and the rustic tile is smaller, and the largest is 600X600. Moreover, the trend of rustic tile has been developing towards small specifications recently.
6. Because of the simple color of polished tiles, the placement process is easier. Also between polished tiles should be laid as far as possible without cutting. Because of the needs of surface decoration such as the pattern and pattern of rustic tiles, the technology of rustic tiles is rather complicated. There is also the design of the designer to carry out the actual construction. Moreover, the paving of the rustic tiles requires a certain gap, and it is not allowed to cut and paste at will.
https://baranaceramic.com/wp-content/uploads/2018/04/The-difference-between-the-polished-tile-and-rustic-tile-1.jpg600900administratorhttps://baranaceramic.com/wp-content/uploads/2025/09/logo.pngadministrator2018-04-24 10:41:492018-11-28 06:48:57The difference between the polished tile and rustic tile