Posts

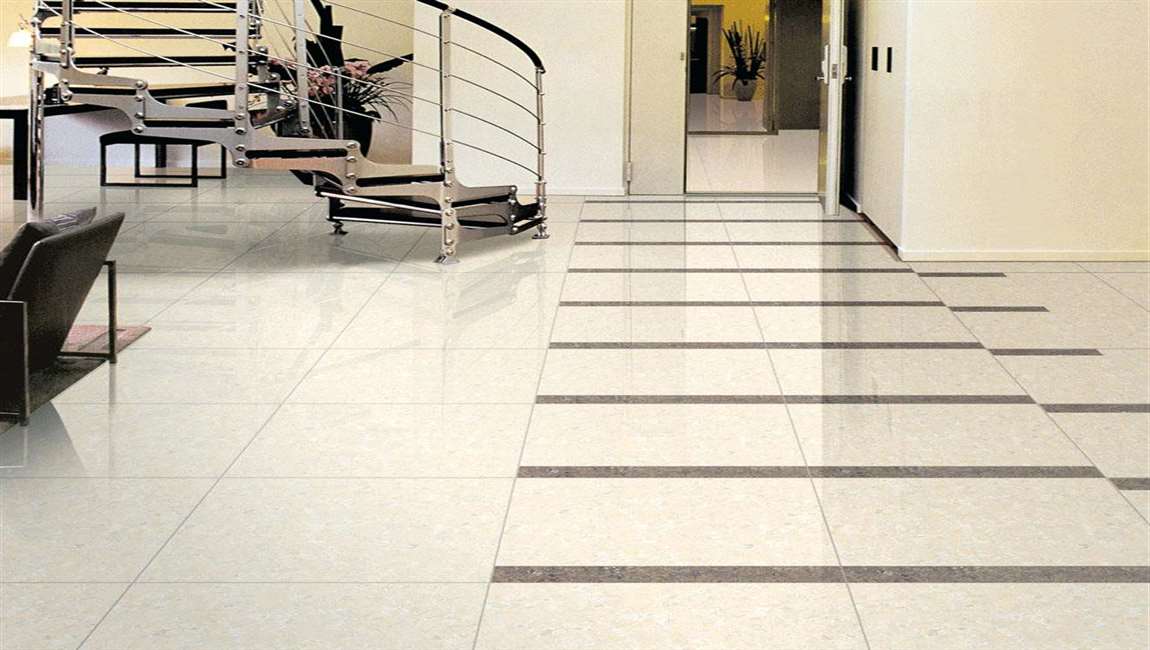
How Eliminating Heavy Stains?


Treat dark colored stains with hydrogen peroxide. Soak a clean, soft rag with hydrogen peroxide. Wring excess peroxide out of the rag over your sink. Position the rag so its peroxide dampened parts directly touch and cover the stain. Keep the rag on the stain for several hours or overnight. Avoid using this technique if your marble tiles is dark colored. Hydrogen peroxide on dark colors can lead to lightening.


Less serious stains may only need 15 minutes to a half hour of time before the stain can be wiped away. Check less serious stains at regular intervals for this reason. If, at a glance, you can tell the stain you are working on will require heavy-duty techniques, you may want to skip the peroxide treatment and move straight to mixing a heavy-duty cleaning solution.


Rinse the treated area with cold water. Fill a cup or small bucket with cold water. Pour water onto the treated area of the marble tiles. Use a clean, dry, soft cloth to wipe up standing water and any dirtiness. Heavy-duty stains may remain after cleaning the surface with peroxide, in which case you’ll need to mix a heavy-duty cleaning solution.


Mix a heavy-duty cleaning solution for remaining stains. In a medium sized bucket, combine ¼ cup (59 ml) baking soda, ¼ cup vinegar, ½ cup (118 ml) ammonia, and 8 cups (1.9 L) of hot water. Agitate the mixture with a kitchen implement, like a spoon, until the ingredients are consistently blended. The mixture will foam slightly.


As an alternative to heavy-duty cleaners, you can use paint-thinner or denatured alcohol to remove the stain. However, always test these cleaners in an inconspicuous place on your cultured marble tiles first, as they may damage the surface. Although this cleaning solution is made with household products, it can be harsh on your skin. Wear gloves when using this solution to prevent dry skin and irritation.

How Staining Your Cement Floor?


Check if your cement floor has been sealed. You can do a water test to make sure the concrete surface will absorb the stain that you’ll be applying. Pour water onto the concrete. If it is absorbed into the surface, this means the surface will be able to absorb the stain.


Remove the sealer if a puddle of water forms on the surface. Use a commercial paint stripper to get rid of the sealer. Once the sealer is removed, repeat the water test before applying the stain. Clean your concrete surface thoroughly. It is important to make sure there is no debris or dirt on the concrete surface.


Use a commercial cleaner and scrub the surface with a broom. Rinse the surface with water until there is no more soapy residue. Remove any excess water with a mop. Wear eye protection and waterproof gloves. When working with stains it is important to stay safe. Read the safety instructions and always use eye protection and gloves.


Apply the stain 24 inches (60 cm) above the surface. Check the spray pressure in a bucket before applying to the surface, then apply evenly to your surface area. Don’t overapply the stain to your surface. Remove any pools of liquid with a sponge.


Apply a sealer to protect your stain. The surface that has been stained should be dry before applying a sealer. Wait for at least an hour before applying to the stained area. Use a paintbrush to cover the edges with a sealer. This will protect any surrounding walls and allow for a more precise seal of the surface. Start at the top edge of the cement area and work your way around all the edges with a paintbrush.

How Installing Your New Tiles?

Comb the thin-set onto the floor. Dip your trowel into the bucket of thin-set and spread it out across the floor. Move your trowel in the same direction, to reduce the possibility of air pockets. If there were low spots in the floor that you marked earlier, you may need to apply extra thin-set to those areas.

Set each calacata tile down and wiggle it a bit. Hold the new slate tile above its future spot and drop it down gently and slowly. Move it just a bit side-to-side to secure the tile to the floor. Tap the top of the tile with a wooden hammer as well. Place a level on top of the tile to verify that the wood marble tile is level. Continue until all the tiles are placed.


Thin-set starts to dry immediately. If you need to peel up a tile and move it, you’ll need to do so almost immediately or risk having to chisel away hardened thin-set. The thin-set will be totally dry within 24-48 hours.

Use a tile cutter to make smaller tile pieces. You can either rent a cutter or buy a hand-held one from a home improvement store. You’ll likely need to cut crystal tiles to complete the edges of your floor. Hold a full cement tile under the cutter and run the scoring wheel across the top. Next, push down on the cutter’s handle until the tile snaps along the scoring line. Other options for cutting tile include using a wet saw or glass cutting tool.

Inspect each section of black tile before moving on. After you finish four or more tiles, stand up and take a few steps back. Look down to see if the amazon tiles appear in proper alignment. Place a level across the only tiles to make sure it is even. Take this opportunity to clean away any thin-set from the tile’s surface with a damp sponge as well.

Work the grout into the joints. When all of the tiles are placed, mix your grout in a bucket according to the package directions. Use a trowel and grout float to press the grout in between each tile. Wipe away any excess from the tile’s surface before it hardens by using your trowel and a sponge. When you are finished, let the grout dry for two days before walking on it. Don’t add too much water to your grout. It should be similar in texture to cake batter.