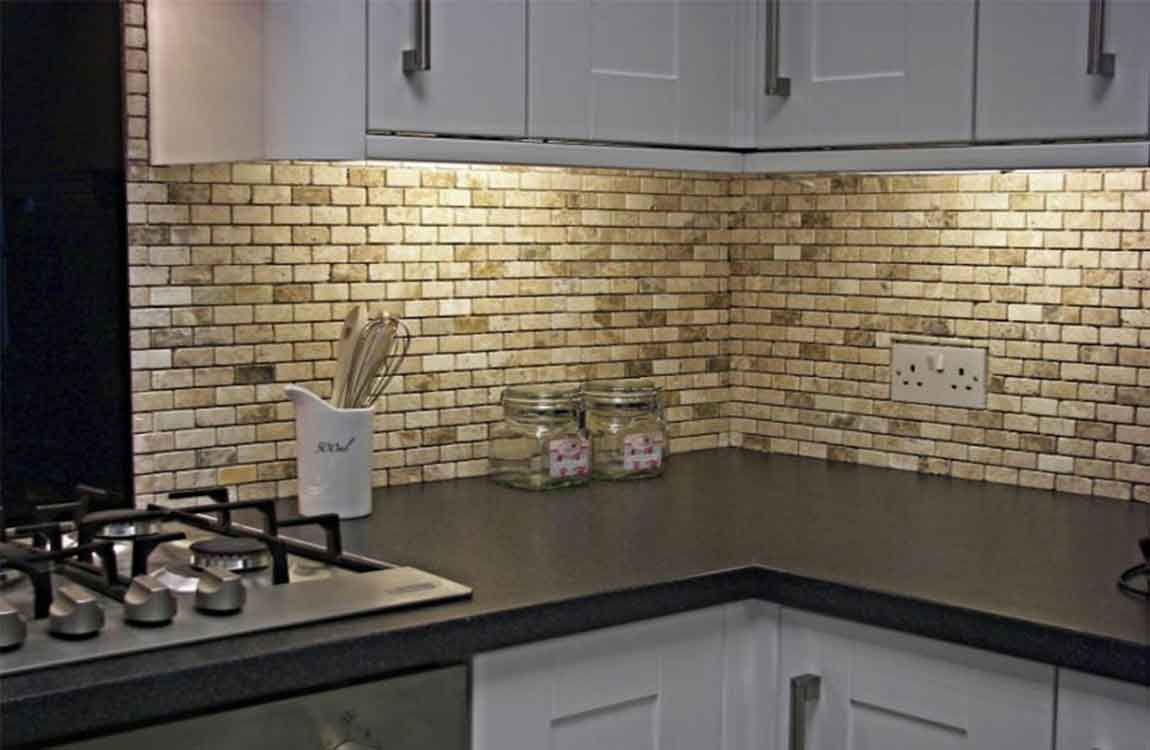
How Cleaning and Maintaining Soapstone Tiles?
Re-oil your Soapstone tiles surface once a week for the first 1-2 months. For subsequent applications, simply dab a little oil onto a folded cloth and use it to lightly buff the surface from corner to corner. Frequent treatments will encourage the stone to deepen in color even further. There’s no need to re-oil the surface at all following its initial treatment, if you don’t want to.
In fact, many homeowners opt to let their Soapstone tiles return to its original light gray color. Tip: Another benefit of periodic oiling is that it remedies the appearance of light scratches caused by cookware and cutlery. Continue oiling the surface as needed when its water-resistance wears off.

After the first couple of months, you can cut back to applying oil on a provisional basis and reduce the amount of attention you give your Soapstone tiles. A good rule of thumb is to polish on a fresh coat whenever you notice that water is no longer beading on the surface, or forms dark stain-like spots where it collects on the stone.
If you want to add oiling your Soapstone tiles surfaces to your cleaning schedule, once every 2-3 months is a good interval to shoot for. Discoloration caused by moisture is temporary, and won’t affect the look of your Soapstone tiles surfaces in the long run. Clean your Soapstone tiles quickly with a mild soap solution.

No expensive products or complicated techniques required—just stir a few drops of liquid dish soap into a container of warm water and wet a clean cloth, microfiber towel, or non-abrasive sponge or scrubbing pad. A light scrubbing will leave the surface spotless and restore its subtle shine. Use a stiff-bristled brush to get down deeper into corners, recesses, grooves, and other hard-to-reach areas.


 Pick the right
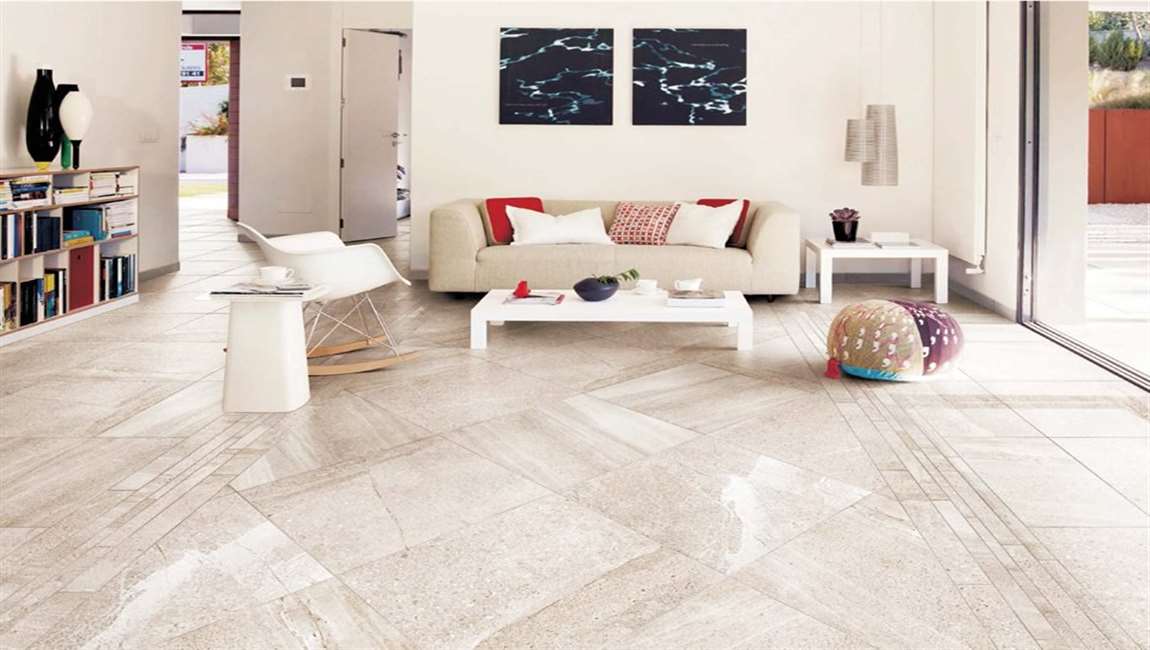
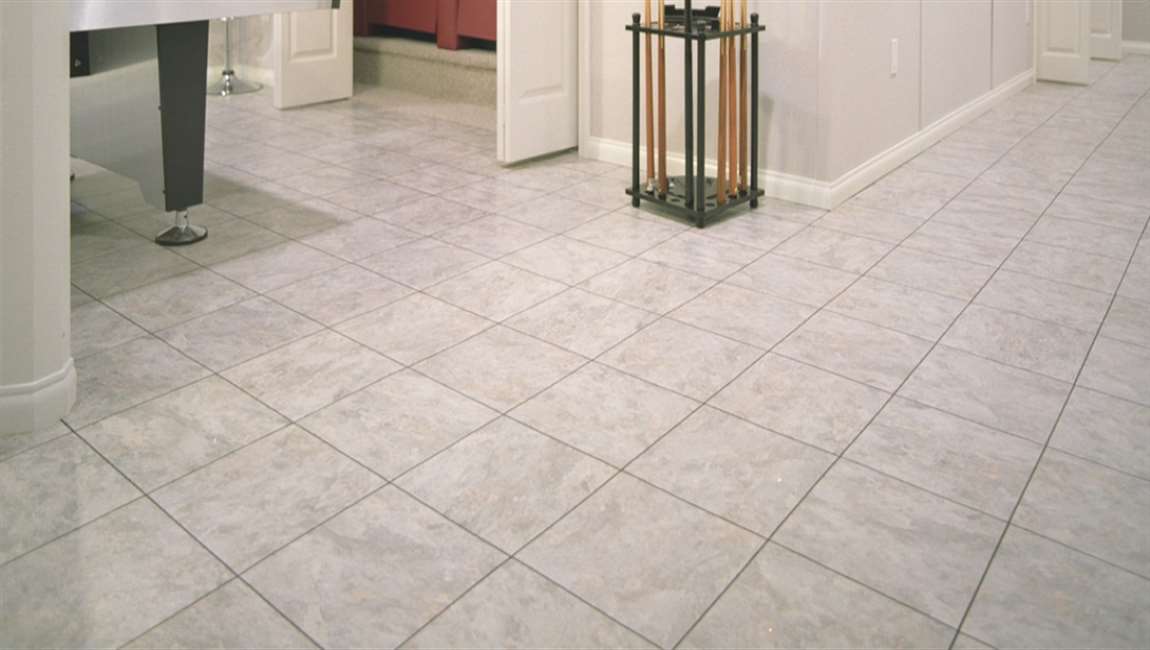 Clean the concrete surface. This is a vital step of the project. Accumulated mud, dirt and other debris must be removed completely to ensure that the
  Perform the concrete repairs and leveling. To lay an even surface, the underlying concrete needs to be uniform and level as well. To achieve this, get rid of any protrusions, bumps or cracks in the surface. Using sandpaper to level the bumps and concrete and other fillers to stop cracks, you should be able to get a smooth surface. Be sure to wash it after this is done and let it dry.
 Plan the layout. After preparing the surface, plan how you intend to lay down the
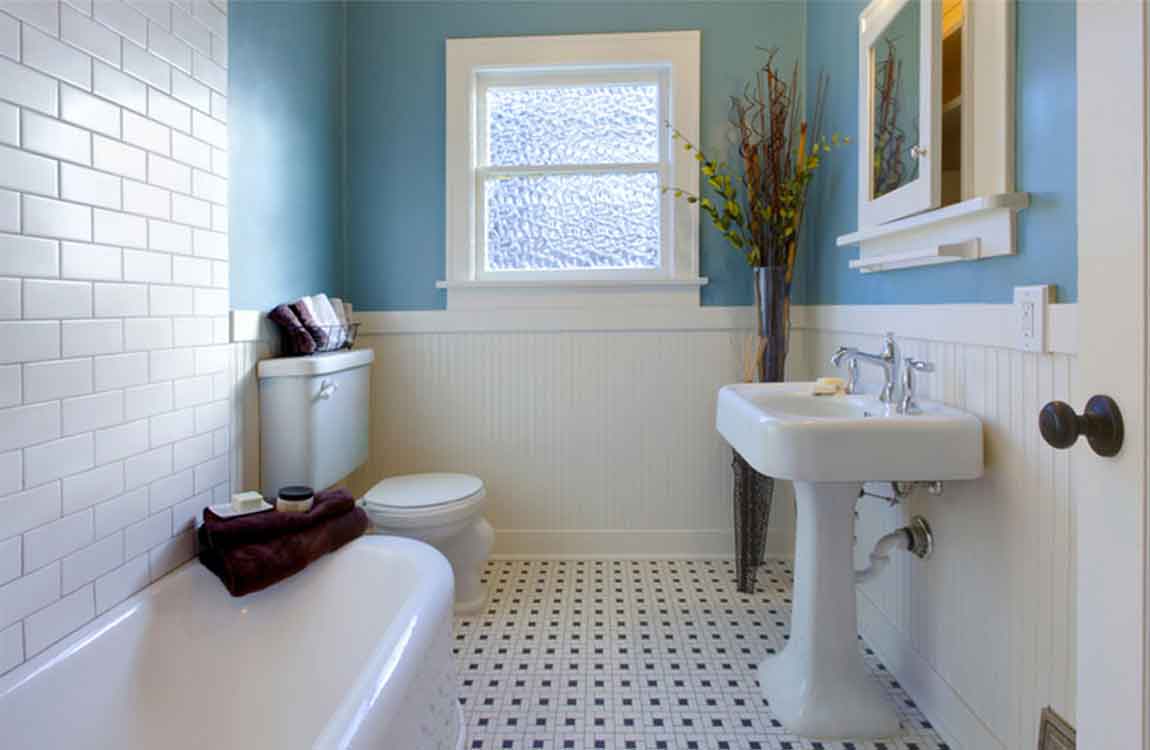
 Use baking soda. Make a paste with baking soda and water. Apply it to the dirty grout using an old toothbrush. Scrub the paste into the grout well. Wash the grout with warm water when you are finished. Most dirty grout can be brightened using this natural method. For the tougher stains, allow the paste to sit for a few minutes before you start scrubbing.
 Use bleach to remove stains that are more difficult to remove on
  Be careful to not get the bleach solution on the
  If you don’t like using bleach, you may be able to find a commercial grout cleaner that will be stronger than a natural cleaning product. However, check the label to make sure it doesn’t list bleach as an ingredient.
 Hit the chisel with the mallet to scrape off the adhesive. You’ll likely have leftover grout or glue that needs to be removed. This should come off the same way the
 Leave a super thin layer of the adhesive, if necessary. If you can’t remove all of the grout or glue, that’s okay. Use the chisel or hand maul to remove as much of it as possible, leaving just a thin layer (no more than 0.125 in (0.32 cm)) on the floor that can be filled in and covered up easily.
 Remove any remaining dust using a vacuum. Use a Shop Vac or similar vacuum to pick up any extra pieces of
  Apply thin-set mortar to the floor to make it level. Thin-set mortar will help fill in the holes and uneven surfaces of the floor so that the removal of the
 Scour the stain. If mopping has not adequately cleaned your
  Use steam cleaning. If the
  Use diluted muriatic acid. Muriatic acid is a corrosive mineral acid. Mix the muriatic acid in a solution with one part acid and five parts water. For instance, you might mix 1 tablespoon (15 mL) of acid with 5 tablespoons (74 ml) of water. Apply the solution to the