Posts

How to Clean Cultured Marble Tiles?

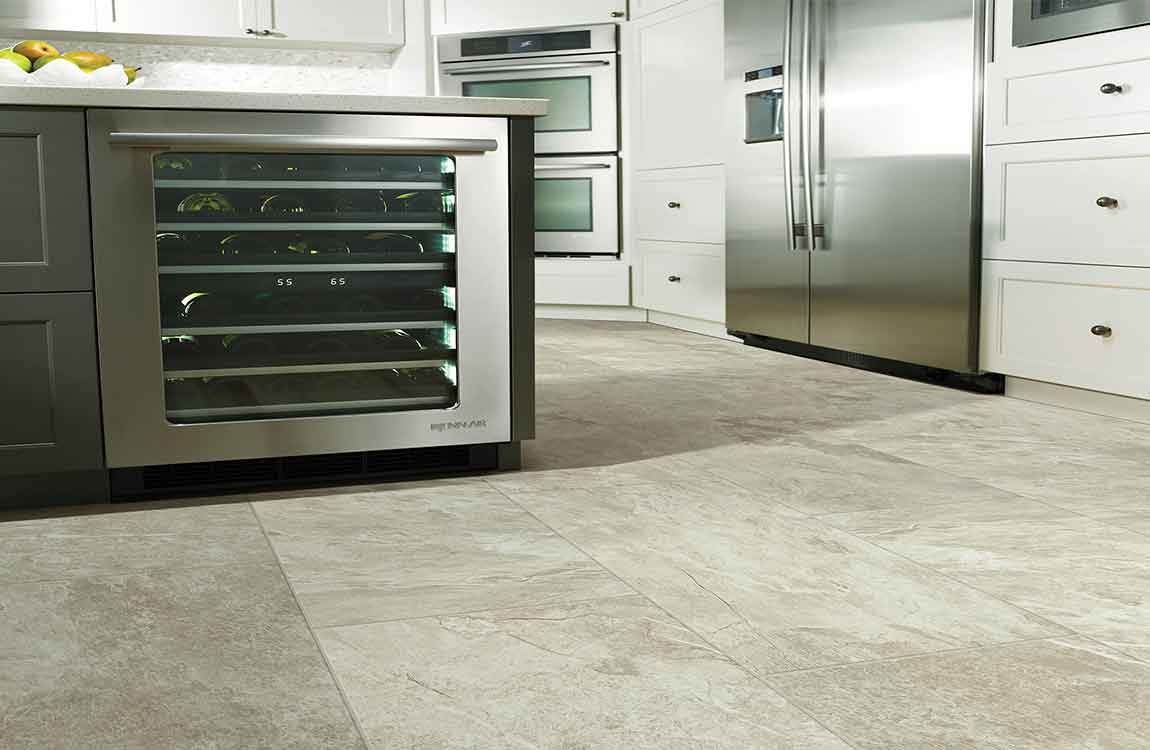
Cultured marble tiles is a resilient material frequently used for tiles, sinks, and vanities. Mineral deposits and soap scum can build up on your marble tiles, negatively impacting its appearance. Remove mild buildup and stains with a soft rag and white vinegar. Eliminate difficult stains with hydrogen peroxide or a special, heavy-duty cleaning solution.


Ensure safe cleaning by avoiding harsh chemicals and abrasives. Some stubborn stains might require a longer soak time. However, soaking your marble tiles too long in this solution may be harmful to its finish. Cleanse the area with water. Rinse the cleaned area with cold water in the same fashion as previously described.


Wipe up water remaining on your marble tiles and any dirtiness with a clean, dry, soft rag. Your cultured marble tiles should now be clean. Any excess sealer that’s pooled on the surface of your marble tiles or that has not been absorbed must be removed for the health and appearance of your marble tiles, as leftover sealer can stain it.


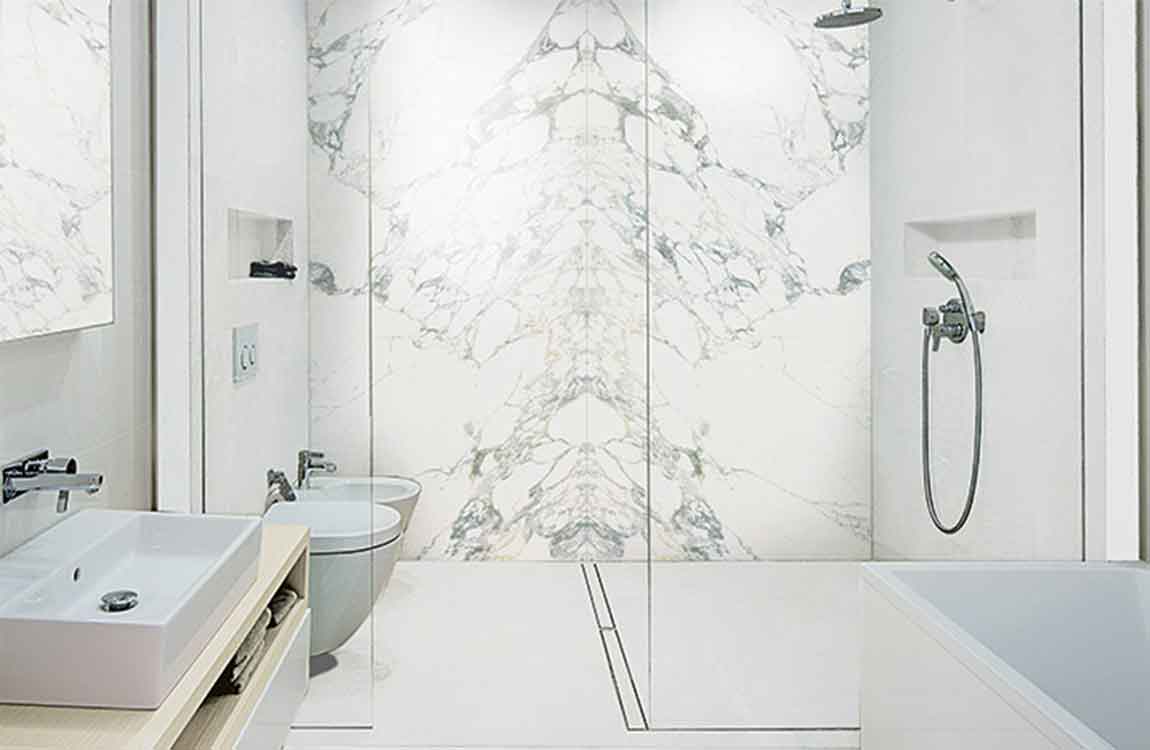
Allow the sealer to set for 24 hours. Let the sealer fully absorb and dry into your marble tiles before trying to use your shower again. You should seal your marble tiles bathtub once every six months. Let everyone in your house know that using the shower before the sealer dries could damage your marble tiles.


After receiving your pre-cut marble tiles slabs, the first thing to do is make sure they fit on your tiles. Place the slabs on top of their installation location—also known as dry-fitting—and make sure that each piece fits into its space without creating any large gaps between its surroundings.

How Scoring and Snapping Thin Glass?

Use a glass scoring tool to make straight lines. If you plan to make longer, straight cuts on tile 1⁄8 inch (3.2 mm) thick or less, use a glass scoring tool. Scoring refers to cutting small cuts in the surface of the glass that will allow you to break the piece off with a clean edge.. Choose a scoring tool with a carbide or diamond cutting wheel to score the glass.


Scoring and snapping allows you to cut larger squares of tile into smaller squares and isn’t ideal for cutting irregular shapes or patterns. The cuts need to be at least an 1 inch (2.5 cm) wide in order for you to snap it off, so scoring is not a good method to cut thin slivers of glass tile. You can find glass scoring tools at hardware stores or online for about $15.


Lay the glass tile face up on a flat surface. When you score and snap, you want to make your cuts on the front facing side of the tile so the visible part of the tile has the straightest line. Place the glass tile on a workstation or table with the side that will be facing out when you install the tile facing up.


Be sure to lay the glass tile down gently to avoid chipping or cracking it. Tip: Consider laying a towel or cardboard down beneath the glass tile to keep it from knocking against the surface.

Use a straightedge and washable marker to draw guidelines. Scoring and snapping is ideal for breaking glass tiles across their entire surface, rather than cutting sections out of a larger piece of glass tile. To give yourself a guideline, place a straightedge on the tile, and use it to guide your washable marker as you make a straight line across the tile. Washable marker will wipe off easily after you snap off your glass tile.

How to Cover Tiles Cheaply?

While tiling is easy to maintain, it can sometimes look outdated or unsightly. Luckily, you can cover tile inexpensively with rugs, decals, or paint to update the room and achieve the look that you want. Whether you’re covering the tile temporarily or permanently, there are a few solutions you can try.

Apply contact paper to countertops for an easily removable update. Measure the countertops to see how much contact paper you’ll need, and purchase large rolls to fit the space and save money. As you’re covering the tile, cut the sheets to be as long as possible, peel off the backing, and overlap the contact paper along the seams to prevent peeling. Smooth the paper with a credit card to remove air bubbles to finish off the project.

Contact paper comes in a variety of different patterns and finishes that are perfect for countertops, including wood grain, glossy marble, and granite. To remove the paper, begin pulling it from the corner of the sheet and work slowly across the countertop. Tip: Make sure the pattern on the contact paper lines up and is oriented in the same direction for a more professional, high-end look.

Resurface countertops with quick-setting cement for an updated look. Sand the existing tile countertops and build a temporary form that attaches to the cabinetry, which will hold the cement as it sets. Then, simply mix and pour self-leveling concrete over the countertops and follow the package instructions to cure it. Paint a sealant over the concrete to protect it from water and debris.

While this is a more labor-intensive option, it can be very inexpensive, depending on the type of concrete you choose. Keep in mind that the concrete will likely crack slightly during the curing process, but you can fill in the cracks with the sealant. If you want to remove the carpet tiles or reposition them, simply pull them up by the corners to reveal the tile underneath.