Make a vinegar and oil based cleaner. You can make your own wood cleaner for the wood walls at home using 1 cup (240 ml) water, 1⁄4 cup (59 ml) white or apple cider vinegar, 1⁄2 cup (120 ml) mineral oil, and 20 drops lemon oil. Shake the mixture well. Then, use a clean cloth to apply the cleaner to the wood walls. Work the cleaner into the wood with the grain in smooth, circular motion.
The cleaner will remove surface dirt or dust, leaving a nice warm shine to the wood. It will also give the wood a pleasant lemon scent. Use a commercial wood cleaner. You can buy commercial cleaners made for wood walls online or at your local hardware store. These cleaners contain natural ingredients and oils that are safe for use on wood paneling or wood slats. Follow the manufacturer’s instructions to apply the cleaner correctly to the wood walls.
It may be worthwhile to invest in a commercial wood cleaner and keep it on hand at home. You can then apply it on the walls on a regular basis when it needs a clean, especially if the wood walls are located in high traffic areas like your kitchen or your living room.
Get the wood walls professionally cleaned. If you are unsure of how to best clean your wood walls without damaging them, contact a professional wall cleaner. Look for a professional wall cleaner online or through friends. Get a professional who has worked with wood walls before and has experience cleaning dirt, dust, and grime off of wood.
Clean your floor regularly. Mark when you cleaned your floor. Strive to clean your floor about once a week to keep it looking clean and fresh. If you wipe up minor spills, like splattered food, as they occur, it’s easier to clean your floor during routine mopping.
https://baranaceramic.com/wp-content/uploads/2019/10/Applying-a-Wood-Cleaner-4.jpg7501150administratorhttps://baranaceramic.com/wp-content/uploads/2025/09/logo.pngadministrator2019-10-17 08:00:212019-10-24 07:52:19How Applying a Wood Cleaner?
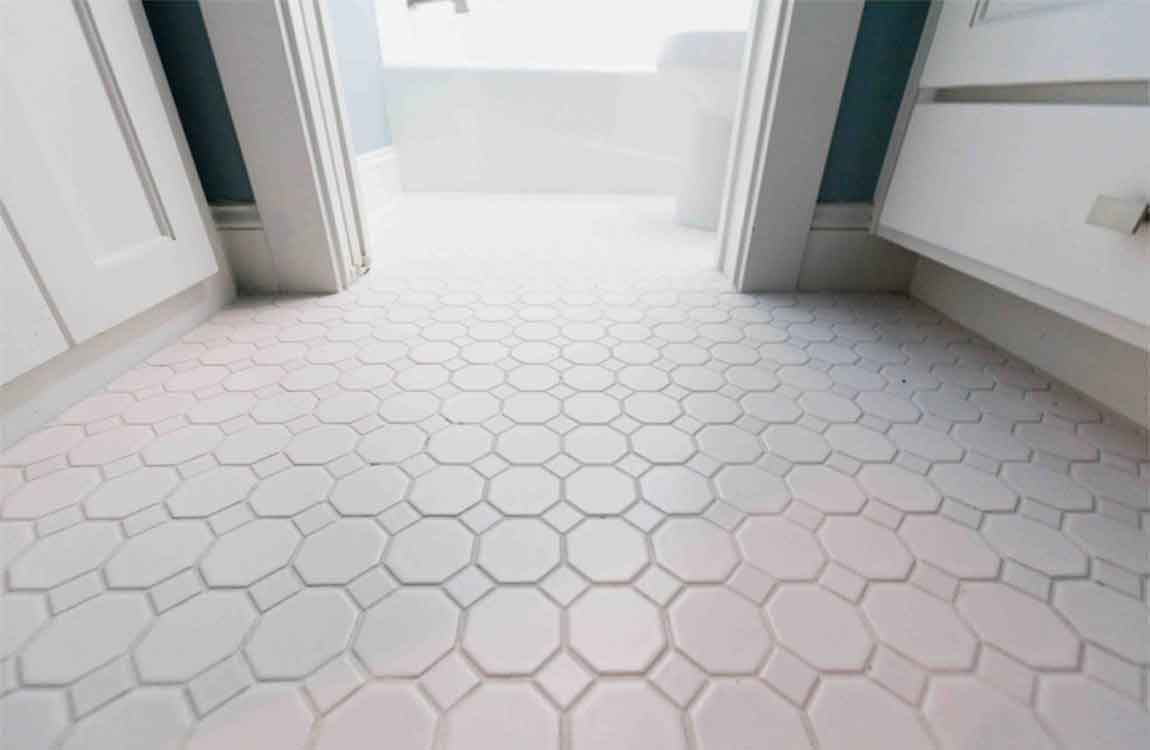
If the grout between your tiles has turned from white to brown, it’s ready to be cleaned. Fortunately, there are several homemade grout-cleaning solutions you can make with vinegar. Most of them involve baking soda, a compound which – when mixed with vinegar – creates a bubbly, fizzing reaction that’s perfect for cleaning grout. After applying your vinegar solution, use a scouring pad, a toothbrush, or some other cleaning implement to scrub your grout.
Apply vinegar to the grout. Use a vinegar-soaked cloth or a spray bottle filled with vinegar to coat the grout you wish to get clean. If you are trying to clean grout on a vertical surface, a spray bottle is probably your best bet. nAfter applying the vinegar, wait ten minutes before moving on to the next step. Always use distilled white vinegar or specialized cleaning vinegar to clean grout.
Scrub the grout. Ten minutes after applying the grout, use a toothbrush to scrub the grout. Use firm up-and-down motions to scrub the grout clean. Wipe the grout. Use a dry or damp rag to remove the loosened grout grime. Allow the area to dry, then evaluate it. If the grout still needs cleaning, try a different method.
Wipe the grout. Once you’ve loosened the grime and grit along your grout, it should wipe away with ease. Take a damp rag or paper towel and wipe it along the grout you’ve cleaned. Wipe the area along the edges of the grout, too, to soak up any of the lingering water/vinegar. If you want to give your floor an additional level of shine, mop the whole thing after you’re done
Make a citrus vinegar spray. Mix 3.5 cups (828 milliliters) hot water, ½ cup (170 grams) baking soda, 1/6 cup (40 milliliters) vinegar, and 1/3 cup (80 milliliters) lemon juice in a spray bottle. Aim the nozzle of the spray bottle at the grout you wish to clean. Spray the bottle so that the grout is evenly covered. After one hour, scrub the grout with the scouring side of a sponge to remove the dirt crusted into the grout.
https://baranaceramic.com/wp-content/uploads/2019/10/Clean-Grout-with-Vinegar-4.jpg7501150administratorhttps://baranaceramic.com/wp-content/uploads/2025/09/logo.pngadministrator2019-10-14 08:00:192019-10-17 08:01:16How to Clean Grout with Vinegar?
Arrange the tiles outward from the center of the room. To get started, place a tile at each of the 4 corners where the wall lines intersect. Beginning at the center of the room rather than at the walls will prevent you from ending up with gaps or unsightly narrow tiles around the outer perimeter of the room. Symmetrical central tiles will also serve as an attractive focal point for the room.
Use spacers to separate each tile. After you lay down a tile, place a tile spacer at either end before putting down the next tile in the row. The spacers will ensure that your layout remains neat and even and that no 2 tiles are set too close together. Spacers also serve to show the minimum distance you’ll need to leave between each tile for your grout lines.
Tile spacers come in many different sizes. The amount of space you leave between tiles will depend on the look you’re trying to achieve, but 1⁄8 in (0.32 cm) spacers are standard for most flooring projects. Work your way toward the wall. Starting from the 4 central tiles, lay out the remaining tiles in a straight line until you reach the wall. Then, return to the center and work your way toward the opposite wall to form a single row.
Lay your tile in 2–3 ft (0.61–0.91 m) sections. The optimum size of each section will vary based on the dimensions of your tile. If you’re working with 12 in (30 cm) square tiles, your section groupings might be comprised of 2-3 tiles in each direction (for a total of 4-6 tiles per section).
If you need a visual aid to help you keep track of your sections, snap a series of chalk lines to clearly mark where each next group of tiles should go. Dry-fitting your tile in sections usually results in straighter, more precise grout lines. Be sure to complete 1 row before moving on to the next.
https://baranaceramic.com/wp-content/uploads/2019/08/dry-fitting-tiles-3.jpg7501150administratorhttps://baranaceramic.com/wp-content/uploads/2025/09/logo.pngadministrator2019-08-12 08:00:402019-08-07 03:29:00How Dry-Fitting the Tiles?
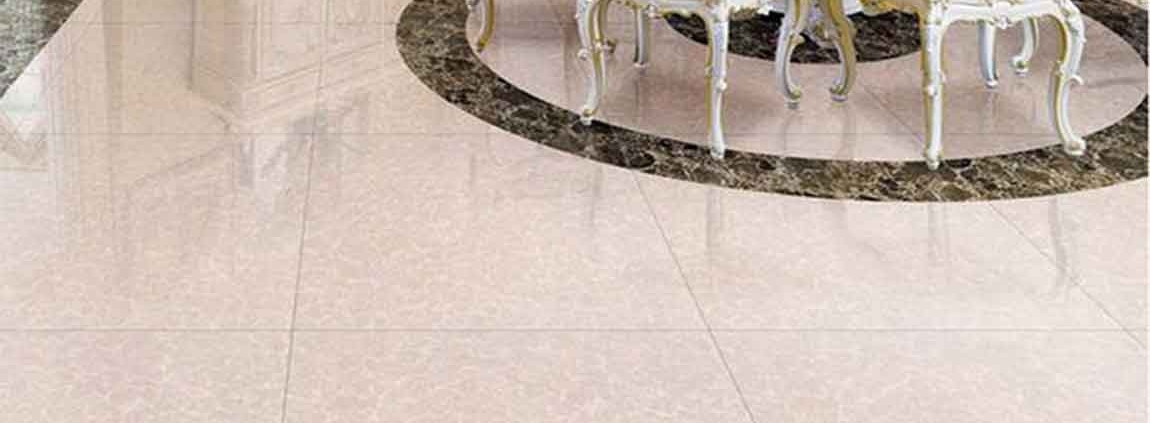
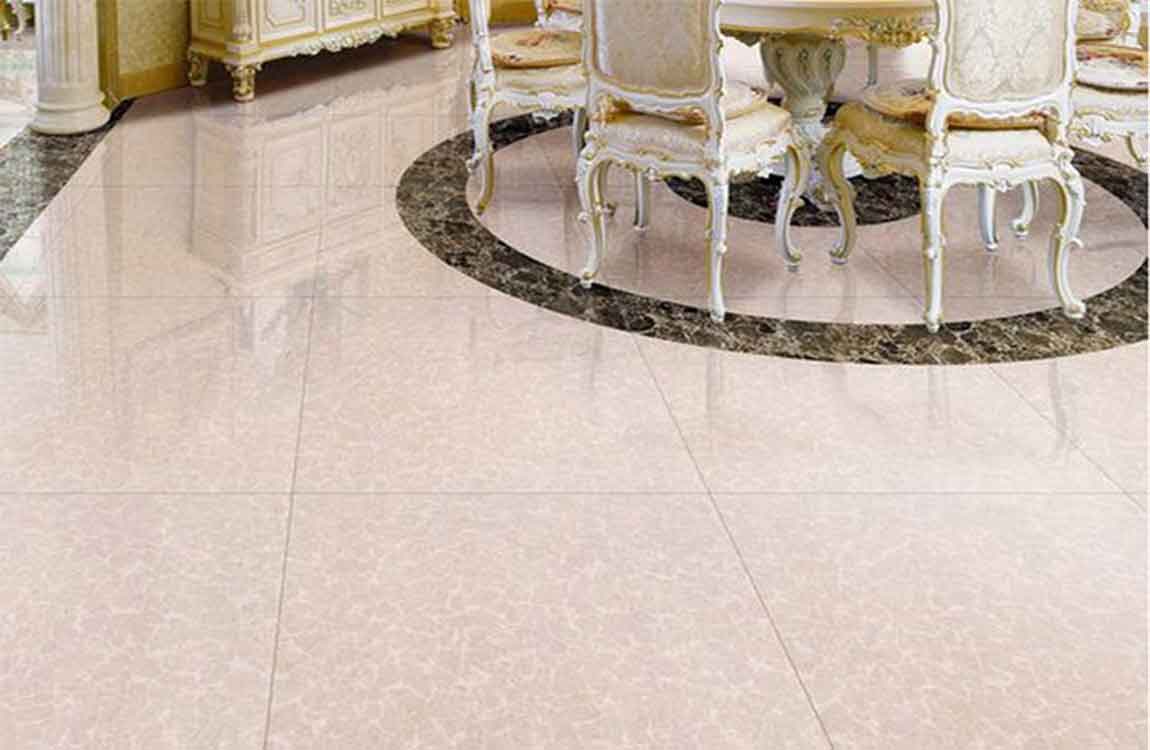
Floor tile is a large proportion of decoration, and also the largest display area in home decoration. It is the background of style. Understanding the knowledge of these tiles can better communicate with designers and make the most satisfactory home style.
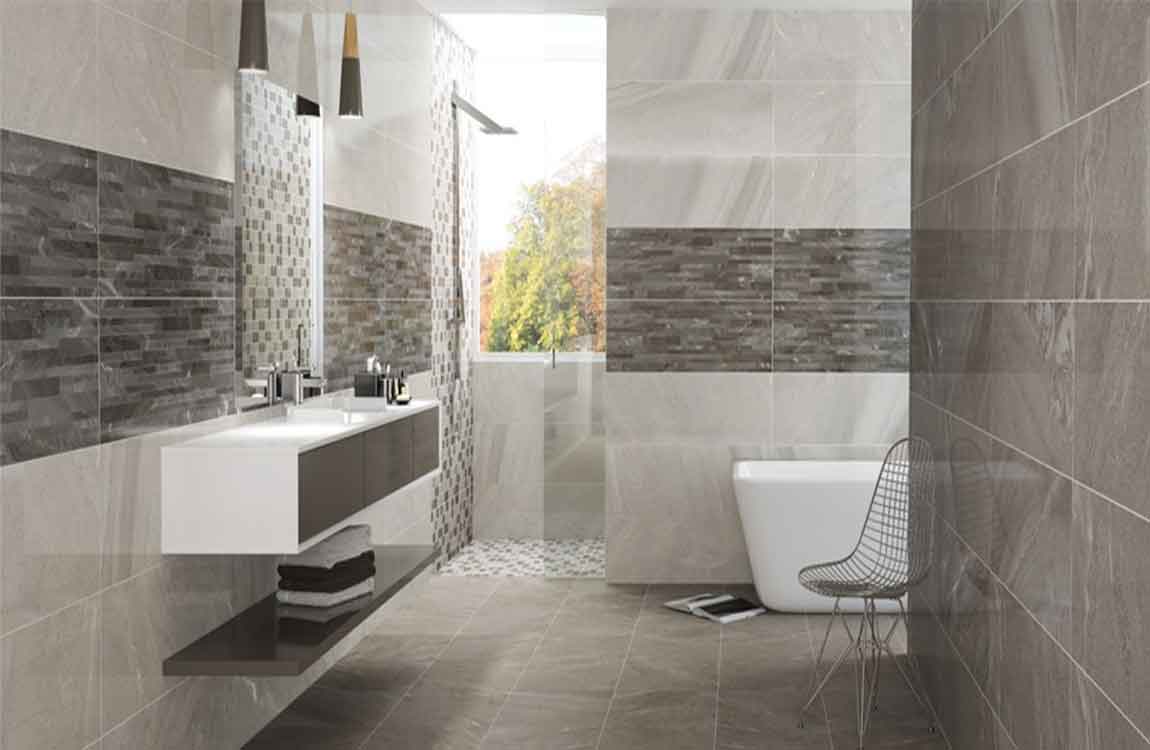
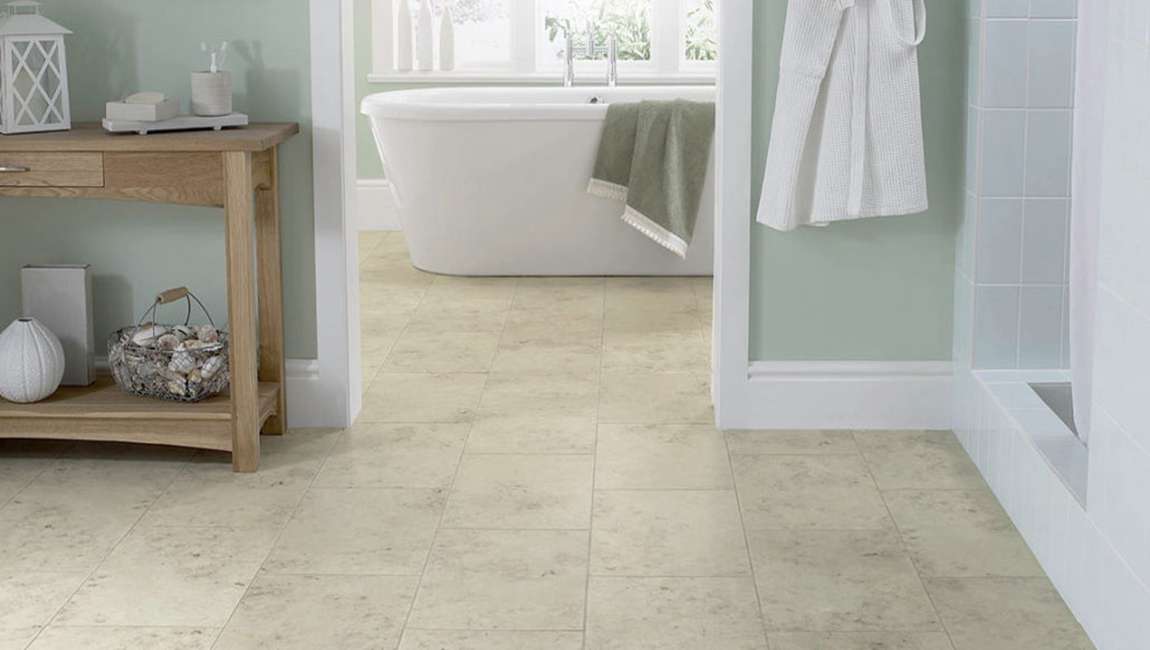
From the material,best floor tiles wear-resistant, waterproof, moisture-proof features not only meet the living room, kitchen, toilet, tread on wear and water frequent requirements, but also can show a good taste of the home, so the general decoration can not be paved with bath floor tiles. From the decoration style, whether you are Chinese, European style, American style, or modern simplicity, floor laying, wall decoration, more floor tiles are indispensable.
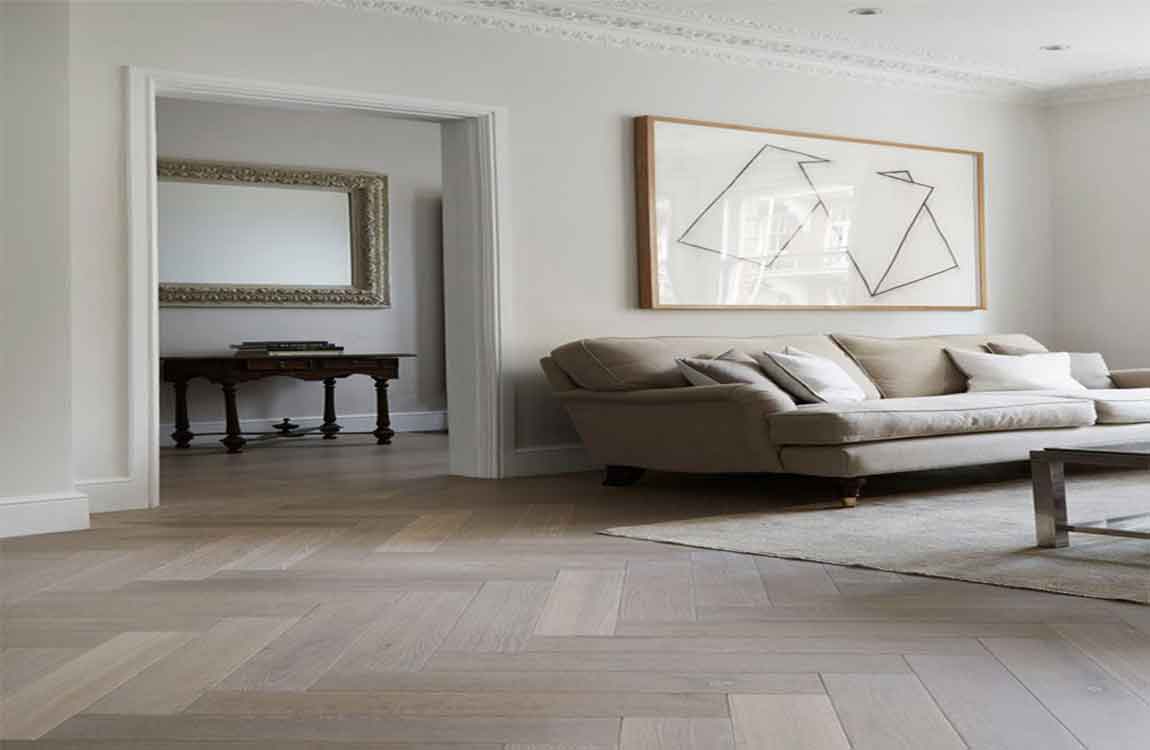
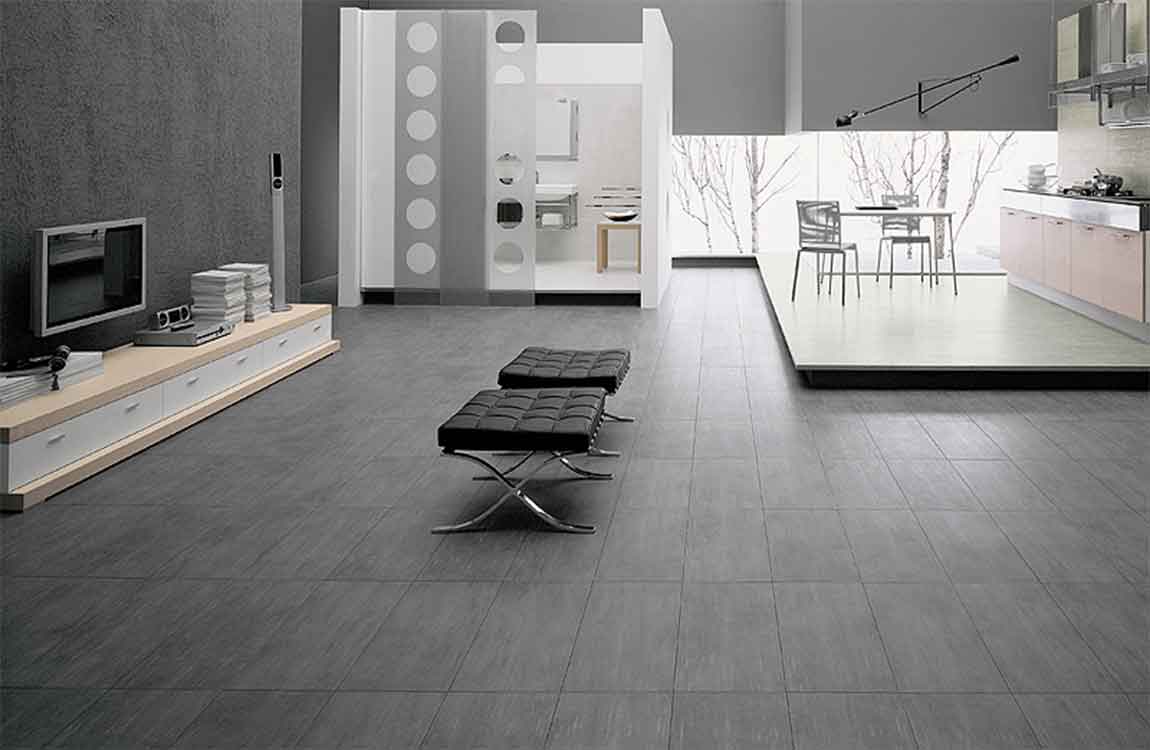
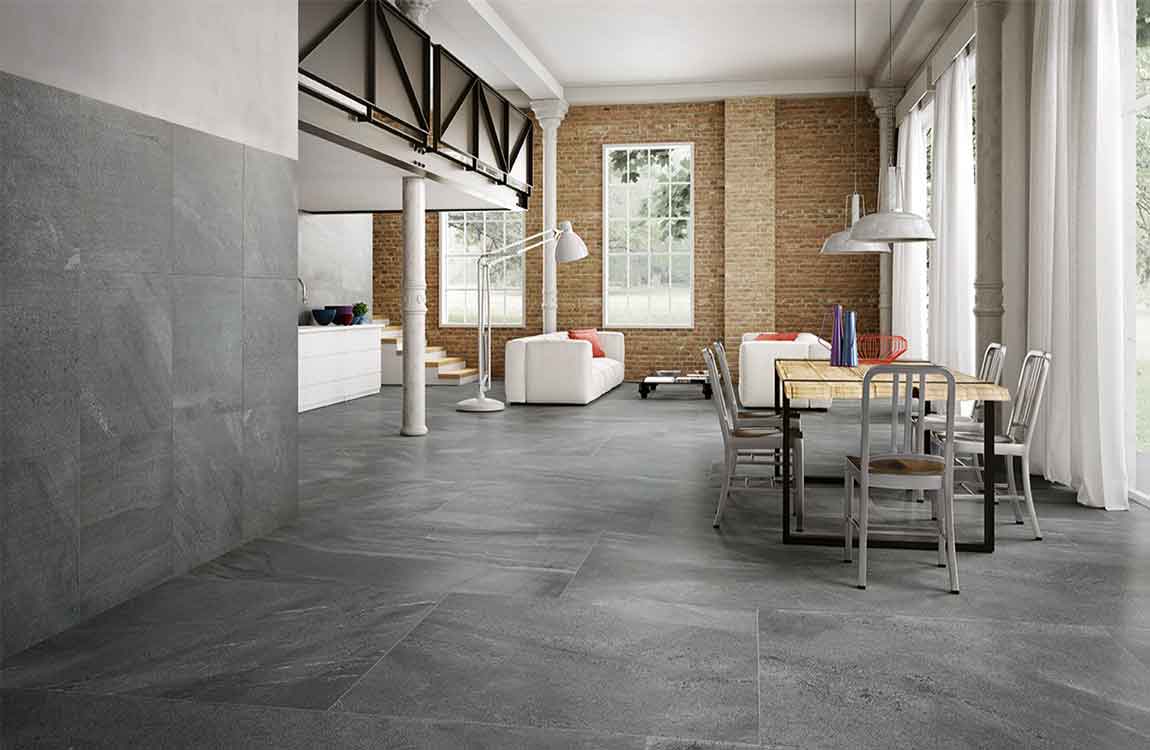
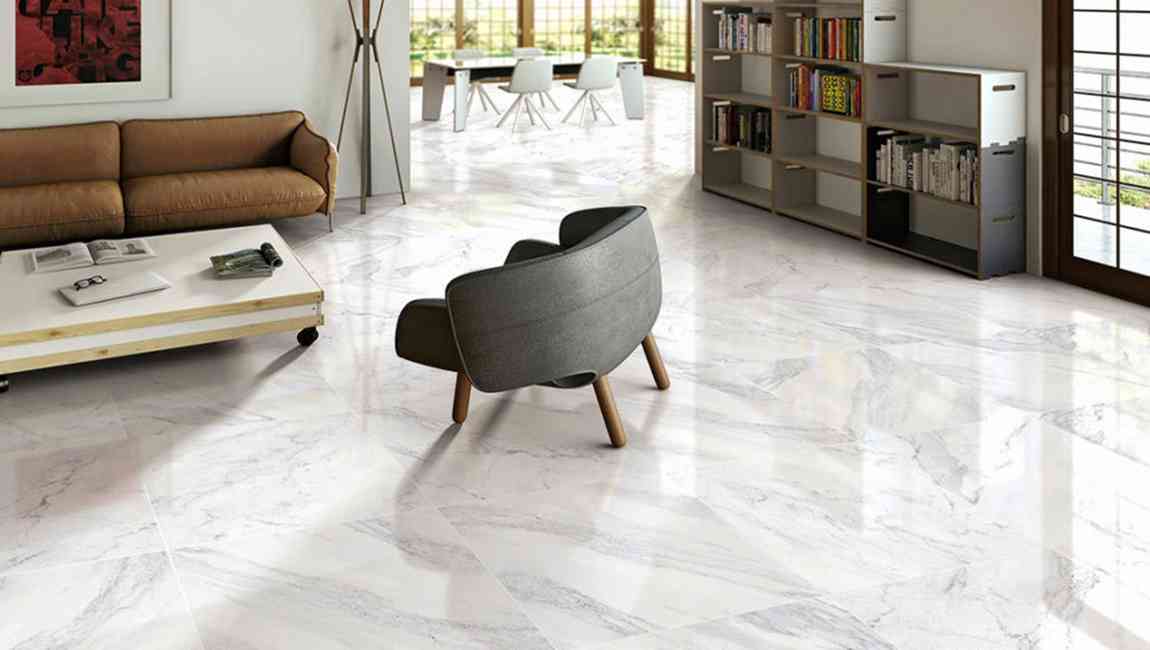
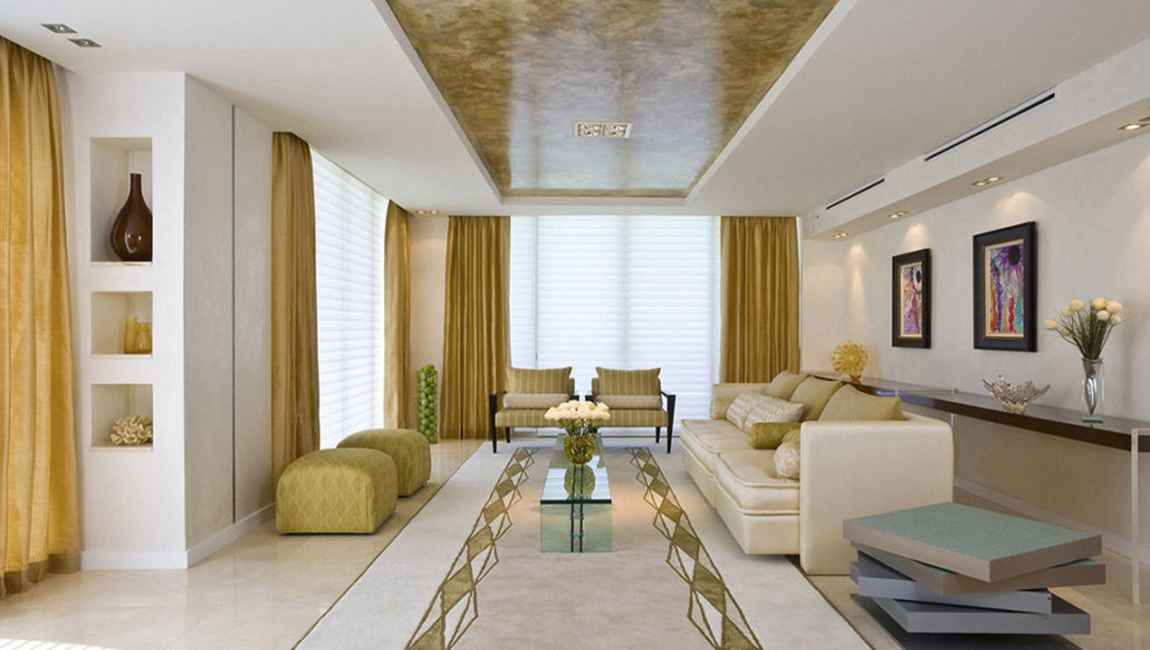
Flooring tile matching principle: single tone, the pursuit of unity, small comparison, focusing on practicality. The most important thing is the style that you like. If the living room is well lit (facing the South and long sunshine time), it is suitable for using dark colors and cold tonal subway floor tiles. If it is bright, it will make the room brightness too high, no matter it is beautiful or visual health is not desirable. If the living room is not well lit (sunshine time is in the afternoon or light time is short), it is suitable to adjust with bright colors and warm tones.
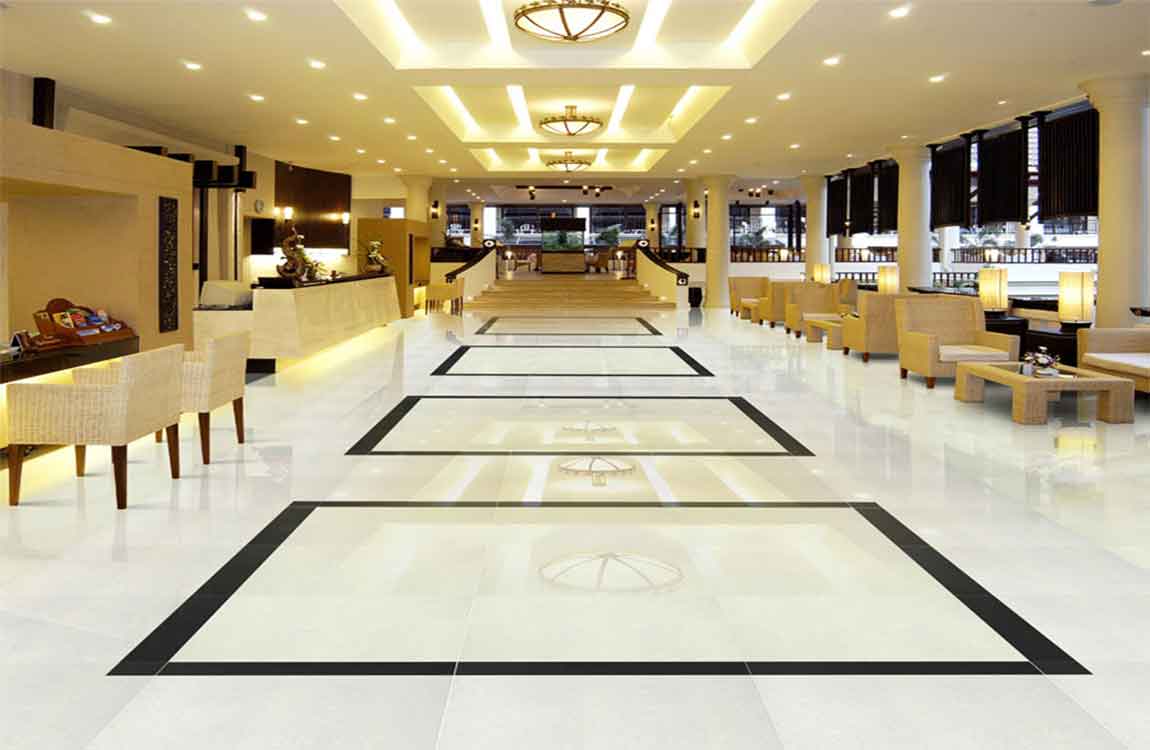
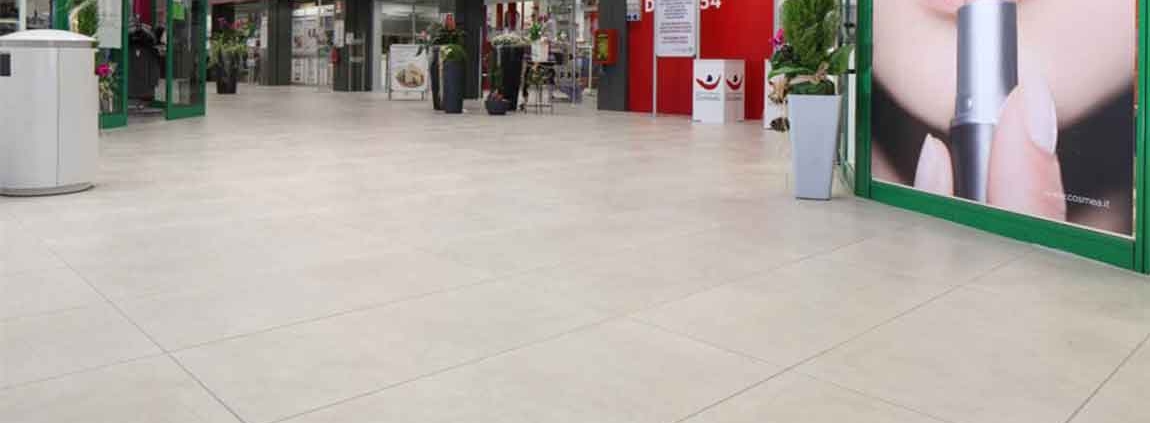
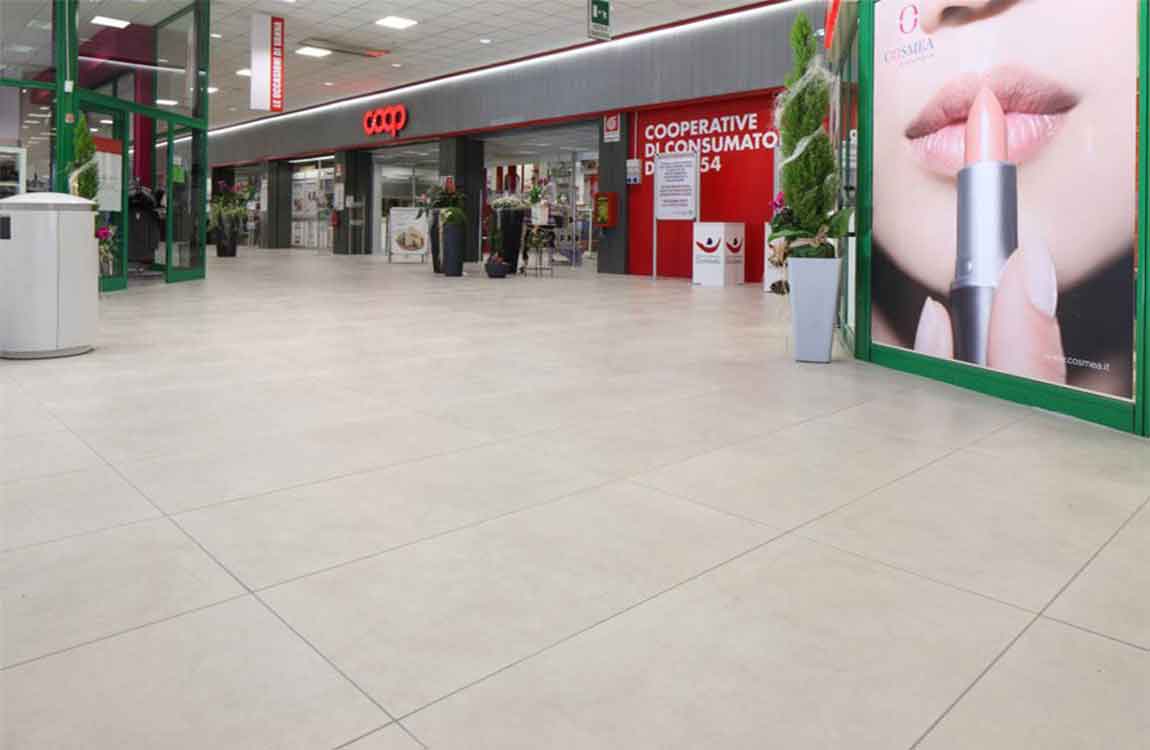
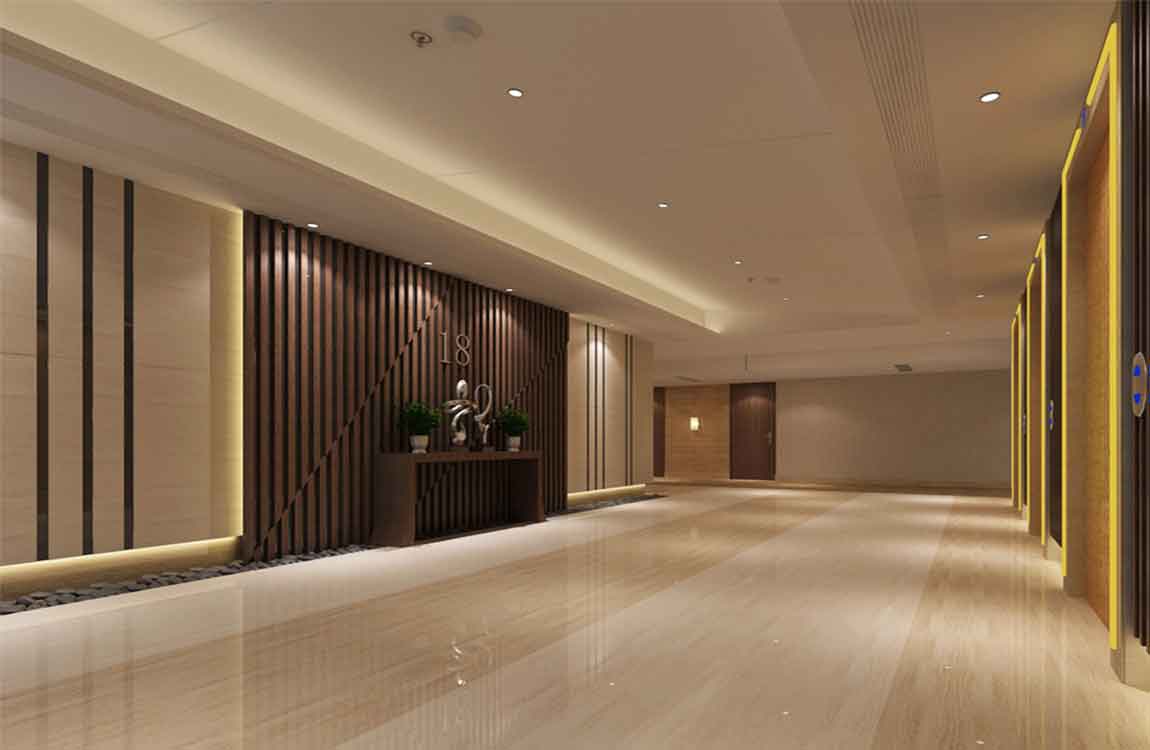
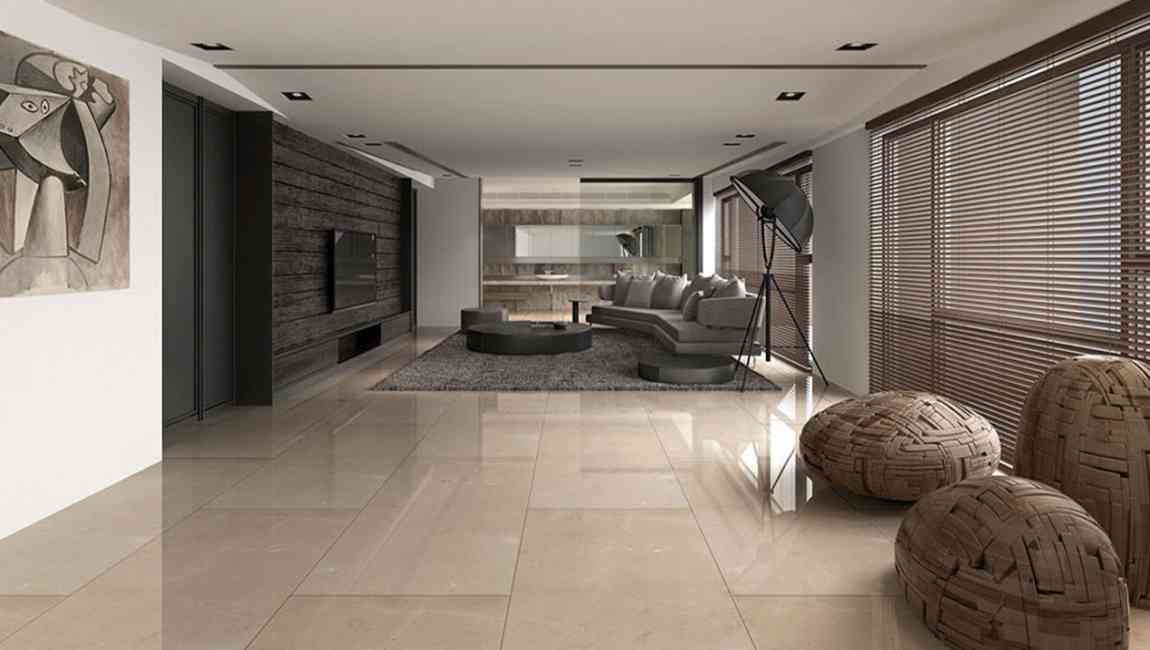
We should not blindly pursue the use of large-area ceramic tile flooring. We should tailor them to 40sqm. The following specifications are recommended to be use ceramic floor tiles of 600 x 600mm. Rooms above 40sqm use ceramic floor of 800 x 800mm specifications. The long hall uses the stripe texture floor tile design, the square living room uses the miscellaneous texture floor tile. Texture plays an important role in improving the overall effect of living room. The selection is not only considering personal hobbies, but also paying attention to space collocation.
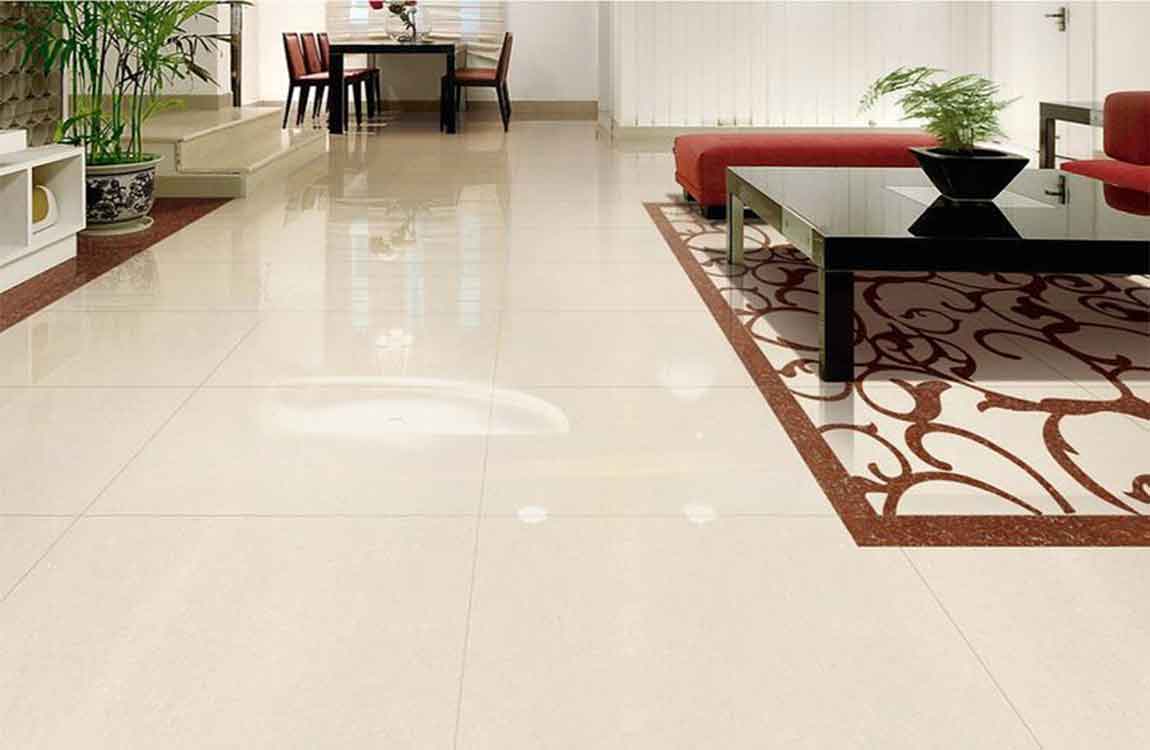
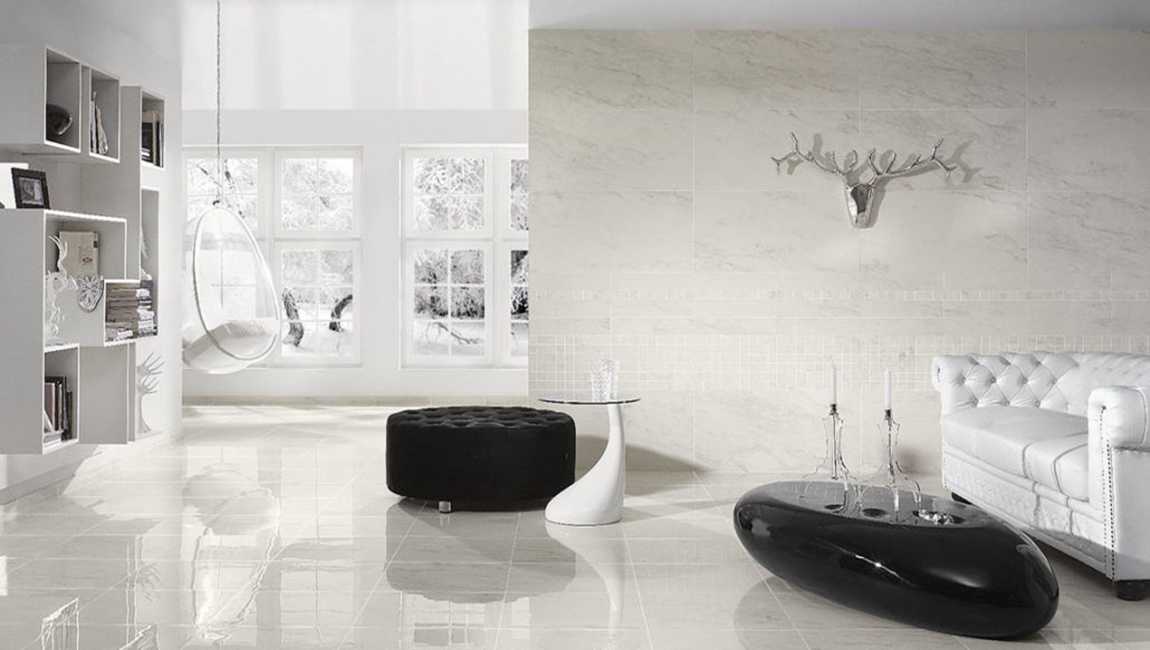
The home’s overall style and furnishings should be harmonious and unified. In contrast color processing, visual transition is necessary. When laying the floor tiles in kitchen, we must consider the brightness of floor tiles in addition to color. The specific requirements are: the floor tiles same as the wall, or slightly lower than the wall.
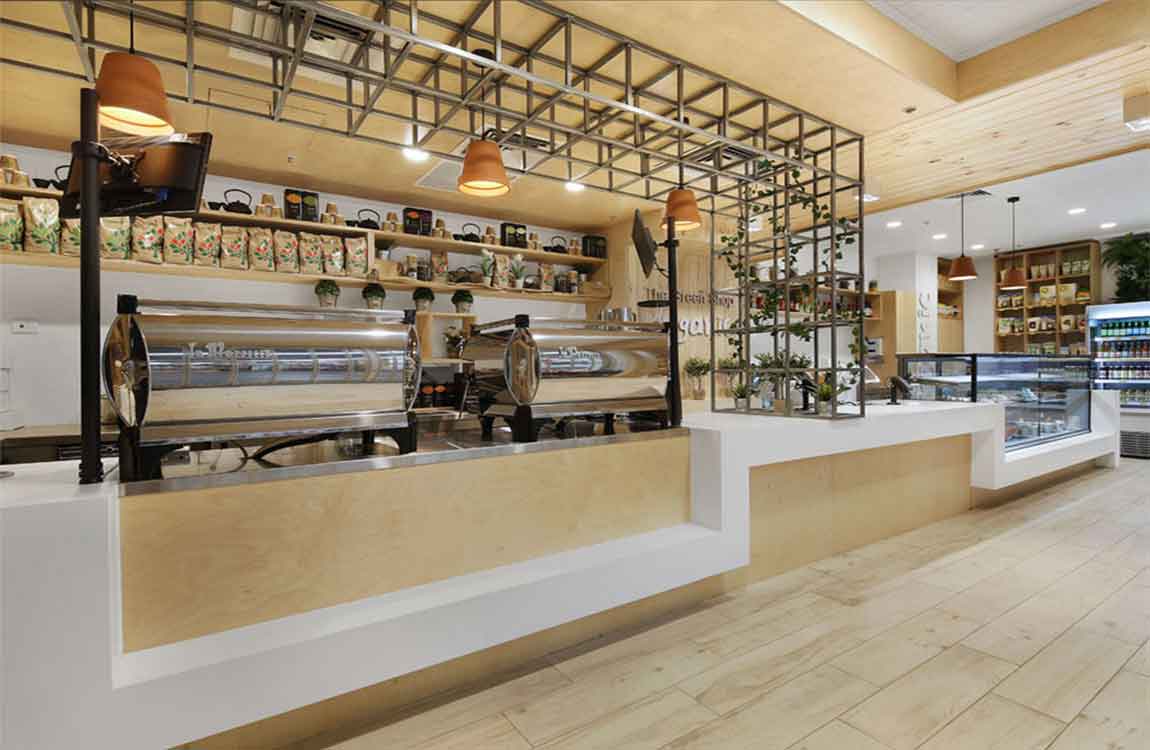
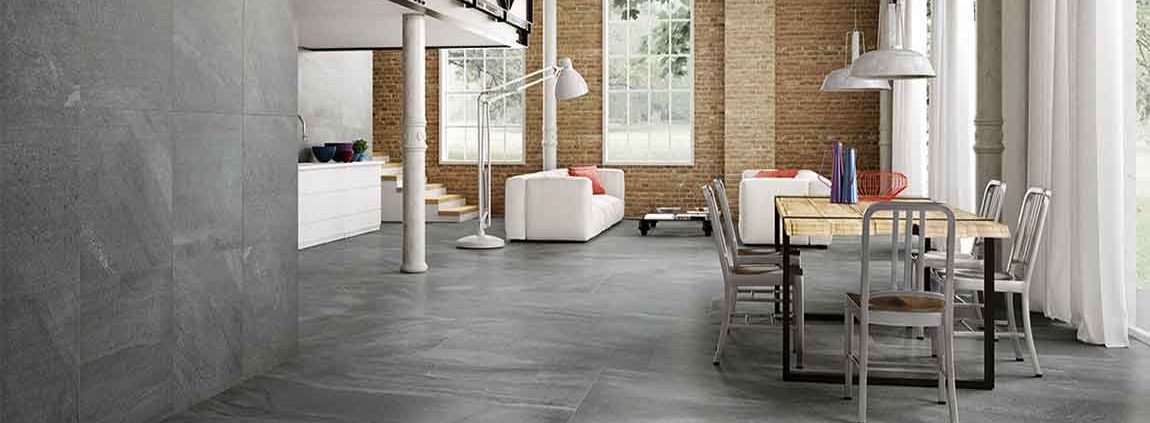
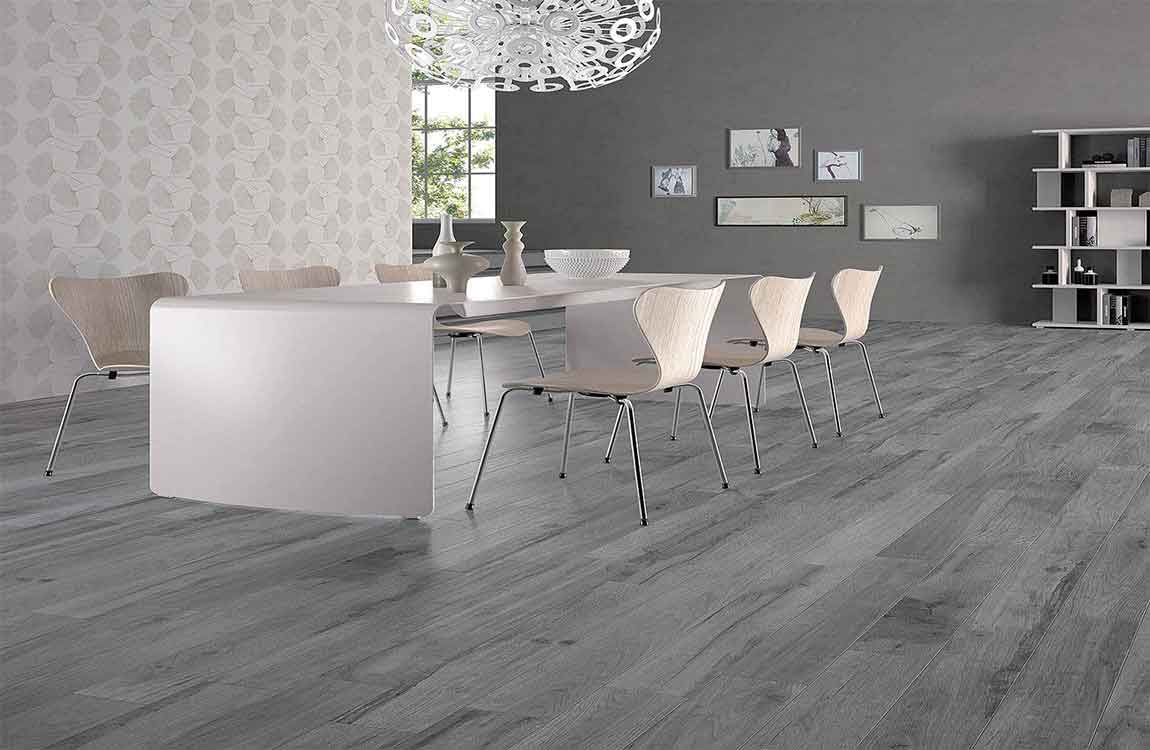
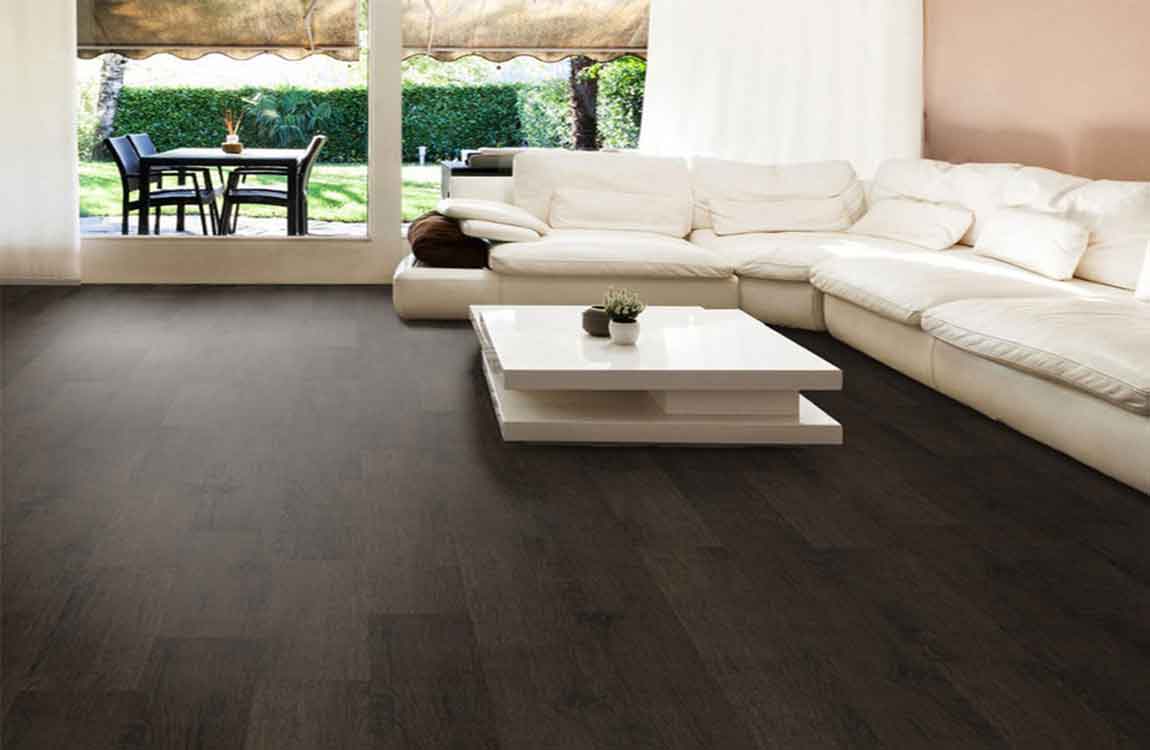
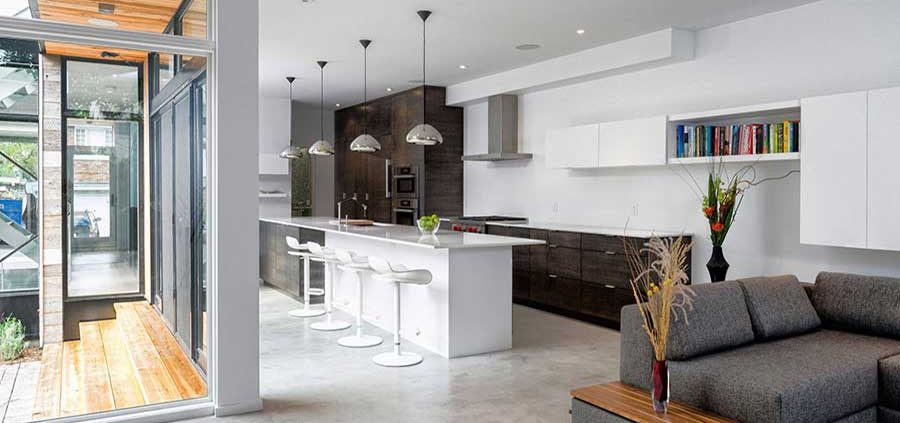
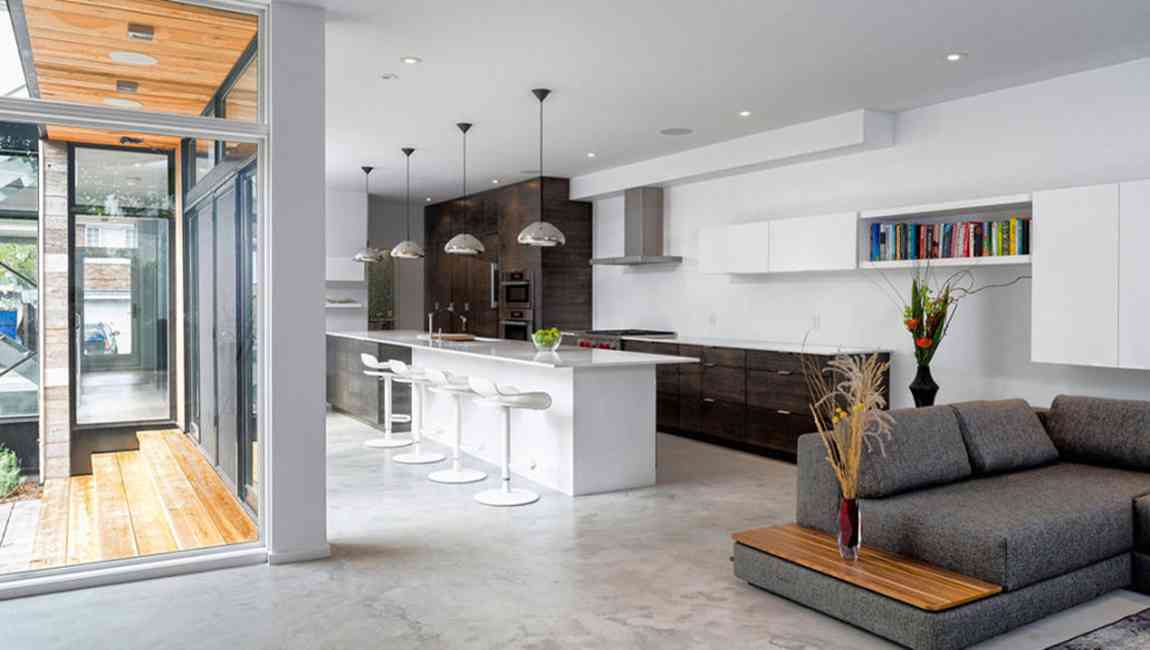
The sofa uses the rice white, matches with the black tea table, matches the gray floor tiles, the three forms the very good black-and-white ash transition, from the vision makes the person tight nerve to get soothing. The main body of the TV background wall is “gray black” variegated brick, matching white gray side walls, which is simple and fashionable. In order to reduce the visual fatigue caused by the symmetry of the structure of the background wall, the green planting is collocated on both sides, and the coordination between the design elements is increased, and the whole background wall is simple, simple and simple.
The floor tiles of soft sofa area are replaced with brightly colored small size tiles, making color matching. This design eliminates the monotony of large area of grey floor tiles. The black edge, the white and dark red ceramic kitchen floor tile area and the white sofa, the black tea table hue harmonious, very good highlights each element’s texture.
The hanging ceiling of the living room does not use the chandelier, nor does it hang the task objects, maximizing the living room elements, leaving enough spacious space to meet the people’s demand for space instincts. The open kitchen is more in line with the modern style design requirements. Compared with the enclosed kitchen, the open kitchen makes the space more spacious on the whole space.
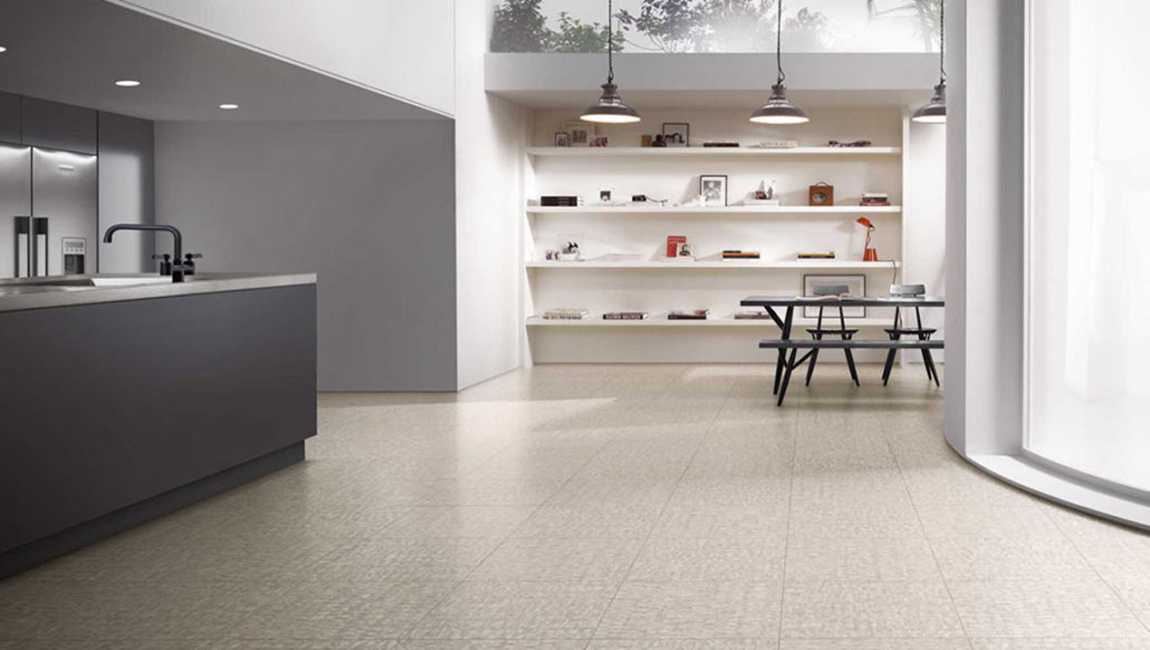
The study is a public area for a family. It is spacious and has a wide view. It is convenient to take books and take back books. The bookshelves depend on the wall as a whole, and different books are classified by interlaced cells. Desk is opposite to window, reasonable use natural light, also facilitate long time read a Book overlooking, alleviate eye fatigue. The desk shelf is bright white, and the stool is dark with a simple style to maximize the release of space. From the overall perspective, the living room, kitchen, each structure lines smooth, bright and coordinated. It gives a feeling of refreshness. The whole hue of the bedroom is warm and soft. The design of bed, lamp, sofa and wardrobe can make good use of bedroom space and highlight the unique temperament and refined taste of the room owner.
https://baranaceramic.com/wp-content/uploads/2018/05/The-choice-of-floor-tiles-in-family-decoration-is-a-big-study-1.jpg600900administratorhttps://baranaceramic.com/wp-content/uploads/2025/09/logo.pngadministrator2018-05-28 07:34:462019-11-27 09:46:32The choice of floor tiles in family decoration is a big study