Posts

How Cleaning the Grout?

Spot test the cleaner on the grout. Before you dive right into cleaning the grout with the toilet cleaner, you should spot test it first on a portion of the grout. Choose a spot that can be covered up or hidden if it gets damaged. Use a small amount of the toilet cleaner on the grout and leave it on for five minutes. If the grout does not appear damaged, you can proceed to use the toilet cleaner on the rest of the grout.

Pour the cleaner on the grout and let it sit. Do this by pouring the cleaner on the area with grout that is furthest from the door. This way, you can clean the grout in small sections, moving towards the door and cleaning each section as you go. If you are cleaning grout along a bathtub or a faucet, you do not have to worry about doing this.

Pour a small amount of the cleaner on the grout. Do not pour too much cleaner on the grout or lay it on too thickly. You want an even amount dispersed on the grout so the cleaner can soak in and remove any dirt or grime. Allow the cleaner to stay on the dirty grout and soak in for five minutes. Do not touch or disturb the cleaner when it is sitting on the grout.

Scrub the grout with a toothbrush. Once you have let the cleaner sit on the grout, take a toothbrush or a grout cleaning brush, and gently run it over the grout. You should not have to scrub the cleaner off the grout very hard to remove any grime or dirt. Often, the grime will come off easy by running the brush over the grout.

Scrub all of the grout that is covered with the cleaner. You should notice the grout appears clean and grime-free once you scrub it with the brush. Rinse and dry the grout well. It is very important that you rinse off the toilet cleaner as soon as you are done scrubbing the grout with the brush. Do not let the cleaner sit on the tile or the grout once you are done scrubbing it, as this can lead to a built up of residue.

How Staining Grout?

Choose a grout stain. Most often, people resort to dying their grout because it’s lost its previous luster and now appears brown and dingy. Rather than going back to the original hue, find a new color to cover up the wear and tear. Although it may sound strange, grout stains that are close in color to dirt are typically the most successful, because you won’t have to worry about the grout becoming discolored again over time.

Light hued grouts blend in and hide the shape of your tiles, while dark grout makes your tiles stand out and is very bold. When possible, look for grout stains that are also a sealant, so that you can skip the final step of sealing the grout. Clean the tile and grout. Get out your cleaning supplies and grab a little elbow grease, because before you can begin staining your grout you need to give it a thorough cleaning.

Use a bleach-water scrub to kill any mold or mildew that might cause problems. Although it might be uncomfortable, use a damp sponge/scrubbing brush to clean your grout and tile, even if it is on the floor. The grout stain cannot be applied to damp grout, so wait 30 minutes or longer after cleaning to begin the application process.

Apply the grout stain. Some grout staining kits come with a small applicator brush, but if yours didn’t, simply use a very small stiff-bristled brush for application. Dip the brush in the grout stain, and carefully paint it onto only the grout. The stain is permanent and cannot be removed from your tile after it dries, so be careful to paint in the lines and wipe off any stain from the tile.

Add additional coats. Depending on the look you’re going for, you may need to add more than one coat of grout stain. If so, wait at least 24 hours for the first layer to dry, and then carefully paint on the second coat of stain. Again, be careful not to accidentally get any stain on the tiles as it is very difficult to remove.

How Cutting Installed Tiles?

Cover your counter and put on a mask and safety goggles. Cover your counter with plastic sheeting to protect it and make cleaning up easier. Put on a pair of safety goggles to protect your eyes against dust. Finally, put on a mask suitable for working with fine particles. Most dust masks and respirator masks come with a description of what they are used for, such as sanding dust, aerosol, etc. Choose the one for dust.

Make the tile where you wish to cut it. A pencil may work just fine on a slate or ceramic tile, but if the tile is glazed, you should switch to a marker. Try to be as precise as possible for this step. Installing a new electrical fixture will require you to get inside the wall. Mounting a towel rack does not.

Cut along the top, bottom, and side edges. If you need to get inside the wall, then you should cut through the dry wall as well. A dremel rotary cutter with a diamond tile blade will work for most tiles. If your blade can’t go around the corners, skip them for now.

Use an oscillating cutter to cut through tight corners. While a dremel rotary tool will work for most lines, it won’t work on tight corners. For that, you should switch to an oscillating cutter instead. You may have to experiment before you find the right one for your type of tile. A multi-surface blade seems to work better than a tile blade, however.

Pull the tile away. Wedge a thin knife or spatula behind the tile and pop it out. If you had to cut through the wall, try not to lose anything inside the wall. Your hole is now complete and ready to finish.

How Cutting Tile Sheets?

Measure the area of your backsplash. Use a measuring tape to measure the dimensions of your backsplash area. Write these measurements down. Don’t worry about cabinet corners that cut into the backsplash area just yet. Masks are graded based on the size of particle they filter. Purchase one that will filter dust particles.

Transfer the measurements to your tile sheet. The easiest way to do this is with long strips of painter’s tape of masking tape. You can also draw on the back of the tile sheet with a marker. Be sure to mark any outlet and light switch holes. Place the sheet against the wall and mark them, if needed.

Put on some eye and respiratory protection, if needed. A pair of safety goggles is highly recommended because it will protect your eyes against flying pieces of tile. A good respiratory mask is only needed if you will be cutting the tiles with a wet saw or grinder. If you will be using tile nippers, you won’t need a mask.

Cut the tile sheet down to size with a box cutter. Flip the tile sheet over so that you can see the back, then cut through the mesh with a box cutter or utility knife. If the tape runs across a row of tiles, cut through the mesh along the inside edge of the tape. This will make your tile sheet a little smaller than necessary, but that’s okay.

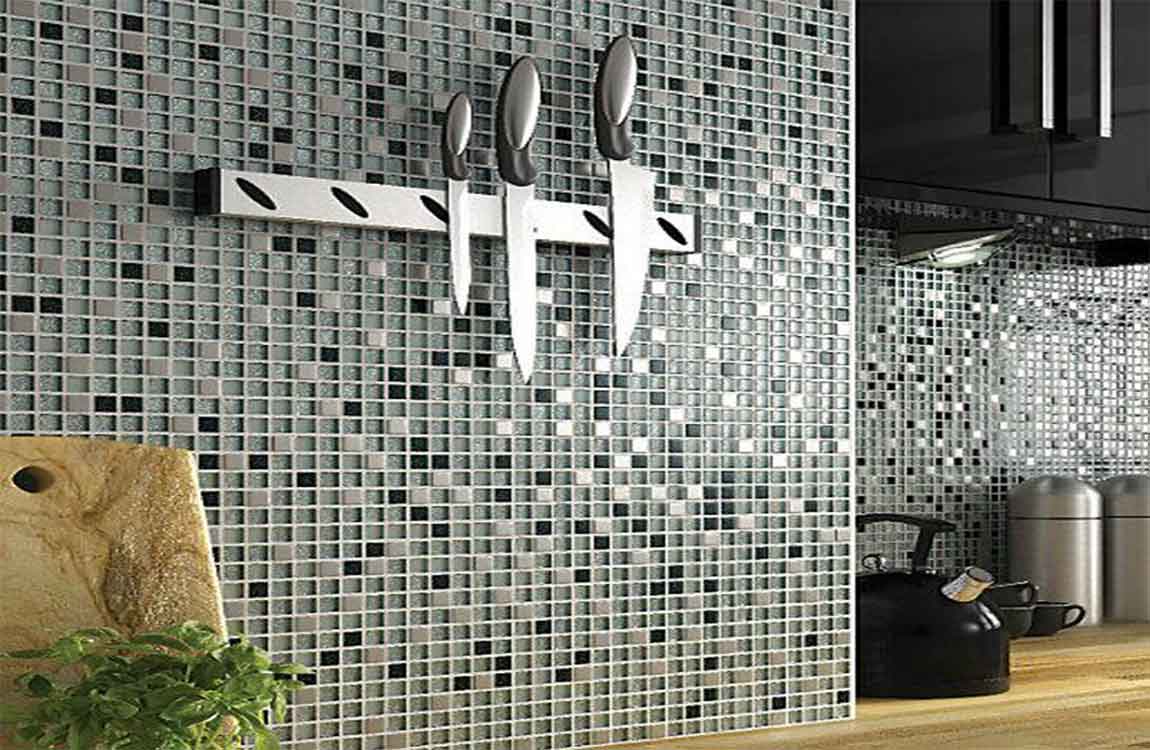
If your tiles are staggered like bricks or a honeycomb, you will need to cut around the tiles. Don’t cut straight through them. Be sure to cut through the outlet and light switch holes. If your tiles are staggered like bricks, the gaps won’t be consistent. You will need to cut some tiles larger, and other tiles smaller.

How to cutting installed tiles?

Cover your counter and put on a mask and safety goggles. Cover your counter with plastic sheeting to protect it and make cleaning up easier. Put on a pair of safety goggles to protect your eyes against dust. Finally, put on a mask suitable for working with fine particles. Most dust masks and respirator masks come with a description of what they are used for, such as sanding dust, aerosol, etc. Choose the one for dust.

Make the marble tiles where you wish to cut it. A pencil may work just fine on a slate or ceramic tiles, but if the wood tiles is glazed, you should switch to a marker. Try to be as precise as possible for this step.

Cut along the top, bottom, and side edges. If you need to get inside the wall tiles, then you should cut through the dry wall as well. A dremel rotary cutter with a diamond tiles design blade will work for most polished tiles.

Use an oscillating cutter to cut through tight corners. While a dremel rotary tool will work for most lines, it won’t work on tight corners. For that, you should switch to an oscillating cutter instead. You may have to experiment before you find the right one for your type of tiles. A multi-surface blade seems to work better than cement tiles blade, however.

Pull the small tiles away. Wedge a thin knife or spatula behind the tiles and pop it out. If you had to cut through the wall, try not to lose anything inside the wall. Your hole is now complete and ready to finish.