Posts

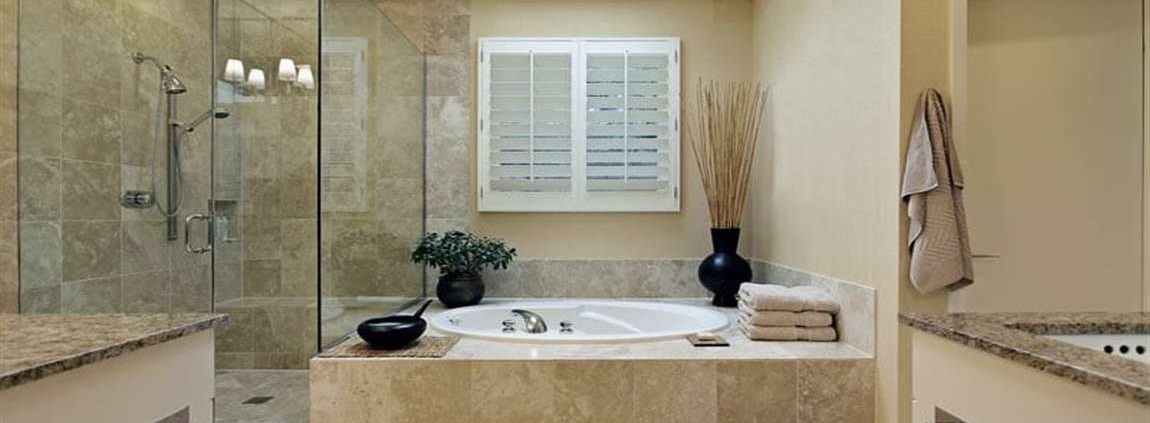
How Doing a Routine Cleaning?

Sweep away and dirt or debris. Any loose dirt, debris, or dust should be swept from cement floors or walls before you begin cleaning. Use a broom to sweep the cement as clean as you can before applying a cleaner. When sweeping down a cement wall, lay down a tarp to catch loose dirt, debris, and dust.


Put on protective gear if necessary. When using chemical cleaners, such as degreasers, gloves and goggles are generally necessary. You should also wear older clothing, regardless of what kind of cleaner you’re using, as cleaning cement may get messy. Prepare a cleaning solution. Mildly dirty cement can be cleaned with mild laundry detergent diluted with warm water.


In a bucket, mix a third cup of your detergent with a gallon of water. When using degreaser, consult the label to figure out the proper degreaser to water ratio. Pour the solution on the concrete. It’s best to work in sections, especially when cleaning a large amount of cement. Pour enough of your cleaner over the cement you’re working on to get it thoroughly wet.


For very dirty concrete, allow the cleaner to sit for a few minutes before proceeding to clean it. Scrub the concrete. Use a deck brush to scrub your cleaner into the cement. Work the cleaner in until you’ve removed any troublesome layers of dirt and dust, and any obvious stains or set in dirt.


For very dirty floors, let the cleaner sit for five to ten minutes after scrubbing it once. Then, repeat the process. Rinse with a hose or pressure washer. A pressure washer is the best means to remove a cleaner from cement. These can be rented at most hardware stores. If you do not have a pressure washer, a high pressure hose can be used to rinse the cement.

How to Clean and Re Grout Bathroom Tile?

Most bathroom tiles host mildew growth if there’s a lack of air supplied to the bathtub/shower area. Here are some steps that should help restore it to showroom condition. Clean the wood tile surface with a recommended cleaning product. Scrub with an abrasive rag, or rig a nylon bristle drill attachment. Pay extra attention to the bottom section, because that is usually the area with the most mildew. Rinse well.

Rake the joints. Cover the drain. Carefully rake each joint with a diamond carbide rake. Be careful not to slip, or it will leave irreparable scratch marks. The surface should be wet during this part of the process. If the grout is too solid to rake, hot water usually helps. Remove caulking with a plastic scraper. Avoid using metal scrapers and steel wool, because they will scratch the enamel on the tub. Rinse the surface, and towel dry. Mix the grout thoroughly until it comes to a creamy consistency.

Using a rubber float, apply the grout in several directions. Work in small sections so that the grout remains pliable. Make sure that the grout is packed in well. Allow twenty minutes to an hour for the grout to dry completely. Sponge the surface. Sponge the surface of the tiles until the joints are neat, and the element tile surface is clean. Soak and rinse the sponge repeatedly to avoid dragging, and over saturation. Allow twenty minutes to an hour to dry. Rubber gloves should be worn for this.

Dry dust the surface. When the surface is dry, it should look hazy. Polish the casstle tiles with a fine rag, or an old t-shirt. Be careful not to apply pressure on the joints. If there are any stubborn spots on the cement tiles, they can easily be scraped off with a plastic scraper. Gloves and a dust mask should be worn for this.

Apply the caulking. Prepare the surface by thoroughly cleaning and drying. Most caulking won’t adhere to a surface that is oily or wet. Apply silicone, or vinyl caulking to tub/tile edge to keep this area watertight. Caulk around the faucet handles, tub spout, and overflow as needed. Apply a sealant. When the grout has cured, (three to seven days), apply a Ceramic tile sealant according to the manufacturer’s instructions.

The Preparing Things for Install Ceramic Tile on Sub Floor

Installing ceramic floor tile to a plywood sub-floor has unique challenges beyond that of installation on a concrete floor. Plywood or OSB (flakeboard) can expand and contract at too high a rate to be a stable foundation for tile. This will cause either the element tile itself to crack and even come loose, or cause the grout to crack inside the joints.

This could happen right away or within months of the installation. If done properly, a wall tiles design installation should last many years without cracking. This article will provide necessary tips to minimize issues with unstable subfloors.

Determine the maximum practical thickness that is possible for the combination of tile, underlayment and setting materials in your project. It is necessary to consider adjoining floors (e.g. carpet or wood), height of toe kicks (beneath cabinets) and even the aesthetics of the base molding where the walls meet the floor.

Example:     An adjoining wood floor may have 5/8 inch thick material (~16mm). If you use 1/2 inch underlayment and 3/8 inch rustic tile with 1/8 inch of setting material, your tile floor will have a total of 1 inch (~26mm) of thickness. This means that your finished floor will be 3/8 inch (10mm) taller that the adjoining wood floor. Transition strips may be available to accommodate this height difference, but you may be able to compensate with your underlayment by choosing 1/4 inch thick cement board instead.

Determine the stability of the subfloor. If you can feel the subfloor flex as you walk or bounce on it then you will need to use a thicker cement board. If it flexes too much you may want to consult a professional. Assuming the subfloor is relatively stable you may use a 1/4 thick cement board safely. If there is some flexing then you will need 1/2 inch concrete board.

How to Using a Dry Erase Marker on Smooth Tile?

There are several methods you can try to remove permanent marker from element tile. The first method uses a homemade, all-purpose solution to remove the stain from the Slate tile. For textured white tile, use toothpaste (or the all-purpose solution) to treat the stain.

Then, use a toothbrush or a scrub brush to remove the stain from textured Sandstone tile. If your tile is smooth, a dry erase marker may do the trick. Always remember to test each method on a small, hidden area before applying it to larger areas.

Purchase a black dry erase marker. You can purchase dry erase markers from your local pharmacy, arts and crafts store, or discounted retailer. Make sure to purchase a black dry erase marker as opposed to a colored one. Remember to test a small, hidden area first before using it on larger, affected areas.

Trace the affected area with the marker. Instead of tracing the entire stain, start by tracing a small part of the stain first. This method works best on smooth Impression tile. For textured casstle tile, the toothpaste or all-purpose solution may be more effective.

Wipe off the marker with a paper towel. Or you may use a rag or cloth to wipe off the traced sections. If the stain isn’t completely removed the first time, then re-trace the remaining spots with the dry erase marker. Wipe until the stain is removed. Use warm water and soap to clean the affected area after the stain is removed.

How to Clean a Stone Tile Shower?

Caring for the stone tile in your shower will preserve its appearance and maintain its condition. Proper care can keep your stone looking like-new for generations. Clean most kinds of dirtiness from your cement tile with a mild detergent, a soft cloth, and a soft bristle brush. Remove stains from ceramic tile by identifying the kind of stain and using the right kind of treatment, like ammonia for oil based stains. Maintain your element tile by avoiding acidic and abrasive cleaners and by removing excess moisture from the stone after every shower.

For severe stains, you may have to reapply the poultice a few times before it is fully removed. Some stains may take five applications or more. Stain removing poultices can be purchased from your local hardware store or home center. Look for it among stone care products.

Some kinds of poultice are sold as pre-made strips of treated paper. These are generally applied to stains similarly to paste poultices.

Buff out water spots and rings with 0000 steel wool as necessary. Hard water can leave rings, a white film, or scale on your stone. When the stone is dry, buff the surface in a circular motion with a dry piece of 0000 rated steel wool. Wipe the surface with a clean, dry, soft cloth or rag after. Use light to moderate pressure when buffing your countertop. Too much pressure may harm the appearance of your stone.

Hire a professional to deep-clean your spots tile. Professional cleaners have special tools and techniques that can extract dirt or grime that may have impacted the pores of the stone, which causes dullness. Have your rustic tile cleaned by a professional when thorough cleaning fails to restore the stone’s luster.

Persistent stains or blemishes that are difficult to treat may require an expert. Call a stone care professional, installer, or restoration specialist to treat problems like these.