Posts

How Mixing Homemade Solutions?


Make a baking soda and bleach paste. If you want to remove stains that have developed over a season or so (for example, after leaves have been collecting on your concrete throughout the fall), mix up a standard concrete cleaner using three parts baking soda and two parts bleach. The consistency of the paste should be like pea soup – thin enough to pour on your concrete but thick enough that it won’t just run off.


Make a vinegar and baking soda paste. If you’re looking for a more environmentally-safe cleaner, try mixing up vinegar and baking soda. The exact amounts of vinegar to baking soda don’t matter as much as the consistency. It should have a paste-like consistency. Start by pouring some white distilled vinegar into a bucket or bowl and then slowly add baking soda.


The mixture will foam up, so add the baking soda slowly so you it doesn’t overflow. Give the bubbles some time to deflate so you can see what your consistency looks like before adding more baking soda. Make a vinegar and water solution. For smaller stained areas, you might want to try a vinegar, water, and salt solution that you can mix together in a spray bottle.


This allows you to be more targeted in the application of the cleaner and prevents it from seeping to places you don’t want it to go – like flower beds or the lawn. Use equal parts white distilled vinegar and warm water, then add a pinch or two of salt. Let this solution soak into your concrete for about twenty minutes.


There isn’t much extra work needed to fit the panels together. The manufacturer cuts them into shapes meant to fit together. The only exception is when you need to trim the stone to fit along the edges of your wall, which you can do with a diamond blade. Spread a 1⁄2 in (1.3 cm) mortar layer on the stone veneer.

Laying Down the Grout Before Regrout Tile

Mix the grout. Mix the grout in one of the 5 gallon (19 L) buckets using a drill with a mixing attachment or paddle mixer. Do an initial mix and then let it sit for a couple of minutes, and then mix the grout again. You may not want to mix it all at once. Just mix up a few cups at a time.

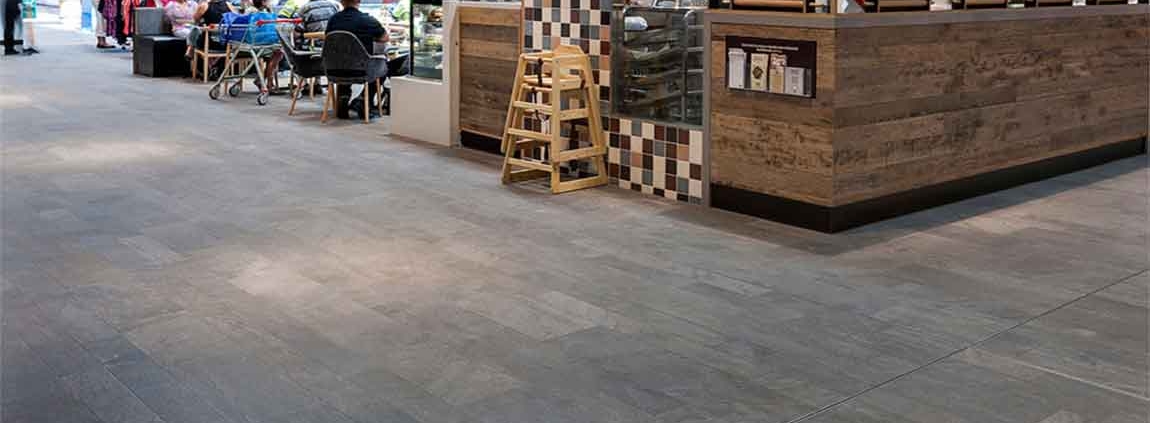
Apply the grout. Apply a generous amount of grout to your grout joints along your tile floor using the rubber grout float. Be sure to distribute extra grout into the grout joints in order to fill them completely. Grout all areas of your tile floor except the expansion joints; these are the areas between the floor tile and bathtub, wall, door, and cabinet or sink area.

The rubber grout float is a rectangular, flat tool with a steel handle and rubber surface used to distribute grout. Hold the rubber grout float at a 30 degree angle and distribute grout across the surface of the tile floor. Keep in mind that it is important to work quickly because the grout will harden in a short amount of time.

Remove excess. Remove the excess grout from the tile floor once every grout joint has been filled. Do this by going over the tile with the rubber grout float, only this time use it at a sharp angle and move it diagonally across the tile floor in order to scrap the excess grouting material off. Moving diagonally avoids detaching recently laid grout from the grout joints.

Let the grout set and prepare bucket. Let grout set for approximately 10 to 15 minutes. While the grout is setting, fill your second 5 gallon (19 L) bucket with water and grab your tile sponge to clean the tile floor. Prepare your sponge. Dip the tile sponge in the bucket of water and wring out any excess water leaving a damp tile sponge.

How to Cutting Curves with an Angle Grinder Before Cut Marble Tiles?

Marble tiles look great in a bathroom or kitchen, but sometimes you may need a smaller piece of tile to fill in a gap. While ceramic tiles can be scored and snapped, marble needs to be cut completely or else it will shatter. You can use either a wet saw to make straight lines or an angle grinder to make curves as long as you have a diamond blade. Once you make your cuts, you can make marble tiles any size you need.

Change the blade on your grinder to a diamond blade. Loosen the nut attaching the blade to your grinder using a ratchet wrench. Remove the current blade, and set the diamond blade in its place. Put the nut back onto the blade and tighten it again with your wrench. Check your grinder’s rotation in the instruction manual and compare it to which direction the arrow faces on your blade. If they go in opposite directions, install the blade upside-down so it cuts the right way.

Place a 2 in (5.1 cm) piece of scrap wood or foam underneath the wood tile. Find a flat piece of plywood or stiff foam that you can put underneath your tile. Make sure the wood or foam is at least 2 inches (5.1 cm) thick. That way, your angle grinder won’t cut into your work surface.

In a pinch, clamp multiple pieces of cardboard together to make a new cutting surface. Warning: Don’t hang your cement tile over the edge of your work surface since it’s more likely to break or shatter.

Cut halfway through the tile design for its entire length. Turn your angle grinder on with the switch on the main body. Carefully lower the blade of the grinder onto your kitchen tile in a slow and steady motion. Push the grinder halfway through the wood marble tile and follow along with your line for the entire length. When you finish your cut, turn off the grinder.

Keep your fingers clear from your blade so you don’t accidentally cut yourself. Don’t attempt to cut through the entire tile right away since it may create sparks or break your blade. Follow along with the line again to cut through the wall tiles design completely. Turn on your grinder again and start from one side of your cut line. This time, push the grinder through the rest of the element tile so it cuts through it completely. Push the grinder slowly in a straight line so it doesn’t jump out of the cut.

What Should We Do When Finishing the Backsplash?

Smear tiling grout diagonally over the spots tiles. Use a grout float to scoop up some tile grout and begin smearing it over the tiles. Move the float diagonally, so as to push the grout into all of the spaces between your cement tiles. Work across the entire backsplash until all of the gaps between wall marble tiles are filled with grout. Don’t worry about grout that covers or muddies the look of your tiles. Grout on the common marble tiles will easily wash away, where the grout between should set in place.

Grout should be available from your local hardware store, either premixed or as a powder. Follow the instructions on the powdered grout to hydrate it, generally by pouring it into a clean bucket and adding water until it reaches the consistency of mashed potatoes or peanut butter. Grout floats are tools designed specifically for spreading grout and should be available from your local hardware store.

Wipe away the excess grout after 10 minutes. Once you’ve applied grout all over the backsplash, allow it to dry for 10 minutes in order to begin solidifying. Slightly dampen a sponge and wring out as much water as you can. Working in diagonal strokes, wipe away the grout sitting on the face of the tiles. Clean the sponge regularly as you go to prevent grout from spreading over the bathroom tiles.

Try and avoid pulling the grout out of the space between kitchen tiles as you work. You only need to wipe away the grout from the face of your tiles before it completely solidifies. Let the grout dry for a further 45 minutes. As with the mastic, the grout will need more time to set up and solidify completely. Leave it for 45 minutes to an hour to completely set up, avoiding touching the tiles or grout while it dries.

If you notice any clumps of grout that have built up in the corners or along the edges of your backsplash, remove them at this point. If they don’t wipe away with a sponge, use a utility knife to scrape them up and discard of them.

Line the edges of your backsplash with caulk. Caulk is a sealant that will help stop water or moisture from getting behind your fashion impression tiles and damaging the mastic. Use a caulk gun or caulk pen to trace around all edges of your backsplash, sealing the tiles completely. Run a wet finger over the caulk to smooth it, before leaving it to dry. Use a caulk that matches with the color of the grout to prevent it from standing out.