Sweep all loose dirt and debris off of the surface. If you have a sandstone tiles hearth or sandstone tiles on your floor, sweep them off before doing a deep clean. With will get rid of loose debris on the surface and will make cleaning easier. If your interior sandstone tiles surfaces are not on the floor, such as if you have a sandstone tiles counter top, use a dry towel or a small, hand-held brush to wipe all crumbs, dust, and other debris off of them.
You can also use a vacuum to get rid of all loose dirt and debris on the surface. Wipe down the surface with a damp cloth. Use a clean, soft rag to wipe down your sandstone tiles. Simply get the rag wet, ring it out in the sink, and then wipe the entire surface of the stone.
If you are dealing with a sandstone tiles floor surface and you don’t want to get on your hands and knees, you can use a microfiber mop head or other soft floor cleaning mop. Rinse out the rag if it gets very dirty and then continue on until the entire surface has been cleaned.
Tip: When you are wiping down the surface, notice whether the water appears to absorb into the sandstone tiles or if it beads up on top. If it absorbs into the stone, that means the stone has no sealant. If it beads up, the stone has been sealed. sandstone tiles that is not sealed is more prone to staining, so it needs to be used more carefully.
Don’t use your general household cleaning products on your sandstone tiles. Unless a general cleaning product, such as a “kitchen surface cleaner,” is labeled for cleaning natural stones, you shouldn’t put it on your sandstone tiles. In particular, acid-based cleaning products, such as those that contain citrus or vinegar can damage the surface.
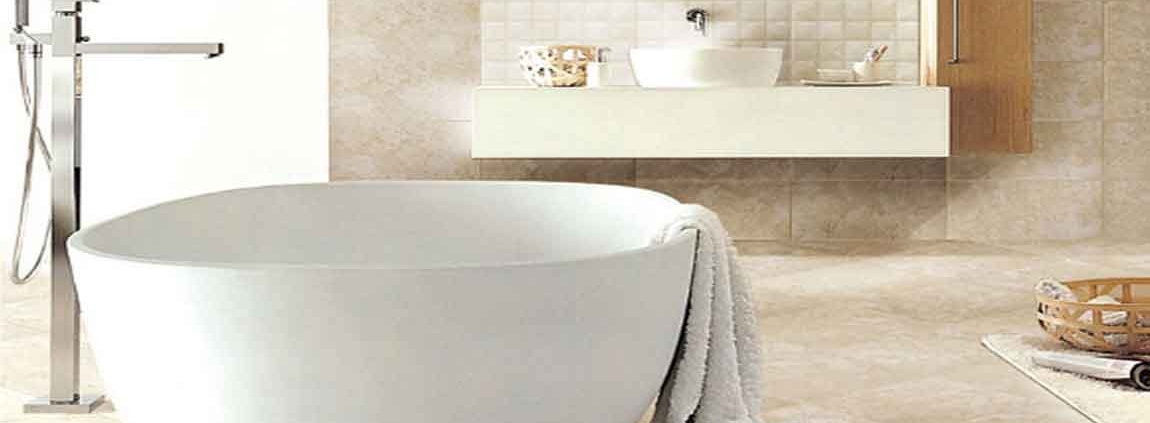
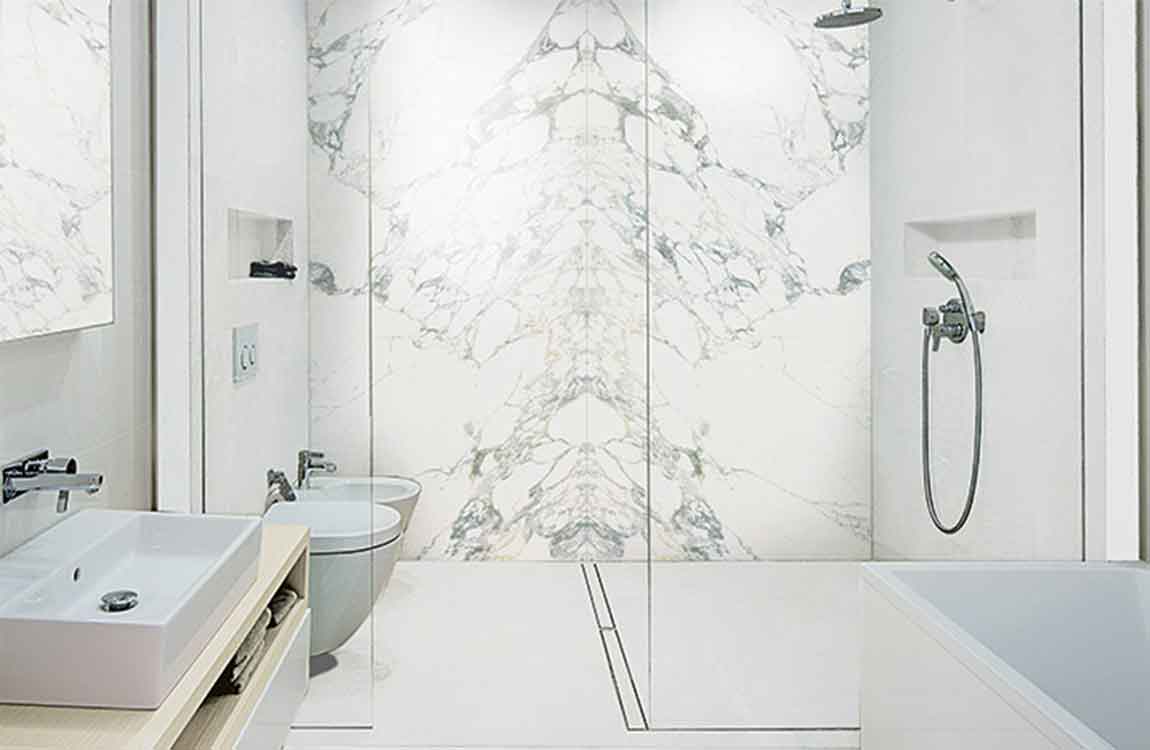
https://baranaceramic.com/wp-content/uploads/2020/01/Doing-General-Cleaning-on-Interior-Surfaces-5.jpg7501150administratorhttps://baranaceramic.com/wp-content/uploads/2025/09/logo.pngadministrator2020-01-22 08:00:112020-01-07 07:07:00How Doing General Cleaning on Interior Surfaces?
While tiling is easy to maintain, it can sometimes look outdated or unsightly. Luckily, you can cover tile inexpensively with rugs, decals, or paint to update the room and achieve the look that you want. Whether you’re covering the tile temporarily or permanently, there are a few solutions you can try.
Apply contact paper to countertops for an easily removable update. Measure the countertops to see how much contact paper you’ll need, and purchase large rolls to fit the space and save money. As you’re covering the tile, cut the sheets to be as long as possible, peel off the backing, and overlap the contact paper along the seams to prevent peeling. Smooth the paper with a credit card to remove air bubbles to finish off the project.
Contact paper comes in a variety of different patterns and finishes that are perfect for countertops, including wood grain, glossy marble, and granite. To remove the paper, begin pulling it from the corner of the sheet and work slowly across the countertop. Tip: Make sure the pattern on the contact paper lines up and is oriented in the same direction for a more professional, high-end look.
Resurface countertops with quick-setting cement for an updated look. Sand the existing tile countertops and build a temporary form that attaches to the cabinetry, which will hold the cement as it sets. Then, simply mix and pour self-leveling concrete over the countertops and follow the package instructions to cure it. Paint a sealant over the concrete to protect it from water and debris.
While this is a more labor-intensive option, it can be very inexpensive, depending on the type of concrete you choose. Keep in mind that the concrete will likely crack slightly during the curing process, but you can fill in the cracks with the sealant. If you want to remove the carpet tiles or reposition them, simply pull them up by the corners to reveal the tile underneath.
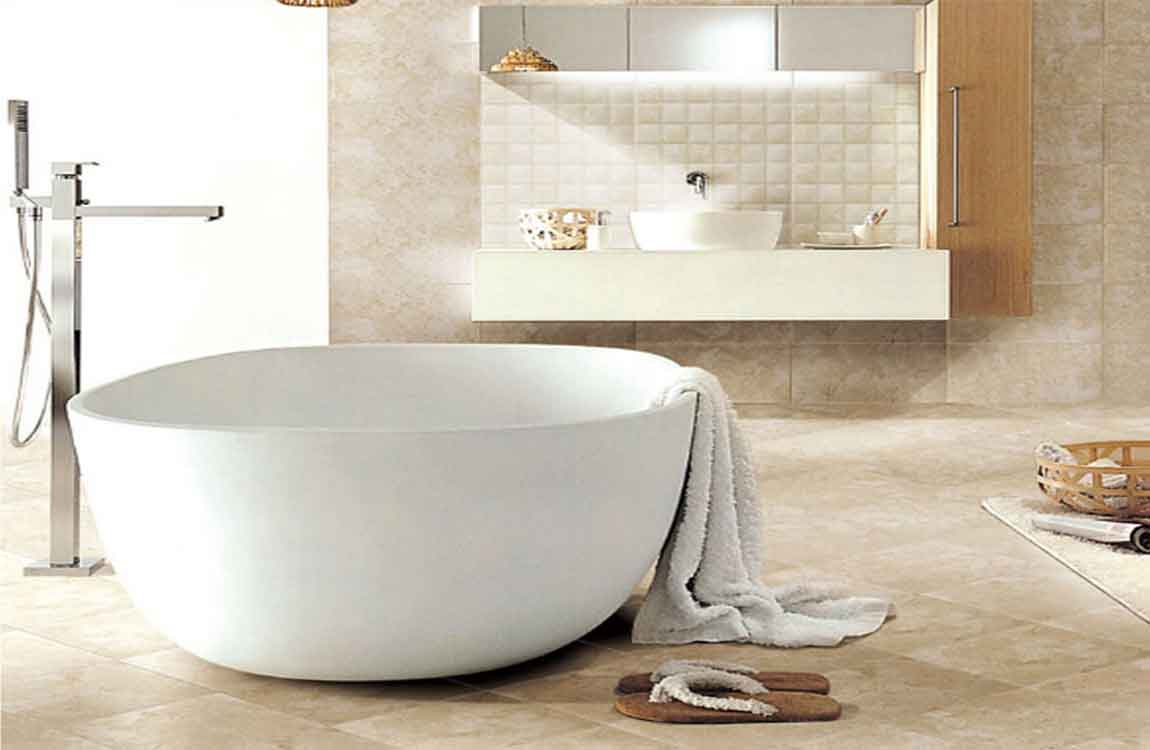
https://baranaceramic.com/wp-content/uploads/2019/08/cover-tiles-cheaply-5.jpg7501150administratorhttps://baranaceramic.com/wp-content/uploads/2025/09/logo.pngadministrator2019-08-14 08:00:532019-08-07 03:27:39How to Cover Tiles Cheaply?
Wet the surface of your bathroom tile. Fill an empty salt shaker with baking soda. Sprinkle baking soda generously all over the grout. Let it sit for 10 minutes and then scrub it with a nylon brush. Rinse well with warm water and dry immediately.
Remove mold or mildew with a stronger oxygen bleach mixture. Make a paste with a small amount of water and apply it directly to the affected areas. Allow it to sit for 30 minutes. Scrub the grout with a toothbrush, and then rinse and dry it.
Seal bathroom grout with a latex penetrating sealer after installation, and again every year. A penetrating sealer is important for bathroom grout, because it is absorbed into the grout’s pores and protects it from mold and mildew. Some of these sealers can be expensive, but it is a good idea to choose based on quality rather than price.
Allow your cementtiles to dry. It will take approximately 5 days for the moisture behind the floortiles to evaporate. Do not use your bathroom during this time. Apply the sealer to a sponge. Wipe it over the tile and grout of the entire bathroom surface you want to protect. Leave the sealer on for the time indicated by the product’s directions.
Wipe the excess sealer off the surface of the woodtile with a damp cloth or paper towels. The directions may suggest you use a pH neutral cleanser first and then rinse off the tile with a damp cloth. Apply a second coat, if it is recommended by the product. Allow the last coat of protective grout sealer to sit overnight before you use the bathroom.
Install a batten to keep your first row straight. With everything else ready to go, you’ll want to install a batten to help keep your cementtiles rows straight. This is a piece of scrap wood, such as a piece of 1×4 lumber, that you use as a long straight-edge, placing the first row of rustic tiles right against the batten. Align the top edge of the wood so that it follows exactly along the mid-level line that you marked, then screw it into the studs. Once the wood tiles have been placed, simply unscrew and remove the batten. Double check that everything is level before installing the tiles on the batten. You’ll also want to check it all the way across, since there may be dips in the wood you use for your batten.
Mix the mortar. You’ll need thin set mortar to lay your ceramic tiles. While you should always go by the manufacturer’s instructions, a general rule of thumb is to start with the powder in a bucket and just add water slowly and mix until the consistency of the mortar becomes like peanut butter. You should also allow it to “slake” after you first mix it up. This means you allow it to rest for 10-15 minutes and then stir it up again. Now it is ready to use.
Spread the mortar. Working in a roughly 2×3’area, use a tiling trowel to apply the mortar. Hold the notched trowel at a shallow angle against the wall, so that the notches on one of its long sides dig grooves into the mortar. Use long, sweeping motions to apply the mortar. The direction of the grooves doesn’t matter but the lines should all be roughly parallel.
Your trowel size will depend on the size and type of marble tiles you’re using. For the average small wall tiles which are currently popular, you will want to use a 1×4″ square notch trowel. Test a tile design to make sure the mortar is mixed and spread correctly. Mortar a small spot and then place a wood wall tiles. Pull the tiles price up and look at the pattern that is create on the back. If you see clear lines, then the mortar is too dry. If you see mounds then the mortar is too wet.
Place your tiles on the wall. With the mortar ready to go, you can start placing your tiles. Just twist them into place, sticking to the small area that you prepared for yourself. Place your spacers between each tile as you go. These are usually cross shaped and placed at the corners but if you have unusual tiles you may have to improvise, such as by placing only one arm between tiles and letting the rest of the spacer stick out. If the mortar rises up between the tiles as you place them, the bed is too thick and you will need a smaller trowel. Check the tiles for level as you go. This is when a laser level can really come in handy.
https://baranaceramic.com/wp-content/uploads/2018/09/How-to-install-ceramic-wall-tiles-1.jpg600900administratorhttps://baranaceramic.com/wp-content/uploads/2025/09/logo.pngadministrator2018-09-04 06:46:452018-11-28 05:54:59How to install ceramic wall tiles?
Measure the width and height of the wall to find out how many marble tiles you need. Use measuring tape to take precise measurements of the area of wall you’ll be tiling wall tiles. To find the area of your wall, multiple the length times the width, and then divide this number by the area of 1 box of the tiles design you are using in order to determine how many to purchase. When you’re purchasing the tiles price, buy an extra package of tiles in case some get damaged while you’re hanging them.
For instance, if the wall is 10 by 12 feet (3.0 by 3.7 m), it is 120 square feet (11 m2). Then, if each box of tiles has 10 square feet (0.93 m2) of tile, divide 120 by 10 to find that you need 12 boxes to cover the wall exactly. Then, you should add an additional box to account for potentially damaged cement tiles. Since the grout doesn’t take up much space between the tiles, and your tiles likely won’t fit in the space perfectly, you don’t need to account for it in your calculations.
Use a chisel and hammer if you need to remove existing rustic tiles. Put on a pair of safety goggles before you start removing the tiles. Then, place the chisel at a 45 degree angle between the tiles and hit the end of the chisel with the hammer to separate the wood marble tiles from the wall. Use the chisel to scrape between the tiles and the wall until they’ve all been removed.
It’s easiest to start removing wood tiles from a corner or from the top of the wall so you can place the chisel directly on the grout, which tends to be weaker than the tiles. Be careful while you’re removing the tiles. It’s easy to accidentally make a crack or hole in the drywall if you’re not holding the chisel at a 45 degree angle while you work.
Fill any cracks or holes in the wall with spackle. Once you’ve exposed the drywall underneath any existing tiles, you’ll be able to see any problem areas. Use a scraper to apply the spackle and let it dry according to the package directions, which is normally about 4-6 hours. For cracks and holes larger than 4–5 inches (10–13 cm), you may need to patch them with drywall. If you’ve never hung drywall, ask a professional for a quote to see how much it will cost to fix that area.
If the wall doesn’t have marblewall tiles, it is probably painted or wallpapered. You can use the same method for repairing the drywall without removing the paint or wallpaper. Sand the walls with coarse sandpaper to smooth any bumps. If you had to remove pre-existing wall tiles design or fix holes and cracks, there are likely bumps in the wall.
You can tiles over it, but it needs to be smooth to prevent your new tiles from laying crooked. Look for 100-grit or 80-grit sandpaper, and wear a mask to protect your lungs from the particles in the air. If you’re sanding a large area, it might be easier to use an electric sander.
https://baranaceramic.com/wp-content/uploads/2018/08/Measuring-and-cleaning-the-walls-before-tiling-a-wall-tiles-1.jpg600900administratorhttps://baranaceramic.com/wp-content/uploads/2025/09/logo.pngadministrator2018-08-30 06:13:572019-11-26 09:03:11Measuring and cleaning the walls before tiling a wall tiles
Hardness. The hardness of tiles determines the key performance of tiles, especially floor tiles. Hardness: 1-7, polished tile general 7, throwing glaze is generally 5-6, Microcrystalline stone is generally about 5, porcelain is generally 3-4, etc. Certainly, the determination of tiles hardness has a great relationship with production, such as firing time, temperature, press tonnage, material fineness. Floor tiles are larger than wall tiles, and polished tiles are more flexible than glazed tiles design. The greater the hardness, the stronger the durability of tiles. However, the hardness is also large, and the processing is difficult.
High destructive strength. Good strength of tiles crack resistance, the national standard tiles compressive strength is not less than 35Mpa, 1200N, equivalent to 120 KG people standing on the foot size of the area, the higher the tiles strength, the better resistance to weight and pressure.
Water absorption. This index can be divided into two categories, one is ceramic tile, the other is porcelain tile. Ceramic tiles water absorption rate will be high, generally about 20 percent have, low also has 5-10 percent, because there is water absorption, you can and cement well combined to prevent falling off. Porcelain tiles water absorption is relatively low, generally less than 5 percent, now many glazed tiles surface is glaze, water absorption is below 0.1 percent.
Water absorption determines the antifouling performance of cement tiles, low water absorption, weak absorption capacity, and it’s good for daily use. Inspection method: The actual effect of more than 10% water absorption is to pour a cup of 150 ml water behind the tiles, after 3 seconds, water will all infiltrate the tiles. According to the standard, tiles are divided into porcelain tiles (water absorption rate E < 0.5%), fine stoneware tiles (water absorption rate 3 < E < 6%) and stoneware Ceramic (water absorption rate 6 < E < 10%). Ceramic tiles (water absorption of more than ten percent). The inspection method should be tested on the back of the tiles.
Planeness. The level of tile surface is measured by edge curvature, middle curvature and warpage. Size is based on intuitive judgment can be, check the size of a batch of tiles is roughly the same, can better fit together, color difference is small, size regulation is top-grade. Flatness is more important to the display effect of the tiles, which is also the reason why the tiles manufacturers pay more attention. Evenness is different because of different tiles. Glazed tile is slightly worse than polishing tiles, and rustic tiles are less than polished tiles design, need to leave a gap when paving tiles. The national standard stipulates that the error is within zero point five percent.
Wear resistance. This parameter is slightly different from the hardness, and the testing method is a little different. A tile wear test is carried out on a specified wear tester according to the prescribed procedure, and the volume of the marble tiles are measured. 150 is a lower standard. The wear resistance of domestic first-line brands is generally less than 130, and good varieties reach 110. 150 is equivalent to the quality of the three line brand. The higher the wear resistance is, the more durable the tile is, the easier to non wear-resisting lay it on the floor.
The wear resistance of tiles used in public places must be less than 120. The wear resistance of tiles is divided into 1-5 grades by wear resistance test. If you want to save worry, you need to pay attention to the tiles wear resistance coefficient. Good cold resistance. It is a sign to judge whether tiles can be used normally in the climate with large temperature variation. This index deserves special attention in the climate with large temperature difference between day and night in the north. The performance is mainly for porcelain tilesand outer wall tiles, and ceramic tiles, which are easy to absorb water and crack.
https://baranaceramic.com/wp-content/uploads/2018/08/Testing-items-for-tiles-1.jpg600900administratorhttps://baranaceramic.com/wp-content/uploads/2025/09/logo.pngadministrator2018-08-22 10:31:552018-11-28 05:57:10Testing items for tiles
In the process of decoration, wall tiles, floor tiles laying and pasting links are essential, but after the exquisite tiles laying, you will always find many ugly cracks. Why do these gaps exist? What are the requirements for them, how should they be handled and how to clean them?
It is necessary for tiles design to leave gaps, but many people only know one thing. Why do we need to leave gaps in the process of laying tiles price? First of all, marble tiles heat transfer effect is good, then there is a more prominent problem of thermal expansion and cold shrinkage. In most parts of China, the temperature varies greatly in four seasons, so the wood tiles seam can prevent the later cracking, bulging and other phenomena. Secondly, there are certain differences in the production process of polished tiles. Gaps can be adjusted at any time. Finally, workers will also have errors in the construction process, and can also be adjusted at any time during the process of sewing.
Because the heat transfer effect of different types of tiles are different, as well as the local temperature and climate varies greatly, mostly with the size of wood marble tiles gap has no unified standard. The size of the gap should be determined according to the degree of thermal expansion and shrinkage of cement tiles and the temperature and climate differences between indoor and outdoor environments. In general, the kitchen and bathroom wall tiles gap are about 1-1.5 mm, the gap between flooring tiles is generally between 1.5-2 mm. Depending on the situation.
Commonly used caulking materials are white cement, beauty sealant, sealant and so on. Each material has its own characteristics. According to the different quality of tiles and personal preferences, choose the appropriate sealant material. It is important to pay attention to the effect of the white cement and putty powder in the traditional filling material, but it is easy to blacken and mouldy for a long time, and it is difficult to clean and maintain later. Special treatment in special places, such as bathroom and kitchen where water is often used, requires the use of waterproof sealants. After laying the tiles for 24 hours, the filling steps are started.
After sealant treatment, all the materials are dry, and then wipe the tiles surface with soft materials like sponge and rag. At ordinary times, we should also pay more attention to keeping indoor air relatively dry. During the cleaning process, detergent such as cleanser and soap can be properly selected to make tiles and crevice more luster.
https://baranaceramic.com/wp-content/uploads/2018/08/The-knowledge-of-tiles-crevice-what-you-dont-know-1.jpg600900administratorhttps://baranaceramic.com/wp-content/uploads/2025/09/logo.pngadministrator2018-08-08 02:17:552019-11-27 09:59:24The knowledge of tiles crevice what you don't know
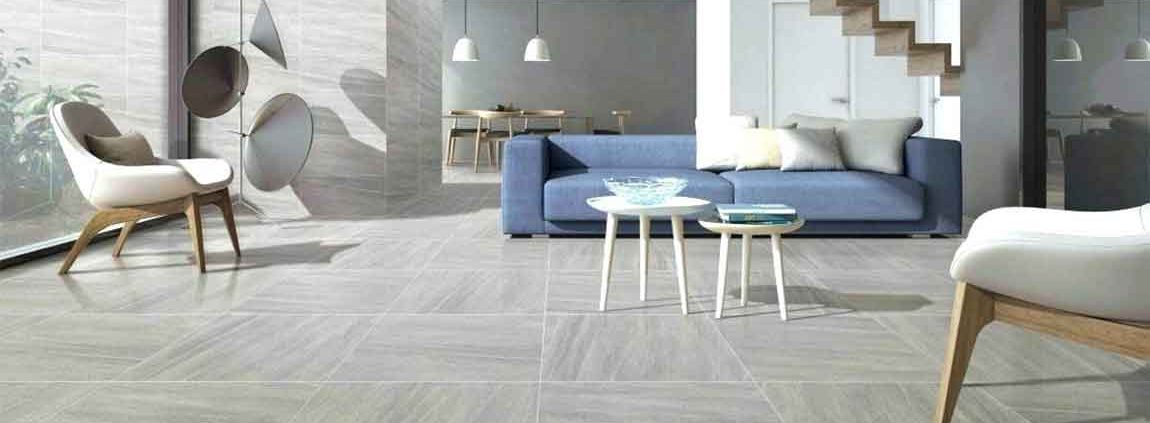
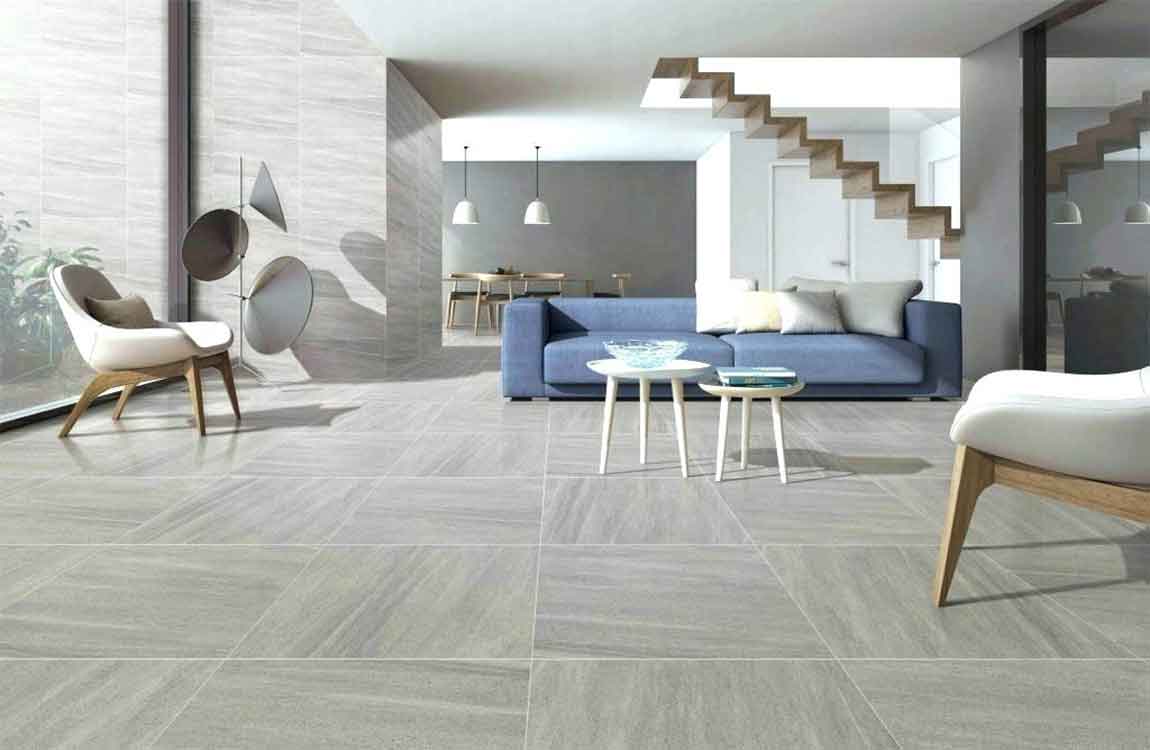
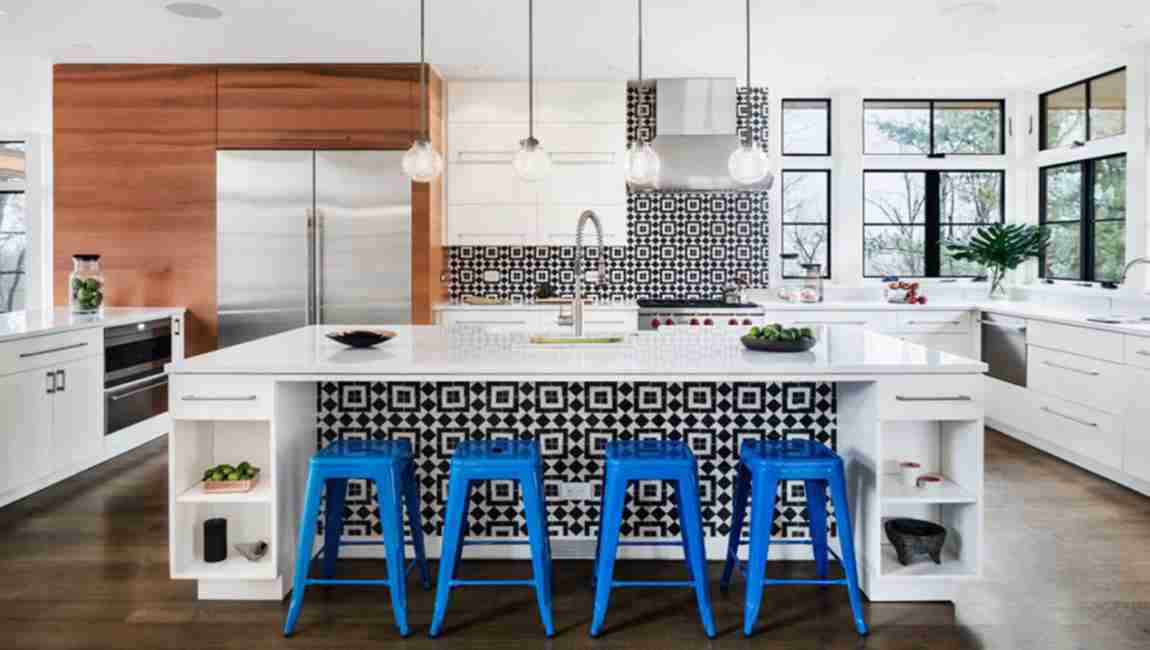
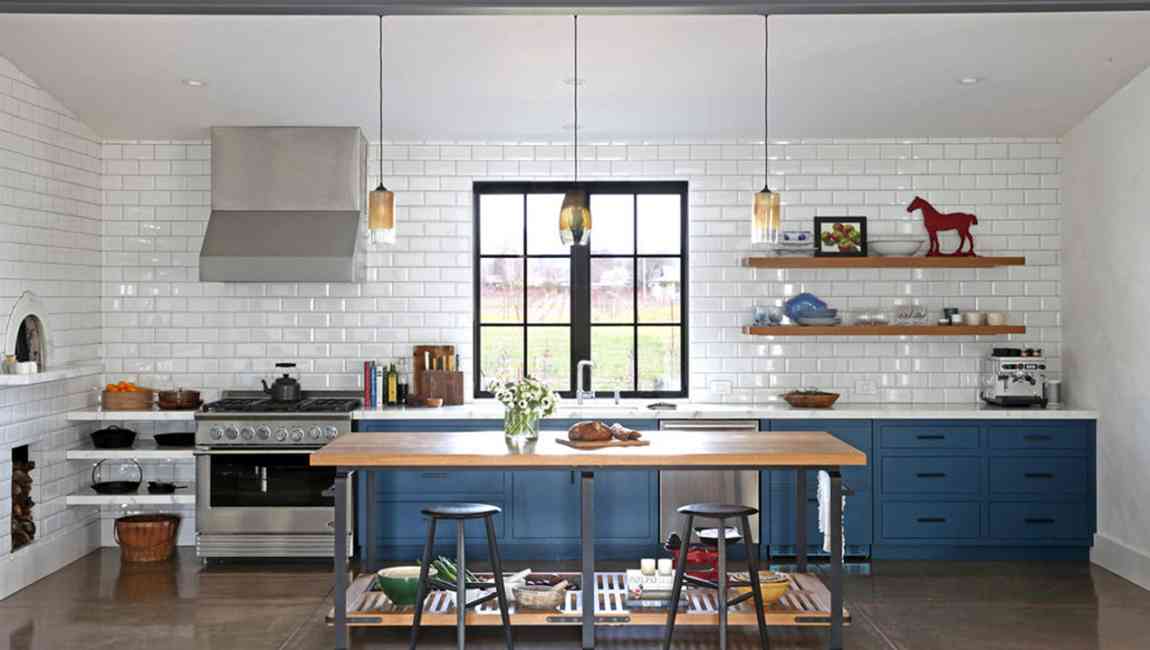
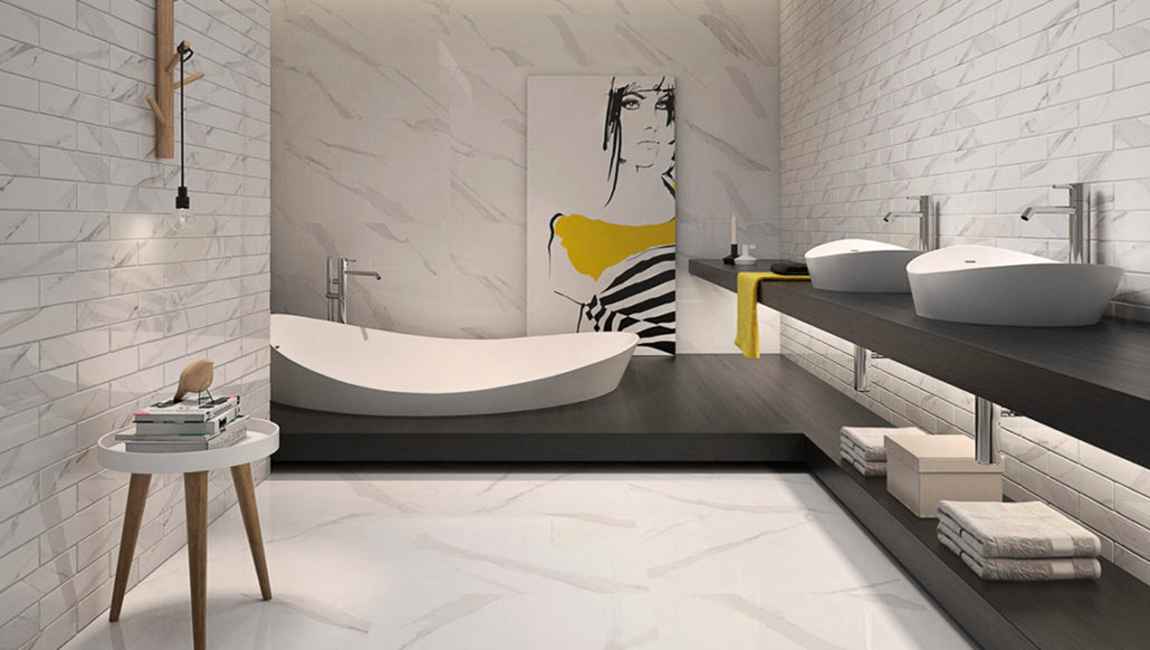
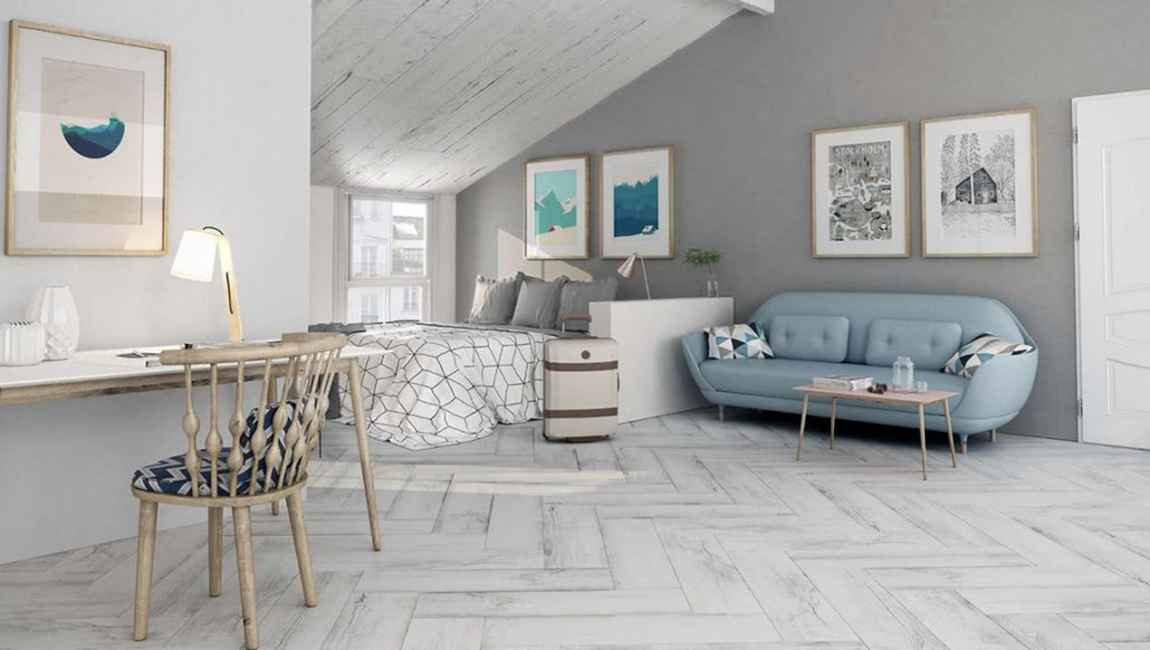
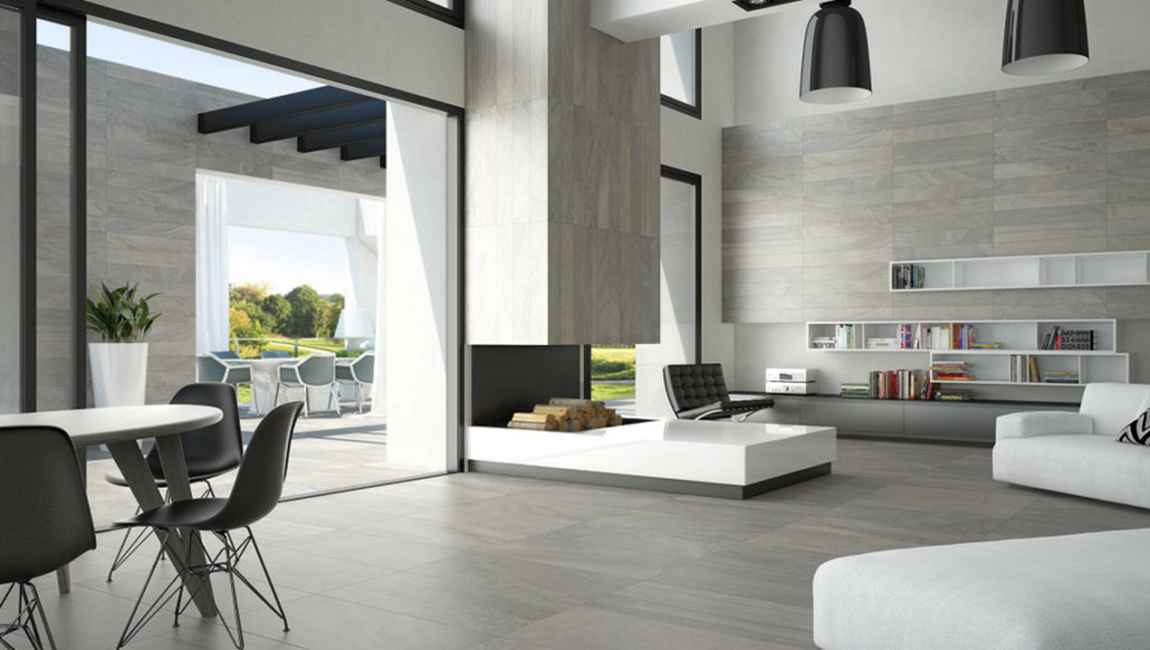
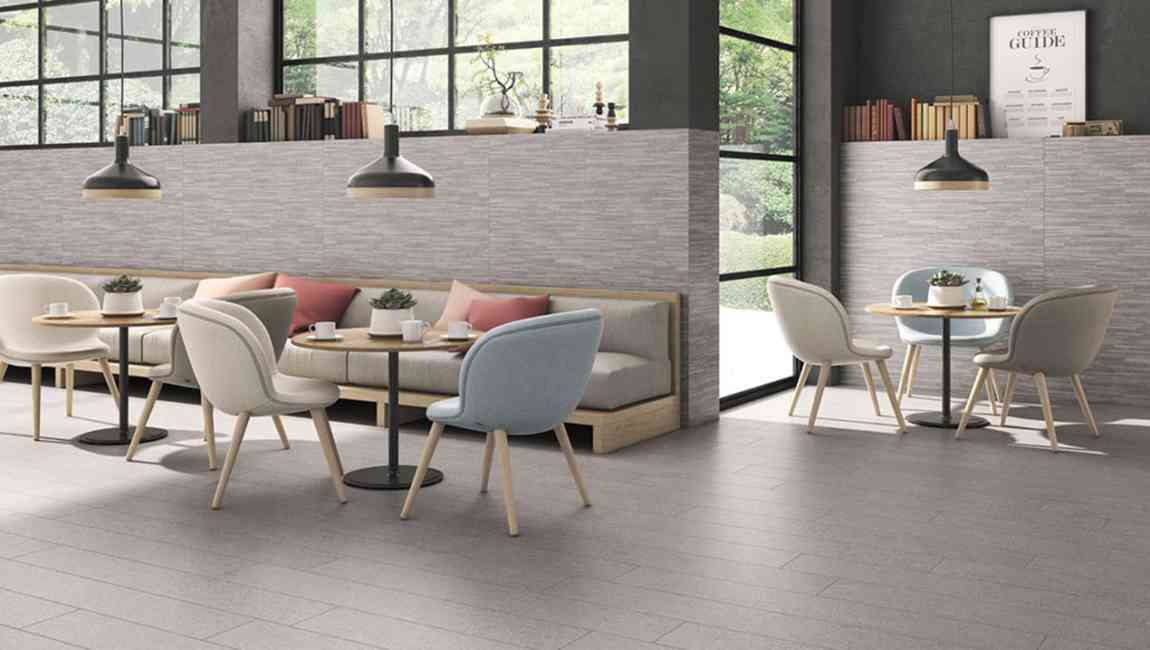
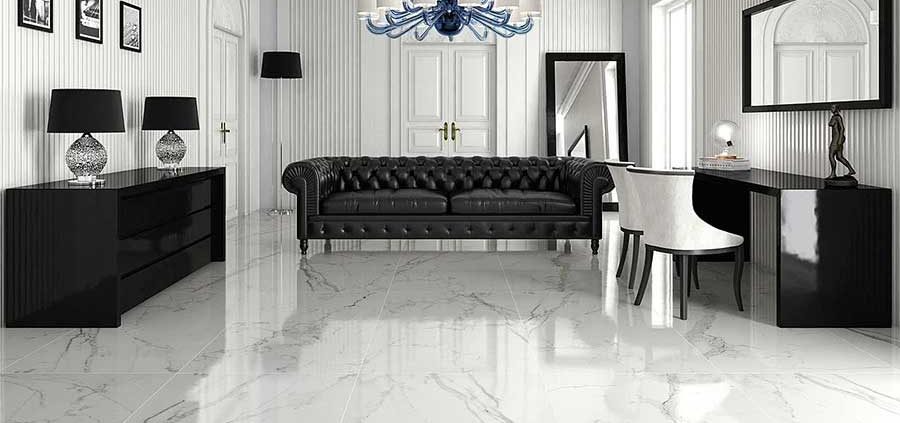
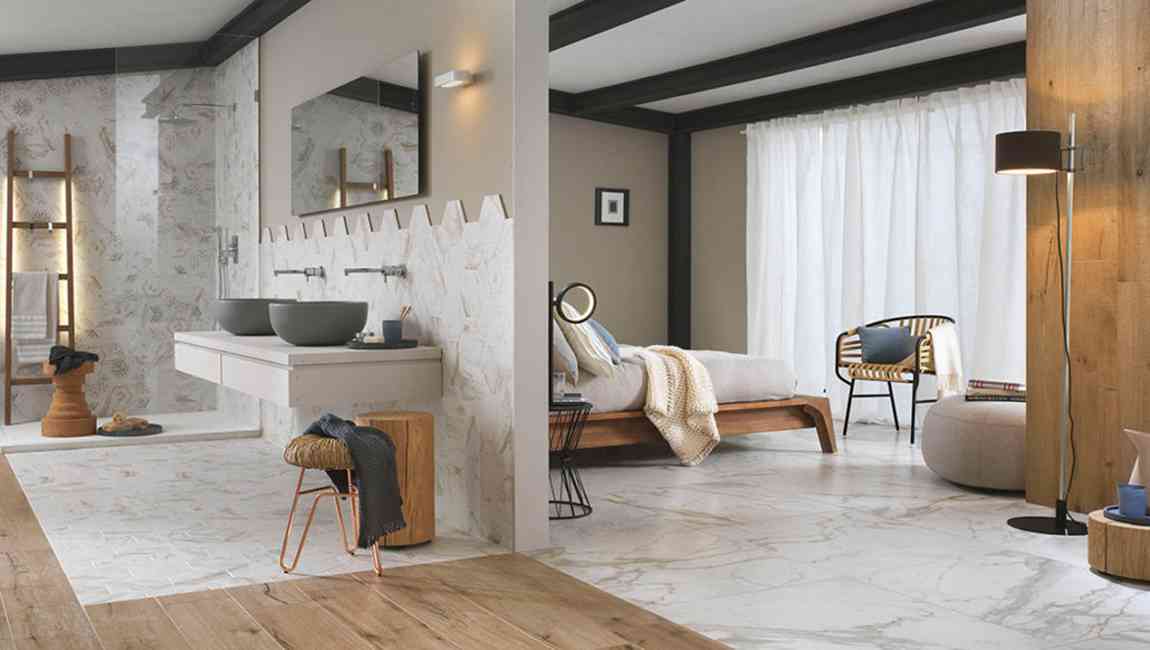
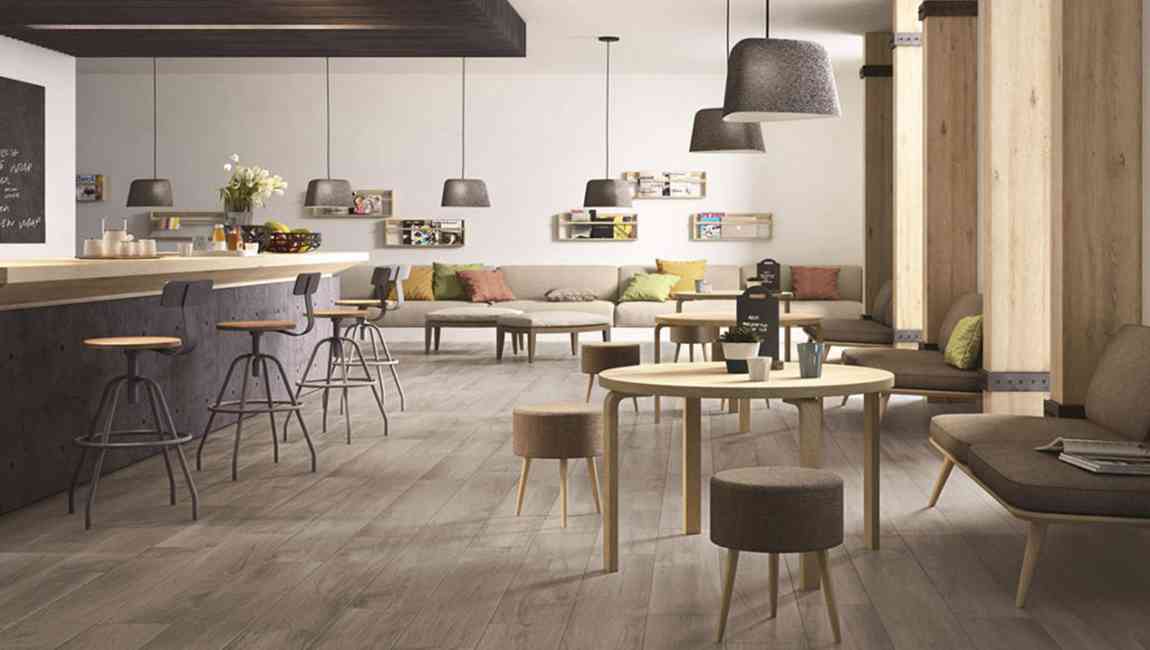
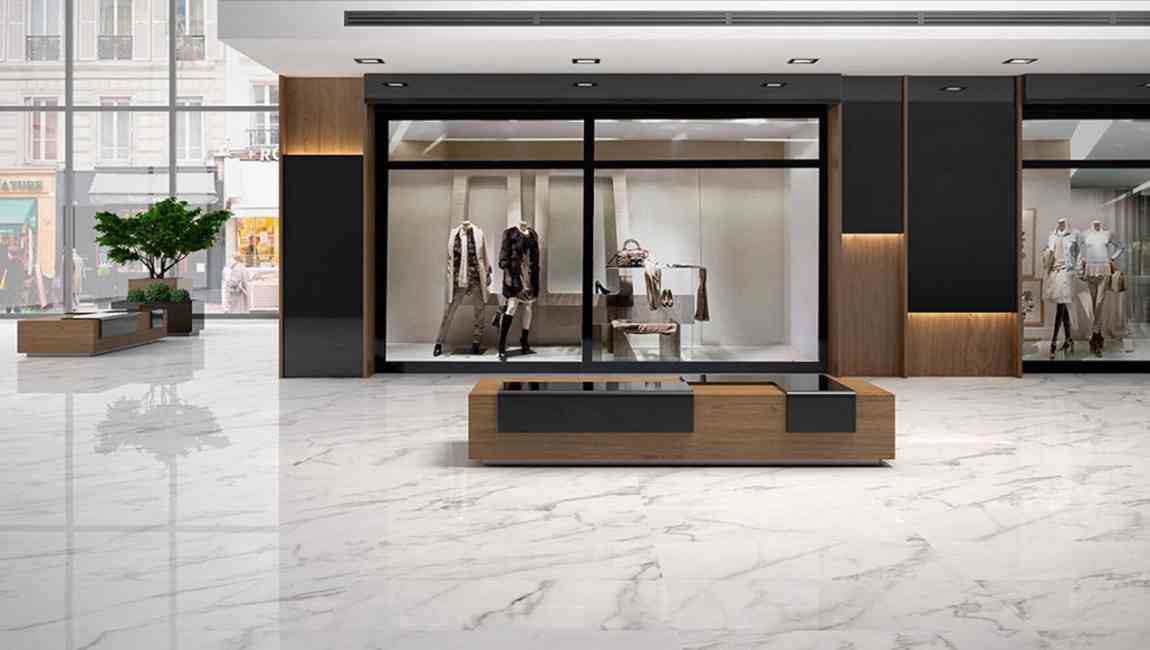
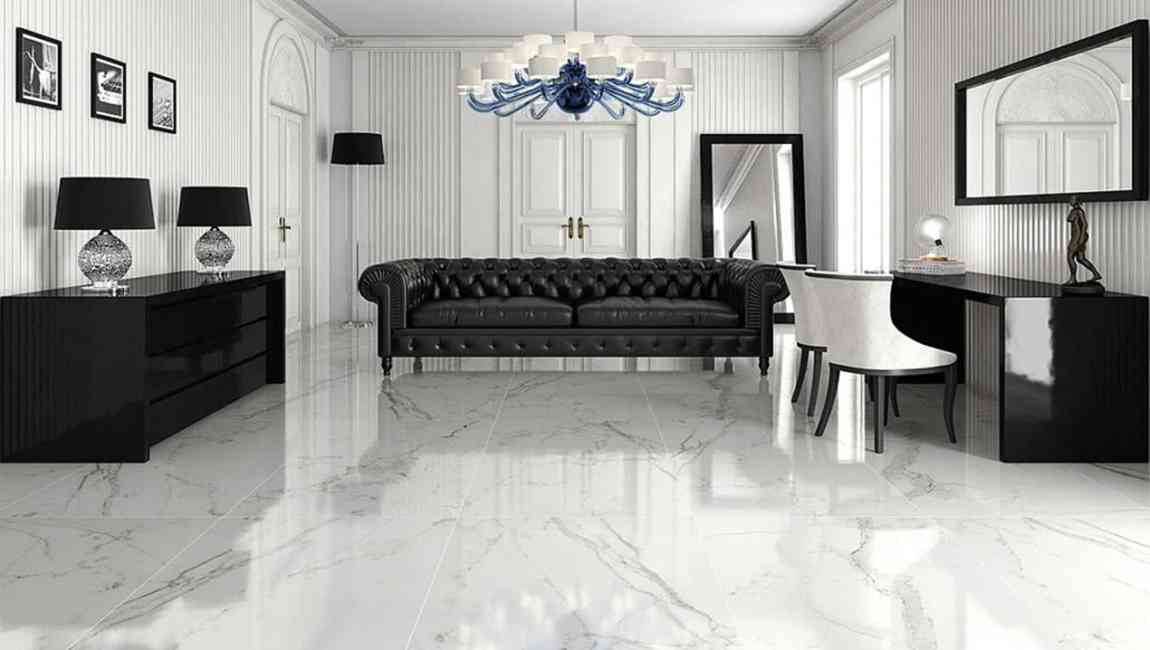
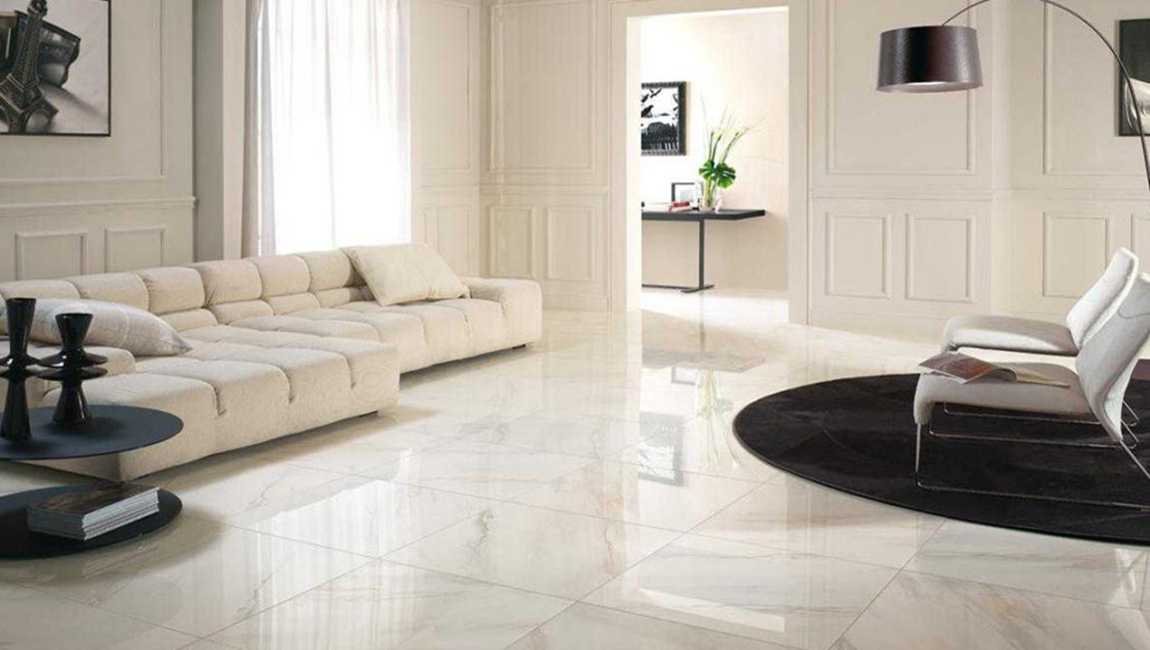
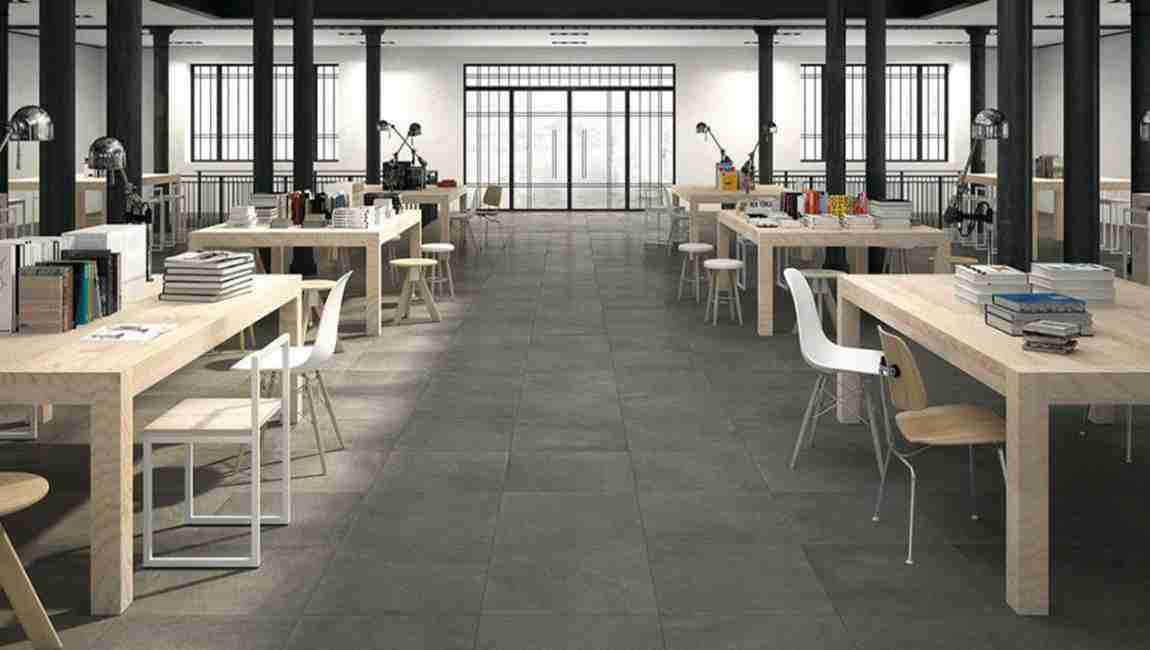
Modern tile, also known as “modern style tile“, is a new type offloor tile category. Modern floor tiles tend to be more inclined to and focus on the design of the product itself, and the embodiment of the cultural connotation. The modern style floor tile is not mysterious, with the rise of the younger generation of consumer groups, and the young consumer group of this generation is very particular about the decoration effect of home space, which provides very necessary conditions for the birth of modern style floor tiles.
The traditional floor tile is a kind of building surface decoration material, modern style tiles is a new category of floor tile, building space is decorated with modern style floor tile, its space decoration effect has been greatly improved, modern style floor tiles are not only different from traditional tiles. Moreover, the physical and chemical properties of its products have been greatly improved. The decoration of modern style floor tiles in the field of space application can be said to completely subvert the traditional tiles.
The modern style marble floor tiles, in the production process and process standardization, are also very particular, and it is harsh, to meet the quality of modern style floor tile design standards of factories and enterprises are not much. In order to produce fine quality modern floor tile products, factories and their enterprises must follow high standards of physical and chemical performance requirements to implement product production. Generally, the equipment of manufacturing modern style floor tiles price manufacturer is basically the leading level of industry.
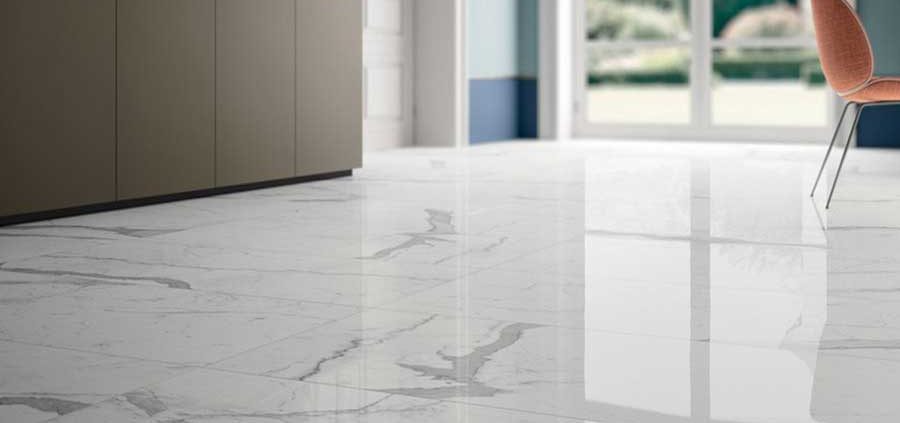
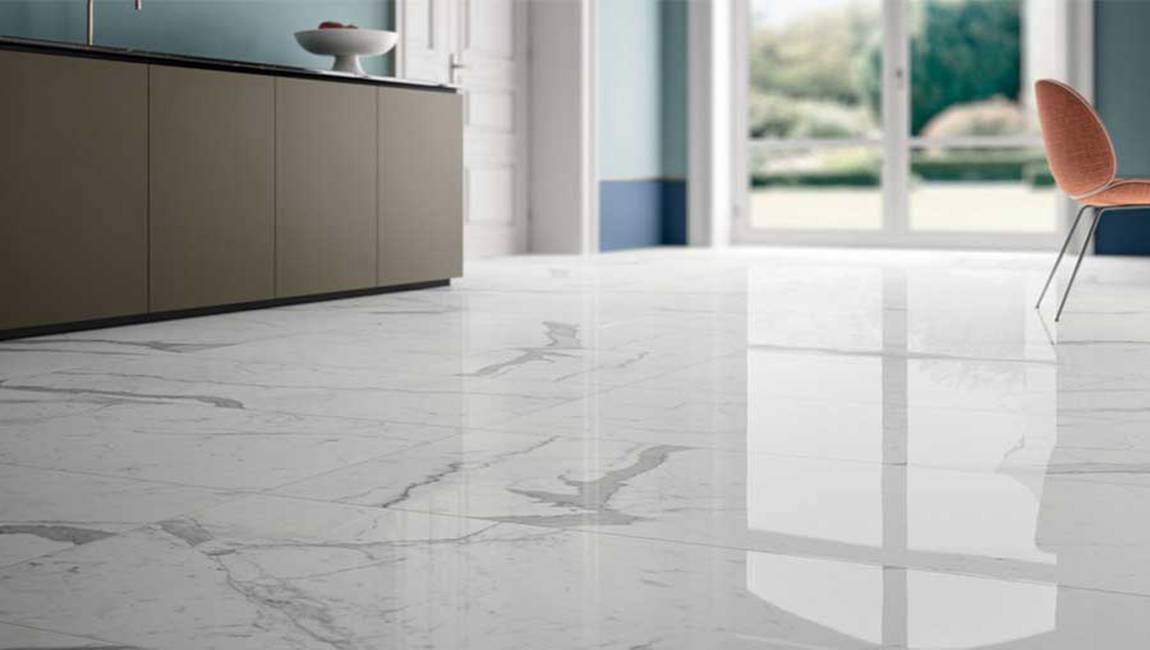
Texture design has always been the soul of marble tiles. Texture design is also very important for modern style ceramic floor tiles. And the modern style flooring tile is not only more prominent in texture expression. Moreover, the essence of the stone floor tile has also been shown to the utmost. The large texture and large layout of the modern style floor tiles can give the product more vividness. At the same time, large textures and large layout also greatly enhance the core competitiveness of modern style floor tiles in the field of building materials.
The modern style floor tile designs, in the production process and the standard requirement aspect should be higher than other ordinary traditional glaze floor tile product, the flatness is the important parameter standard of the modern style outdoor floor tile. The general quality of the modern style floor tiles in the level of flatness of the performance are basically close to smooth, and the size of the error is basically controlled in the range of 0.1 – 0.6mm, and even comparable to the traditional floor tiles after polishing.
Home decoration space effect or not, can indirectly affect the quality of life, modern style kitchen floor tiles from the beginning of the birth of high quality home decoration to prepare for the effect of space. The glazed texture of modern style ceramic tiles add its dynamic surface texture design. This design gives a natural and specific cultural connotation. The four tones of black, white, grey and beige are also the main colors of modern style floor tiles. At the same time, black, white, grey and beige intermingled with four colors, and it also shows a unique style of modern style floor tiles.
The extension effect is another important feature of the modern style floor ceramic. The extension effect will directly affect the floor tile’s application in the whole space. Modern style floor tiles, because most of their products are black, white, grey and beige four colors are the keynote, the visual leap of product performance is not very strong. At the same time, this kind of visual sense of jumping is also controlled within the range that most people are easy to accept, so the effect of modern style floor tiles in the extended effect is outstanding.
The international model is the most obvious of the modern style marble effect tiles and the traditional glazed rustic floor tiles. The collection of the elements of the modern style floor tiles generally comes from the top products of foreign countries, which are designed with great style and foresight.
https://baranaceramic.com/wp-content/uploads/2018/05/What-are-modern-floor-tiles-1.jpg600900administratorhttps://baranaceramic.com/wp-content/uploads/2025/09/logo.pngadministrator2018-05-30 03:37:532019-09-03 07:11:51What are modern floor tiles?