Posts

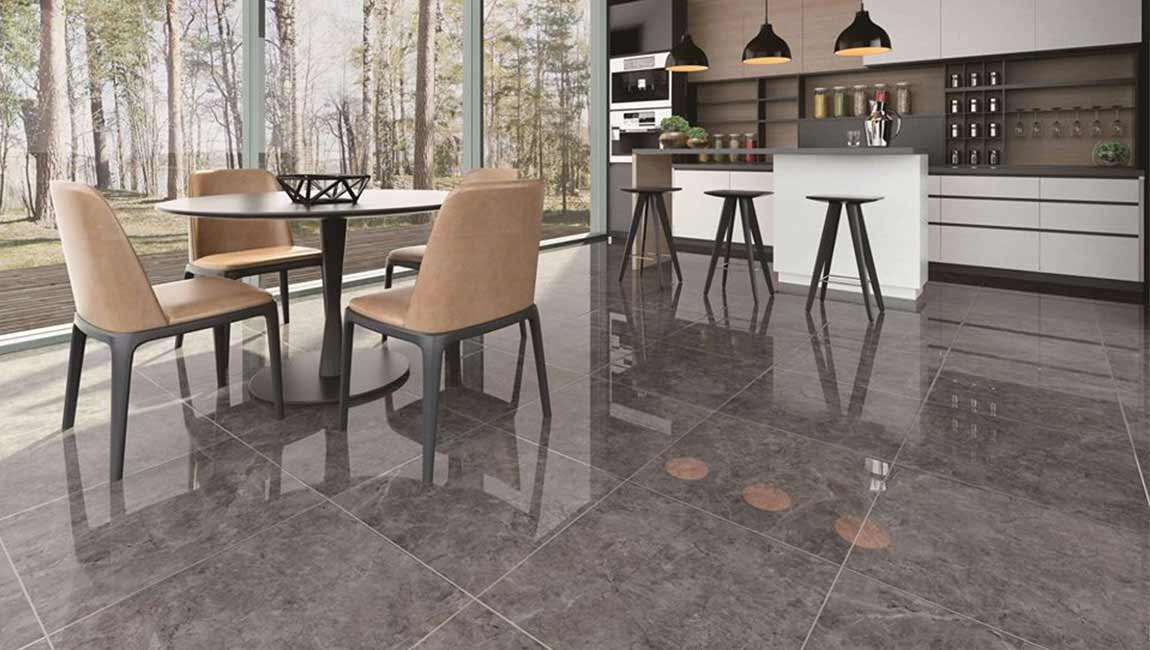
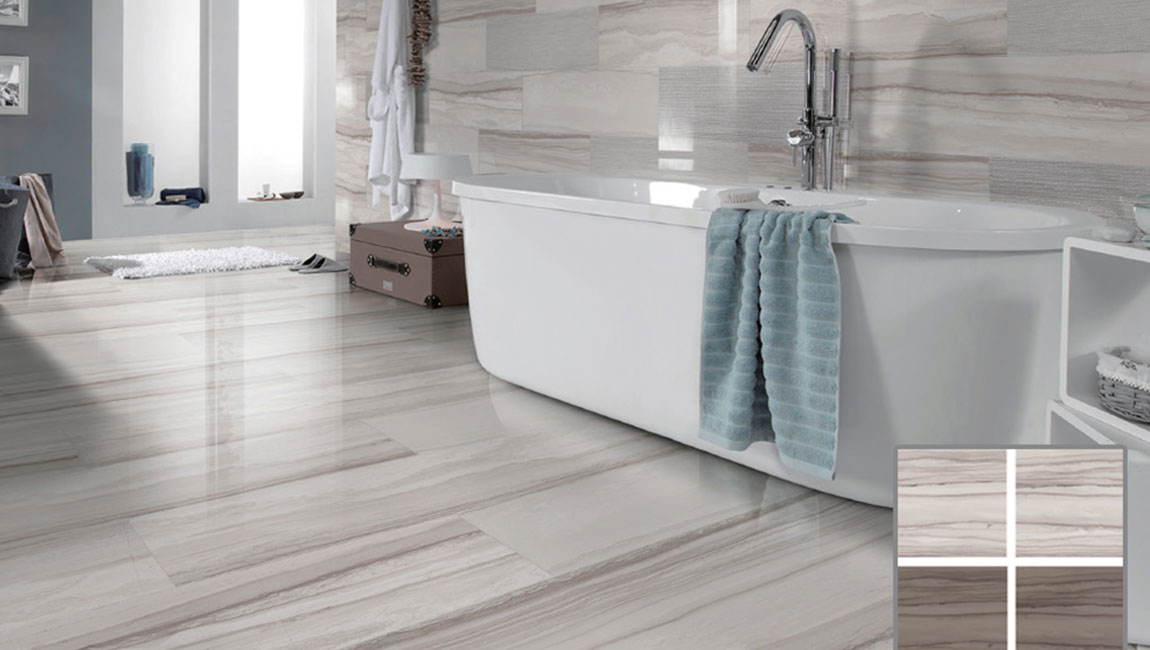
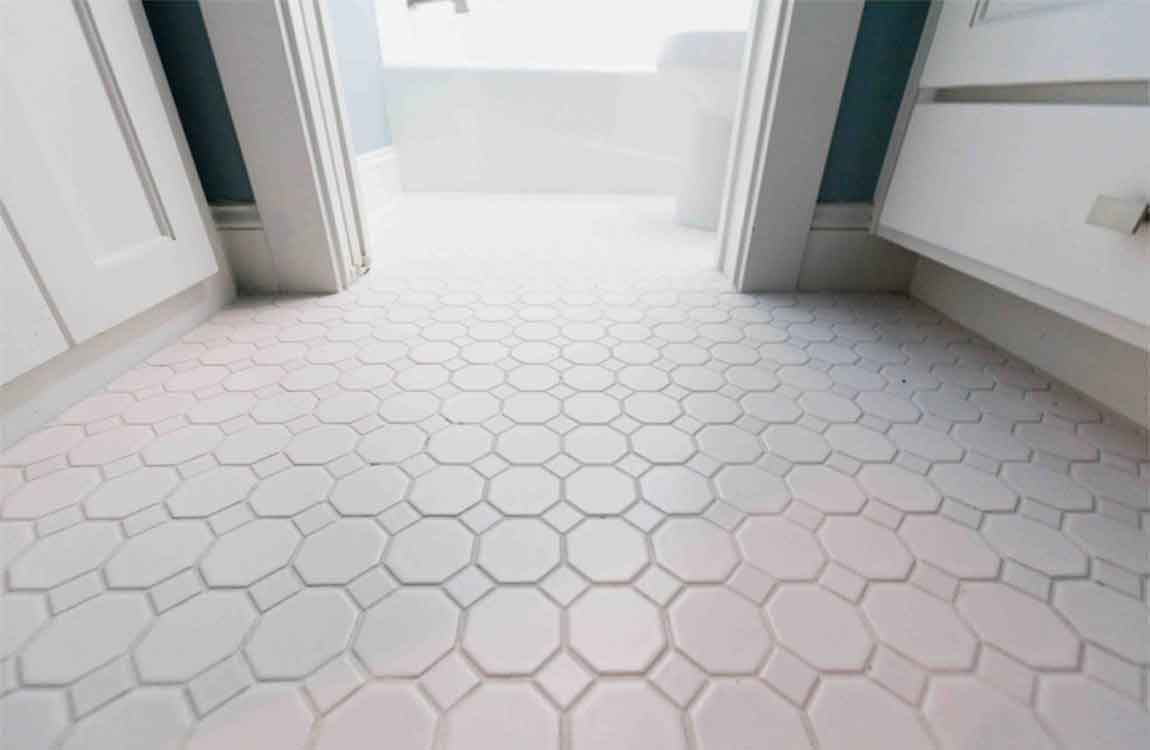
How to Clean Grout with Vinegar?


If the grout between your tiles has turned from white to brown, it’s ready to be cleaned. Fortunately, there are several homemade grout-cleaning solutions you can make with vinegar. Most of them involve baking soda, a compound which – when mixed with vinegar – creates a bubbly, fizzing reaction that’s perfect for cleaning grout. After applying your vinegar solution, use a scouring pad, a toothbrush, or some other cleaning implement to scrub your grout.


Apply vinegar to the grout. Use a vinegar-soaked cloth or a spray bottle filled with vinegar to coat the grout you wish to get clean. If you are trying to clean grout on a vertical surface, a spray bottle is probably your best bet. nAfter applying the vinegar, wait ten minutes before moving on to the next step. Always use distilled white vinegar or specialized cleaning vinegar to clean grout.


Scrub the grout. Ten minutes after applying the grout, use a toothbrush to scrub the grout. Use firm up-and-down motions to scrub the grout clean. Wipe the grout. Use a dry or damp rag to remove the loosened grout grime. Allow the area to dry, then evaluate it. If the grout still needs cleaning, try a different method.


Wipe the grout. Once you’ve loosened the grime and grit along your grout, it should wipe away with ease. Take a damp rag or paper towel and wipe it along the grout you’ve cleaned. Wipe the area along the edges of the grout, too, to soak up any of the lingering water/vinegar. If you want to give your floor an additional level of shine, mop the whole thing after you’re done


Make a citrus vinegar spray. Mix 3.5 cups (828 milliliters) hot water, ½ cup (170 grams) baking soda, 1/6 cup (40 milliliters) vinegar, and 1/3 cup (80 milliliters) lemon juice in a spray bottle. Aim the nozzle of the spray bottle at the grout you wish to clean. Spray the bottle so that the grout is evenly covered. After one hour, scrub the grout with the scouring side of a sponge to remove the dirt crusted into the grout.

How Dry-Fitting the Tiles?

Arrange the tiles outward from the center of the room. To get started, place a tile at each of the 4 corners where the wall lines intersect. Beginning at the center of the room rather than at the walls will prevent you from ending up with gaps or unsightly narrow tiles around the outer perimeter of the room. Symmetrical central tiles will also serve as an attractive focal point for the room.

Use spacers to separate each tile. After you lay down a tile, place a tile spacer at either end before putting down the next tile in the row. The spacers will ensure that your layout remains neat and even and that no 2 tiles are set too close together. Spacers also serve to show the minimum distance you’ll need to leave between each tile for your grout lines.

Tile spacers come in many different sizes. The amount of space you leave between tiles will depend on the look you’re trying to achieve, but 1⁄8 in (0.32 cm) spacers are standard for most flooring projects. Work your way toward the wall. Starting from the 4 central tiles, lay out the remaining tiles in a straight line until you reach the wall. Then, return to the center and work your way toward the opposite wall to form a single row.

Lay your tile in 2–3 ft (0.61–0.91 m) sections. The optimum size of each section will vary based on the dimensions of your tile. If you’re working with 12 in (30 cm) square tiles, your section groupings might be comprised of 2-3 tiles in each direction (for a total of 4-6 tiles per section).

If you need a visual aid to help you keep track of your sections, snap a series of chalk lines to clearly mark where each next group of tiles should go. Dry-fitting your tile in sections usually results in straighter, more precise grout lines. Be sure to complete 1 row before moving on to the next.

How To Lay the New Tile?

Apply thin-set mortar to the floor. Mix a batch of latex-modified thin-set mortar and apply it in a thick, even layer over the working surface, using a notched trowel. As a general rule, it is better to work in small sections that you feel you can complete within 30 minutes or so. If you mix up too much mortar, it could start to skin over and become less effective.

Apply the thin-set adhesive in a single direction. Do not swirl it around. There should, however, be small groves in the thin-set. If there is a crack in your old fool tiles surface, you may need to use a little more thin-set than usual to fill in that crack. The thickness of the mortar should be about 1/4 inch (6.35 mm). Consider using powdered thin-set mortar mix and combining it with liquid latex bonding additive instead of water.

Add more stability with mesh tape, if necessary. When you are tiling over a cracked surface, you should embed a strip of mesh tape into the fresh mortar over the crack. Only use enough mesh tape to cover the crack. The tape will help stabilize the thin-set. As a result, the underlying crack is much less likely to reappear in the new layer of marble tiles. Apply thin-set mortar to each tiles. Mix up additional thin-set as needed and apply a thin, even layer to the back of each tile using a trowel. Make sure that the adhesive completely covers the entire back of the wall tiles.

Again, it is often best to work only with the number of tiles you think you can go through within a 30-minute period. Apply the thin-set in a single direction, creating small grooves with the trowel. The thickness of the mortar on the back of your polished tiles should be no more than 1/4 inch (6.35 mm) thick, if not a little less.

Lay the tiles. Slide the ceramic tiles in place along your surface, positioning them according to your pre-planned arrangement. The thin-set strokes on your surface should run perpendicular to the thin-set strokes on the backs of your tiles. You must lay the tiles design by locating the center point of your surface and working your way out to the outer perimeter, just as you would when tiling over any non-tiles surface.

Add extra mortar to raise up a low spot. When you reach areas of the floor marked as low points, apply enough extra thin-set to the back of the wood marble tiles you expect to place there to raise that tiles up to the level of the kitchen tiles around it. Check the new level of your glazed rustic tiles with a level to verify that it is now at the same level as the adjacent tiles. Since thin-set dries slowly, you should be able to remove a newly placed tiles and adjust the amount of mortar as needed to fix the issue if you do not get it right on the first try.

How to Hanging Tile for a Wall?

There is nothing as beautiful as a well-designed tile wall tiles. Tile walls are normally found in bathrooms or the splash guards of kitchen cabinets, but they can be used decoratively anywhere you want to tile a wall. Although the idea of installing a tile wall on your own may be daunting, you can break down the process into parts to make it seem less overwhelming, including measuring and cleaning the walls, deciding on a pattern, hanging the tile on the walls, and applying the grout.

Apply a 1⁄8 inch (0.32 cm) layer of adhesive to the wall. Start applying the adhesive in a bottom corner, about 1 tile length away from the bottom and side of the wall, leaving space for the edge floor tiles. Scoop out a golf ball sized amount of adhesive onto a notched trowel, and spread enough adhesive in a thin layer over the wall to hang 2-3 tiles at a time.

You may need to move the trowel over the adhesive a few times to ensure that it’s thin and level. Pre-mixed adhesive tends to be less expensive and work well for wall tiling. If you purchased a powder adhesive, mix it according to the directions until it’s the consistency of peanut butter.

Use the trowel to add grooves to the adhesive. Hold the trowel at about a 45-degree angle from the wall. Move the trowel horizontally across the wall to make the grooves, applying consistent pressure as you spread. This will create the necessary ridges in the adhesive to allow for the tile design to stick to the wall.

Check the packaging of the adhesive to make sure you’re using the right sized notches for the ceramic tiles to stick to the adhesive. Most trowels will have 2 sets of notches that are different sizes.

Hang the first marble tiles and continue the row with more adhesive and  tiles. Carefully line up your first tiles, and press it into the adhesive, wiggling it slightly to create suction before positioning it in its spot. Then, continue adding tiles in rows or columns following your pattern. Once you’ve covered most of the adhesive on the wall, apply more and continue hanging tiles in your pattern.

Remember to work in small sections at a time, only applying the adhesive where you’re tiling. You may need to wipe off adhesive that oozes out from between the polished tiles with a damp cloth.

How to Make Ceramic Tiles?

Ceramic tile can be a beautiful addition to your home or garden. It begins with just a lump of clay, which is mixed with other ingredients to create a medium by which to form the tiles. Pigments and designs are added before glazing to add color and texture. If you love working with your hands, making your own ceramic tile can be fun and rewarding, especially if you intend to use it in your own home or garden. Aside from purchasing a kiln for firing your tiles, most ingredients are fairly inexpensive and some can be made from materials in your own home. Making ceramic tiles takes only a bit of creativity and time.

Begin with good clay, such as that designed for sculpting and that has small- and large-sized grog (fired and ground up clay). Check the temperature at which you will fire the clay. Ensure that the clay you use will mature at that temperature. Work the clay when it is fairly dry. Ensure that your wood tiles are at least 1/2-inch (1.3 cm) thick.

Roll a slab of clay onto a hard working surface from which your clay can be easily removed. Use a slab roller to flatten the clay. Calculate the diameter of a ball of clay that is needed to reach your marble tile’s size, including shrinkage. Use a magic marker to mark that size on your bat. Throw to the mark.

Determine the weight of the clay ball that ended up to be the correct dimensions of your floor tiles and use that weight for the rest of the clay. Construct a bottomless wood frame. Pound the clay into the frame. Cut off the excess clay. Allow the clay to dry slightly or use a spray lubricant to avoid having it stick to the wooden frame. Push the clay out of the frame’s bottom using a strong material the same size as the clay.

Purchase a clay-cutting device, which is similar to a cheese slicer, or make your own. Ensure that the device is at the specific thickness for your tile specifications. Put the device wire evenly through the block of plugged clay (ground clay that is kneaded with water and becomes more elasticized) to slice off bathroom tile pieces.


Make a metal or wooden template. Cut the cement tiles out after the clay has dried to a leathery consistency. Cover the tiles with plastic. Place the tiles between two pieces of sheetrock, plywood or fire-proofing board to help draw out the moisture or dry the tiles on a wire rack or plastic grids.

Incise a slab of clay with a 3.94-inch-long (100 mm) line. Fire the slab at the appropriate temperature. Measure the line after firing to determine shrinkage rate. Stack your kitchen tiles atop each other or place the tiles in a tile setter for bisque firing or place topps tiles on a flat surface for glaze firing. Create a moat to protect your tiles and ensure even firing using bars of clay.

The Knowledge Before Install Floor Tile

Installing a tile floor can be time-consuming work. For those on a busy schedule, it can take a week to get the whole project accomplished. However, the process itself is straightforward and the end result is well worth the effort you put in. See Step 1 for more information on how to do DIY tile layout with minimal experience and lots of fun.

Laying Down a Cement Board. Install cement board first if you’re dealing with just a subfloor. While it’s possible to lay wood tile directly on plywood subfloor, it’s certainly not recommended. Plywood subfloor won’t bond as surely with thinset as cement board will; neither will it provide as even and stable of a surface for the common marble tile. Cement board will probably be a bit more expensive and will add time to your project, but the investment is totally worth it. Tile done right requires a solid substrate.

The cement tiles in mortar and grout is a serious chemical and you need proper safety gear. Cement can cause first degree burns, eye injury from dust or wet cement getting into your eyes and also can sometimes cause lifelong chromium sensitization, so be safe EVERY time and wear alkali-resistant waterproof gloves, long sleeves and long pants (unlike the pictures in this article, which don’t follow proper safety guidelines!) and waterproof or thick shoes. Wear goggles with side protectors and a ventilator at LEAST when pouring mortar to mix it, preferably throughout the project – remember, if mortar gets into your eyes, even once, you’ll have to flush with water for 20 minutes and may need a trip to the hospital. Don’t wash mortar off with normal soap (special pH neutral soap can be used). Make sure there’s nowhere mortar can get inside and get trapped against your skin. Rinse any mortar that touches your skin off right away, and keep vinegar on hand to neutralize.

Lay down some latex-modified thinset mortar onto the subfloor.If you’re mixing mortar from scratch, add enough water to the dry mortar so that the final consistency resembles peanut butter. Then, let the mortar slake, or rest, for 10 minutes. Use a trowel with notches about the same size as the cement board thickness to lay down the mortar. Lay only enough mortar that you can safely cover in about 10 minutes. This is the time it will take the mortar to start hardening.

Press down the cement board onto the subfloor and attach with cement board screws. Starting in one corner, press the cement board down to the subfloor using your own weight. Drill the cement board screws into the board to fasten the board to the subfloor. Screw about every 8 inches (20.3 cm) around the edge of the board and every 10–12 inches (25.4–30.5 cm) in the center of the board.

Continue laying mortar and cement board onto the subfloor, staggering the end joints so that they don’t line up. For added strength, make sure that the end joints don’t form one continuous line. This means that you might need to lay one line of cement board starting on one side of the room, and then start the next line on the opposite side of the room.

What Should We Pay Attention When Remove Bathroom Floor Tile?

Remove the marble tiles without removing the substrate.If the material beneath the wall tiles is in good condition, you can save yourself some money and leave it intact. That said, this method is slow and often causes some damage to the substrate; use your best judgement. Remove the tiles design with a flat pry bar, placing the edge low against the side of the tile and striking the base of the knife with a hammer. An electric chisel is another option. Periodically scrape adhesive off the exposed floor with a putty knife or a floor scraper.

If the ceramic tile only breaks in tiny pieces, or if you want to maximize the chance that the small tile comes out intact, scrape out the grout lines around the flooring tiles first. You may use a handheld grout saw, a carbide blade fitted onto a rotary grinder or oscillating tool, or (less effectively) a utility knife with several spare blades. A little heat from a blow dryer or heat gun may soften the grout.

Saw through plywood or cement board substrate. Chip away a row of white tiles to expose this substrate. Fit a reciprocating saw with a long blade (wood-cutting or carbide-tipped masonry cutting, depending on the material). Cut into the side of the substrate at a low angle, making a long cut to free it from the floor beneath. You can now lift the material and tile up in chunks with a flat bar. Cutting through cement board may damage the floor beneath, and roofing nails may interrupt your progress. A safer, but slower alternative is to break through the cement board with a hammer. You can then pry the cement board off the floor beneath using a pry bar.

Remove the mortar bed. Floor tiles from the 1960s and earlier were often installed on a thick mortar bed. Mortar beds were typically installed in areas where the floor was sloped for drainage, e.g., in shower areas. This is a pain to remove, but chiseling out the tiles is slow and will likely cause cracks in the mortar anyway, so it’s best to replace it now if you can afford it.

Most mortar beds are made of sand mixed with a small quantity of Portland cement tiles, and are not particularly difficult to break up. Shut off the house’s main water valve before you begin. Removing the mortar bed may damage a water pipe. Break through a small area with a chisel and sledge to the surface beneath (usually wood). Using a rotary hammer with a chisel bit (from a tool rental company), chisel around a chunk of mortar about 1 foot (0.3 m) across. Use caution when approaching the base of the bed. Complete the job by using the hammer between the wood and the mortar bed, periodically chiseling the mortar from above.