Cover your counter and put on a mask and safety goggles. Cover your counter with plastic sheeting to protect it and make cleaning up easier. Put on a pair of safety goggles to protect your eyes against dust. Finally, put on a mask suitable for working with fine particles. Most dust masks and respirator masks come with a description of what they are used for, such as sanding dust, aerosol, etc. Choose the one for dust.
Make the tile where you wish to cut it. A pencil may work just fine on a slate or ceramic tile, but if the tile is glazed, you should switch to a marker. Try to be as precise as possible for this step. Installing a new electrical fixture will require you to get inside the wall. Mounting a towel rack does not.
Cut along the top, bottom, and side edges. If you need to get inside the wall, then you should cut through the dry wall as well. A dremel rotary cutter with a diamond tile blade will work for most tiles. If your blade can’t go around the corners, skip them for now.
Use an oscillating cutter to cut through tight corners. While a dremel rotary tool will work for most lines, it won’t work on tight corners. For that, you should switch to an oscillating cutter instead. You may have to experiment before you find the right one for your type of tile. A multi-surface blade seems to work better than a tile blade, however.
Pull the tile away. Wedge a thin knife or spatula behind the tile and pop it out. If you had to cut through the wall, try not to lose anything inside the wall. Your hole is now complete and ready to finish.
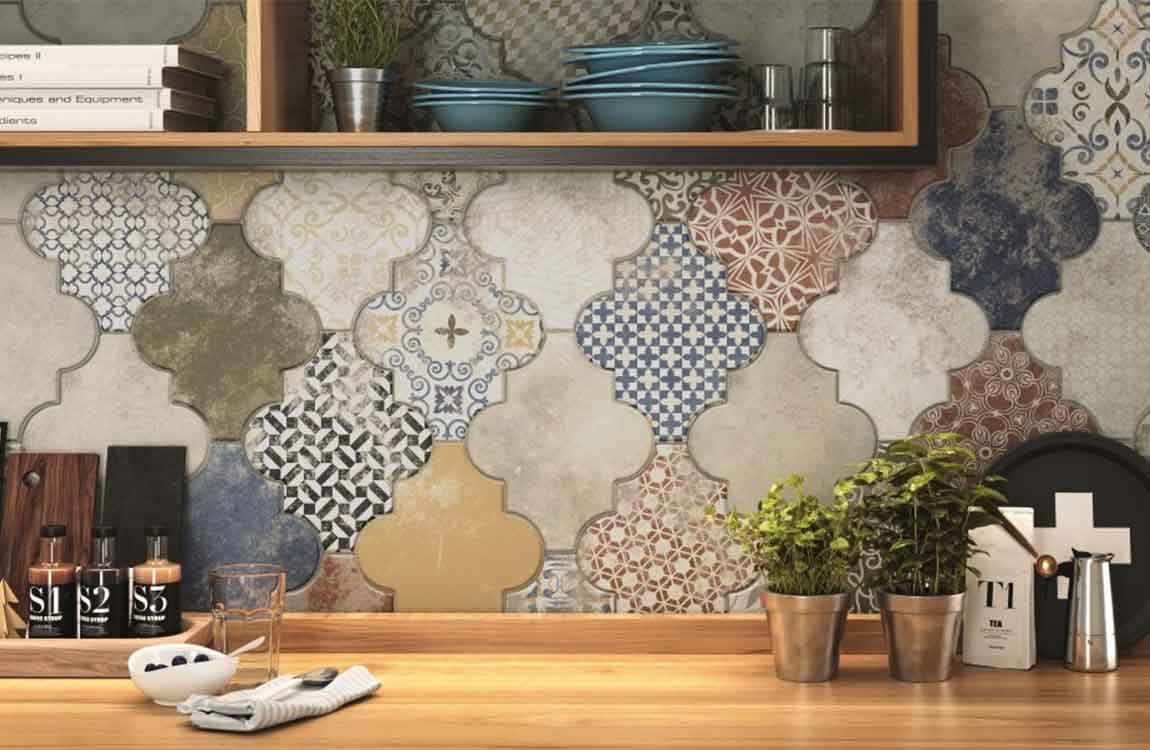
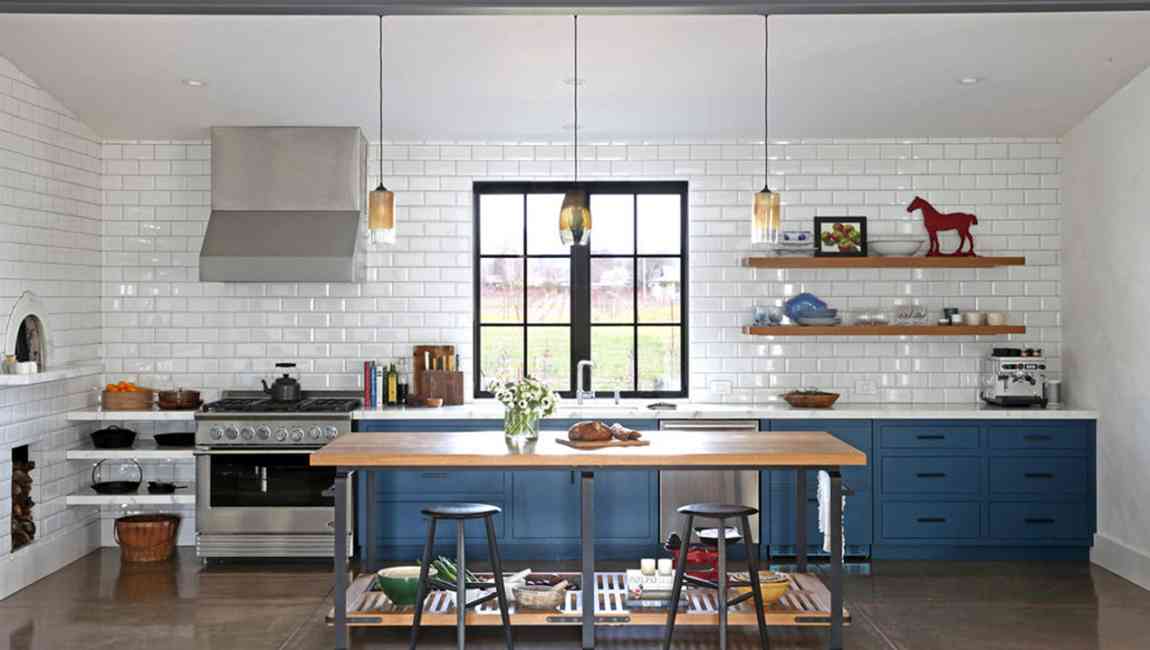
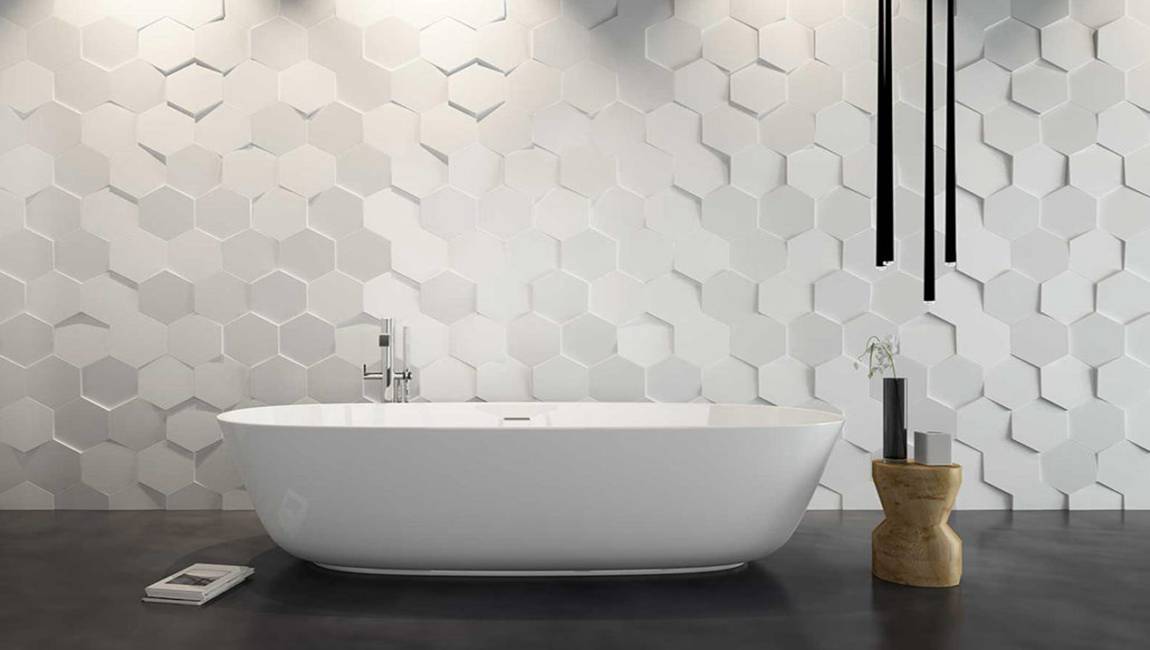
Install a batten to keep your first row straight. With everything else ready to go, you’ll want to install a batten to help keep your cementtiles rows straight. This is a piece of scrap wood, such as a piece of 1×4 lumber, that you use as a long straight-edge, placing the first row of rustic tiles right against the batten. Align the top edge of the wood so that it follows exactly along the mid-level line that you marked, then screw it into the studs. Once the wood tiles have been placed, simply unscrew and remove the batten. Double check that everything is level before installing the tiles on the batten. You’ll also want to check it all the way across, since there may be dips in the wood you use for your batten.
Mix the mortar. You’ll need thin set mortar to lay your ceramic tiles. While you should always go by the manufacturer’s instructions, a general rule of thumb is to start with the powder in a bucket and just add water slowly and mix until the consistency of the mortar becomes like peanut butter. You should also allow it to “slake” after you first mix it up. This means you allow it to rest for 10-15 minutes and then stir it up again. Now it is ready to use.
Spread the mortar. Working in a roughly 2×3’area, use a tiling trowel to apply the mortar. Hold the notched trowel at a shallow angle against the wall, so that the notches on one of its long sides dig grooves into the mortar. Use long, sweeping motions to apply the mortar. The direction of the grooves doesn’t matter but the lines should all be roughly parallel.
Your trowel size will depend on the size and type of marble tiles you’re using. For the average small wall tiles which are currently popular, you will want to use a 1×4″ square notch trowel. Test a tile design to make sure the mortar is mixed and spread correctly. Mortar a small spot and then place a wood wall tiles. Pull the tiles price up and look at the pattern that is create on the back. If you see clear lines, then the mortar is too dry. If you see mounds then the mortar is too wet.
Place your tiles on the wall. With the mortar ready to go, you can start placing your tiles. Just twist them into place, sticking to the small area that you prepared for yourself. Place your spacers between each tile as you go. These are usually cross shaped and placed at the corners but if you have unusual tiles you may have to improvise, such as by placing only one arm between tiles and letting the rest of the spacer stick out. If the mortar rises up between the tiles as you place them, the bed is too thick and you will need a smaller trowel. Check the tiles for level as you go. This is when a laser level can really come in handy.
https://baranaceramic.com/wp-content/uploads/2018/09/How-to-install-ceramic-wall-tiles-1.jpg600900administratorhttps://baranaceramic.com/wp-content/uploads/2025/09/logo.pngadministrator2018-09-04 06:46:452018-11-28 05:54:59How to install ceramic wall tiles?
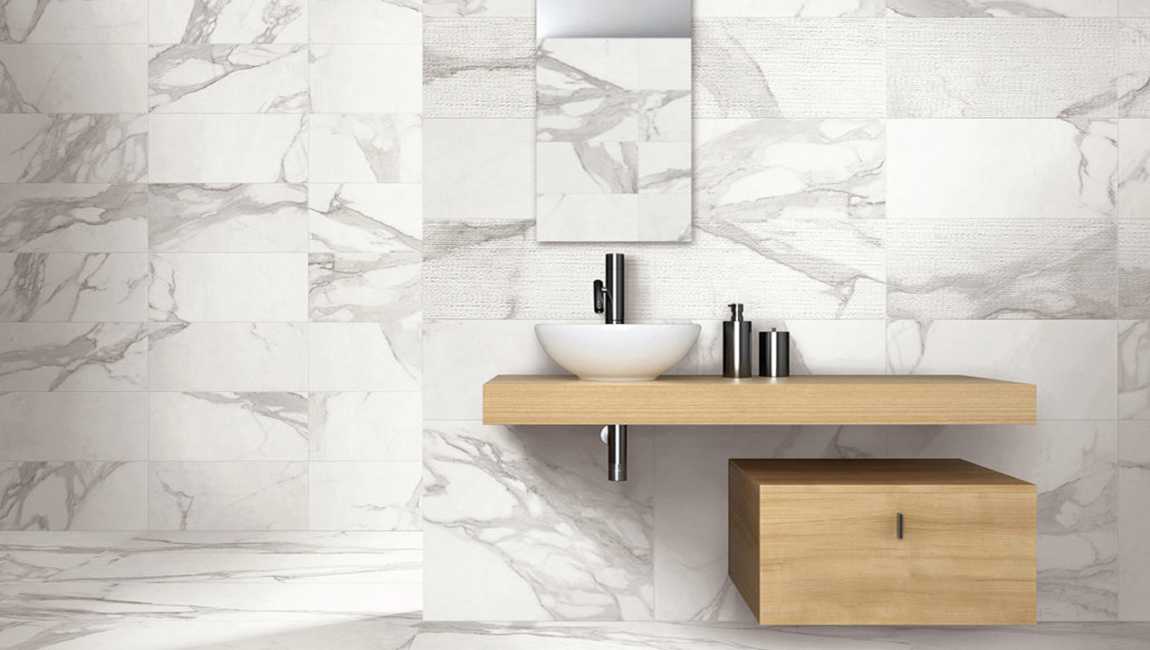
Apply a 1⁄8 inch (0.32 cm) layer of adhesive to the wall. Start applying the adhesive in a bottom corner, about 1 tile length away from the bottom and side of the wall, leaving space for the edge tiles design. Scoop out a golf ball sized amount of adhesive onto a notched trowel, and spread enough adhesive in a thin layer over the wall to hang 2-3 wall tiles at a time.
You may need to move the trowel over the adhesive a few times to ensure that it’s thin and level.
Pre-mixed adhesive tends to be less expensive and work well for marble wall tiles. If you purchased a powder adhesive, mix it according to the directions until it’s the consistency of peanut butter. Use the trowel to add grooves to the adhesive. Hold the trowel at about a 45-degree angle from the wall. Move the trowel horizontally across the wall to make the grooves, applying consistent pressure as you spread. This will create the necessary ridges in the adhesive to allow for the wood wall tiles to stick to the wall.
Check the packaging of the adhesive to make sure you’re using the right sized notches for the marble tiles to stick to the adhesive. Most trowels will have 2 sets of notches that are different sizes. Hang the first tiles and continue the row with more adhesive and tiles. Carefully line up your first tiles, and press it into the adhesive, wiggling it slightly to create suction before positioning it in its spot.
Then, continue adding ceramic tiles in rows or columns following your pattern. Once you’ve covered most of the adhesive on the wall, apply more and continue hanging wall tiles price in your pattern. Remember to work in small sections at a time, only applying the adhesive where you’re tiling wall tiles. You may need to wipe off adhesive that oozes out from between the tiles with a damp cloth.
Add spacers in between each of the tiles to ensure even grout lines. As you’re hanging up the wall tiles design, position plastic spacers in between them to make room for the grout later. The spacers fit between the wood marble tiles and stick into the adhesive. Some floor tiles have built-in spacers. Be sure to check yours before you buy spacers.
Cut your tiles with a wet saw or nippers. Gather all of the tiles that you marked with the wax crayon during your dry-lay, and measure the length again to ensure that it’s in the right position. Put on a pair of safety goggles and carefully align the tiles with the blade of the wet saw or the shears of the nippers. Then, move the tiles through the blade or close the nippers to cut the tiles. For large tiles, you may need to rent a tile-cutting saw, also called a wet saw, from a local home and garden store. You can cut tiles smaller than 2 inches (5.1 cm) with nippers, which are shears that are used for cutting small pieces of glass.
Hang edge tiles by applying adhesive to the backs of the tiles. Take a tiles for the edge of the wall and apply the adhesive to the back, as if you were putting butter on a piece of toast. Then, position the tiles where it needs to go, and add the spacers. If the tiles has been cut, make sure you’re placing it in the right spot. If your tiles fit perfectly in the space and you don’t need to cut any of them, you should still use this method to do the outer columns and the top and bottom rows. This prevents the adhesive from getting on other surfaces or the pre-layed tiles.
https://baranaceramic.com/wp-content/uploads/2025/09/logo.png00administratorhttps://baranaceramic.com/wp-content/uploads/2025/09/logo.pngadministrator2018-08-31 05:18:182019-01-11 09:43:51How to hanging wall tiles?
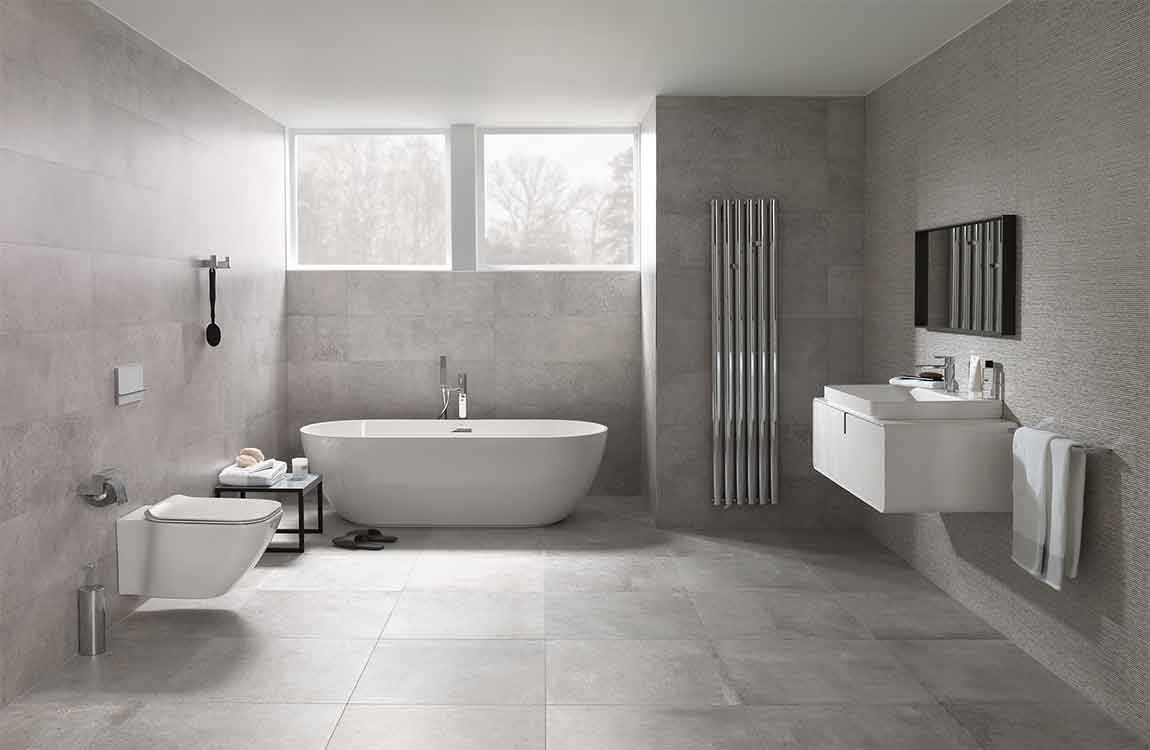
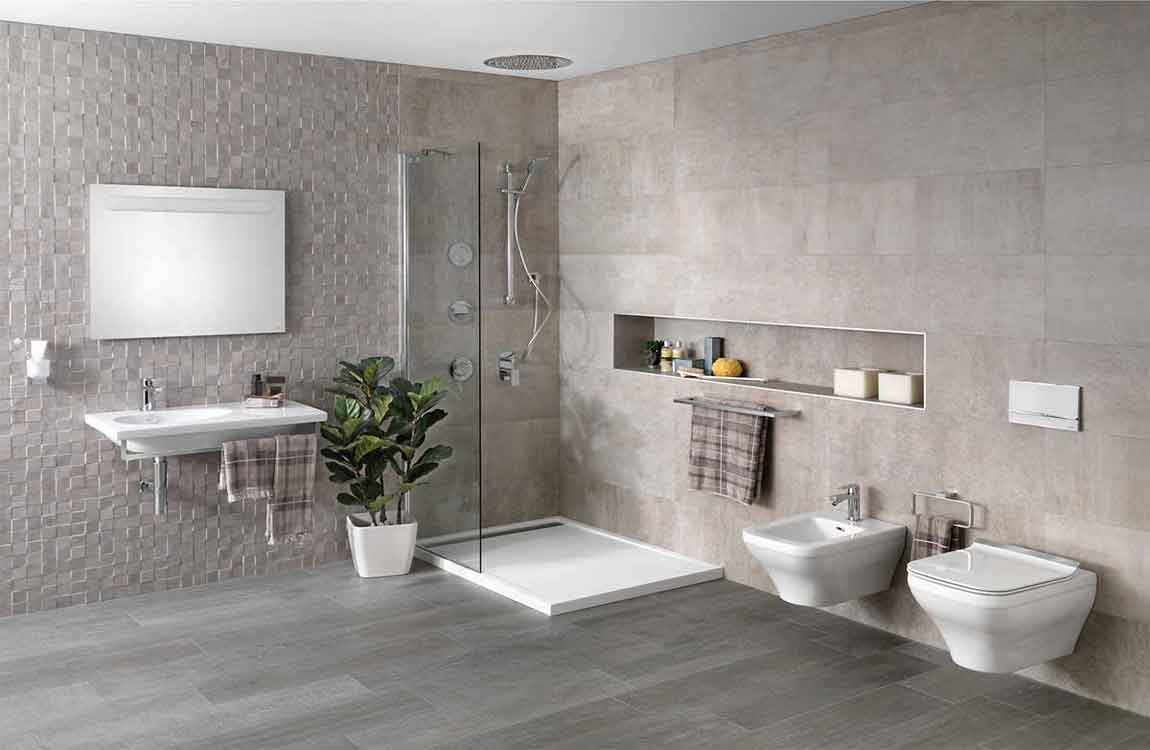
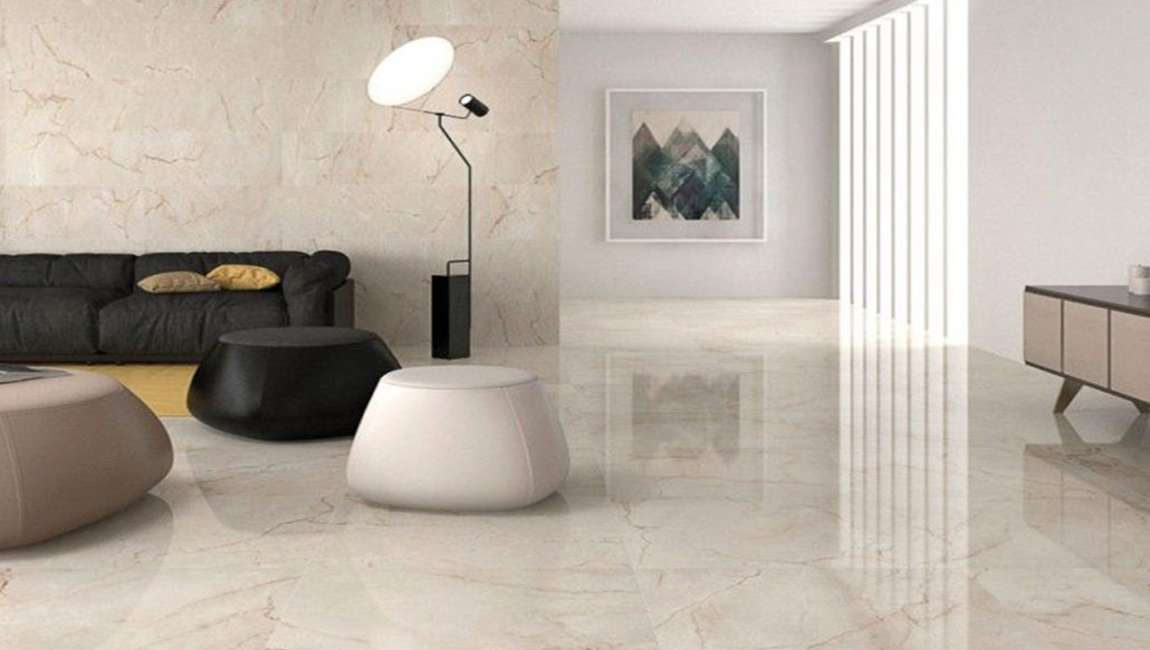
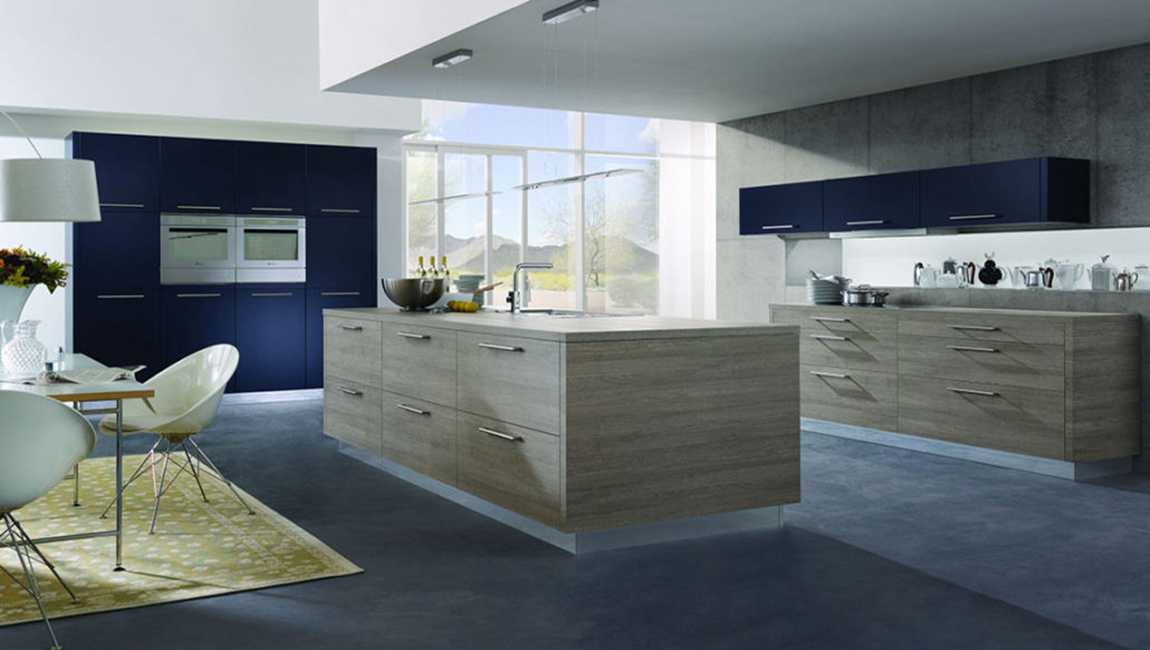
Modern tile, also known as “modern style tile“, is a new type offloor tile category. Modern floor tiles tend to be more inclined to and focus on the design of the product itself, and the embodiment of the cultural connotation. The modern style floor tile is not mysterious, with the rise of the younger generation of consumer groups, and the young consumer group of this generation is very particular about the decoration effect of home space, which provides very necessary conditions for the birth of modern style floor tiles.
The traditional floor tile is a kind of building surface decoration material, modern style tiles is a new category of floor tile, building space is decorated with modern style floor tile, its space decoration effect has been greatly improved, modern style floor tiles are not only different from traditional tiles. Moreover, the physical and chemical properties of its products have been greatly improved. The decoration of modern style floor tiles in the field of space application can be said to completely subvert the traditional tiles.
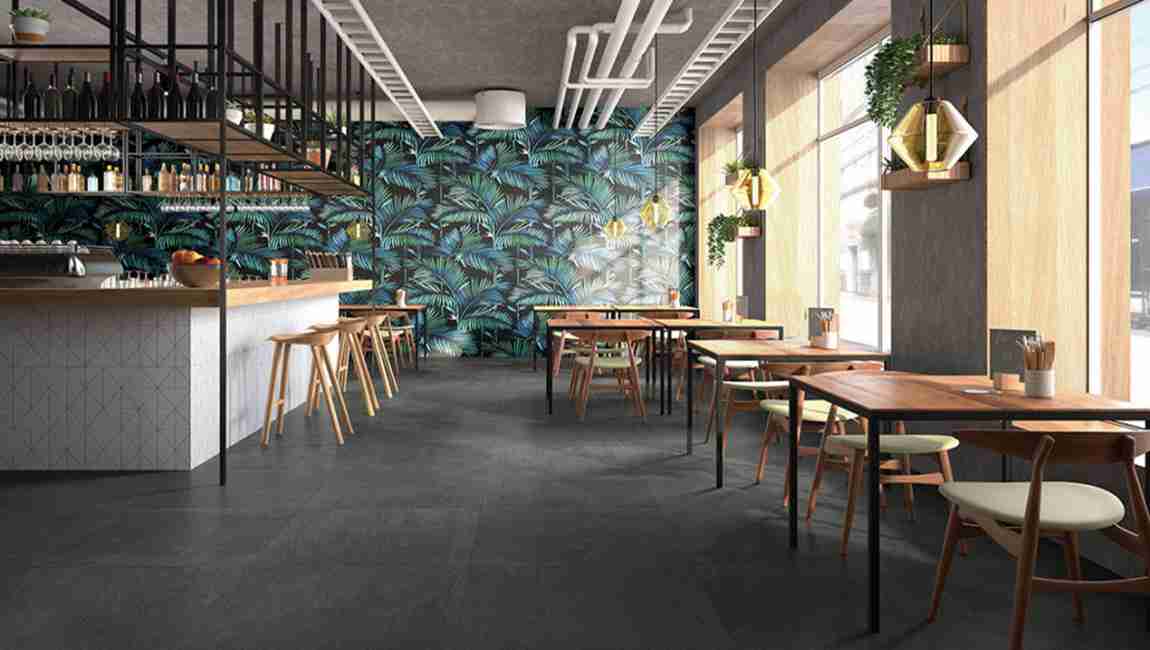
The modern style marble floor tiles, in the production process and process standardization, are also very particular, and it is harsh, to meet the quality of modern style floor tile design standards of factories and enterprises are not much. In order to produce fine quality modern floor tile products, factories and their enterprises must follow high standards of physical and chemical performance requirements to implement product production. Generally, the equipment of manufacturing modern style floor tiles price manufacturer is basically the leading level of industry.
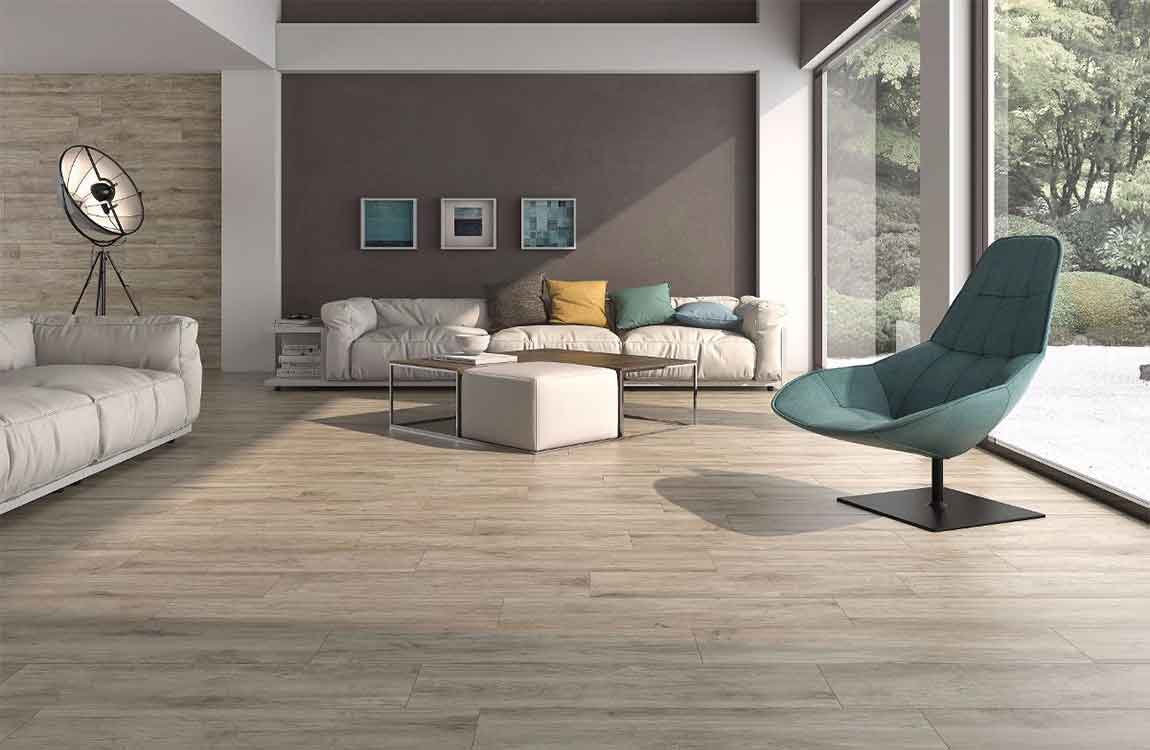
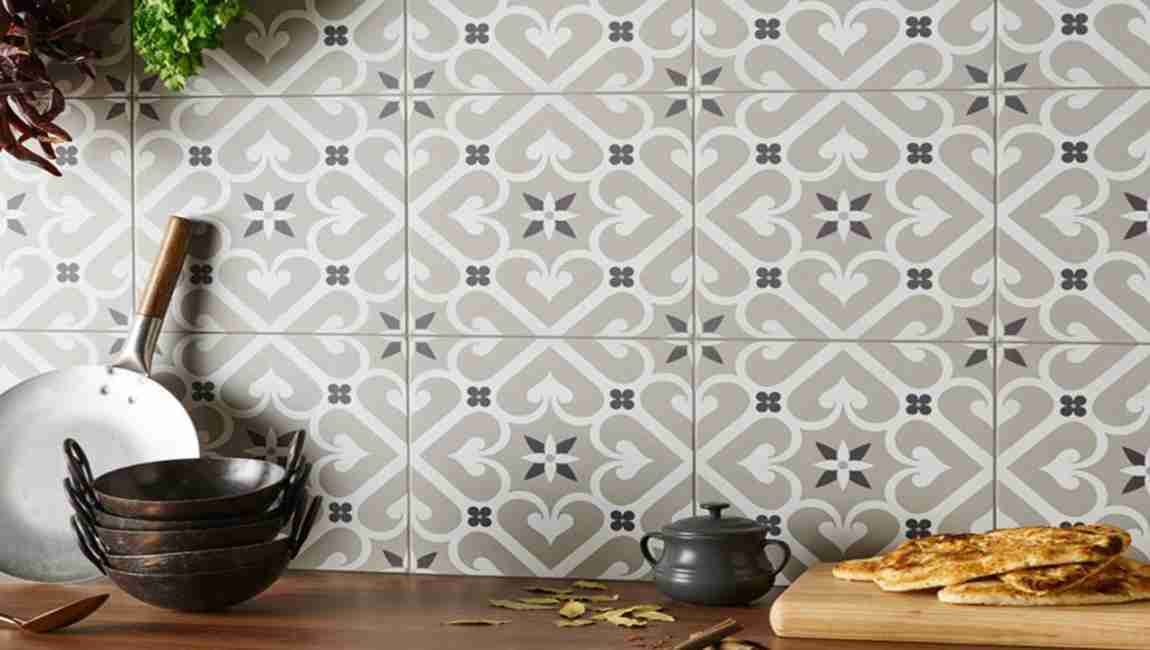
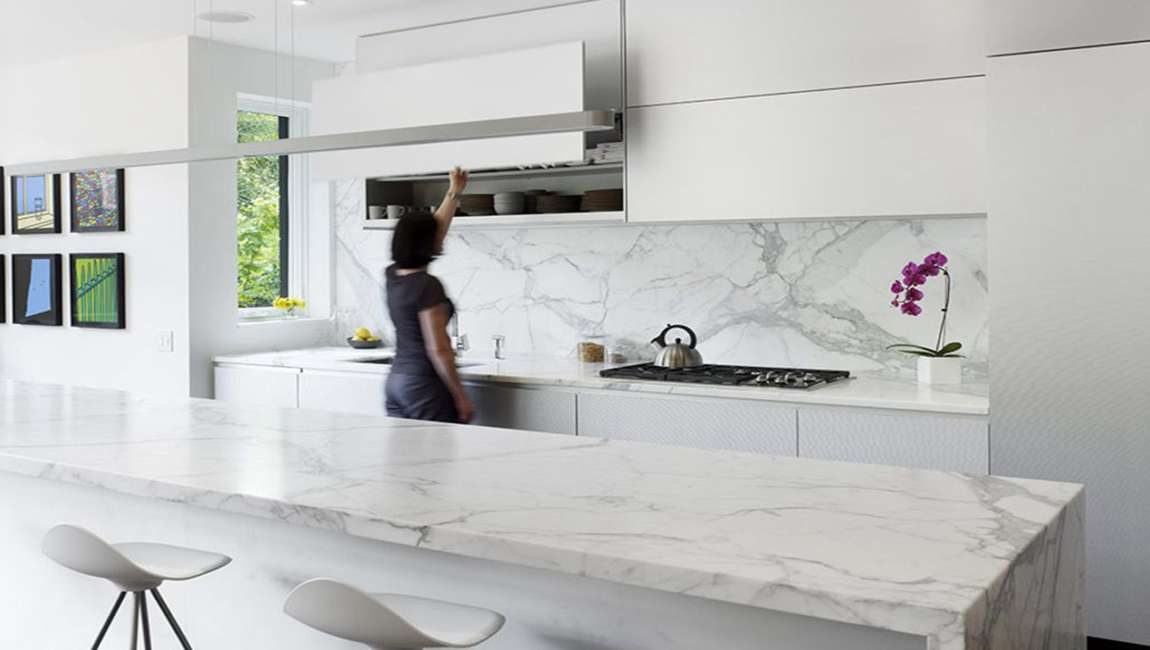
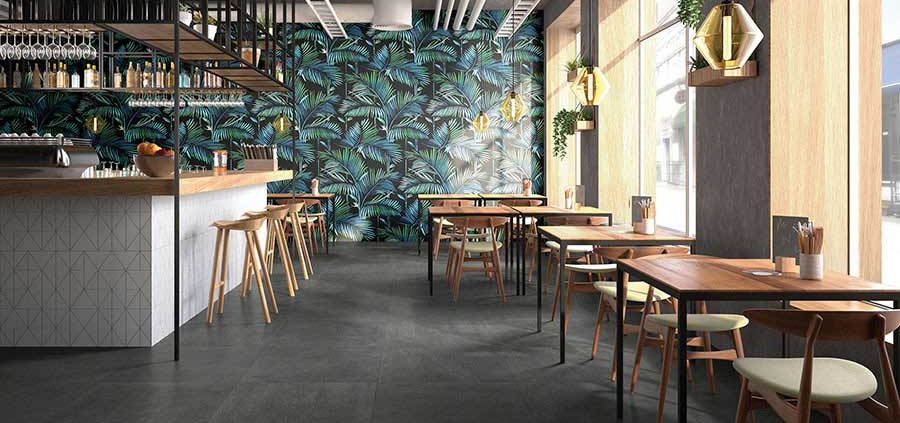
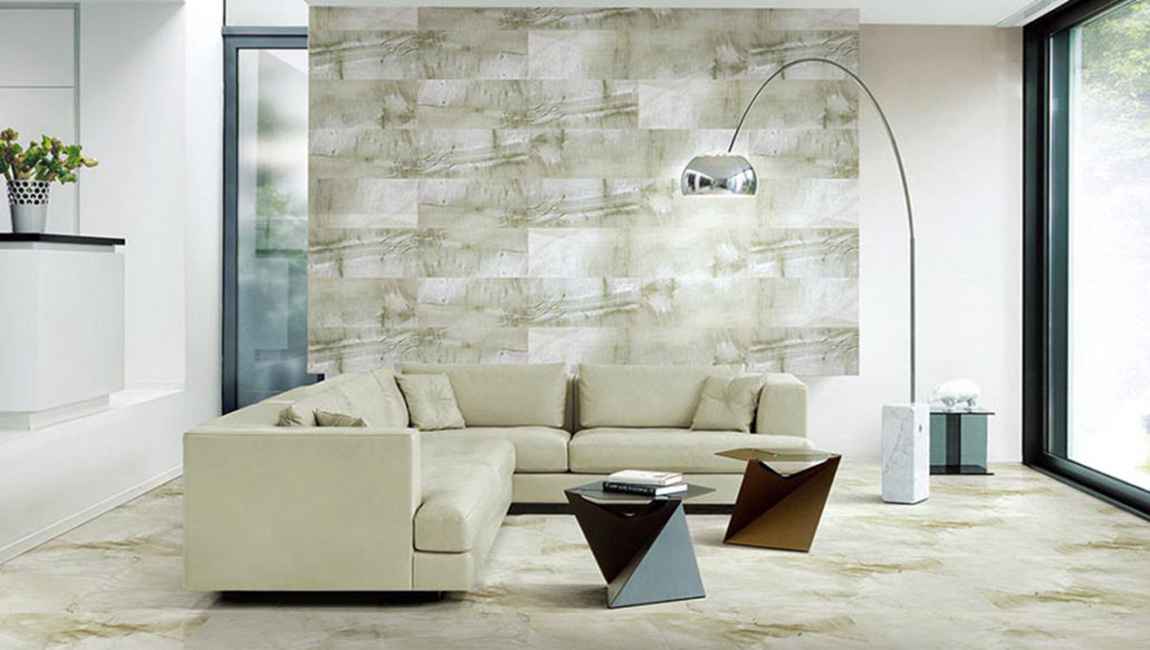
Texture design has always been the soul of marble tiles. Texture design is also very important for modern style ceramic floor tiles. And the modern style flooring tile is not only more prominent in texture expression. Moreover, the essence of the stone floor tile has also been shown to the utmost. The large texture and large layout of the modern style floor tiles can give the product more vividness. At the same time, large textures and large layout also greatly enhance the core competitiveness of modern style floor tiles in the field of building materials.
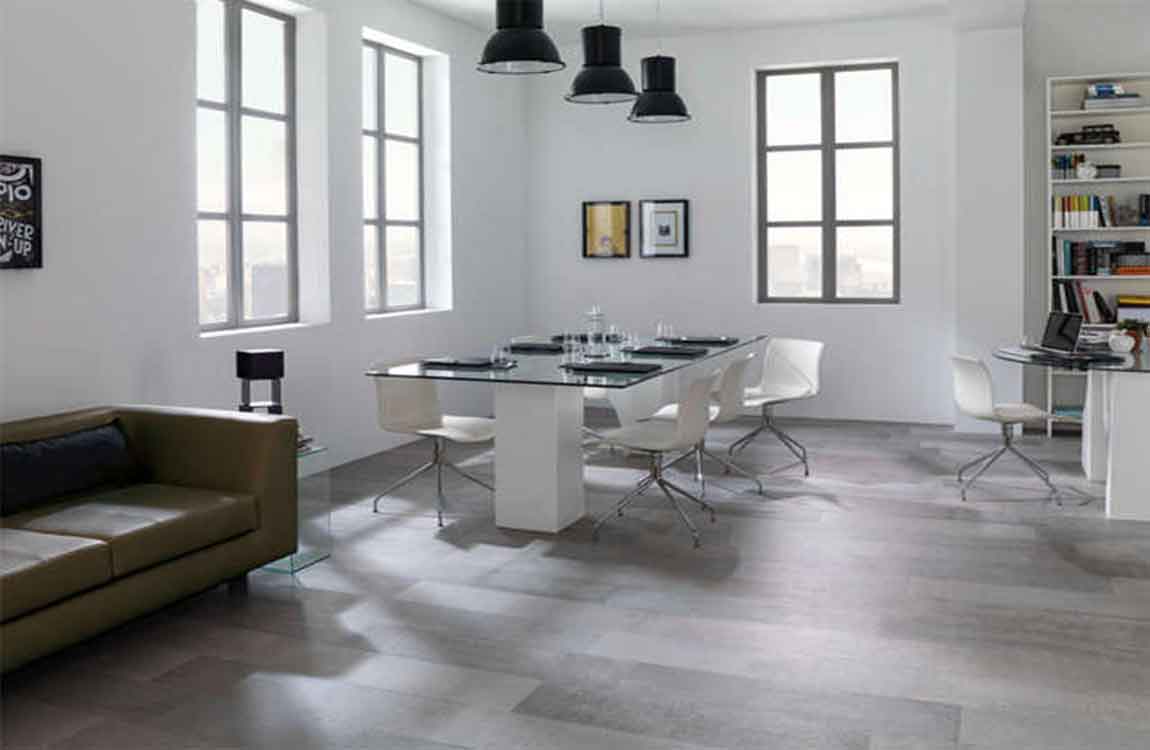
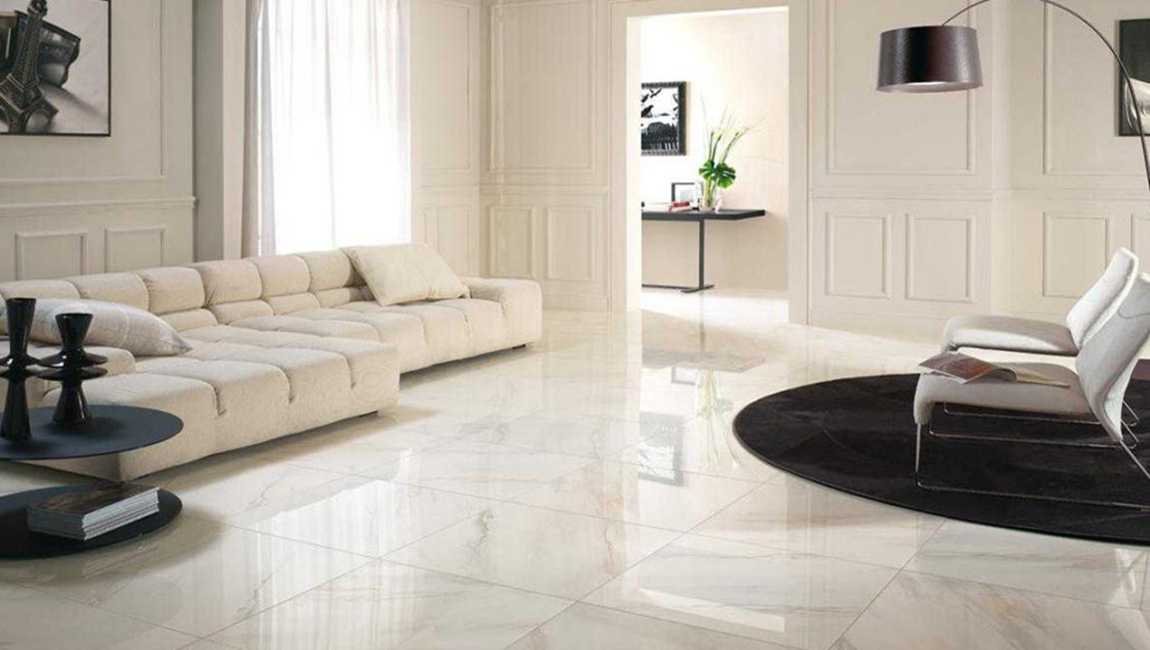
The modern style floor tile designs, in the production process and the standard requirement aspect should be higher than other ordinary traditional glaze floor tile product, the flatness is the important parameter standard of the modern style outdoor floor tile. The general quality of the modern style floor tiles in the level of flatness of the performance are basically close to smooth, and the size of the error is basically controlled in the range of 0.1 – 0.6mm, and even comparable to the traditional floor tiles after polishing.
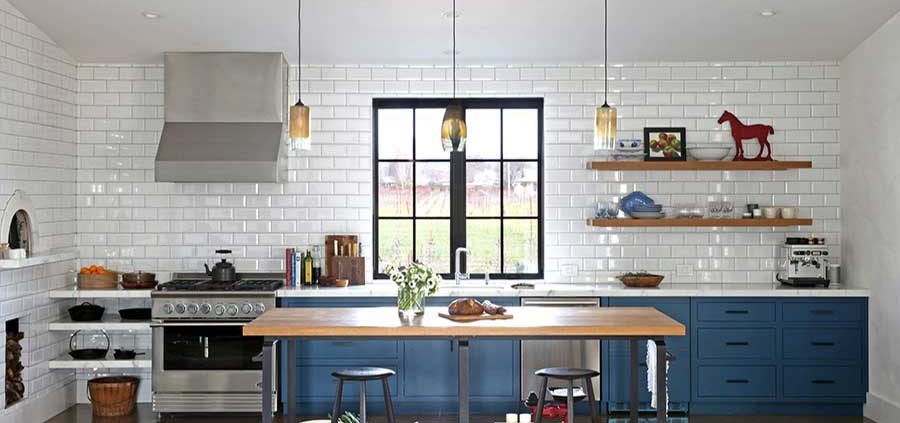
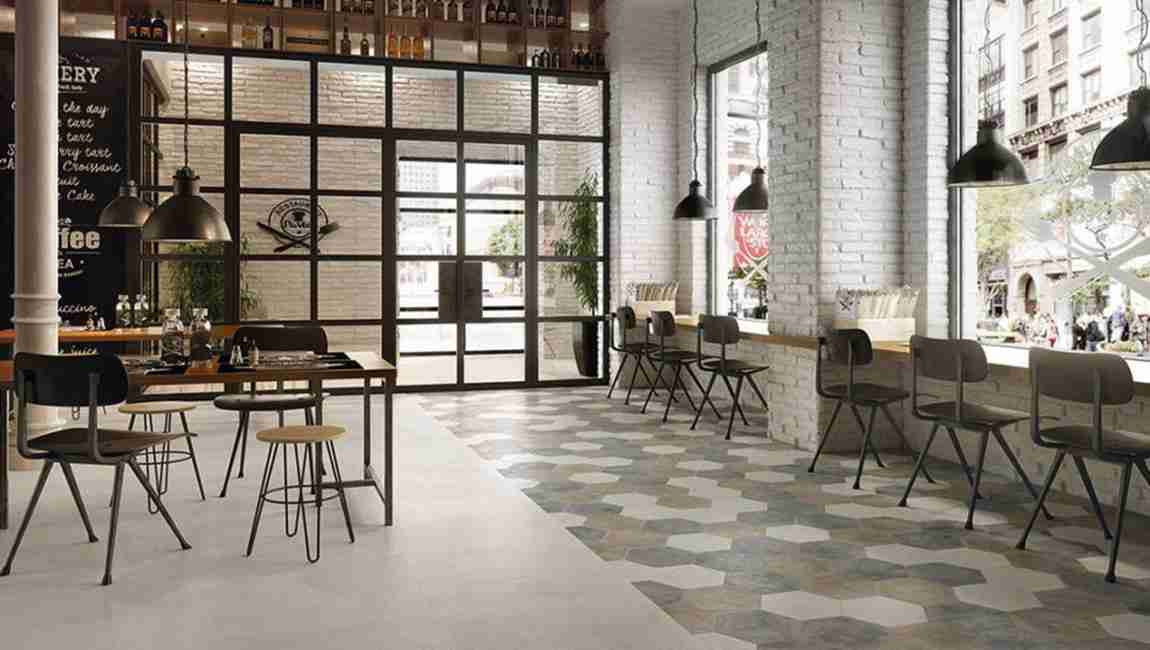
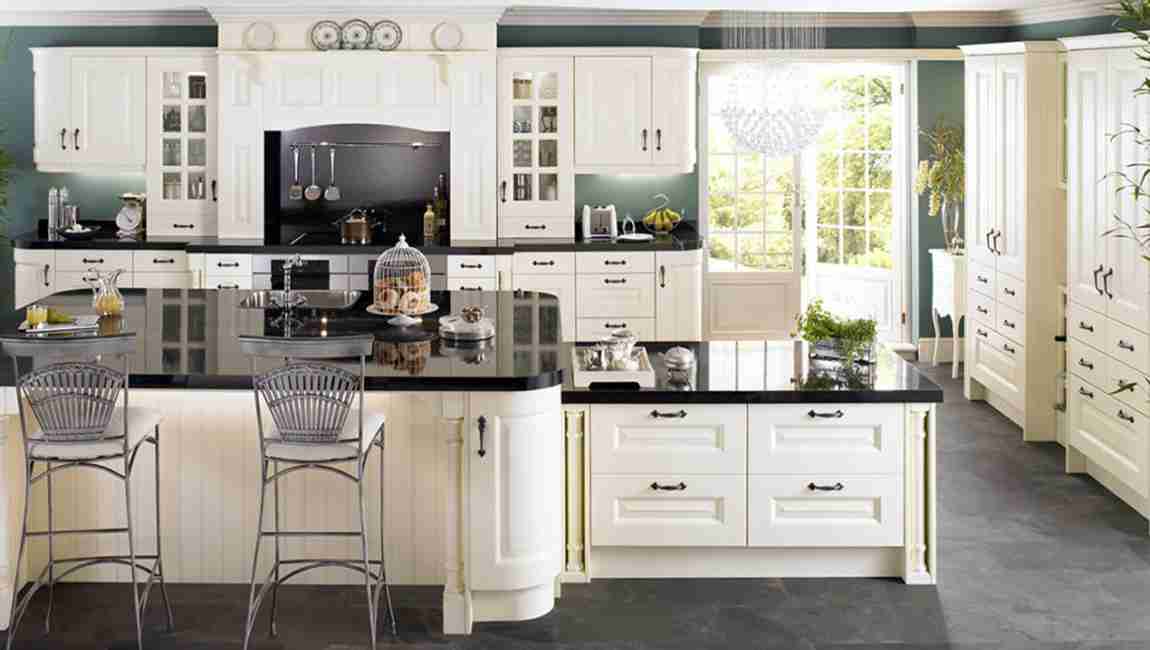
Home decoration space effect or not, can indirectly affect the quality of life, modern style kitchen floor tiles from the beginning of the birth of high quality home decoration to prepare for the effect of space. The glazed texture of modern style ceramic tiles add its dynamic surface texture design. This design gives a natural and specific cultural connotation. The four tones of black, white, grey and beige are also the main colors of modern style floor tiles. At the same time, black, white, grey and beige intermingled with four colors, and it also shows a unique style of modern style floor tiles.
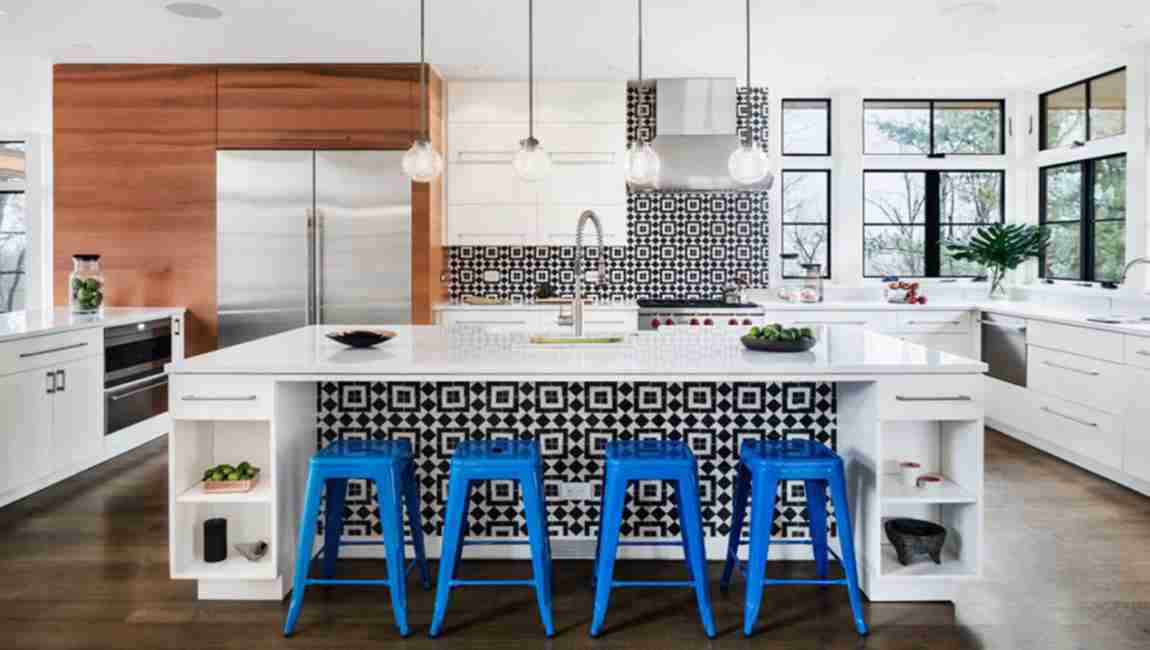
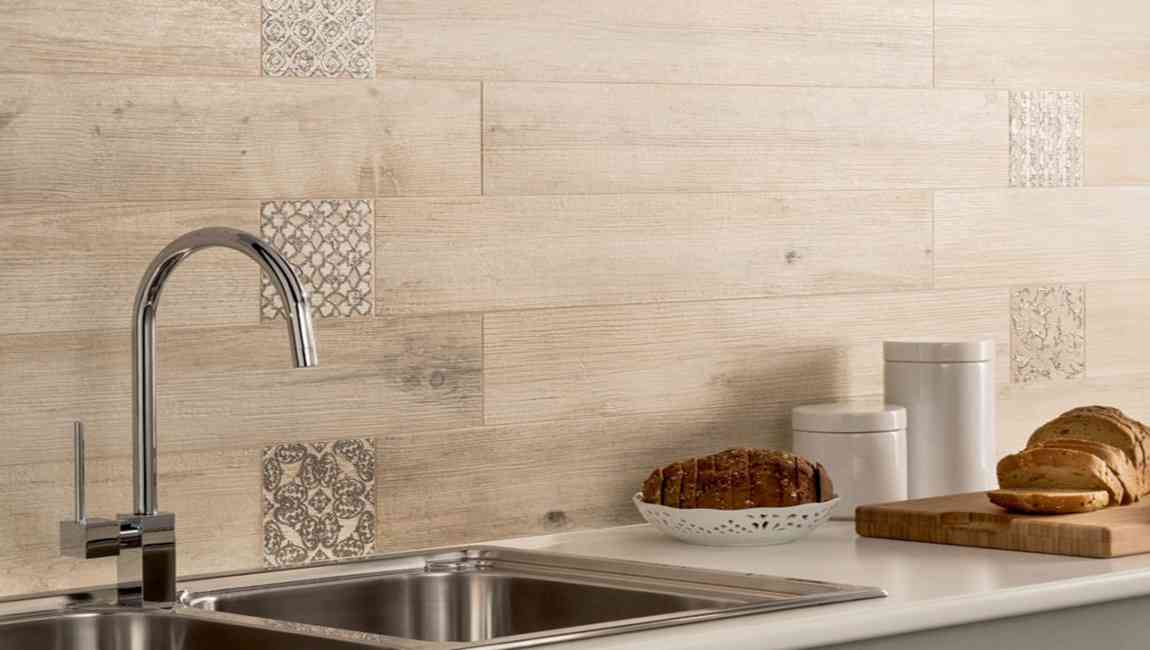
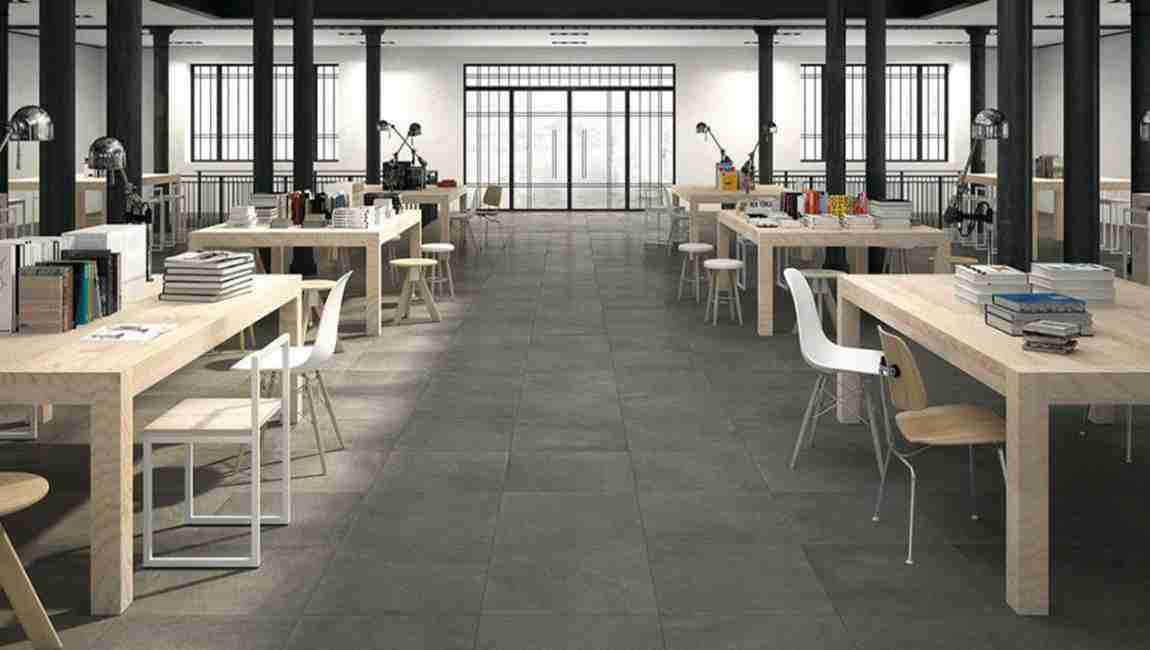
The extension effect is another important feature of the modern style floor ceramic. The extension effect will directly affect the floor tile’s application in the whole space. Modern style floor tiles, because most of their products are black, white, grey and beige four colors are the keynote, the visual leap of product performance is not very strong. At the same time, this kind of visual sense of jumping is also controlled within the range that most people are easy to accept, so the effect of modern style floor tiles in the extended effect is outstanding.
The international model is the most obvious of the modern style marble effect tiles and the traditional glazed rustic floor tiles. The collection of the elements of the modern style floor tiles generally comes from the top products of foreign countries, which are designed with great style and foresight.
https://baranaceramic.com/wp-content/uploads/2018/05/What-are-modern-floor-tiles-1.jpg600900administratorhttps://baranaceramic.com/wp-content/uploads/2025/09/logo.pngadministrator2018-05-30 03:37:532019-09-03 07:11:51What are modern floor tiles?