Posts

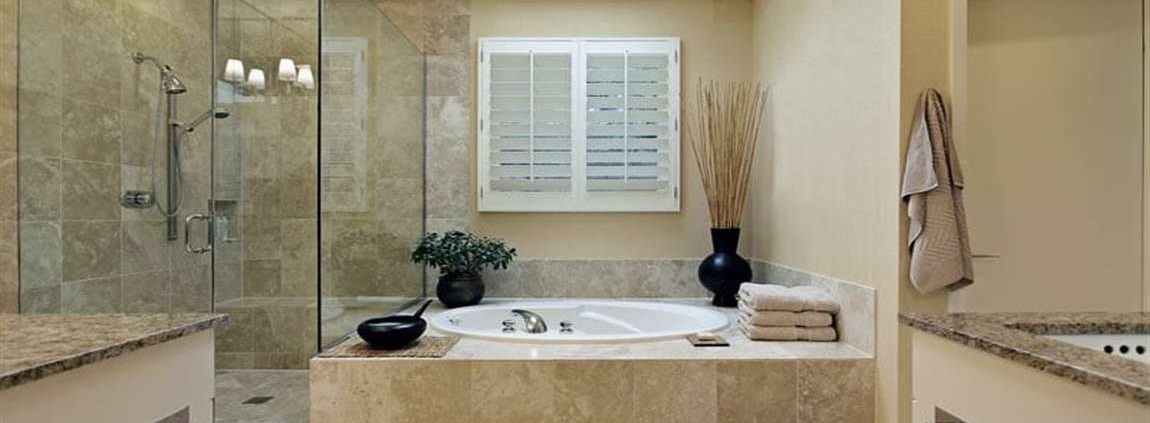
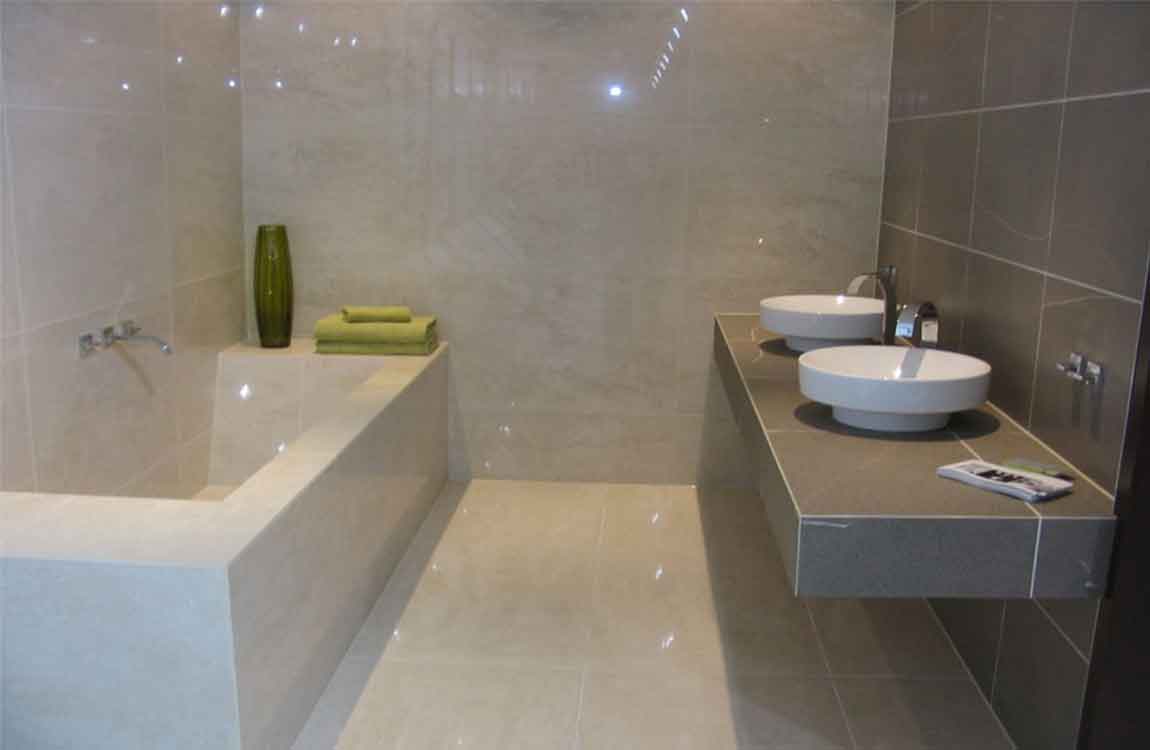
How to Clean sandstone tiles?

sandstone tiles is a natural stone that can be used inside and outside of your home for floor tiles, wall surfaces, monuments, and fireplaces. It is a particularly porous stone, so it can soak up liquids and get stained quickly if it’s not cleaned properly. In order to clean your sandstone tiles, you just need some common cleaning products and the proper technique.


With these things and a little bit of elbow grease your sandstone tiles can remain beautiful or look good as new. Acidic cleaners can etch the surface of the stone, which will potentially change the texture and the color of the stone permanently. Use dish soap if plain water doesn’t clean the surface enough.


In most cases, cleaning sandstone tiles with plain water works perfectly well. However, if you feel that you need some cleanser, use a very small amount of plain dish soap. Put a small squirt of soap on your damp cloth and rub it over the surface. Wipe the surface with a clean area of your cloth afterwords to clean the soap off of the surface.


Dry the surface off with a towel. You should not leave standing water on the surface of sandstone tiles, as it will gradually absorb it. Instead, once you are done cleaning, wipe off the surface until it is dry. Use a soft, clean, and dry rag to wipe down the surface so that it stays clean and doesn’t doesn’t get scratched.


After you think you’ve gotten the stain out, wipe the mixture off of the stone. Allow the area to dry to determine if the stain is gone. If it is, use a clean area on the cloth to remove any baking soda residue that remains. If the stain remains, apply the paste again and allow it to sit longer than 15 minutes before scrubbing it a second time.

What Should We Do Before Remove Wall Tiles?

Protect yourself and your surroundings. Wear wrap-around safety goggles, a long sleeved shirt, pants, and work gloves to protect yourself from sharp bara tile fragments, even if you plan to avoid breaking them. Clear the surrounding area and lay down cloth or tarp to protect fragile surfaces and make cleanup easier. Protect ceramic shower pans and bathtubs from falling Poly Crystal tiles by covering them with cardboard. Cover any drains as well, such as by putting tape over them.

Decide where to remove the grout. The rest of this section is dedicated to removing grout, which somewhat reduces the chance of breaking the tiles, and makes them much easier to remove. While removing more grout will always help, most people save time and only remove it in the most important areas:

When removing a single stone tile, remove the grout on all sides of it to avoid damaging the others around it. If you are removing an entire wall of Sahara tiles, just make sure to remove grout next to the ceiling and floor. Heat the grout (optional). Wall grout is typically easy to remove, but a heat gun or blow dryer can soften hard grout if necessary. If you’re only managing to scrape away tiny amounts a time, spend thirty seconds warming up the grout line and try again.


Scrape the grout away with a utility knife. This method takes a while, but comes with a low risk of damaging the surrounding floor tiles. Fit your utility knife in a sturdy holder if you have one, and run it carefully and repeatedly around the wood tile or tiles you plan to remove. An ordinary grout saw typically does not work for wall tiles, because of lug spacers that connect adjacent tiles underneath the grout.

Try a rotary grinder instead. A dremel or other small rotary grinder can remove grout faster than a knife, but can break tiles much more easily if your hand slips. Set the tool to the lowest setting and move it slowly along the grout line. If you have firm control over the tool and the Super White tiles don’t crack when you nick them, you can consider increasing the speed of the rotor. You may need to purchase an extra-small head attachment in order to fit between the Color tiles.

Remove grout until the spacer lugs are visible. You don’t need to remove every speck of grout, but get rid of most of it to make tile removal feasible. At minimum, scrape away grout until the metal spacer lugs are visible.

How to Clean and Re Grout Bathroom Tile?

Most bathroom tiles host mildew growth if there’s a lack of air supplied to the bathtub/shower area. Here are some steps that should help restore it to showroom condition. Clean the wood tile surface with a recommended cleaning product. Scrub with an abrasive rag, or rig a nylon bristle drill attachment. Pay extra attention to the bottom section, because that is usually the area with the most mildew. Rinse well.

Rake the joints. Cover the drain. Carefully rake each joint with a diamond carbide rake. Be careful not to slip, or it will leave irreparable scratch marks. The surface should be wet during this part of the process. If the grout is too solid to rake, hot water usually helps. Remove caulking with a plastic scraper. Avoid using metal scrapers and steel wool, because they will scratch the enamel on the tub. Rinse the surface, and towel dry. Mix the grout thoroughly until it comes to a creamy consistency.

Using a rubber float, apply the grout in several directions. Work in small sections so that the grout remains pliable. Make sure that the grout is packed in well. Allow twenty minutes to an hour for the grout to dry completely. Sponge the surface. Sponge the surface of the tiles until the joints are neat, and the element tile surface is clean. Soak and rinse the sponge repeatedly to avoid dragging, and over saturation. Allow twenty minutes to an hour to dry. Rubber gloves should be worn for this.

Dry dust the surface. When the surface is dry, it should look hazy. Polish the casstle tiles with a fine rag, or an old t-shirt. Be careful not to apply pressure on the joints. If there are any stubborn spots on the cement tiles, they can easily be scraped off with a plastic scraper. Gloves and a dust mask should be worn for this.

Apply the caulking. Prepare the surface by thoroughly cleaning and drying. Most caulking won’t adhere to a surface that is oily or wet. Apply silicone, or vinyl caulking to tub/tile edge to keep this area watertight. Caulk around the faucet handles, tub spout, and overflow as needed. Apply a sealant. When the grout has cured, (three to seven days), apply a Ceramic tile sealant according to the manufacturer’s instructions.

How Cleaning Grout Between Floor Tiles with Hydrogen Peroxide, Baking Soda, and Dish Soap?

Make a paste. Mix ¾ cup baking soda, ¼ cup hydrogen peroxide, and 1 tablespoon dish soap. This highly effective paste cleans the grout in three ways: The baking soda works as a natural abrasive to scrub the grout.

The hydrogen peroxide chemically reacts with the baking soda releasing bleaching oxygen ions. The dish soap helps loosen dirt and remove grease. NOTE: The bleaching action of the chemical reaction may affect colored grout. Test a hidden corner before cleaning the entire sptos floor.

Apply the paste with a nylon bristled brush. A toothbrush or a nylon scrub brush work well. Be sure to apply the paste to the grout between all wood tiles and around the edges for a uniform clean look. Let the mixture sit on the grout for 15 minutes. You may see a bubbling reaction as the baking soda and hydrogen peroxide interact. Give the paste time to work its way into the grout to fully remove any stains.

Rinse the grout with warm or hot water to remove all of the solution. Pour a small amount of water directly onto the tile floor to rinse the solution off the grout. Use caution as wet tiled floors can be very slippery.

Use a rag to wipe the grout to remove any leftover residue or dirt. Clean the remaining paste out of the grout by gently scrubbing the floor with a towel. This can be done by standing on a towel and shuffling the towel across the wall floor with both feet or by crawling and scrubbing as you go.

Mop the floor with clean water. Ensure that no soap or residue is left behind by thoroughly mopping the rustic floor with a cotton or sponge mop. Rinse the mop and change the water often to get achieve a clean finish.

How to Cleaning Countertops, Backsplash, and Bathrooms Tiles with Vinegar?

Pour equal parts vinegar and water into a spray bottle. You can make as little or as much vinegar cleaning solution as you desire. Pour the vinegar and water into a spray bottle. Add lemon or essential oils. You can add fragrance to your vinegar cleaning solution with lemon or essential oils. Try adding the juice of ½ a lemon, or 15 drops of an essential oil like lavender or peppermint.

Shake to combine. Once you’ve added all the ingredients to the spray bottle, screw the nozzle on the bottle. Then shake the bottle to thoroughly combine the ingredients. Spray the wood tile with the solution. Spray the wall tile thoroughly with the vinegar cleaning solution. Make sure you saturate the tile design surface with the solution.

Allow the solution to sit. Once you spray the porcelain tile surface with vinegar cleaning solution, allow the solution to penetrate the grime on the tile. Let the solution sit on the tile for 1-5 minutes, depending on the level of grime you need to remove.

Rinse with water. After you allow the vinegar cleaning solution to sit on the wood marble tile surface, rinse the surface with clean water. You can pour water directly on the tile surface, or you can wipe the cement tile surface down with a clean, wet cloth.

Use a vinegar and baking soda paste to work out any tough stains. If there are still visible stains on the surface, then make a paste using baking soda and vinegar. Mix 3 parts baking soda with 1 part vinegar to form the paste. Then apply the paste to the stain with a sponge and work it around using firm pressure. Use a wet paper towel to remove the leftover paste after you are done.

How to Cleaning Wood and Composite Tiles?

Sweep the wood or composite tiles every few days. Try to sweep your tiles every day or as soon as you notice dirt, leaves, or grime. Use a soft, natural bristle broom to remove the debris that’s on the spots tiles. Regular sweeping will prevent your marble tiles from becoming caked with dirt or stained.

Wash the tiles with soap and water at least once a month. Fill a 5 US gal (19 L) bucket with water and a few squirts of mild dish soap. The water should be soapy and bubbly. Dip a mop into the soapy water and wring it out. Mop the wood tiles until you’ve removed the dirt. You can use a string mop or sponge head mop. Just avoid using a scratchy or abrasive mop on the tiles.

Rinse the polished tiles. If you’re cleaning a large space, take a garden hose and rinse the polished tiles with clean water to remove any soap residue. If you’re cleaning a small area, you can dip the mop in clean water and wring it out. Mop over the cement tiles so they’re rinsed with the clean water.

Remove any grease stains. As soon as you notice an oily stain, wipe up whatever caused it. Dip a sponge or soft cloth into soapy water and wash the stain. This might remove the stain on its own. If not, use a deck stain remover that’s specifically made for wood or composite tiles. You’ll need to follow the manufacturer’s instructions. The longer the stain sits on the polished porcelain tile, the harder it will be to remove. That’s why it’s important to clean up the stain quickly.


Deep clean your wood marble tiles twice a year. In addition to keeping your wood and composite tiles swept and clean, you should try to deep clean the marble tiles in the spring and fall. Buy a wall tile cleaner developed for wood or composite. It should contain sodium hypochlorite. Follow the manufacturer’s instructions. Sodium hypochlorite will prevent mold and mildew from growing on your tiles.


Avoid cleaning with abrasive materials. Your wood or composite tiles may become slightly scuffed over time. These scuffs may disappear on their own, so avoid trying to remove them with abrasive cleansers (like sandpaper or pressure washers).If you place salt or ice on your glazed rustic tiles in the winter, clean it off as soon as the hazardous weather passes. Ice and salt can damage the tiles if they sit on them for very long.