Posts

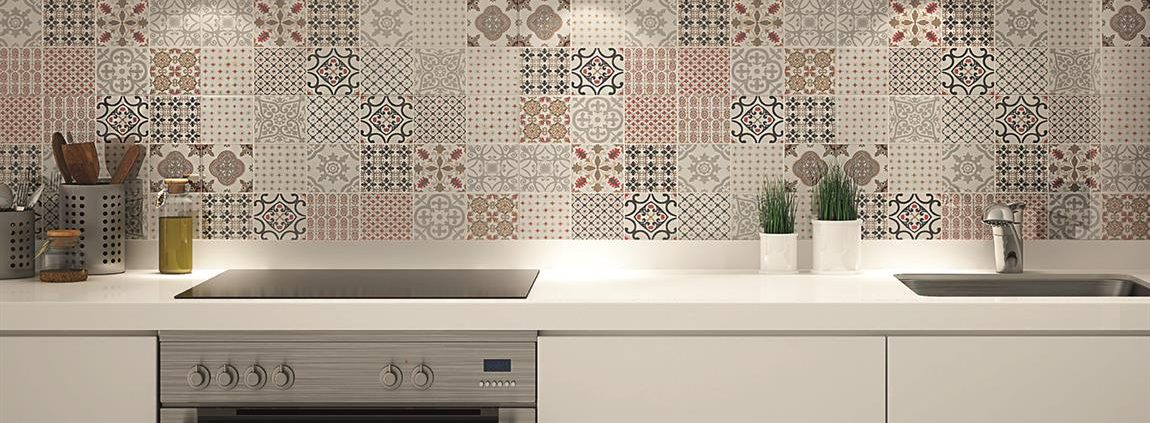
Applying a Peel-and-Stick Tile Backsplash


Gather your supplies. You will need to have your peel-and-stick tiles prepared, a tile cutter or utility knife, and level. Pretty basic, huh? If you tiles are not stuck together on sheets, you may also need spacers to make sure they are all evenly spread. Clean your walls. The sticky backings of your tiles can’t adhere to walls if they are dusty or greasy.


Use a damp rag to completely wipe down walls, and then let them dry completely. Measure your space. It is important to make sure you get a good measurement so you know exactly what size you should cut your tiles. Choose a stopping point, either directly below your cabinets or at an arbitrary point on the wall.


Make sure that you have enough tiles to fill the measured space, as well as a few extras for precaution. Use a level and straight edge to mark your stopping point along the wall. Stick your tiles to the wall. Peel the backing off the tiles, and stick them to your desired location. Always start from the bottom center of the wall and work your way out.


Firmly press the tiles each time you stick them to the wall, to make sure they are firmly adhered. Hold a straight edge or level to the sides of your tile as your press, to make sure that they don’t shift out of alignment. Finish attaching tiles. Work your way across the wall, until the entirety of your desired space is filled up. Cut any pieces to fit outlet holes or edges and corners before you attach them to the wall.


Enjoy your new tile backsplash. To keep it looking its best, wipe the backsplash clean with water or a generic kitchen cleaner occasionally. Enjoy your new tile backsplash! Once you have completed all the installation steps, managing your new backsplash is easy. Wipe it down occasionally with a generic kitchen or glass cleaner to keep your backsplash looking its best.

Wall Preparation Before Tile a Wall

Prepare the area around your walls. Place drop cloths on the floor to catch dust and tile pieces. Wear protective clothing. You should use safety goggles, long shirts, long pants and gloves. Broken wall tile can be sharp and dangerous.

Remove the old tile, if necessary. It is inadvisable to try to tile over old tile, because your surface will not be even. Use a chisel and a hammer to crack existing tiles. Once cracked, remove the cloud tile in pieces, if it does not fall off automatically. Chisel off remaining pieces. Beware not to gouge the wall too deeply, or you may create an uneven surface.

If the resulting wall is very uneven, you may want to re-plaster it. It is best to hire a professional to plaster the walls. If you are installing wall tile in a bathroom or other wet area, use cement fiberboard on the surface before you adhere tile. Sand the wall with medium-grit sandpaper to create an even surface. If you are not removing previous tile, you will still want to scuff up glossy surfaces with a fine-grit sandpaper to help the adhesive stick.

Buy your tiles. Porcelain tiles are available through the Internet, home improvement stores and decorators. Buy extra tile for your project, since tiles will break in the process. Take your tile to the home improvement store to try out glue. Different ceramic tiles require different types of glue. You do not want your glue to discolor the wood tile. Apply a wall sealant. This mild adhesive product will keep the glue moist while you complete your project. It is available at home improvement stores.

Cure grout. Allow grout to cure for 24 to 48 hours before stepping on it to ensure its stability and to make sure that it is completely dry. Finish expansion joints. Caulk the expansion joints using a grout caulk in a color that matches your grout. Completely fill these expansion joints then smooth and concave using your finger. You can find grout caulk at large home improvement stores.