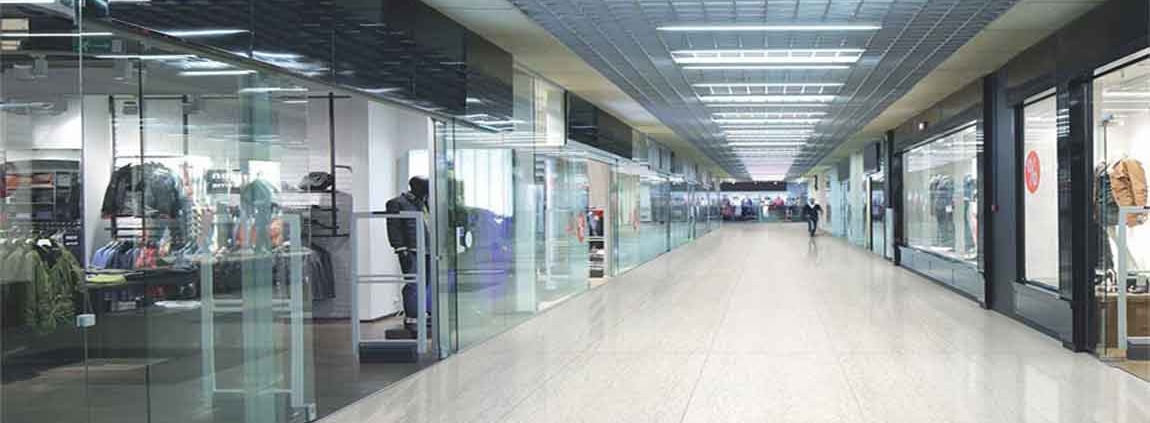
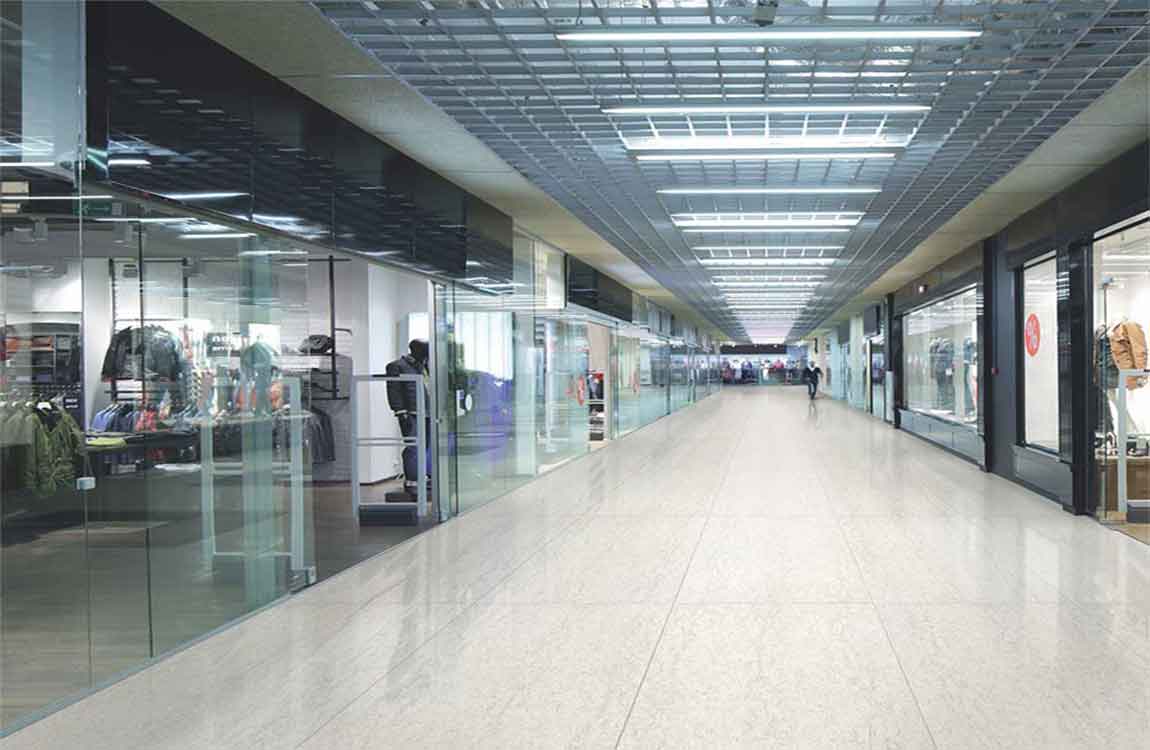
Start in the far corner of the room. Then, work your way backward toward the entrance to the room. Don’t pass back over areas you’ve already buffed, as they need time to dry. Work in 3 ft (0.91 m) by 3 ft (0.91 m) sections until you finish buffing. Focusing on small sections will help you achieve better results. Plus, it will keep you from getting overwhelmed during the process.
If you don’t like the results of your first few sections, you might decide to stop hand buffing the floor and switch to a machine. Some floors won’t show much improvement from hand buffing. Depending on the size of your room, it can take a while to finish buffing. It’s a good idea to take regular breaks, if necessary.
Spray a buffing solution onto your floor for extra shine. When you’re buffing by hand, spray the solution onto just the area where you’re working so the solution won’t be dry by the time you get across the room. It’s best to use a bottle with a spray nozzle to evenly distribute the solution.
If your solution doesn’t have a spray nozzle, use a clean cloth to wipe it onto the floor. Make sure you choose a buffing solution that’s formulated for your type of flooring material. If you prefer a natural option, create a white vinegar solution by adding 1 cup (240 mL) of white vinegar to 1 gallon (3.8 L) of water. Put the solution into a spray bottle, then spritz it onto your floor.
Use a microfiber cloth to buff the floor using tight, circular motions. Move your cloth slowly from side to side as you work each section. When you complete each pass, start the next one with some overlap with the previous pass. As you buff, apply as much pressure to the cloth as you can.
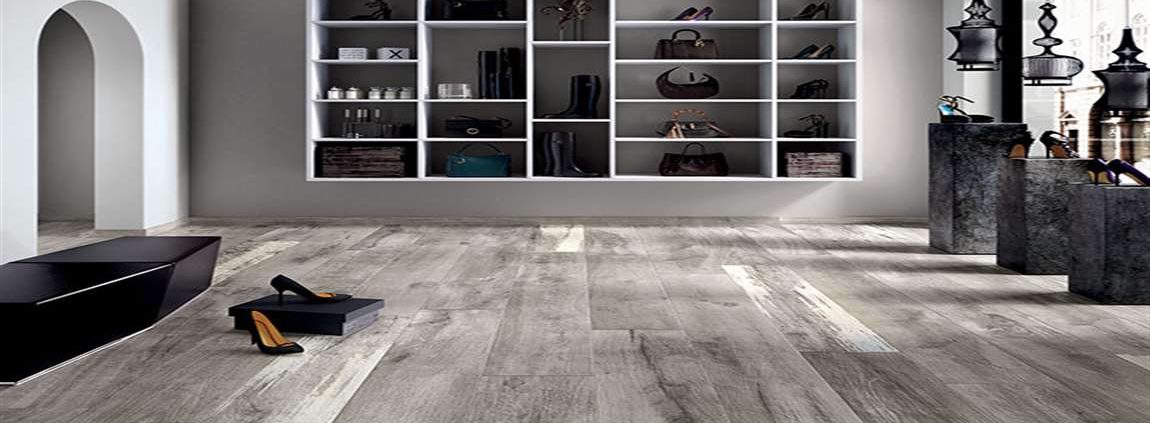
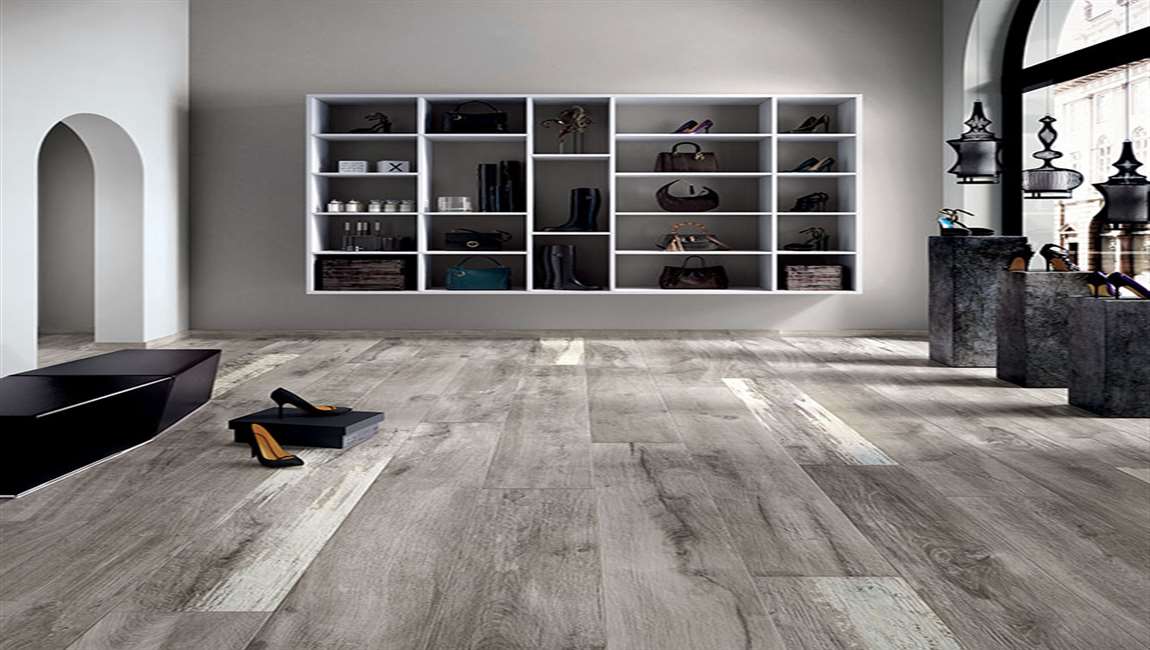
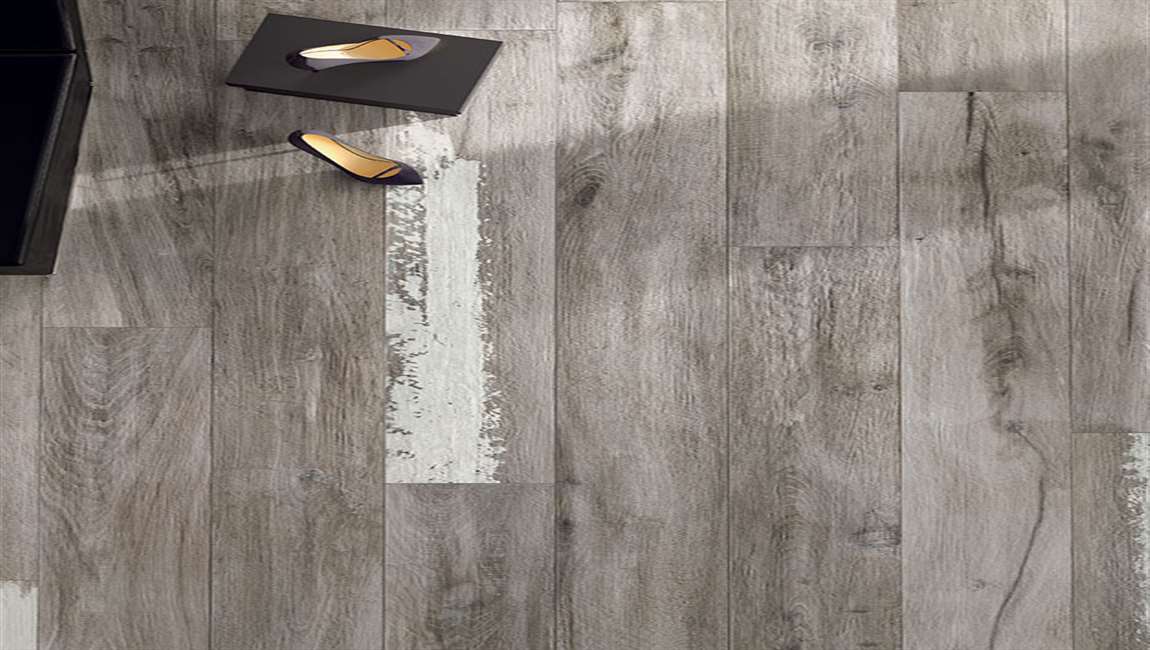
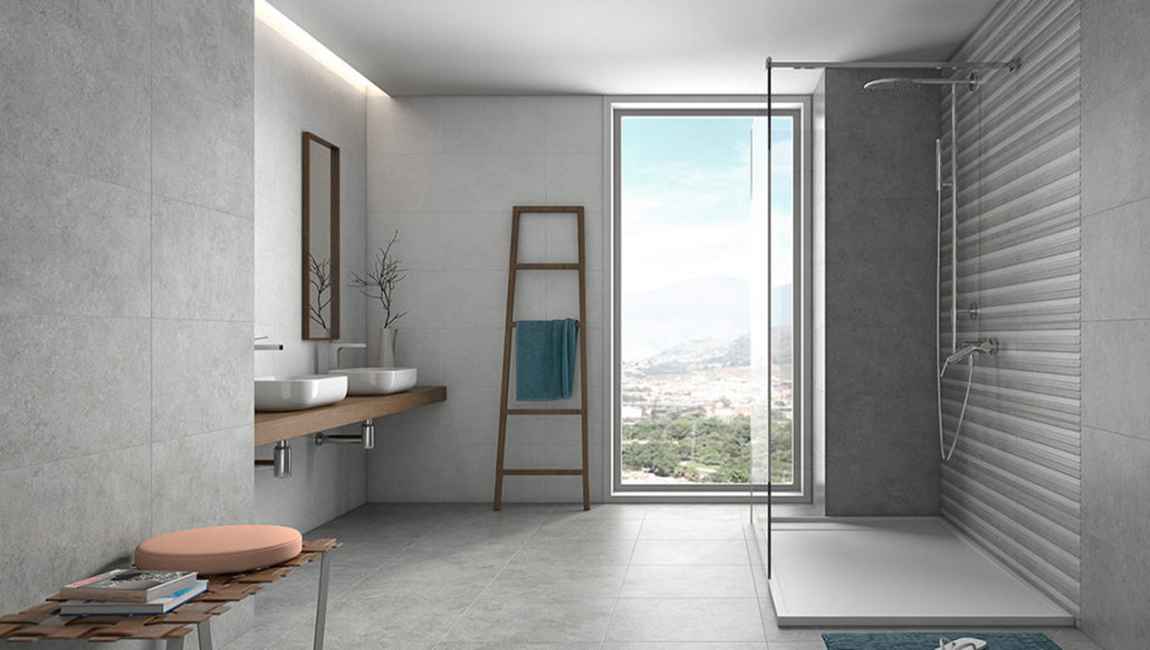
https://baranaceramic.com/wp-content/uploads/2019/11/Buffing-Floor-by-Hand-2.jpg7501150administratorhttps://baranaceramic.com/wp-content/uploads/2025/09/logo.pngadministrator2019-11-04 08:00:352019-11-08 05:39:14How Buffing Your Floor by Hand?
Mix 1 c (240 mL) of vinegar and 1 c (240 mL) of water in a spray bottle. Measure the vinegar and water into a spray bottle. Screw the lid on tightly and then shake the spray bottle vigorously for 5 seconds to combine the water and vinegar. Malt vinegar and white vinegar both work well for this method. This method works on all types of tiles and surfaces, such as flooring, backsplashes, or countertops.
Spray the solution liberally over the grout and let it sit for 5 minutes. Ensure that all the grout is coated with the water and vinegar spray. Leave it for 5 minutes to soak into the grout.
Mix 1 cup (180 g) of baking soda and ½ cup (125 mL) of water in a bowl. Measure the baking soda and water into a small bowl. Use a spoon to stir them together until they are fully combined and form a paste. If you are cleaning a very small area, halve this recipe.
Scrub the paste into the grout with a grout brush. A grout brush is a thin brush that is designed to easily remove the dirt from between tiles. Dip the brush into the baking soda paste and then scrub it over the tiles until all the dirt is gone. Use a scrubbing brush or a toothbrush if you don’t have a grout brush.
Spray the vinegar solution over the areas that you have scrubbed. The vinegar will mix with the baking soda paste and start bubbling vigorously. This chemical reaction helps to dissolve any remaining dirt and grime from the grout. Spray enough vinegar solution to completely cover the baking soda paste.
Use warm water and a dishcloth to wipe up the baking soda and vinegar. Dip a clean dishcloth in water and then squeeze it to remove any excess water. Wipe up all the baking soda and vinegar paste from the grout. Rinse your cloth after each wipe to avoid spreading the baking soda over the woodtiles. This also helps to remove the vinegar smell from the grout.
https://baranaceramic.com/wp-content/uploads/2019/06/How-Cleaning-Grout-with-Vinegar-and-Baking-Soda-3.jpg6501150administratorhttps://baranaceramic.com/wp-content/uploads/2025/09/logo.pngadministrator2019-06-25 08:19:042019-11-26 08:24:04How Cleaning Grout with Vinegar and Baking Soda?
In the construction of the wall tiles, the pursuit of visual beauty is pursued, but the blind pursuit of beauty and neglect of construction technology are also at a loss. The floor tile from selection to paving is needed to know certain decoration knowledge, so that we can easily create a comfortable and perfect living space. Which misconceptions must be avoid when tiling thetiles?
Seamless floor tile, the smaller the seam, the more beautiful. The seamless floor tiles with small joints hope that the gap is small when they are paved, and the smaller the gap, the better the overall effect. In fact, if the gap is too small, the ability of floor tile to respond to the environment will become worse. Due to the change of temperature, ceramic tiles showerwill be broken and the normal service life of subway tiles will be reduced. Therefore, the seamless floor tile sizes is equal to completely seamless, and the thermal barrier of ceramicfloor tiles needs to be stitched. The size of seamless floor tiles should be around 1-1.5mm, not less than 1mm. Special effects can also widen the gap to 5mm.
Ignore floor tiles cost product performance. In the construction process, a mistake that is easy to commit is to neglect floor tiles product performance and not to use paving according to regulations. Often appears to save the glazed floor tiles on the ground, and the physical and chemical properties of different tiles are different. For example, the water absorption of bathroomwall tiles and the water absorption rate of floor tiles are different. The wall tiles are high and the smallfloor tiles are low, so their flexural strength is different. In addition, the frost resistance of interior wall tiles and exterior wall tiles design are also different.
The tile adhesive are mixed with cement, mortar and so on. This will completely change the proportion of cement tile adhesive production ingredients, and the quality can not be guaranteed. Put the tile adhesive on the floor and mix it with a shovel. With the help of shovel, the tile adhesive glue can not be evenly distributed, and the effective components of ceramic tile powder will be lost. Similarly, the proportion of manual mixing water is difficult to accurately change the ratio of tile adhesive, so that the sticky force of tile adhesive drops.
Decoration is to use tile floor adhesive into the water for a long time, and then continue to use. When the decoration is used, the tile adhesive are used in accordance with the method of using cement, and the mixed tile adhesive are placed in the ground or water for a long time, which can easily lead to the lack of strength, powder and drop bathtile. The use time is too long, then add water and tile adhesive to mix with it. Some decoration will use the grey tile adhesive last night, in the second day in the morning to add water and tile adhesive powder for mixed use, in fact, the effective component of the tile adhesive has a chemical reaction, water only changes the operation performance, will lead to the later bond strength is insufficient. The tile adhesive should be used with stirring. The use time should be controlled within 2 hours. After drying, it should be discarded.
Integral wall construction and uneven scraping of tile surface and wall. The corner of wood tile is hollowed, which will lead to brick falling in a long wet environment. The tile adhesive is not evenly scraped, and the tile adhesive is sticky and incomplete. The tile adhesive suitable for thin layer construction, according to the smoothness of the base and the size of the tile adhesive to choose a suitable tooth shape scraper, when sticking, we should knead pressure in place, and check the full pulp rate at random. The floor tiles are kneaded on the base surface and the parallelism of the flooring tiles is adjusted, so as to ensure the parallelism of the tiles, the plastic cross is recommended.
The tile adhesive one time scraping area is too large. In outdoor dry and windy weather, the tile adhesive batching area is too large for construction. Use the toothed scraper to scrape the mucilage evenly on the working surface. For each construction period of about 1 square meters, the outdoor dry climate should wet the wall in advance.
The wall is not strong, sand, oil or dirt is too big. No tiles designare pasted without leveling. Because of low strength and oil pollution, the adhesive force of floor tile designs will be directly affected. The wall is not strong, and the base surface is easy to fall off. The wall is not smooth, the defect is too large, and the contact between tiles and wall is not in place, which is easy to cause hollowing.
https://baranaceramic.com/wp-content/uploads/2018/06/Which-misconceptions-must-be-avoid-when-tiling-the-floor-tiles-1.jpg600900administratorhttps://baranaceramic.com/wp-content/uploads/2025/09/logo.pngadministrator2018-06-01 03:30:182019-11-27 09:45:40Which misconceptions must be avoid when tiling the floor tiles?