Posts

How Creating a Vinegar Solution?

Start with a mild mixture. Expect a relatively small amount of vinegar mixed with warm water to be sufficient for the job a lot of the time. Simply combine 2 to 3 tablespoons of white distilled vinegar with 1 gallon (3.8 L) of water in a bucket or similar container. However: Keep in mind that you’ll be carrying that bucket around the room with you.


Depending on the size of your bucket, adjust the amounts as needed to keep it only halfway filled to avoid spills. Test-clean a select spot on your wall. Pick an area that is blocked from view by furniture or otherwise hidden. Wet a sponge in your mixture and squeeze it until the excess water has been wrung out. Wipe the area in a circle, using minimal pressure. Repeat with a second sponge and clean water to rinse. Then pat dry with a soft cloth or towel.


Use soft sponges (as opposed to a more abrasive kind meant for scrubbing burnt food), especially if your walls are painted. Using tougher sponges could ruin your paint’s surface. Sponges in bolder colors may leave their color on the wall.


Add more vinegar if necessary. Compare the test-spot with the rest of the wall. If your mixture did the trick, use it as is. If the test-spot still seems dirty, increase the ratio of vinegar to water and repeat. Start by adding ½ cup (118 ml) of vinegar to your gallon of water. If that still seems weak, keep adding ½ cup of vinegar at a time. Extremely dirty walls may require a ratio of 2 parts vinegar to 3 parts water.


Add baking soda if needed. If the dirt on your walls has crusted over and/or built up, you may need something a bit more abrasive than just vinegar and water. Start by adding a ¼ cup (55 g) of baking soda to your solution and test-clean again. If necessary, keep doing so up to 2 to 3 cups (442 to 662 g). However, bear in mind: If your walls are painted, abrasive agents like baking soda may damage the paint, especially if it’s latex-based. If your solution starts ruining your paint job, you may need to apply a fresh coat rather than clean.

How to Clean Your Kitchen Floor?

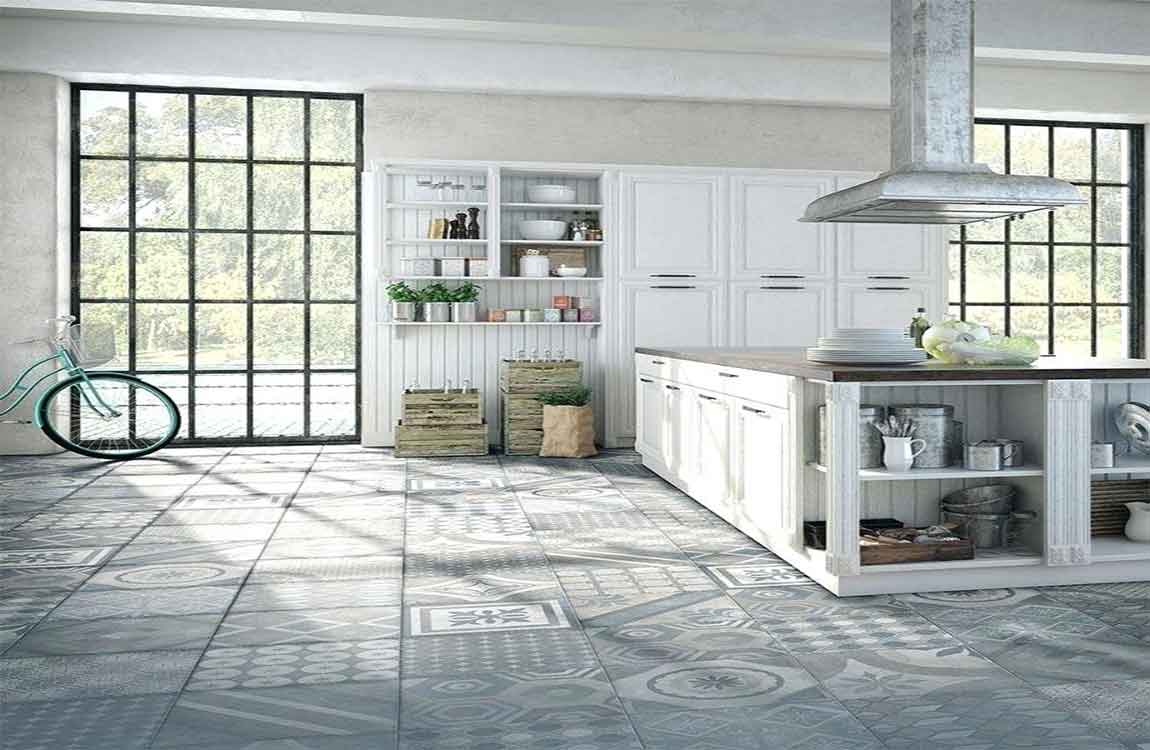
Cleaning a kitchen floor is simple with the right supplies. Pick the right cleaner for your floor type. Then, vacuum the floor and apply the cleaner. Let your floor dry and make sure to clean it regularly in the future. Vacuum your floor first. Regardless of your floor type, the first step to cleaning your floor is giving it a good vacuuming.

On a weekly basis, vacuum and then mop your floor. This will remove any dirt, debris, or hair that may get plastered to the floor during the mopping process. Run your vacuum over the floor, using the upholstery attachment to get into nooks and crannies. While vacuuming provides the most thorough cleaning, it’s okay to use a broom and dustpan if you don’t have a vacuum cleaner.

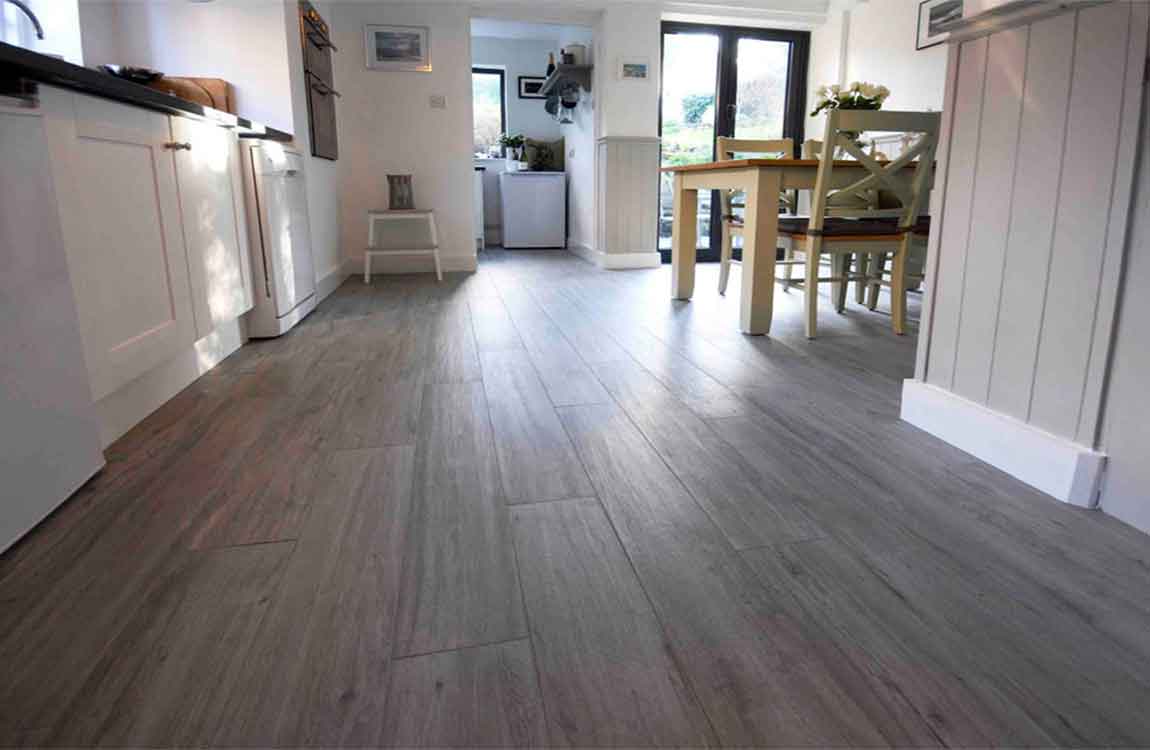
Use a dry mop on laminate or wood floors. You can purchase a dry mop at most department stores. If you have a laminate or waxed wood floor, you should not expose it to liquids. Instead, run your dry mop over the floor once a week to remove dirt and stains.

Apply the cleaning product one section at a time. Dilute your cleaner in a spray bottle or bucket. Use a rag, sponge, or mop to clean your floor one section at a time. Get your cleaning tool wet, wring it out slightly, and run the rag, mop, or sponge across the floor to remove any stains or dirty spots.

The cleaning utensil is mostly a matter of personal preference. However, microfiber cloths tend to work well on most floor types. Never use an abrasive cleaning tool on any type of kitchen floor. Things like steel wool can damage a kitchen floor.

Tile Commercial Polishing

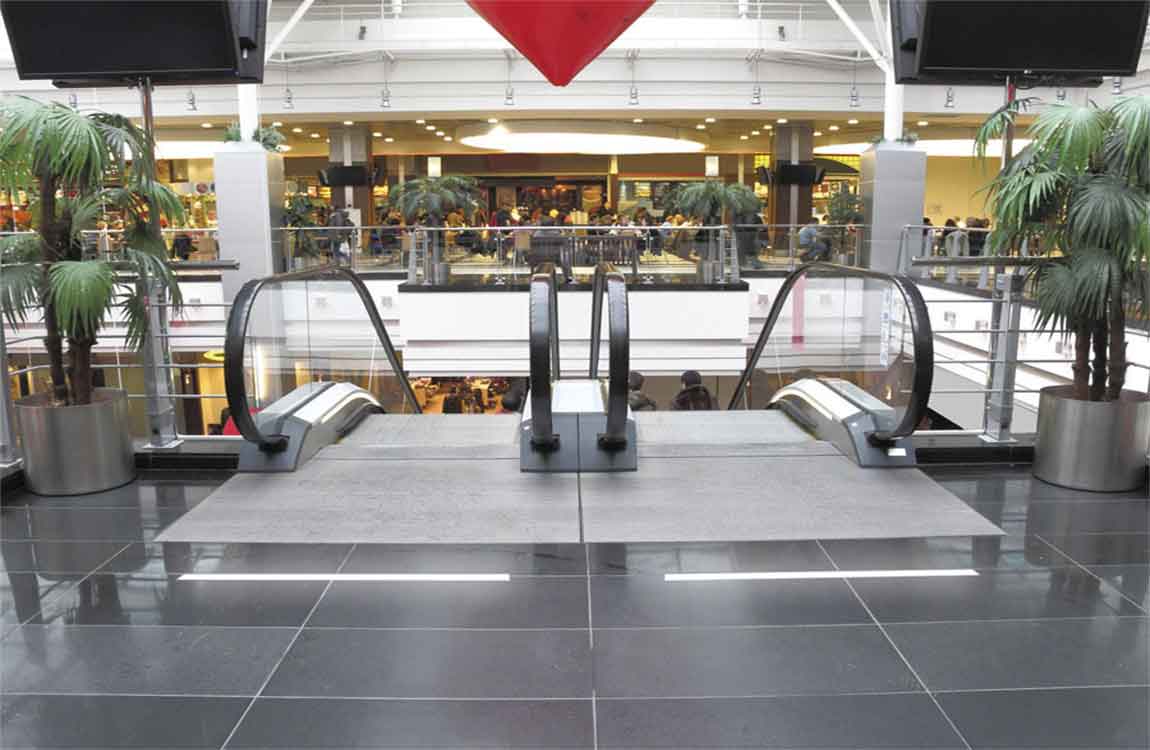
Apply a wax stripping solution to remove any built up wax. If your tile floor has previously been waxed, you’ll want to remove it before polishing. The old wax may be flaking or collecting dirt, and will affect the overall polish. Fill your bucket with a wax stripper and scrub your tile floor clean of any old wax with a scrub brush, then mop the floor with clean water to remove any chemical residue.

Allow the floor to dry at least 1 hour before moving on, but make sure the floor is fully dry. You can find wax stripper at any home improvement or hardware store. Try hydrochloric acid for soap scum and water deposits on tile flooring. Hard water deposits and soap scum stains require heavy duty chemicals to be removed.

Empty the bucket of water completely, then fill it with 4 cups (950 mL) of water and 1⁄2 cup (120 mL) of hydrochloric acid. Apply the mixture directly to the stain and allow it to sit for several minutes. Then scrub the stain clean and allow the area to dry completely. Hydrochloric acid is available for purchase at most hardware stores. It is also often sold at pool supply stores because the acid is commonly used to sanitize swimming pools.

Hydrochloric acid is a harsh chemical and can burn your eyes and throat, so mix it in the bucket outside or a well-ventilated area. Be sure not to get any of the chemical on your skin as it can cause chemical burns. Use an electric floor buffer to buff the tile floor quickly. A floor buffer is a great option for a quick and consistent buffing. Consider renting or borrowing one for the day if you do not own one.

They are often as easy to use as a standard vacuum cleaner. Turn the buffer on and move it across the tile floor using small, sweeping side-to-side movements for an even finish. You can rent electric floor buffers from home improvement stores like Home Depot for around $30 a day.

Color Matching Method For Kitchen Tile

Generally speaking with light yellow tiles for ordinary families is better to accept, not too fancy, but it is quite satisfactory collocation dark brown cabinets, both classical and stable atmosphere. To cook in this space, a quiet, a quiet, enough to make you calm down carefully and enjoy the process of cooking.

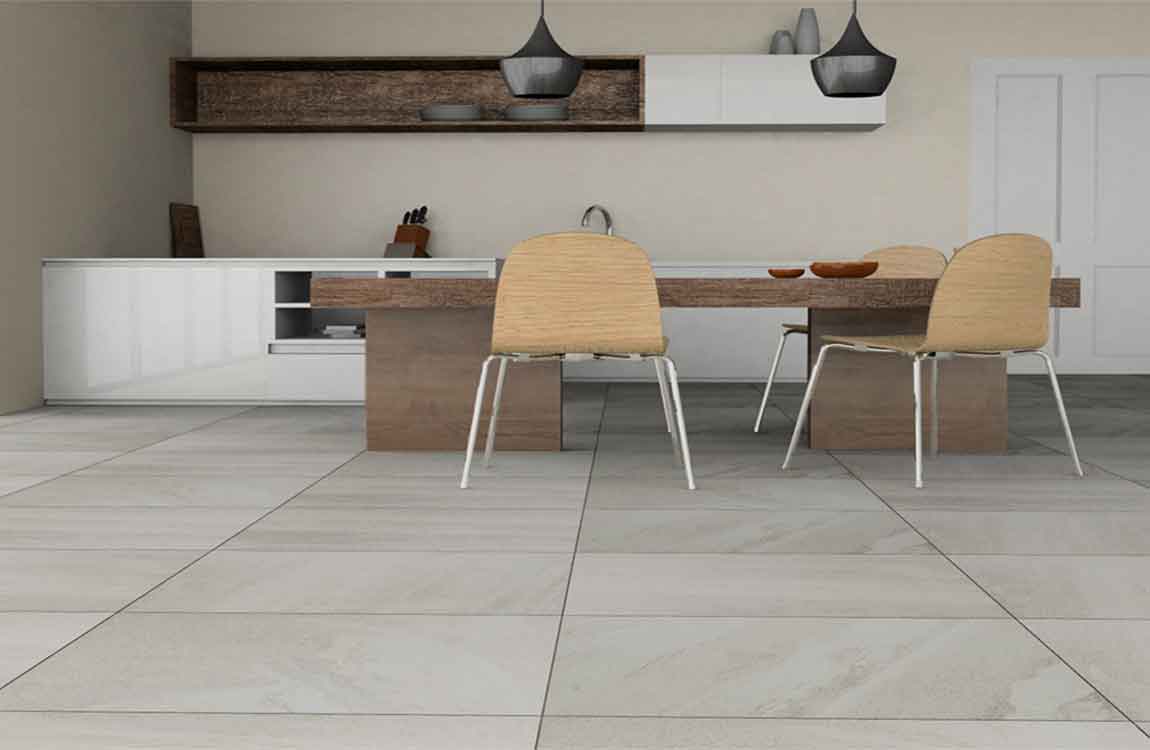
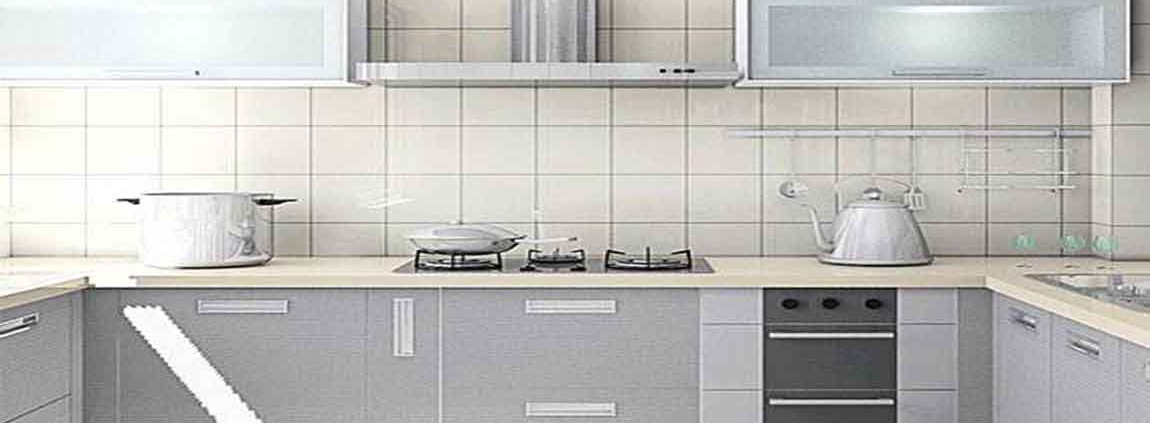
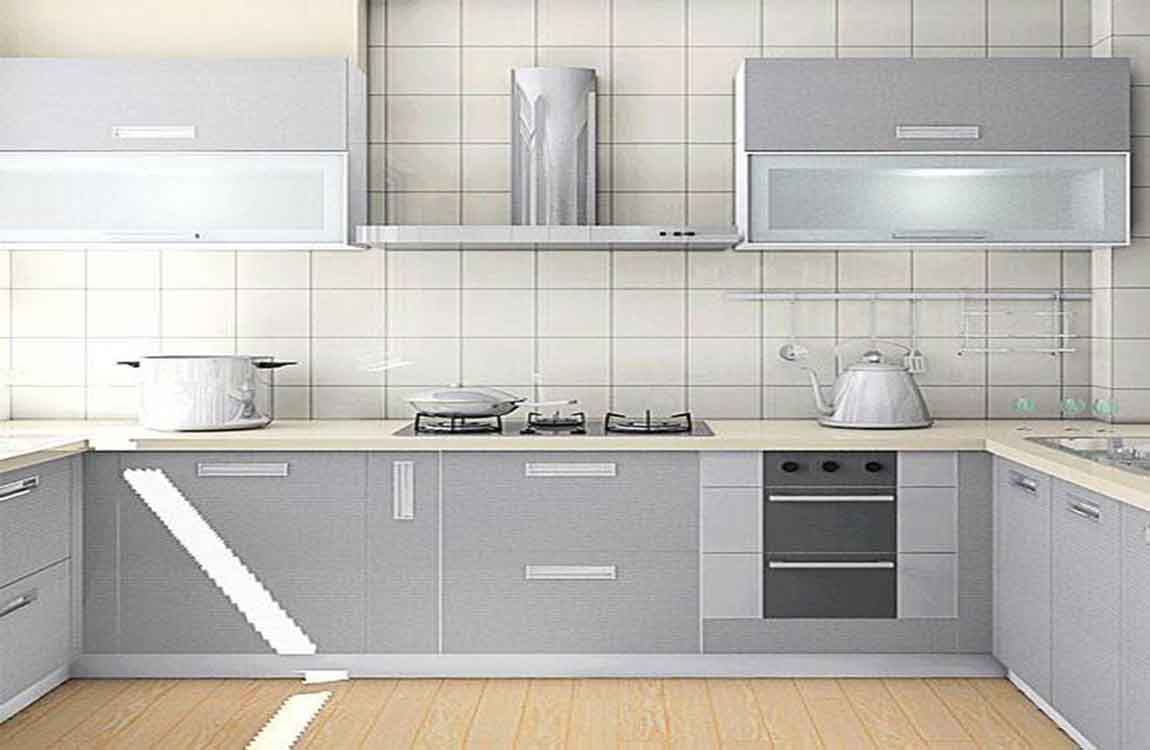
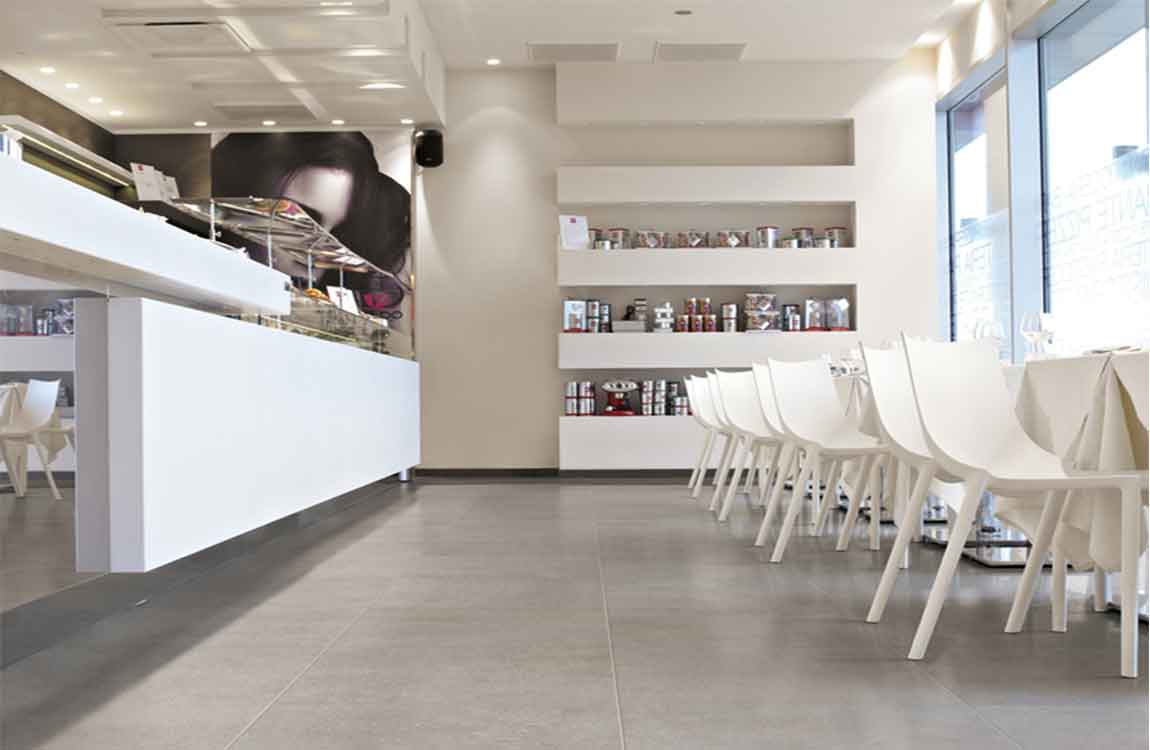
White for most people are very fond of, all-match, young, bright, especially in the kitchen tiles. The gray tiles match the brightly colored cabinets, and the sense of fashion stays visible. Crisp is the kitchen decoration has been pursued, the gray tile for light refraction is very helpful, and then you will not because of the kitchen and can not afford to cook the desire to cook.

Kitchen wall tiles can also choose some cool colors, not only can absorb the heat from the kitchen, and can feel makes people feel quiet in the hot summer, cool heart tends to be more important than physical feelings come.