Posts

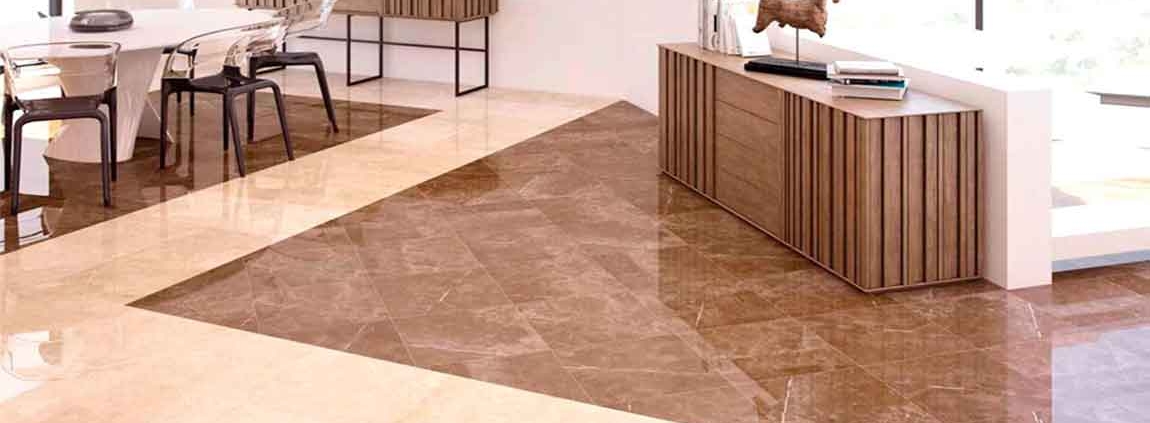
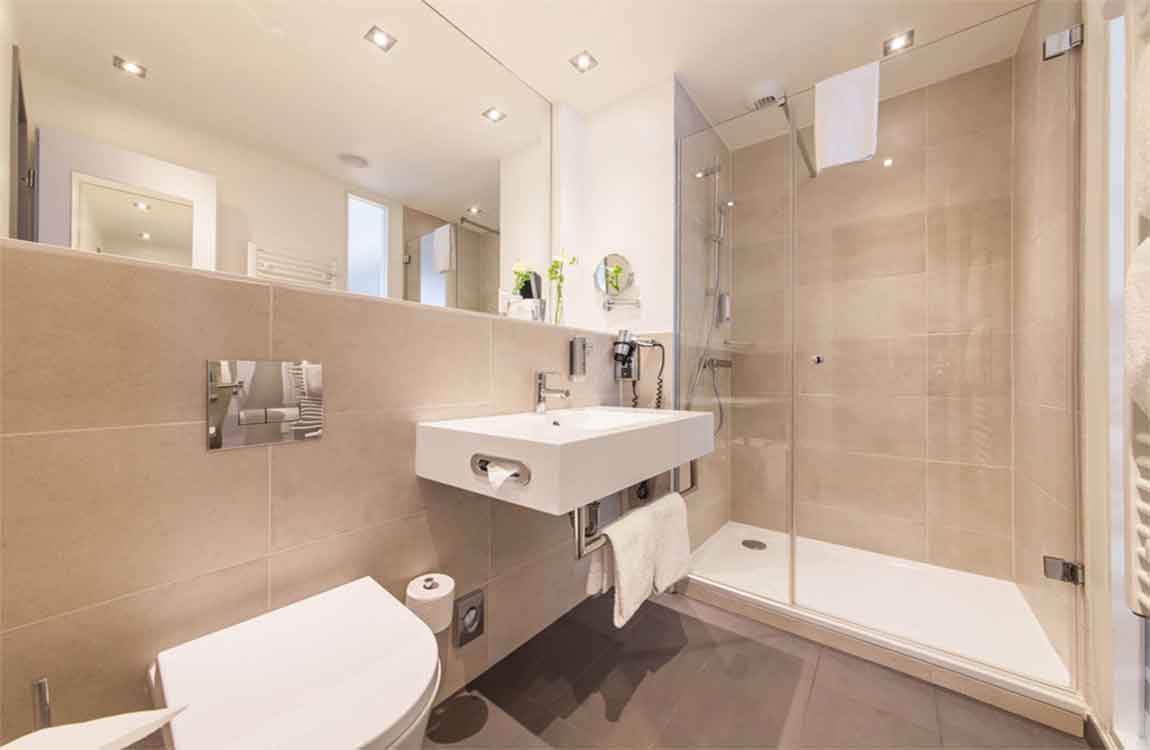
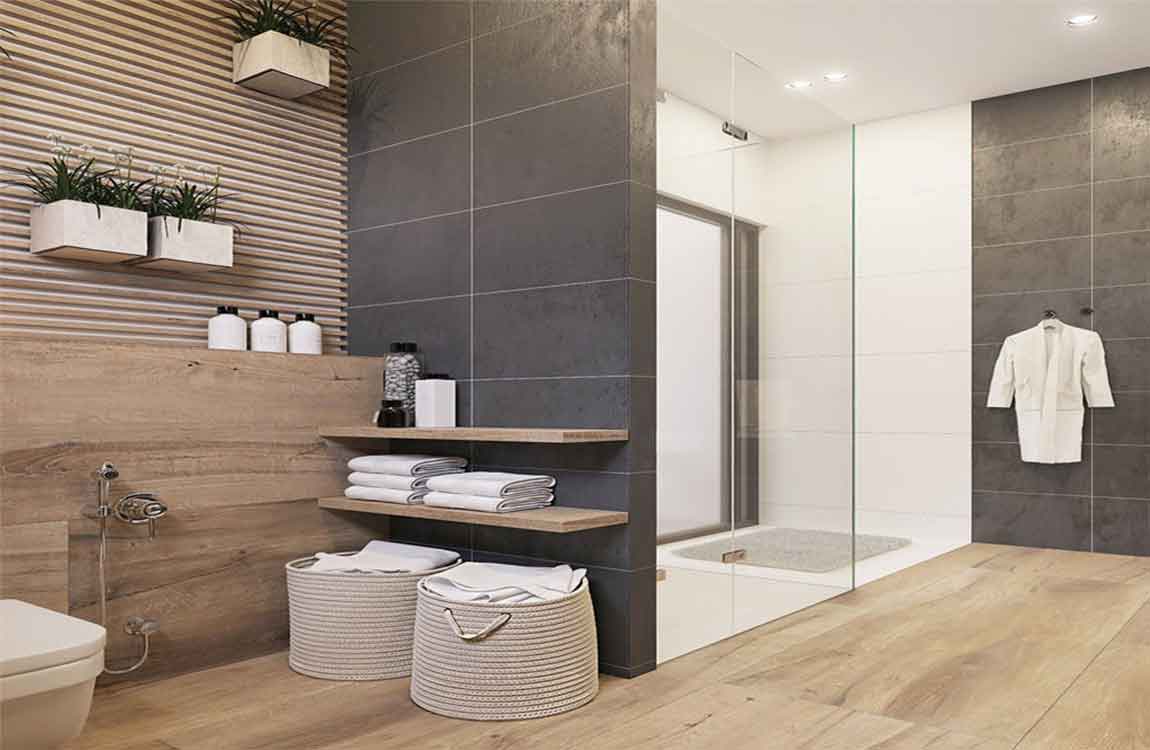
Deciding on the Select Wood Flooring


Consider staining the wood if you want it to be more eye-catching. This is a great choice if you’re not going for a natural look or you’re not content with the color of your preferred wood species. Wood stain comes in a wide range of shades. Depending on what shade you use, you can either pronounce the original wood color or create a completely new look.


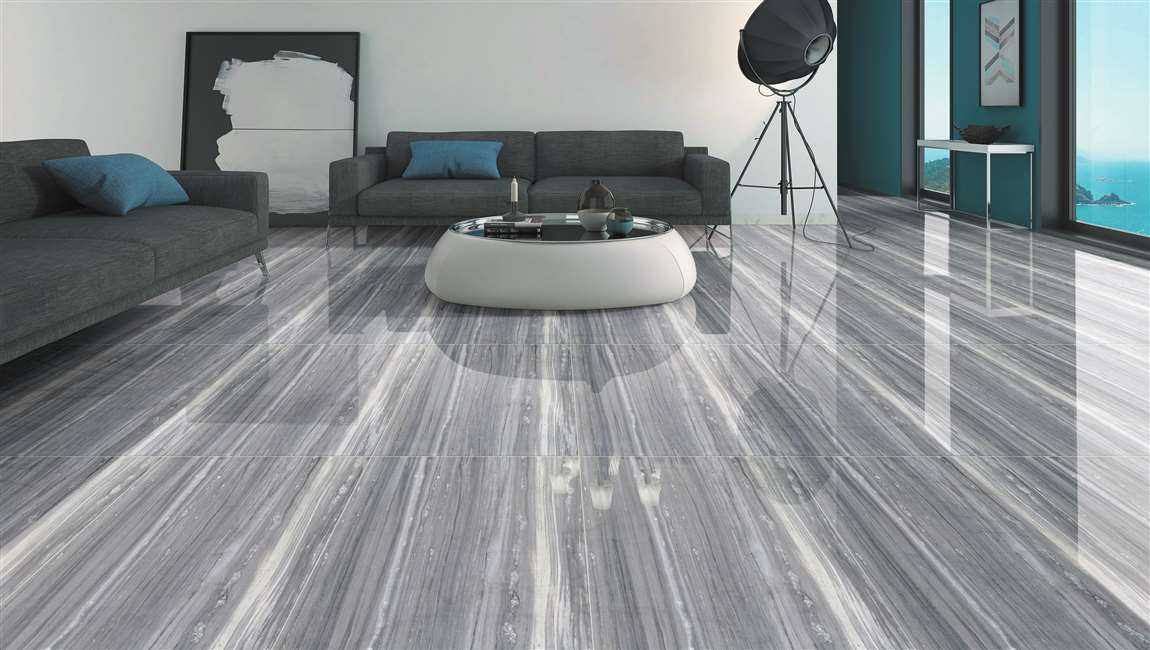
In modern interiors, dark charcoal and similar shades are used to make wood floorings look striking. Choose oil-based finish if you want to cut down on expenses. This type of finish is among the most commonly used. Apart from being affordable, oil-based finish is quite durable as well. It gives an amber glow, no matter the color of the wood itself.


Opt for moisture-cured finish if you want a high level of moisture resistance. Apart from being more resistant to moisture than any other type, this finish is highly durable in general. It comes in a variety of shades, so you can easily adjust it to the wood species of your choice. The shades range from completely clear to amber.


Go with natural oil finish if you want an extra durable top coat. Unlike most other types of finishes, which stay on the surface, natural oil finish penetrates into the wood. By doing that, it creates a protective interior layer. That’s also why it’s among the most durable finishes out there. In general, oil finishes are easily scratched. However, those scratches are a lot less noticeable than the scratches you make on other types of finishes.


Choose sheen level. Unlike the type of finish, sheen only affects the appearance of wood. You can choose from matte, satin, semi-gloss, and gloss finishes. While matte reflects the least light, gloss is the shiniest.

How to Cover Exterior Cinder Block Walls?

Cinder block walls are strong and inexpensive, but they aren’t always pleasant to look at. Fortunately, you have many options for improving a cinder block wall. Concrete is an inexpensive way to create a strong cover. Stucco is similar to concrete but more decorative. Vinyl panels and stone veneers are alternative decorations that match with many homes. Use different material to give any cinder block wall a unique aesthetic appeal.


Dampen an area approximately 3 ft × 6 ft (0.91 m × 1.83 m) in size, or as much as you can cover with cement in about 10 minutes of work. The wall needs to be well-soaked in order for the cement to bond to it. Always work on one part of the wall at a time to avoid any problems with the cement coating.


Spread a 1⁄4 in (0.64 cm) layer of cement on the wall. The cement needs to be applied in sections to prevent it from drying out before you’re finished working. To prevent issues, start out by covering the small portion you dampened. Scoop some cement out of your mix with a trowel, hawk, or another tool, then slather it over the area with a trowel. Start at the top of the wall, spreading the concrete from left to right.


A hawk is a flat tool used to pick up and hold lots of concrete, mortar, or other material. Normally you would have to dip into the mix many times. Using a hawk reduces this, making the application process much easier. For a faster way to cover wall sections, take advantage of a concrete sprayer.


Load the concrete into the sprayer, then hold it close to close to the wall to avoid spraying the areas you aren’t ready to work on yet. If you need to check the cement’s thickness, try using a tape measure on an open part of the wall. Repeat dampening the wall and spreading cement until you’re finished.

How Cleaning Your Grout?

Choose a scrubbing solution. Grout, especially between floor tiles, gets especially dingy and dirty over time. Depending on the severity of your grout discoloration, you will need to use a different cleaning solution. For mild discoloration, use a combination of baking soda and hydrogen peroxide to form a paste. For more severe discoloration, use an oxygen bleach to whiten your grout.

Do a preliminary clean. In order to avoid extra work when you really start scrubbing, do a mild clean down of your grout prior to deep-cleaning it. Use a mixture of bleach and water to kill mold and mildew, and wipe off any grime or dirt that might be present on the surface.

Apply your cleaner. Working in small sections of tile/grout (try 1sq. ft. at a time), apply your cleaner to the grout. Leave it to set for 3-5 minutes, as this will make the scrubbing much easier.

Start scrubbing the grout. Use a brand new toothbrush (electric is preferable) to scrub away the dirt and discoloration on the grout. This can be relatively time consuming, so don’t give up if at first you don’t succeed. Use fresh water and a rag to wipe off the cleaning residue, and apply another coat of your cleaner if necessary.

Continue cleaning your grout. Work your way outwards from your starting point, using the aforementioned process. Add cleaner to small sections, let it set, and scrub away until bright, clean, and shiny grout can be seen underneath.

How Maintaining the Grout?

Squeegee the grout after you shower. Try to get in the habit of using a squeegee to remove water from the surface of the tiles and the grout in your bathroom after you shower. Drying the shower doors and the tiles in the shower helps to prevent a buildup of grime or mineral deposits in your grout. You can attach a squeegee to the inside of your shower with a suction cup so it is right there at the end of your shower. Encourage others in your household to squeegee off the shower once they are done to keep the grout dry and clean.

Use a sealing product on the grout. You can also maintain the grout so it looks its best by using a sealing product on it. Seal the grout once or twice a year so it remains water repellent. This will ensure the grout stays clean and grime-free. You can find sealing products for grout at your local hardware store or online.

Replace the grout if it becomes damaged. If you notice the grout in your bathroom or kitchen is shrivelled, full of mildew, or damaged in any way, try to get it replaced as soon as possible. Replacing the grout will ensure it does not get worse or you do not experience other home repair issues as a result of damaged grout. You may try cleaning the grout before you consider replacing it. If it does not respond well to cleaning, it may be time to switch it out for new grout.

This may also lead to a stain on the tile or the grout. Use a wet mop or a wet cloth to rinse off the cleaner. You should then dry the grout and the tiles well once the cleaner has been rinsed. Use a towel or soft cloth to do this. Do not use cloth that will scratch the surface of the tile or the grout.

Try a salty vinegar mix. Combine ¼ cup (21 grams) salt, ¼ cup (21 grams) baking soda, and ¼ cup vinegar (60 milliliters) in a tall cup or small bowl. Let the solution sit for 20 minutes, then use a small spoon to apply the mixture to the grout. Using a toothbrush or scouring pad, scrub the grout until clean. Once you’re finished, mop the grout or use a damp cloth to wipe the grime away.

Grout the Tile


Mix up a batch of grout and let it rest for 5 to 7 minutes. Lightly wet the area you’ll be grouting with a damp sponge and dump a bit of grout onto the area. Use a rubber float to smooth it into the joints, attacking each joint at a diagonal angle.


After 30-40 minutes (check the directions on the bag of grout) you want to wipe the excess grout with a damp sponge and a circular motion. Keep wiping with a clean sponge until the tile is clear. The tiles may look a bit hazy even after wiping, so you may have to buff them with a clean sponge to get rid of this haze.


Let the grout cure for approximately 3 days before sealing. Then, seal the grout. Run a thin bead of liquid grout or aerosol grout sealer onto the grout line and wipe away. Let dry and then test its water resistance by dropping water onto the sealed grout. Correctly sealed grout will cause the water to bead up on top of it.


Caulk any needed areas. Make sure to use a grout caulk to match the colors. As you caulk, remember to pull the caulk gun relatively quickly across the joint. Most amateurs caulk too slow and end up dropping too much caulk down on the joint. Other things to remember:Keep the tip angled as you run the bead along the joint.


Match the speed with which you pull the caulk gun trigger with the rate at which you pull the gun along the joint. You don’t want to be pulling the gun fast but triggering slowly, or vice versa. After applying the bead of caulk, “bed” it by running a damp finger across the bead with light pressure. Make sure that your grout chalk matches the grout. Let the caulk dry and redo it if you are not happy with the results.

How Cleaning Polished/Glazed Porcelain Tiles?

Sweep the floor with a dust mop. Start by sweeping the floor to remove any dust on the porcelain tiles. You can use a dry dust mop or a vacuum. You can also use a microfiber mop, as it will be gentle on the tiles. Brooms with straw or plastic bristles will be too harsh on the floor and could scratch the tiles. Make sure you sweep in the corners and between tiles. You want to try to remove as much surface dust on the tiles as you can before you move on to more intense cleaning.

Use a soft, nylon brush to remove any dirt. You can use a nylon cleaning brush or an old toothbrush to remove any dirt or dark spots on the floor. Wet the floor with hot water and use the brush to remove surface dirt. Scrub the tile in a circular motion, making sure the tile is damp when you scrub it. Do not scrub any tiles that are dry, as this could scratch the tile.

Apply a cleaning solution for stains. If you notice any stains on your polished or glazed porcelain tiles, you should apply a cleaning solution using a mop. You can use a home solution of white vinegar and water or a professional cleaning solution. Make a home solution by combining ¼ cup white vinegar with two gallons of warm water. Mop the floor and let it sit for five to ten minutes. Then, mop the floor again, rinsing off the solution. The vinegar will help to disinfect, deodorize, and clean the tiles.

For a professional option, use a cleaning solution from your local home hardware store or the cleaning supplies aisle. You should make sure the solution is safe for use on glazed or polished tile before you use it. You may want to do a spot test by using a small amount of the solution on the floor to ensure it does not damage the floor.

If there are coffee stains on the tiles, you can use baking soda to remove them. Apply a sprinkle of baking soda on the stain and then dampen it with a clean cloth. Gently scrub the area until the stain is removed.

How to Tile a Wall With Porcelain Tile?

Covering a wall is a great way to transform the look of a room. Wallpaper, fabric are excellent media for redecorating. Although ceramic tile is often used for flooring and countertops, it can serve as a patterned surface for a wall. Italy, China and the United States are known for creating porcelain tile designs used in home decoration. You will want to take extra time when applying the tile, to ensure it is straight and well spaced. Porcelain tile is also known for being fragile, so you will need to work carefully. Find out how to tile a wall with porcelain tile.

Apply final sealer. Apply a penetrating sealer using either a sponge or spray bottle to the grout joints once the grout has completely cured. Wipe off excess sealer from the tile immediately as it will stain the tile. Clean the tile’s surface. Wipe the tile with a rag soaked in mild soap and water. Examine the cleaned surface for damage.

If the tile is cracked, you’ll need to replace it before you continue. Choose a drill bit. An ordinary steel drill bit may fail to penetrate the tile, or cause it to shatter. Search for an appropriate bit using the following guidelines: Glass or tile bits are shaped to reduce the risk of shattering brittle materials. These should be carbide-tipped.

Diamond bits are especially vulnerable to damage from fast drilling. Drill no faster than 600 rpm for diamond bits below ½ inch (1.25 cm), or 450 rpm for bits from ½ to 1 inch (1.25—2.5 cm). Lubricate with water as you drill. Friction from drilling hard materials creates a great deal of heat, which can scorch the drill bit or even break the tile. Protect your project and extend the lifespan of the drill with a constant trickle of water. You may use a small hose, or an assistant with a squirt bottle or glass of water.

“Pump” the drill every 15 to 20 seconds with a tiny up-and-down motion. This draws water to the tip of the bit, where friction is greatest. The drill bit should never feel more than slightly warm. If it gets hot, stop and wet it until it cools down. As an alternative, lubricate the drill with drilling oil.

Penetrate the backing board. You can switch back to a regular drill bit for this process if you prefer. Continue to drill slowly and patiently, as it is just as important to maintain the wood or drywall behind the tile. Damaging the backing board can make it difficult to anchor your screw or whatever you plan to insert.