Posts

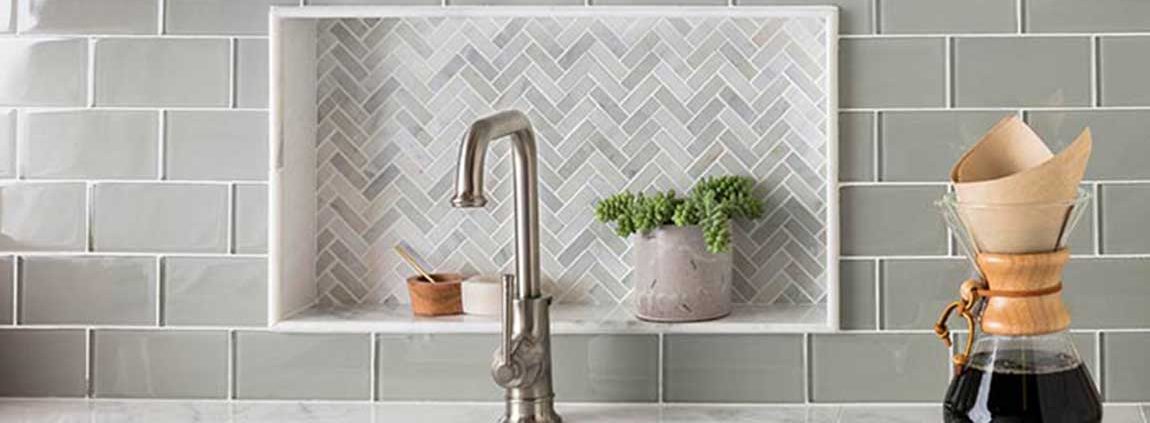
How to Preparing the Countertop Before Tile a Countertop?

You do not have to be a professional tile layer to marble tile a countertop. It is possible to get professional results tiling a countertop yourself by following these steps. Note, however, that this requires not only a lot of tools, but time — tiling is not a quick process by any means.

Measure out your tiling plans in advance, getting all of your dimensions and marking problem areas like sinks. Break down your counter into workable sections, dividing up the room by large obstacles like the sink or oven. Clean everything off the countertops and empty the kitchen so that you can move and work freely.

Know your planned tile size, how many tiles you need total, and how the wood tiles will fit into rows ahead of time. If you can get a tile size that requires minimal cutting and fitting your life will be much easier. Remember to account for the grout when planning your tile size.

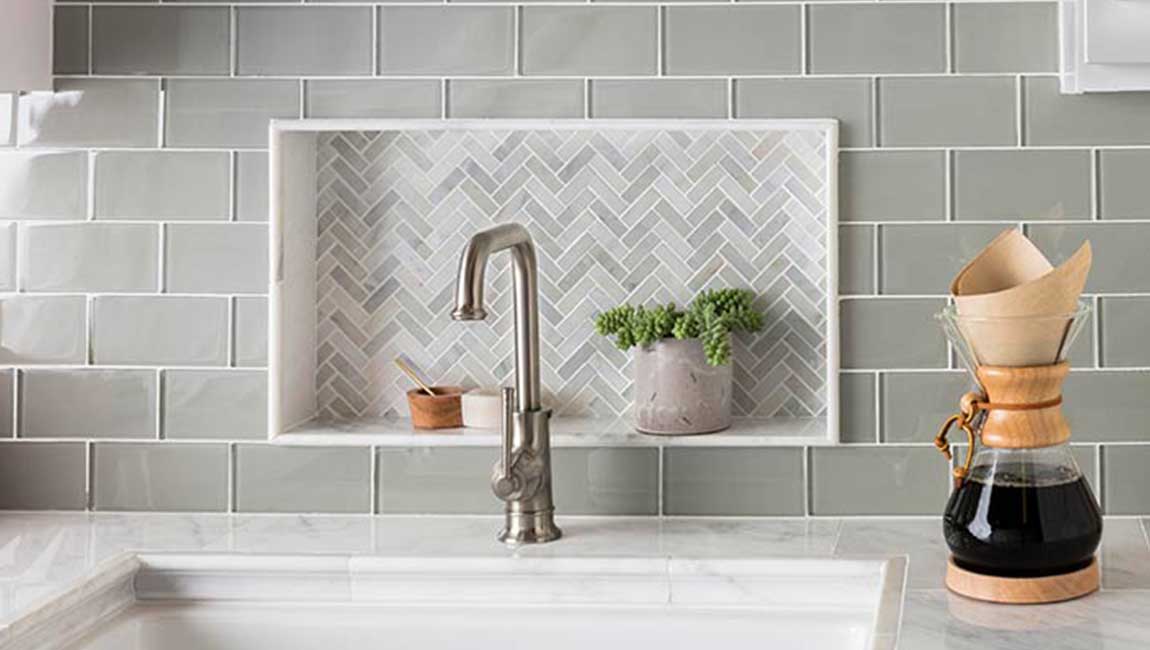
Remove the sink, stove, and any other appliances. If you plan on tiling a countertop in a wet area, then you will need to take out the sink in order to lay the new tiled countertop. You should also remove the stove, though this is much easier to simply slide out than a sink. To remove your sink: Turn off the water supply to the sink. If you have a garbage disposal, you will need to cut the power to that, as well.

Disconnect the plumbing hoses from the sink. This includes the flexible tubing that connects your dishwasher to your sink plumbing, and the hose clamps that keep your disposer in place.

Unscrew the sink from underneath the countertop, if there are screws holding it in place. If there are clamps holding the sink to the countertop, these will need to be removed, too. Run a razor around the edge of the sink to cut the caulking before removing the fixture. Pry the sink loose from the countertop, then remove it completely and set it aside.

Prepare the tile design countertop base if not purchasing or using a preexisting counter. If you’re crafting a new counter from scratch, the following bullets detail how to build a new countertop using plywood and concrete boards. In most cases, your countertop will already have a solid base — click here to skip ahead if it does.

How to Determining Subway Tile Backsplash Layout?

Subway tile is an increasingly popular backsplash choice for kitchens, bathrooms, and utility rooms. One of the best things about subway tile is that it is relatively inexpensive and easy to install. Over the course of a weekend or two, you can make a chic and practical backsplash out of the subway tiles of your choosing.

Measure the area and purchase 10% more tile than you need. Use a tape measure and measure the width and length of the space you want to cover with subway tiles. Multiply these numbers by each other. This will give you the total area you want to tile. Afterwards, add 10% to the total to cover potential waste.

If you have a 10-foot (3 m) section that is 2.5 (.76 m) high, you have an area of 25 square feet (7.6 square meters) to cover. To cover waste, you’ll add 2.5 square feet (.76 square meters) in addition. This will give you a total of 27.5 square feet (8.4 square meters) of subway tile you will need to purchase.

Remove outlet and light switch covers. Use a flathead screwdriver and unscrew the plastic covers from the outlets and light switches. After removing them, place the screws and the covers in plastic bags so you don’t lose any pieces. You’ll replace the covers once you’ve installed your backsplash.

Sketch your tile design on the wall. Start by determining how many marble tiles can fit vertically and horizontally in the area you want to cover. Next, figure out where you need to place partial pieces of tile size (pieces that you will cut). A lot of this depends on your taste. Finally, take a pencil and draw on the wall where you plan to place individual tiles.

Factor in 1/8th of an inch (.32 cm) between tiles and the wall for grout lines. You may want to choose between centering whole pieces of small tile or starting at the top with whole pieces and finishing the bottom with cut/partial pieces (if there isn’t enough space for whole pieces).

Lay your tile out. After you’ve sketched your design on the wall, you should assemble all of the pieces you need to complete your project. It is best to lay out your pieces on a large table or on the floor in another room. This way, you’ll be able to match the pieces to the places on the wall where they will go.

How to Finishing up the Job of Tiled a Shower?

A tiled shower adds beauty and durability and value to your home, and you can choose tiles for your shower all by yourself. There are several things you need to do to properly prepare a leak-proof shower. If you are tiling a shower tile for the first time, consult with a general contractor before starting the job.

Grout the tile. Mix up a batch of grout and let wall tile rest for 5 to 7 minutes. Lightly wet the tile area you’ll be grouting with a damp sponge and dump a bit of grout onto the tile area. Use a rubber float to smooth it into the joints, attacking each joint at a diagonal angle. After 30-40 minutes (check the directions on the bag of grout) you want to wipe the excess grout with a damp sponge and a circular motion. Keep wiping with a clean sponge until the shower tile is clear.

The tiles may look a bit hazy even after wiping, so you may have to buff small tile with a clean sponge to get rid of this haze. Let the grout cure for approximately 3 days before sealing. Then, seal the grout. Run a thin bead of liquid grout or aerosol grout sealer onto the grout line and wipe away. Let dry and then test its water resistance by dropping water onto the sealed grout. Correctly sealed grout will cause the water to bead up on top of it.

Caulk any needed tile size areas. Make sure to use a grout caulk to match the colors. As you caulk tile design, remember to pull the caulk gun relatively quickly across the joint. Most amateurs caulk too slow and end up dropping too much caulk down on the joint.

Other things to remember: Keep the tip angled as you run the bead along the joint. Match the speed with which you pull the caulk gun trigger with the rate at which you pull the gun along the joint. You don’t want to be pulling the gun fast but triggering slowly, or vice versa.

After applying the bead of caulk tile, “bed” it by running a damp finger across the bead with light pressure. Make sure that your grout chalk matches the grout. Let the caulk dry and redo it if you are not happy with the results.