Posts

How cutting a tile with the tile nippers?


Smooth the cuts with a tile file and wipe the tiles down. Once you’ve finished cutting a tile with the tile nippers, use the tile file to sand down any rough edges along the cut. Follow this up with a damp cloth to wipe away any dust. After this, dry-fit the tile to make sure it rests snugly along the toilet base. If it doesn’t, keep nipping, or get a new tile and start again if necessary.


When all the tiles have been cut, filed, cleaned, and dry-fitted, you can move on to setting them in place permanently. Trace the outline of the flange onto the sheet(s) of paper. First, run your finger along the outline of the flange to create a crease in the paper. Then, lift up each sheet and use a pencil to trace an outline that’s slightly—about 0.25 in (0.64 cm)— larger than the creased outline.


The tracing doesn’t need to be perfect, because the toilet will rest on top of the flange and the cut tile(s) and hide any minor errors. If you have a removable flange and want it to rest on top of the tiles instead of on the subfloor, make the pencil tracing about 0.5 in (1.3 cm) smaller than your crease outline instead. That way, the outer rim of the flange will rest on the surrounding tiles.


Cut out the flange circle and trace it onto the tile(s). Use scissors to cut the sheet(s) of paper to the correct shape, then tape the sheets onto the tiles. Transfer the cut lines onto the tiles with a pencil, then remove the paper. Don’t discard the paper yet—you’ll need it again if you break a tile while cutting it!


Don’t try to cut more than about 0.125 in (0.32 cm) deep with any single pass, or the tile will probably break in a random spot and you’ll have to start over. Be as precise as possible but remember that the circle you cut doesn’t need to be perfect. The actual cut line will be covered by the toilet base.

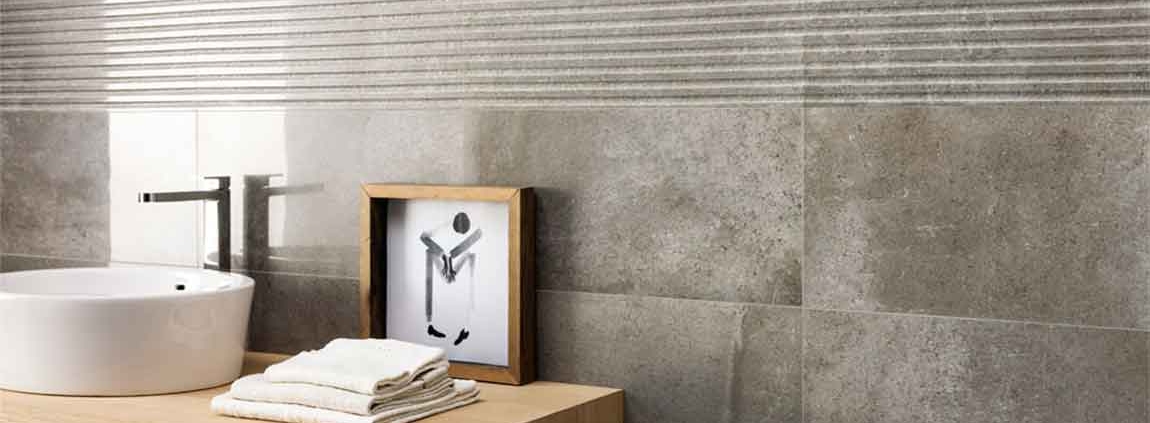
How Do You Match Tile Colors? What Should Be Paid Attention To Tiling?

First, ceramic tile color with six rules

1 collocation, dark and light, such as black and white, deep and shallow, dark green and gray collocation can be used.

2, similar color collocation, such as light yellow and deep yellow, black and gray collocation.

3, similar colors match, such as yellow and green, red and purple, red and orange, orange and yellow.

4, cool colors and warm colors, cold and warm color relationship is to rely on contrast, produced by people’s natural life experience, and collocation is also very distinctive.

5, the non-polar color and color collocation, black, white, gold, silver, ash is called non-polar color, they can match any color.

6. Compare the colors, such as red and green, yellow and purple, blue and orange, black and white.

Second, ceramic tile shop notes

1, ceramic tile shop before consumption should be checked, to see the grade, color difference and the samples are consistent, such as confirmation, so that the construction leader sign, or notify ceramic tile vendors immediately.

2, if the wall is putty wall or press cement wall, must first root out, do roughening treatment. Wall tiles must not be smaller than 1/3 blocks.

3, the ground should be fully wet, and the horizontal line on the wall and placed on the ground pre row, to ensure that each room on the same level of low brick.

4, floor tiles with good “dry shop” method.

5, bathroom tiles should be good, about 1% of the gradient, and below the floor tiles about 10mm. Kitchen tiles should be appropriate to reduce the slope.

6, in case of yang angle, should use 45 degrees cutting angle processing, waist line of the lower edge should be the window of the upper edge.

7, brick paving after 3-5 days before drilling construction, “laying tiles on the day after the re construction.