Posts

How Removing Deep Stains?


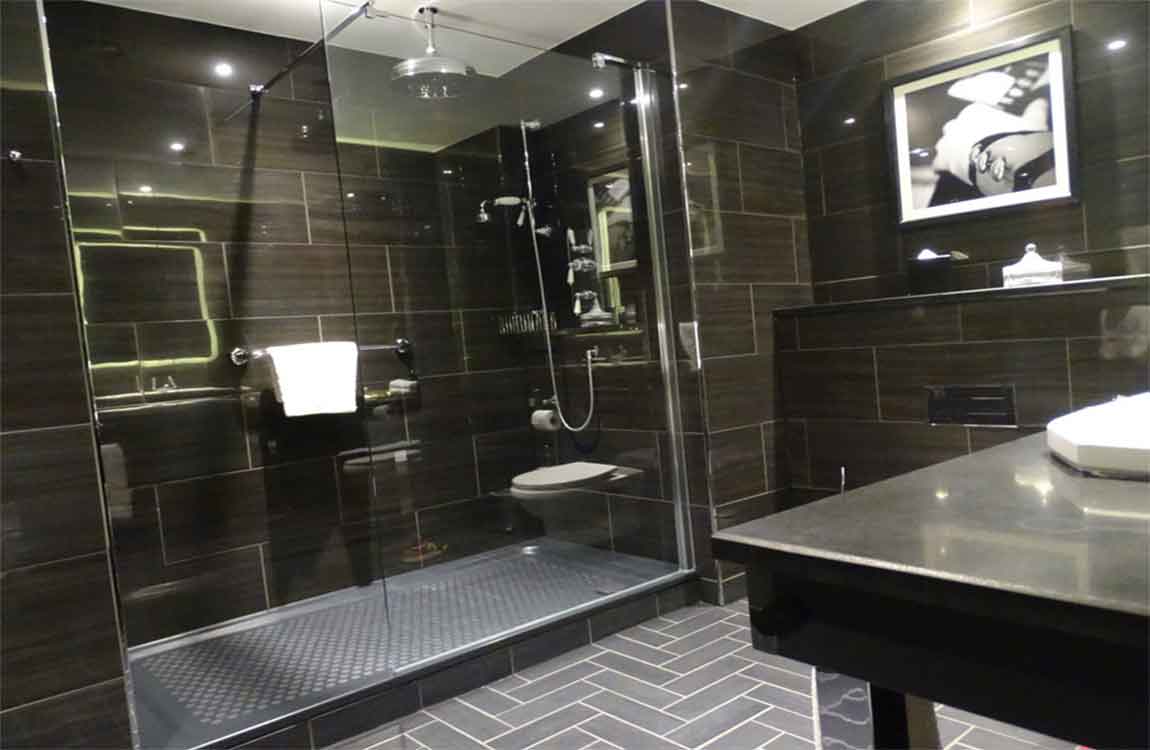
Mix 1 part baking soda with three parts water. Combine the baking soda with the water in a small bowl or cup. Continue to mix it together until the baking soda absorbs the water and forms a paste. If your paste is too thick, add more water to it. If the paste is too runny, add more baking soda.


Apply the paste to the stains. Wear gloves and use your hands to smear a good portion of the paste over the stains on your shower. Target any discoloration or built up mildew that you weren’t able to remove from a basic cleaning. Cover the paste with plastic wrap. Tape the ends of the plastic wrap so it stays in place. Don’t cover all the edges in tape so that the marble tiles can breathe.


Let the paste sit on your shower for 24 hours. The paste will dry and absorb the stain under it. When the paste is ready, it should be dry and hard. Remind people in the house that you are doing a deep cleaning and that they won’t be able to use the shower. Rinse and wipe down the baking soda.


Remove the baking soda paste from your shower by rinsing down your shower and wiping the stained areas with a rag. If you notice that the stain is still visible, repeat the steps until it is fully removed. Dry the shower. Use an absorbent rag or squeegee to dry off your shower completely.


You should dry down your shower after every use, but doing a more extensive cleaning with a mild dish soap and water two to three times a week should keep the marble tiles looking clean and fresh. Rinse the shower. Use a showerhead or a bucket of water to rinse the entirety of the shower down, including the walls. It’s important that you remove any leftover soap or it may sink into the marble tiles and create stains later.

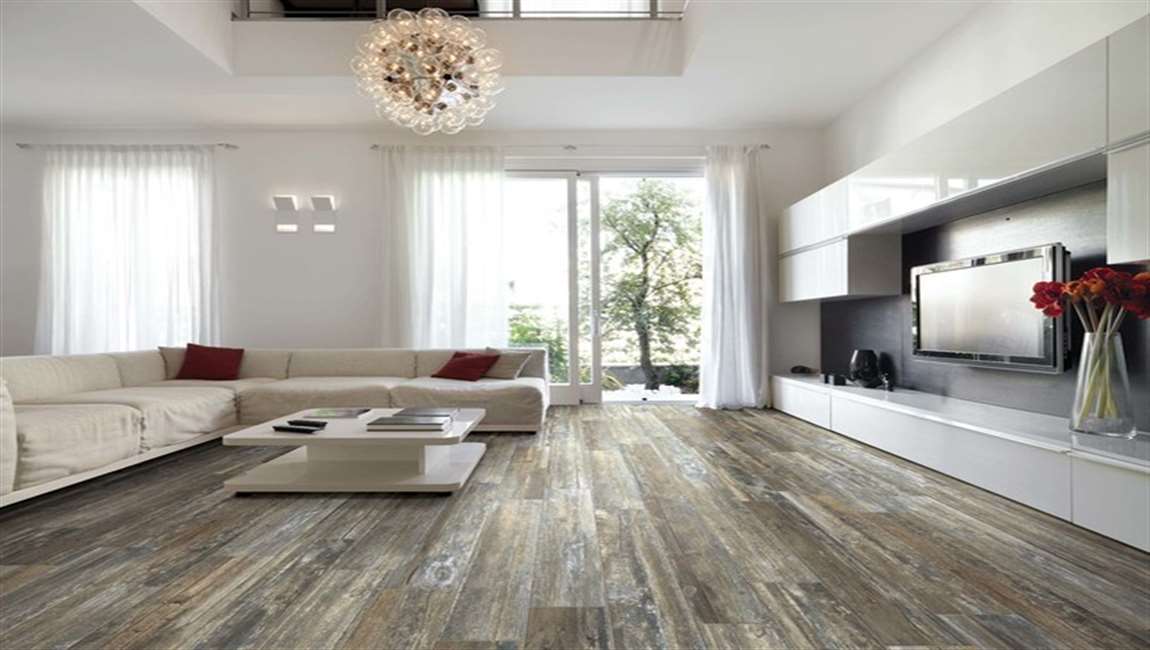
Deciding on the Select Wood Flooring


Consider staining the wood if you want it to be more eye-catching. This is a great choice if you’re not going for a natural look or you’re not content with the color of your preferred wood species. Wood stain comes in a wide range of shades. Depending on what shade you use, you can either pronounce the original wood color or create a completely new look.


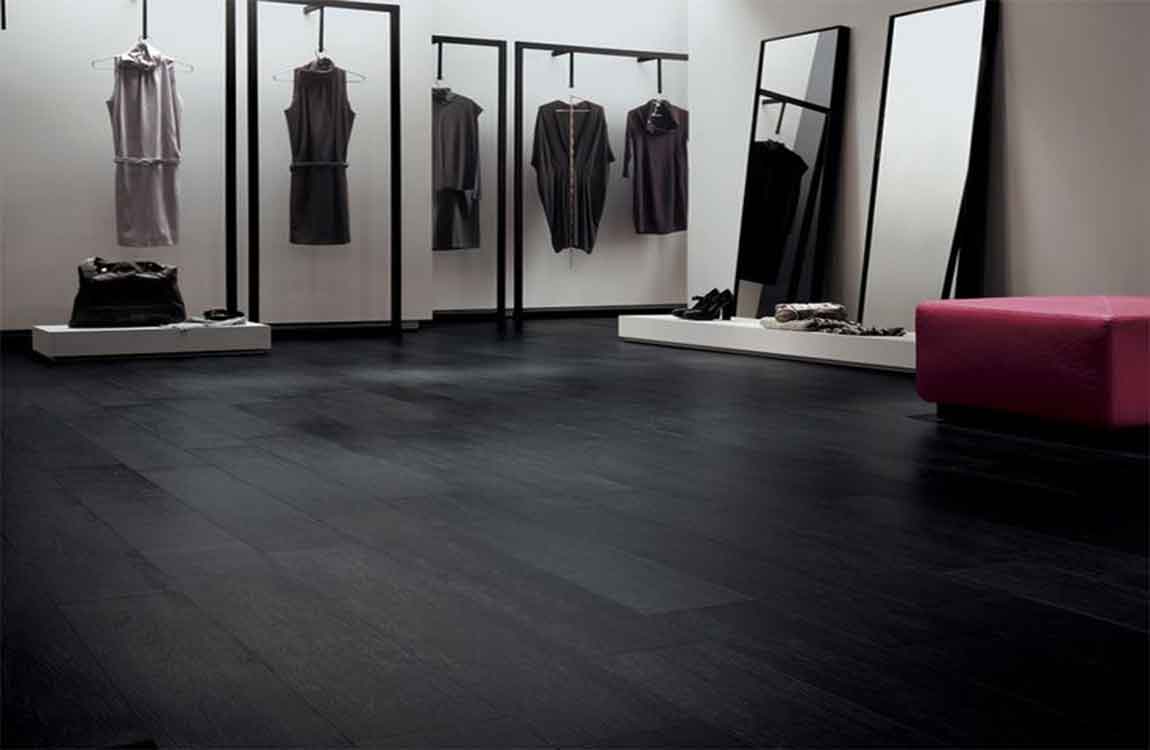
In modern interiors, dark charcoal and similar shades are used to make wood floorings look striking. Choose oil-based finish if you want to cut down on expenses. This type of finish is among the most commonly used. Apart from being affordable, oil-based finish is quite durable as well. It gives an amber glow, no matter the color of the wood itself.


Opt for moisture-cured finish if you want a high level of moisture resistance. Apart from being more resistant to moisture than any other type, this finish is highly durable in general. It comes in a variety of shades, so you can easily adjust it to the wood species of your choice. The shades range from completely clear to amber.


Go with natural oil finish if you want an extra durable top coat. Unlike most other types of finishes, which stay on the surface, natural oil finish penetrates into the wood. By doing that, it creates a protective interior layer. That’s also why it’s among the most durable finishes out there. In general, oil finishes are easily scratched. However, those scratches are a lot less noticeable than the scratches you make on other types of finishes.


Choose sheen level. Unlike the type of finish, sheen only affects the appearance of wood. You can choose from matte, satin, semi-gloss, and gloss finishes. While matte reflects the least light, gloss is the shiniest.

How to Do Tile Painting?

Many people believe that the only way to color a tile is to glaze it in a kiln, but you can actually paint tile yourself at home! If you do the right prep work, it’s a quick, easy task that will let you re-color your flooring or bathroom, or even add a decorative element to your floors, counters, or mantel. Learning how to choose the right supplies, prepare your tile for painting, and paint and seal your wood tile correctly will help you re-do your home quickly and inexpensively.

Use bleach or hydrogen peroxide to remove any mold. Vinegar works well for removing soap scum and shower residue. Sand your vatican tile with 1800-grit paper until it’s no longer smooth. You won’t need to sand unglazed tile, but any ceramic that has already been glazed will need to be sanded to provide a rough surface for the paint to adhere to. Use 1800-grit sandpaper to smooth the tile and remove uneven gloss.

Wipe off the dust with a damp rag. Sanding creates a lot of dust, and it will affect the look of your paint. Make sure all of the dust from sanding is gone by wiping the entire surface with a damp cloth. You can also vacuum away any accumulated dust. Apply an oil-based high adhesion primer to home surfaces. Oil primers are efficient at preventing stains and holding on to ceramic and/or oil-based paint, but you won’t need to use them for decorative art tiles that won’t be walked on or used.

If you’re planning to paint in a high-traffic area, like the shower or the hallway floor, use two coats. Wait at least 24 hours for the primer to dry. Check the primer’s label for a precise drying time. If you’re working in an area with a lot of moisture, like the bathroom, you may want to wait 48 hours.

Lay the cement tiles. Once everything is ready, start by applying a layer of mortar to the floor. Mortar is basically the adhesive that helps the tile stick to the concrete, so choose the one that best suits your needs and your current situation. The commercially available mortars generally need to be mixed with a proportional amount of water. Be sure to read the manufacturers instructions on this.