How to Determining Subway Tile Backsplash Layout?
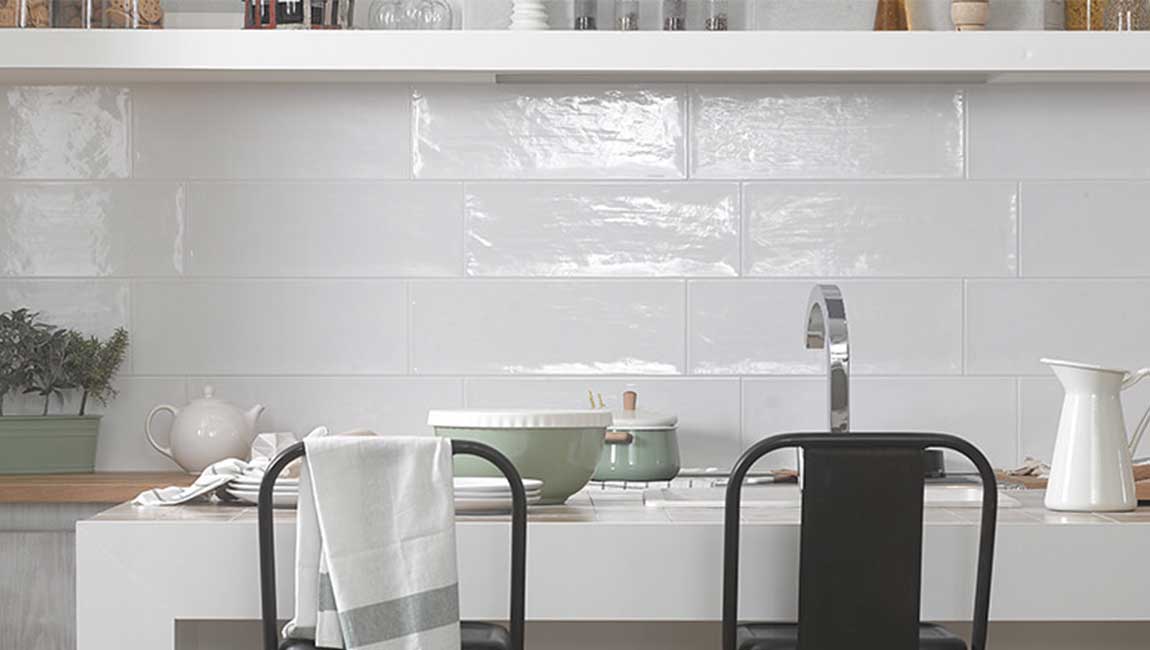
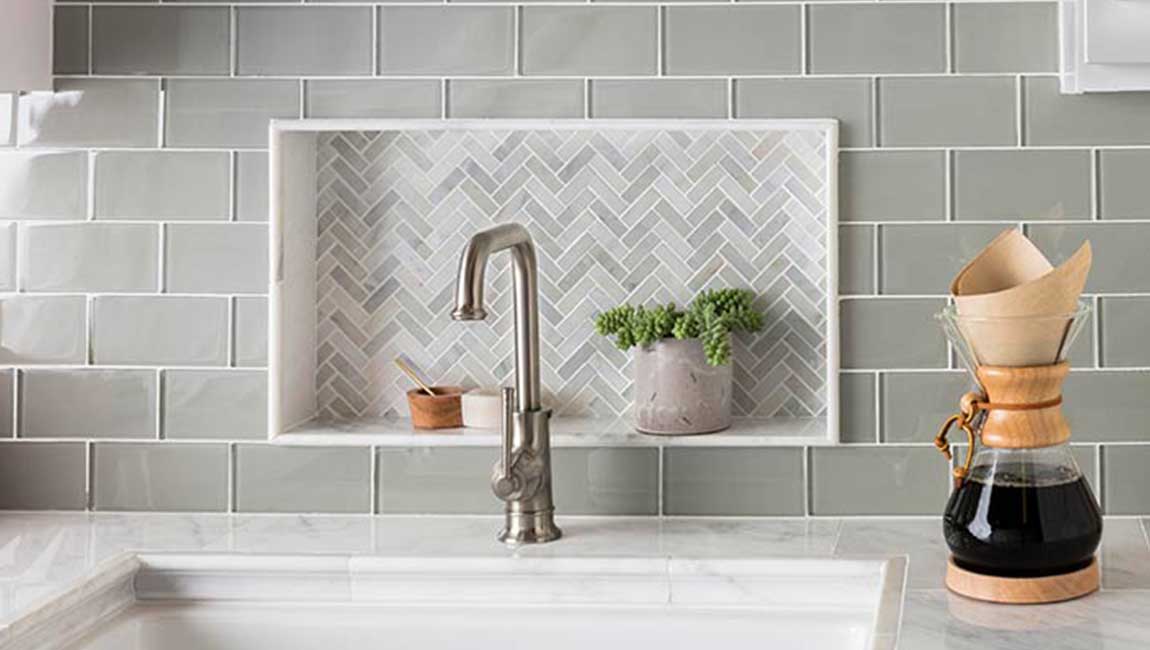
Subway tile is an increasingly popular backsplash choice for kitchens, bathrooms, and utility rooms. One of the best things about subway tile is that it is relatively inexpensive and easy to install. Over the course of a weekend or two, you can make a chic and practical backsplash out of the subway tiles of your choosing.
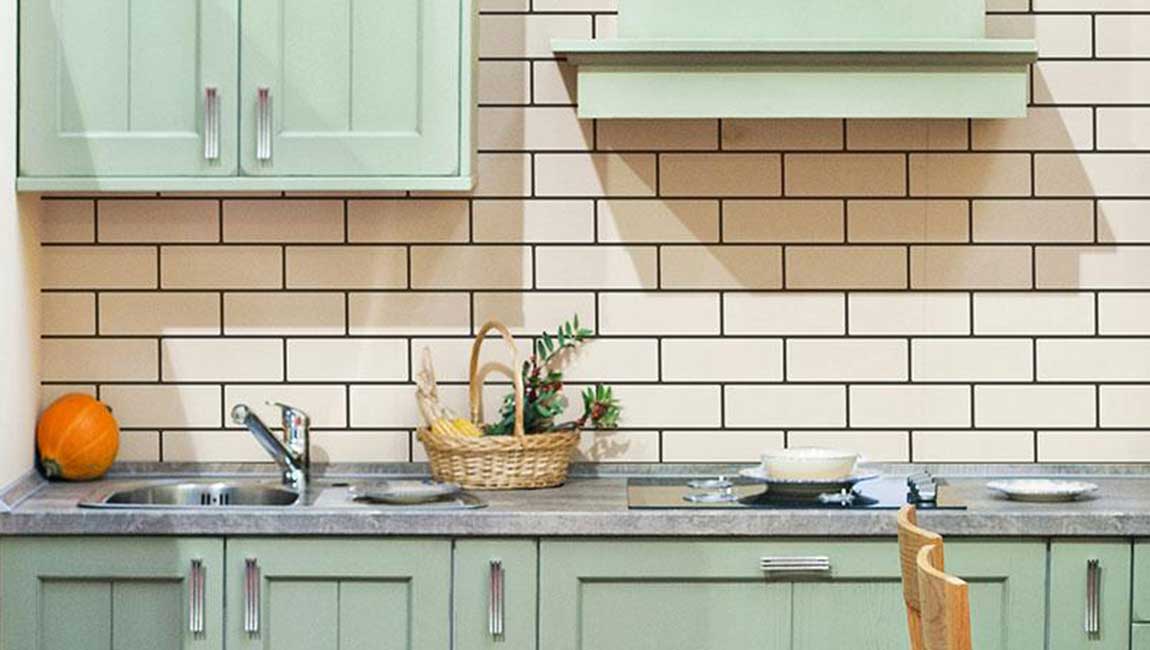
Measure the area and purchase 10% more tile than you need. Use a tape measure and measure the width and length of the space you want to cover with subway tiles. Multiply these numbers by each other. This will give you the total area you want to tile. Afterwards, add 10% to the total to cover potential waste.
If you have a 10-foot (3 m) section that is 2.5 (.76 m) high, you have an area of 25 square feet (7.6 square meters) to cover. To cover waste, you’ll add 2.5 square feet (.76 square meters) in addition. This will give you a total of 27.5 square feet (8.4 square meters) of subway tile you will need to purchase.
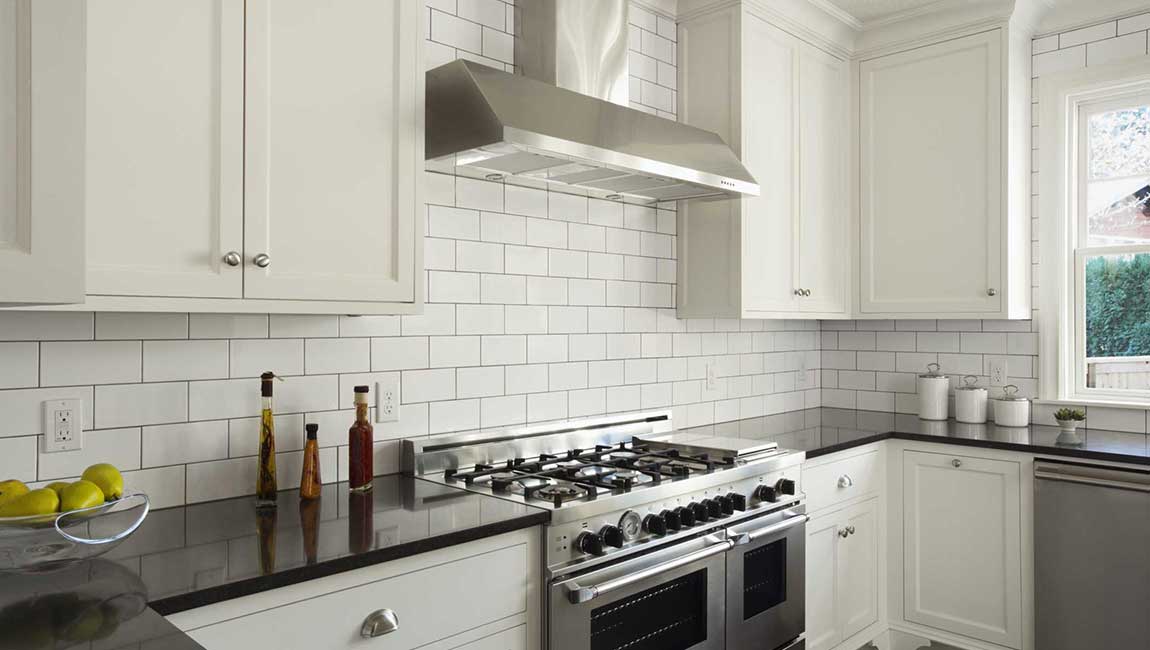
Remove outlet and light switch covers. Use a flathead screwdriver and unscrew the plastic covers from the outlets and light switches. After removing them, place the screws and the covers in plastic bags so you don’t lose any pieces. You’ll replace the covers once you’ve installed your backsplash.
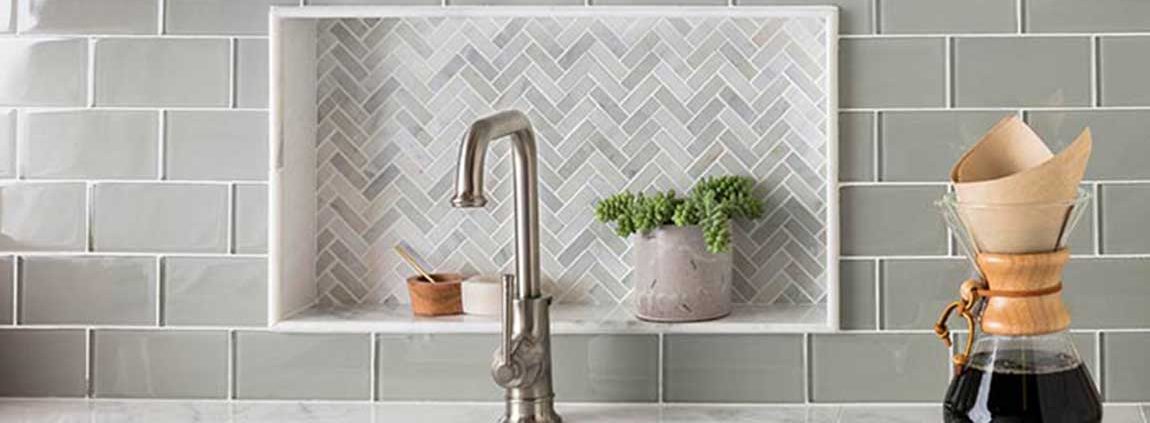
Sketch your tile design on the wall. Start by determining how many marble tiles can fit vertically and horizontally in the area you want to cover. Next, figure out where you need to place partial pieces of tile size (pieces that you will cut). A lot of this depends on your taste. Finally, take a pencil and draw on the wall where you plan to place individual tiles.
Factor in 1/8th of an inch (.32 cm) between tiles and the wall for grout lines. You may want to choose between centering whole pieces of small tile or starting at the top with whole pieces and finishing the bottom with cut/partial pieces (if there isn’t enough space for whole pieces).
Lay your tile out. After you’ve sketched your design on the wall, you should assemble all of the pieces you need to complete your project. It is best to lay out your pieces on a large table or on the floor in another room. This way, you’ll be able to match the pieces to the places on the wall where they will go.