Posts

How Targeting Stains and Grease?

Use an alkaline degreaser for oil and grease. Oil and grease, often found on garage floors, should be cleaned with an alkaline degreaser. You can purchase this online or at a hardware store. Consult the label to see how much water to use to dilute your degreaser. Apply to oil and grease stains and then rinse it out completely using water. Make sure to wear goggles and gloves when applying degreaser.


Look for chemical strippers to remove graffiti. In general, chemical strippers should not be used on cement. In the event of graffiti, however, such cleaning solutions are necessary. Go for citrus-based strippers, as these are the mildest. Apply these cleaners to the graffiti and allow them to sit in for several hours before rinsing them out. Use protective gear when working with chemical cleaners.


Apply an acid neutralizer, which you can buy at a hardware store, according to package directions after using a chemical stripper. Remove rust stains. Rust stains are difficult to remove and sometimes require professional cleaning. Cleaners with oxalic acid are usually used to remove rust stains. Apply these according to package instructions, making sure to wear goggles and gloves.


As removing concrete can be difficult, it’s usually best to seek professional help if you have concrete built up on your cement. Spray down the cement with clean water to remove any traces of your cleaner. Make sure to keep spraying your cement until water runs clear. Any cleaner reside can damage the cement over time.


Although proper usage will vary from product to product, in many cases you can combine a product, like Barkeeper’s Friend, with a small amount of water to make a paste. Apply this to remaining stains or buildup for a few hours. Generally, by allowing your cleaning product more time to work on the stain, the results will be better.

Cleaning the Tiled Surface

Fill a bucket with clean water. Get a 2-gallon (7.6 l) bucket and fill it up with water. While you can use warm water, cool water will work well in most circumstances. This water will be used to help clean excess grout off the polished tile. If you’ll be grouting a large wall area, you may want to fill two buckets up.

Use a sponge to wipe off excess grout. Wait about 20 to 30 minutes after you first applied the grout. Then, use your sponge to wipe the cement tile back and forth. Focus on the surface of the tile design, not the joints. After you’ve cleaned a small section, dunk your sponge in the clean water. Use a clean part of the sponge for each wipe. When the sponge gets covered in grout, clean it in your bucket of water. Repeat sponging every section until only a thin layer (or “haze”) of excess grout remains. Use a hydrophilic sponge, if you have one. You can purchase one at a home improvement store.

Lightly sponge the joints. Clean your sponge, then slightly depress the sponge with a finger and run that part of the sponge over the joints. Avoid pressing too hard, as you don’t want to remove too much grout. When doing this, focus on making sure the grout lines are uniformly shaped and have the same depth.

Buff the common marble tile with a microfiber cloth or cotton towel. Wait until the grout is completely dry. This could take about 30 minutes. Then, take a microfiber towel and buff the surface of the spots tile. To buff, use a moderate amount of force to rub the cloth in a circular fashion on the rustic tile. Rotate the cloth so can use a clean part on each wood tile. When your cloth is covered with grout, use a new one. Avoid using a cotton towel or anything abrasive. You could scratch soft casstle tiles.

Caulk joints between kitchen tile and other surfaces. After you’ve grouted interior joints, you’ll need to apply caulk to joints between tile and other surfaces like bathtubs and sinks. This is important, as grouting exterior joints could cause cracking. Choose a caulk that matches the color of your grout. Then, apply a minimal amount to fill the space.

Shape the caulk. Take a slightly rounded surface, like the back of a toothbrush, and lightly run it over the caulking. When doing this, you should compress it into the joint and create a uniform appearance. When you’re done, take a wet microfiber cloth and wipe off extra caulk.

How Getting the Right Materials for Tile a Bathroom Floor?

Purchase tiles. Buy a wall tile that’s durable and aesthetically pleasing to you. Purchase more super white tile than you’ll need. A good rule of thumb is to get 15% more tiles to account for spots tiles you may need to cut to fit in narrow spaces and tiles that will break in the shipping process.There are many different types of stone tile available:

Ceramic and porcelain tiles cost around a dollar per square foot and are attractive, long-lasting, and durable. For that classic look in your bathroom, it’s hard to beat ceramic or porcelain tiles. Make sure the tile you purchase is rated for use on floors.

Vinyl tiles are also common, easy to install, and cheap. It’s also self-adhering, so you won’t need anything beyond the tiles themselves to do it yourself. Other kinds of element tile will require more work and materials. If you use vinyl, you won’t need to buy anything else. Just follow the adhering instructions on the package and following the alignment guidelines below.

Plastic laminate and linoleum wood tiles generally come in planks, rather than wood marble tiles, but are sometimes popular. They are also more expensive, ranging upward of 4 dollars per square foot. Other tiles made of wood, cork, stone, or glass are also available but tend to be more expensive. These require other sorts of polyurethane coatings to avoid dings and dents, but are a good option if you like the look.

Purchase thin-set mortar and grout. To lock the tiles in and create a solid floor for your bathroom, you’ll need to first layer a thin amount of mortar to set the bathroom tiles and grout to connect them to one another. Mortar usually comes in two varieties, pre-mix and unmixed mortar that comes in a box. All you need to do to mix it is add water and the pre-mixed tubs are usually more expensive, but buy whichever variety works for you.

How Choosing and Mixing to Grout a Tile Floor?

Remove the old grout. If you’re re-grouting an old Clunny tile surface, remove the old grout. You can remove the old grouting compound with a grout saw or a grout removal bit in a rotary tool. Make sure this is fully removed before proceeding. Make sure that the joints are free of any dirt, dust, or debris before you start as well.

Pick a color of grout. The color of the grout will affect whether people notice the beauty of the individual Dinosaur Stone tiles, or the overall pattern of the tiles. Light grout tends to accentuate the individual Pure Color tiles by blending in, becoming “invisible,” while dark grout tends to accentuate the pattern of the tiles, their overall structure on the floor.

Choose a color that matches the cement tile if you want the floor to have a continuous appearance. If you installed the tile yourself and the grout lines aren’t perfectly straight, a matching color of grout can help conceal these imperfections.

Choose a color of grout that contrasts the tile color if you want the individual subway tiles to stand out. If you installed polished tiles with an irregular edge, a contrasting color of grout will enhance this feature of the Spots tile. Choose a dark color for high traffic areas. White or light-colored grout will be difficult to keep clean.

Choose between sanded or unsanded grout. Sanded grout is stronger than unsanded grout. Sanded grout is needed when the grout lines are greater than 1/8-inch (3-mm) wide to add strength. Unsanded grout is liable to crack on wider joints. Wait for the thinset mortar to cure. Thinset is used to adhere the tiles to the floor during installation. The exact drying time varies by brand, so read and follow the thinset packaging carefully. You usually have to wait at least a day to grout a tile floor.

Mix the grout according to the package directions. You only want to mix as much as you can apply in about a half hour, as it will begin to dry out. Dump the powder into a large bucket, and add only 3/4 of the recommended water, mixing thoroughly with a trowel. Afterwards, mix in the remaining 1/4 of water and mix again. It should be the consistency of thick batter or slightly looser than smooth peanut butter; too much water will prevent it from spreading and hardening properly.


How Using Vinegar and Ammonia to Clean Ceramic Tile Grout?

Do a preliminary clean. Before you get down to the deep cleaning methods, it is necessary to do a regular clean up of your rustic tile. Follow your regular cleaning process of wiping down counters or sweeping and mopping floors. This will get all the top layer of scum off, and make your work a bit easier.

Create your solution. In a bucket or large bowl, mix 7 cups of warm water, 1/2 cup of baking soda, 1/3 cup of ammonia, and 1/4 cup of white vinegar. Allow all the ingredients to mix completely, so the baking soda is dissolved. Pour the mixture in a spray bottle. Keeping this in a spray bottle will make it easy to mist the dirtiest areas specifically, and for storage. Fill your spray bottle completely, and then shake the solution well.

Spray the grout. Start on a small area, only as large as 1-2 square feet total. Spray your cleaning solution over the grout so it is dampened. Allow the mixture to set for 3-5 minutes to work into the grout. Begin scrubbing. Use a scrubbing brush of your choice – a hard bristled cleaning brush, a toothbrush, or a magic eraser are all good options. Put some hard work into your scrubbing to get the ground-in dirt out from between your wood tiles.

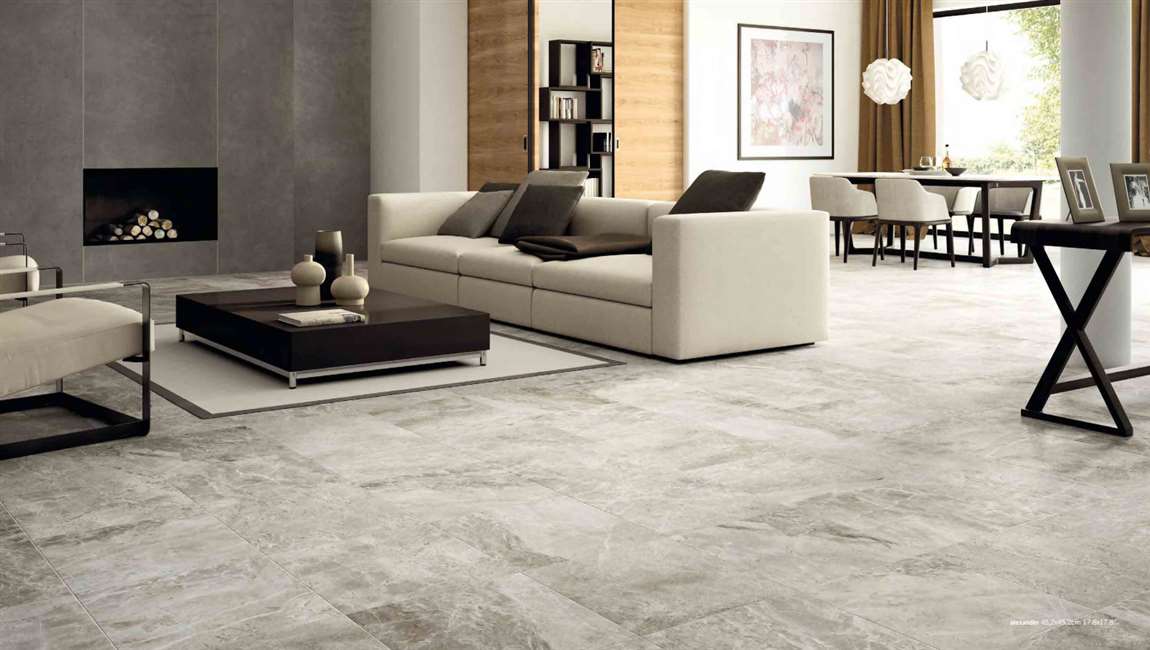
Interior of a new modern apartment in scandinavian style with kitchen and living room

Clean up the dirty liquid. All your scrubbing has probably created little pools of dirty liquid on your tiles. Use a damp cloth to wipe this up, and wring it out into a separate container. This will keep your polished tiles cleaner in the end. Complete your grout cleaning. Use the above process to move onto the rest of your grout, giving all it a thorough cleaning. Focus on simply getting the dirt and dark areas out of your grout, exposing the natural white underneath.

Do a final wipe-down. When you are convinced your grout cleaning is finished, do a second clean up of the entire area. If you were working on counters or in a bathroom, use a generic cleaning spray and rag to wipe down your marble tiles. For floors, go ahead, mop your tiles again, and towel dry.

How to Making Straight Cuts with a Wet Saw Before Cut Marble Tiles?

Install the diamond blade on your saw. Tip the wet saw on its side and unscrew the nut holding the blade in place. Lift the current saw blade out from the machine carefully so you don’t cut your hand. Insert your diamond blade so the teeth face in the cutting direction before securing it in place with the nut again. Use a socket wrench to tighten the nut completely.

How you change the saw blade and the direction it spins depends on the model of wet saw that you have. Consult the instruction manual to learn how to properly install the blade. Tip: Some saws come with a blade wrench you can use to tighten the nut. If your saw doesn’t have one, a ratchet wrench will work.

Fill the reservoir on the bottom of the machine with cold, clean water. Water in a wet saw helps cool down the blade and reduces the amount of dust. Locate the tray on the bottom of your wet saw for the water reservoir. Fill the reservoir with water until the bottom of the blade is slightly submerged.

Wet saws kick up water while you use them, so you may need to refill the reservoir if you plan on cutting multiple spots tiles. Since you’re working electronics and water, plug the saw into a GFCI outlet. GFCI outlets will automatically turn off the power if any of the electronic components in your saw get wet.

Adjust the fence on the saw to keep your cut straight. The fence is the straightedge piece that attaches to the base of your wet saw. Hold the marble tile that you’re cutting against the edge of the fence to see where it lines up with your saw. Adjust the fence closer or further from the blade until your mark lines up with the saw. Saw blades usually cut out 1⁄8 inch (0.32 cm) from your material, so make sure your blade is on the scrap side of your line.

How to Planning Your Backsplash Before Tile a Backsplash?

Measure the space where you want to install your backsplash. Use a measuring tape and a pencil to mark out the area your backsplash will cover. The size of the area will determine the number of floor tiles you’ll need to buy, as well as the space you’ll need to prepare, so keep this information noted down when purchasing your equipment.

Your backsplash should start slightly above the countertop in your kitchen. The top could either meet with the underside of your kitchen cabinets or could stop at any chosen place up the wall. If you don’t know where you want your backsplash to end, wait until you know the size of the wood tiles you want to use. Make your backsplash a certain number of tiles design high, rather than a predetermined height.

Measure the height and width of the backsplash and keep these noted down. This will give you a guide for the number of tiles you need to cover the area, as well as a note of the total area you need to wall tiles design if you multiply the two numbers together.

Purchase spots tiles for your backsplash. Tile sellers and hardware stores will have a large selection of tiles for you to choose from. Find a wall tile which matches the desired look for your kitchen, and purchase enough to cover the chosen area.

Talk to the casstle tile salesperson or someone at your local hardware store to work out how many tiles you’ll need. Divide the area of your backsplash by the area of a single tile or cement tile sheet to get a rough idea of how many Sand Stone tiles you’ll need.

How to Doing Routine Cleaning a Stone Tile Shower?

Wipe away loose buildup and grime. Wet a clean, soft cloth, like one made of microfiber, in warm water. Firmly wipe down all of your shower’s stone tiles and the grout in between. This will make it easier for you to find and target more severe buildup and hidden stains. Soft clothes will be the gentlest on the finish of your stone. Rough fabric, over time, could cause the surface of your stone to pit or cloud.

Scrub grout with a toothbrush and a mild detergent. The narrow crevices between cement tiles and filled with grout are a prime location for buildup. Use a mild detergent, like dish soap, warm water, and a toothbrush to scrub the grouted cracks between ceramic tiles. Rinse the area thoroughly afterwards and repeat as necessary until the grout is clean.

Because grout is often dirtier than the tile itself, clean the grout first to prevent it from spreading to the kitchen tile. Avoid using general grout cleaners when cleaning the grout of natural stone tile. These often have ingredients that can damage your stone. Stiff bristle brushes can harm the finish of your stone and cause scratches. Only use soft bristle brushes and soft cloths when cleaning.

Clean the stone with a mild detergent or stone soap. Mix together warm water and a couple drops of mild detergent, like dish soap. Stir the solution to distribute the soap. Dip a soft rag into the solution, wring excess liquid from it, and use it to wipe down the casstle tiles. Rinse the tiles frequently as you do so.

Soaps that are formulated for the natural stone used in your shower can be found at most hardware stores. Cleaners that are acidic can damage your stone tile. Only use cleaners that are pH neutral (a 7 pH rating), which should be indicated on the cleaner’s label information. Using more soap isn’t always better. Too much soap in your solution could result in streaks or a film remaining on the marble tiles after cleaning.

Cut through soap scum with an ammonia and water solution. Soap scum is a common problem and it can be difficult to remove. Cut through it with a solution of a half cup (237 ml) ammonia and a gallon (3.8 L) of water. Apply the solution to the tile with a clean, soft cloth.
Using ammonia to clean your stone too frequently can negatively impact its appearance, causing it to dull. Stay on top of general cleaning to prevent soap scum from building up. This way, you’ll only have to infrequently use ammonia. Dry the stone after cleaning. Avoid leaving cleaners on your stone for long periods of time, especially ones that can cause dulling or fading, like ammonia or hydrogen peroxide. Rinse the tiles design thoroughly and then wipe them dry with a clean, soft towel.