Posts

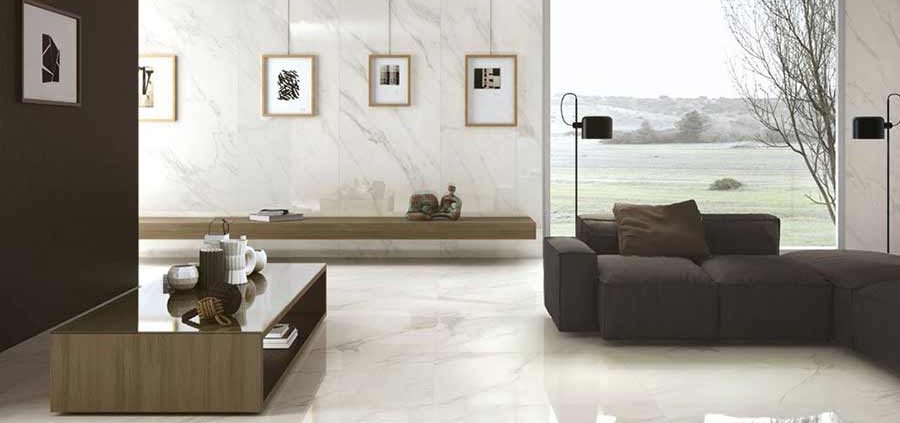
How to Clean Marble Tile?

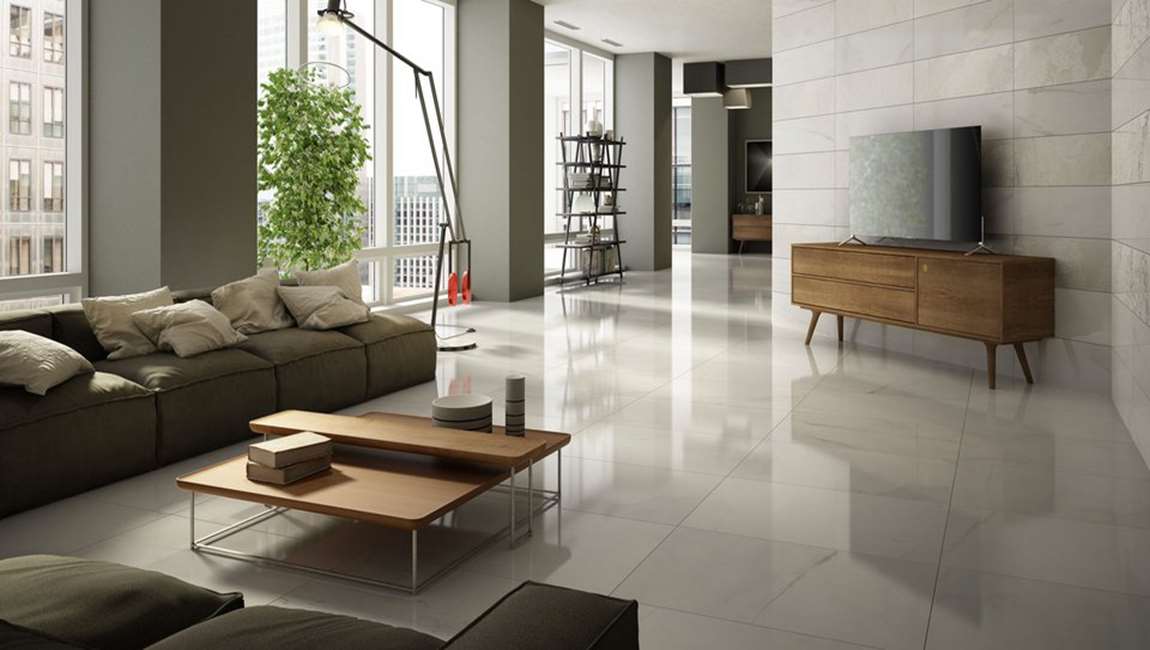
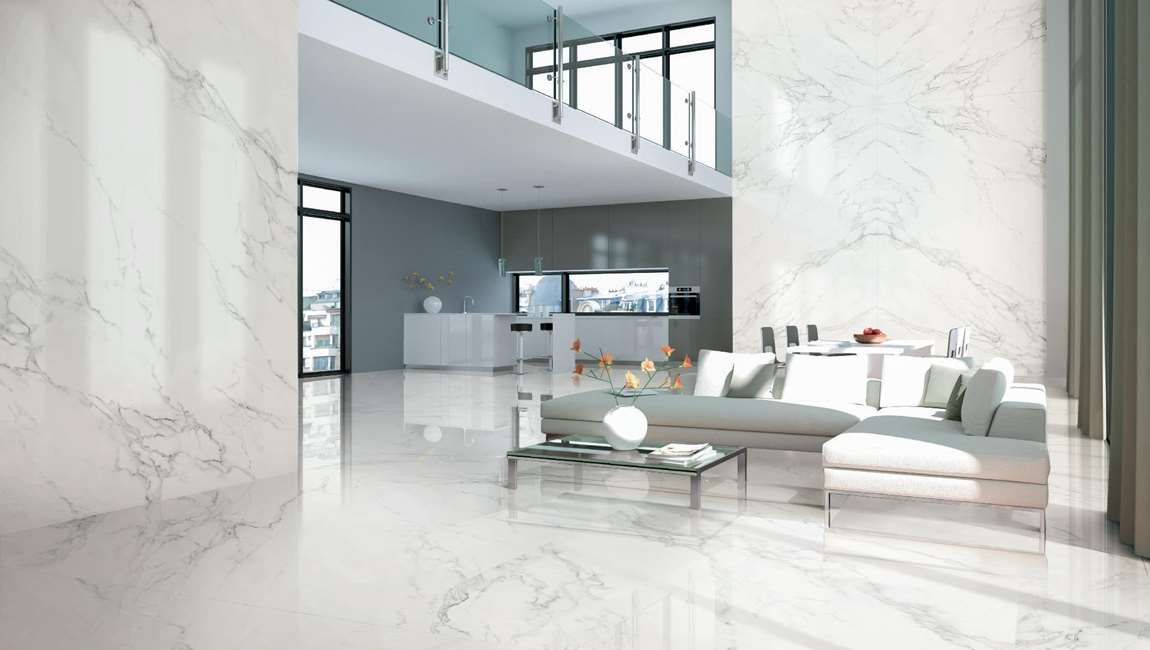
With its attractive colors and veining, it’s no wonder that marble tile is such a popular choice for floors, countertops, and shower stalls. It sometimes gets a bad rap, though, because it’s softer than granite or porcelain, so keeping it clean seems like a major challenge. However, once you know the proper products and techniques to use on marble tile, cleaning it can be a breeze.

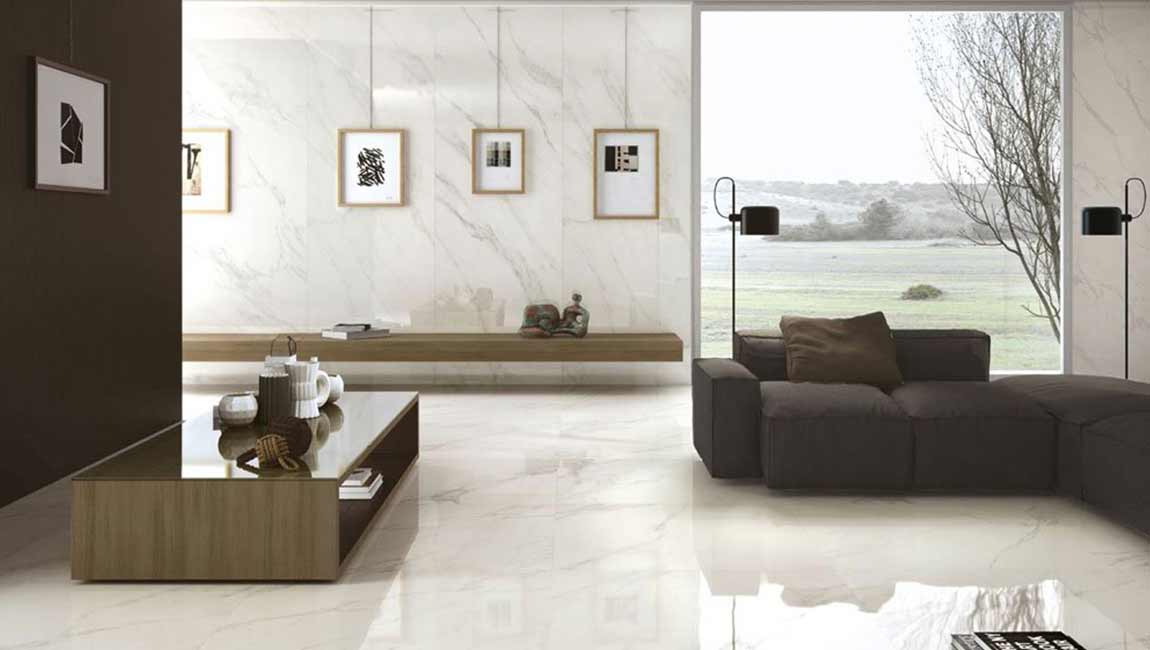
Dilute dish soap with warm water. Cleansers that are too acidic can actually damage marble tile, which means you shouldn’t use products with lemon, vinegar, or bleach on it. That’s why a gentle, non-abrasive dish soap, which has a neutral pH, is the best option for cleaning marble. For the best results, mix approximately 8 ounces of warm water with one tablespoon of the soap in a spray bottle or other container. Shake the mixture well, so the two ingredients are mixed. Don’t use an all-purpose cleanser on your tile unless it’s specifically marked as safe for marble.

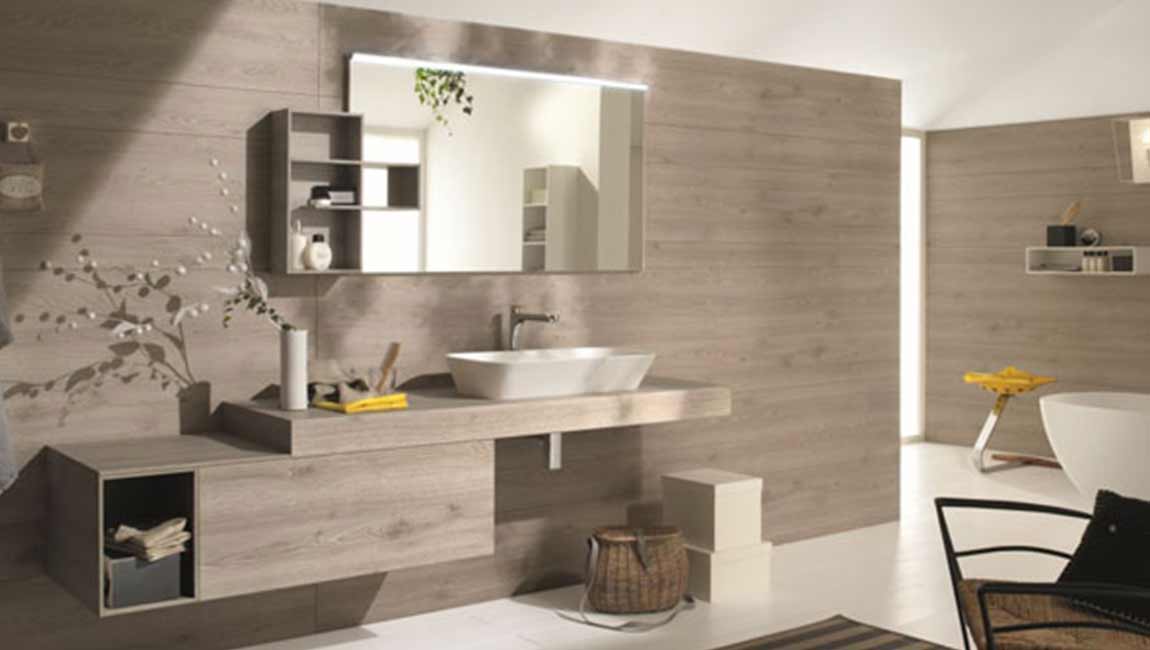
Apply solution to the marble. If you’re using the dish soap and water solution to clean marble tile on countertops, you can apply it directly from the spray bottle. For floors, use a soft mop to apply to the wood tile. Make sure not to apply too much of the solution to the marble, though — the tile surface should be damp, but there shouldn’t any pools of liquid. If there is any standing water on your marble tile, wipe it up as quickly as possible.

Wipe off tile and thoroughly dry. After you’ve applied the soap and water solution to your marble tile, you need to wipe down the surface to remove any dirt and debris. Use a hot, wet cloth to wipe down any super white tile on your countertops or a mop dampened with hot water for your floors. Next, take a soft, dry towel or mop to thoroughly dry and buff the tile design. Make sure the cloth or mop that you’re using to wipe off the soap isn’t too wet. Wring the material out carefully to prevent too much water from sitting on the marble surface.


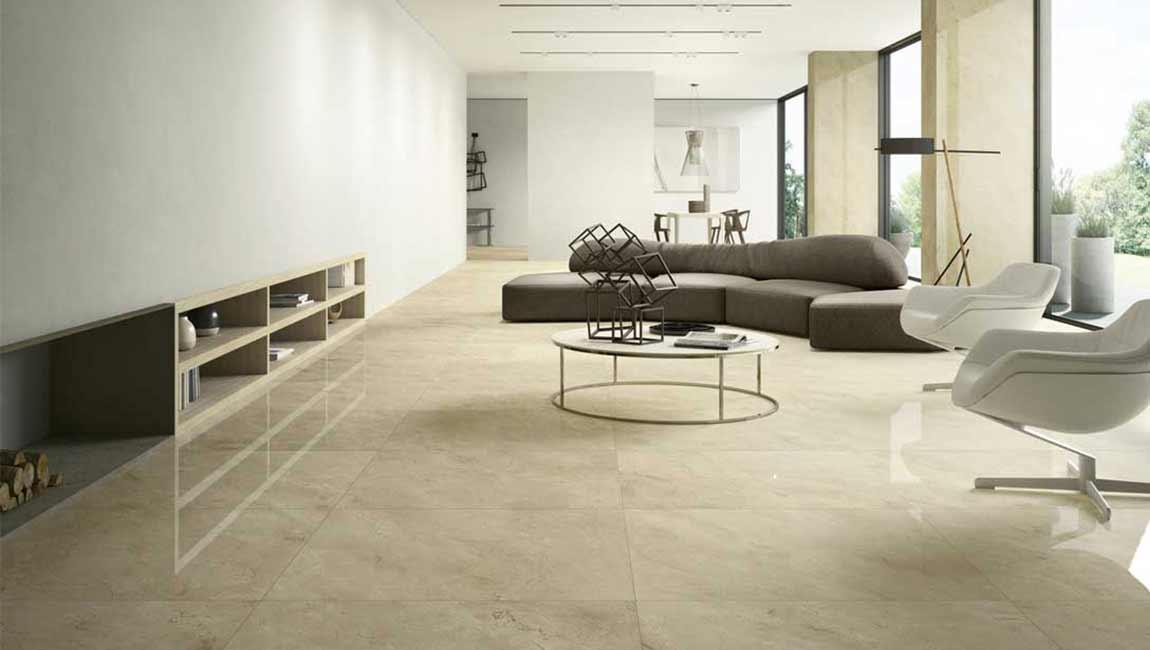
Use a dust mop. If you have marble tile on your floor, you may sometimes need to remove dust, dirt, and other debris, such as crumbs or loose subway tile. However, while a vacuum may be the easiest way to clean up this type of mess, you’re better off using a dust mop to clean the floor tile. Vacuum cleaners with worn wheels and metal attachments can easily scratch the tile surface. If you want to use a vacuum on marble tile, check the wheels to make sure that they’re not scuffed or rough in any spots. Don’t use metal attachments either.

How To Lay the New Tile?

Apply thin-set mortar to the floor. Mix a batch of latex-modified thin-set mortar and apply it in a thick, even layer over the working surface, using a notched trowel. As a general rule, it is better to work in small sections that you feel you can complete within 30 minutes or so. If you mix up too much mortar, it could start to skin over and become less effective.

Apply the thin-set adhesive in a single direction. Do not swirl it around. There should, however, be small groves in the thin-set. If there is a crack in your old fool tiles surface, you may need to use a little more thin-set than usual to fill in that crack. The thickness of the mortar should be about 1/4 inch (6.35 mm). Consider using powdered thin-set mortar mix and combining it with liquid latex bonding additive instead of water.

Add more stability with mesh tape, if necessary. When you are tiling over a cracked surface, you should embed a strip of mesh tape into the fresh mortar over the crack. Only use enough mesh tape to cover the crack. The tape will help stabilize the thin-set. As a result, the underlying crack is much less likely to reappear in the new layer of marble tiles. Apply thin-set mortar to each tiles. Mix up additional thin-set as needed and apply a thin, even layer to the back of each tile using a trowel. Make sure that the adhesive completely covers the entire back of the wall tiles.

Again, it is often best to work only with the number of tiles you think you can go through within a 30-minute period. Apply the thin-set in a single direction, creating small grooves with the trowel. The thickness of the mortar on the back of your polished tiles should be no more than 1/4 inch (6.35 mm) thick, if not a little less.

Lay the tiles. Slide the ceramic tiles in place along your surface, positioning them according to your pre-planned arrangement. The thin-set strokes on your surface should run perpendicular to the thin-set strokes on the backs of your tiles. You must lay the tiles design by locating the center point of your surface and working your way out to the outer perimeter, just as you would when tiling over any non-tiles surface.

Add extra mortar to raise up a low spot. When you reach areas of the floor marked as low points, apply enough extra thin-set to the back of the wood marble tiles you expect to place there to raise that tiles up to the level of the kitchen tiles around it. Check the new level of your glazed rustic tiles with a level to verify that it is now at the same level as the adjacent tiles. Since thin-set dries slowly, you should be able to remove a newly placed tiles and adjust the amount of mortar as needed to fix the issue if you do not get it right on the first try.