How to Marble a Wooden Floor?
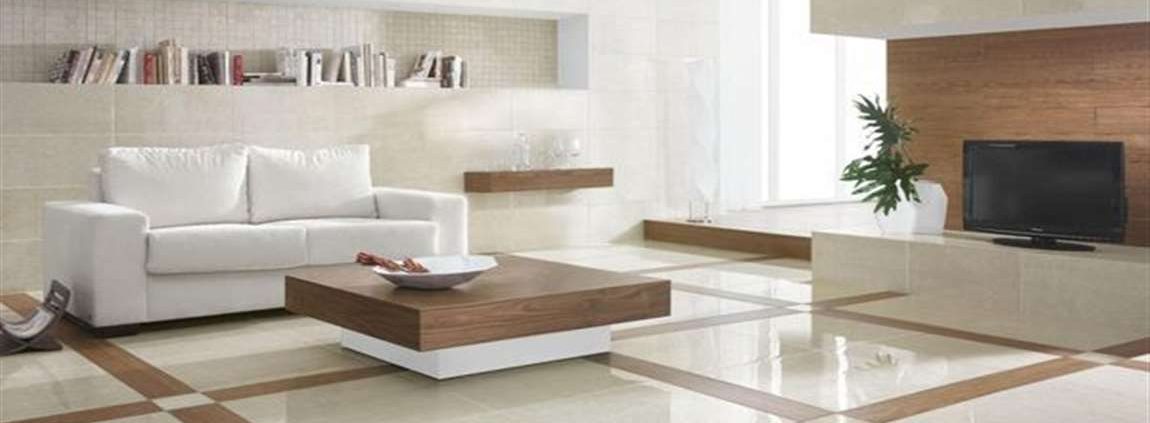
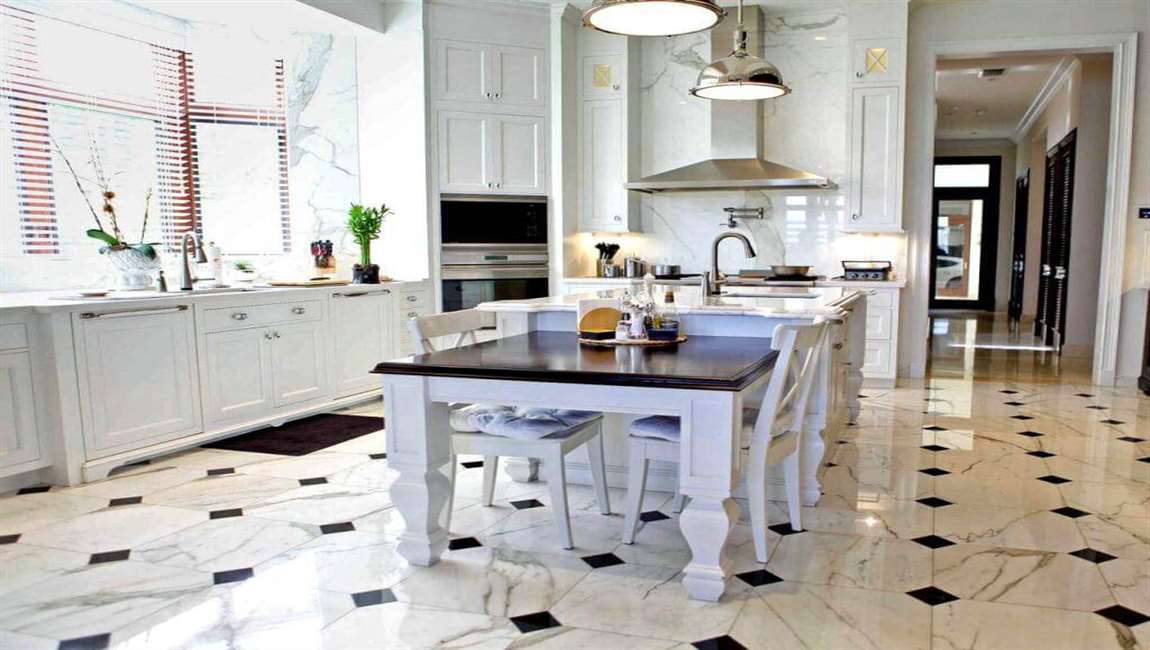
Creating a faux marble look on a wooden floor can be an interesting way to cheer up a fading floor. It’s also a lot easier to care for than a real marble floor! This article explains how to marble a floor in your home, using a black and white square checkerboard design. This will take up to a week to do and is fairly intensive work but the end result is worth the effort.
Sand the wooden floor completely. Remove all furniture from the room or area and any rugs. Be sure to sand every part of the floor that is to be marbled. Apply three coats of a light-coloured, flat, oil-based paint. Apply across the entire floorspace. Lay a grid of squares to create the black and white checkerboard square appearance. Measure exact squares across the entire floor space using a measuring tape and pencil.
Draw over the lines using a felt tip pen so that you can see the borders of each square easily when painting. Leave a general border space of 20 centimeter (7.9 in); this will “frame” the entire floor feature. Work in small areas at a time. Start by painting the light or white coloured squares using off-white white paint.
Start to create the mottled marble effect. While each off-white square is still wet, create small brush streaks using a combination of black, tan and grey. Use a dry brush to blur in the streaks. Leave these squares to dry thoroughly for 48 hours. Once dry, use masking tape and paper to protect them from the next step, painting the the dark colour.
Cover each light square completely in paper and be sure to make the masking tape meet the edges exactly. It takes a bit of work but it is worth doing well. Use a sponge to dab on black and dark green paint on the uncovered squares. This paint should not be brushed on, as you want it to appear streaked.

